STEM & Discovery
Flashlight Shadow Lab: What Changes a Shadow’s Size?
 Facebook
 Pinterest
 X
X LinkedIn
 Reddit
 WhatsApp
 Telegram
 Bluesky
 Email
Email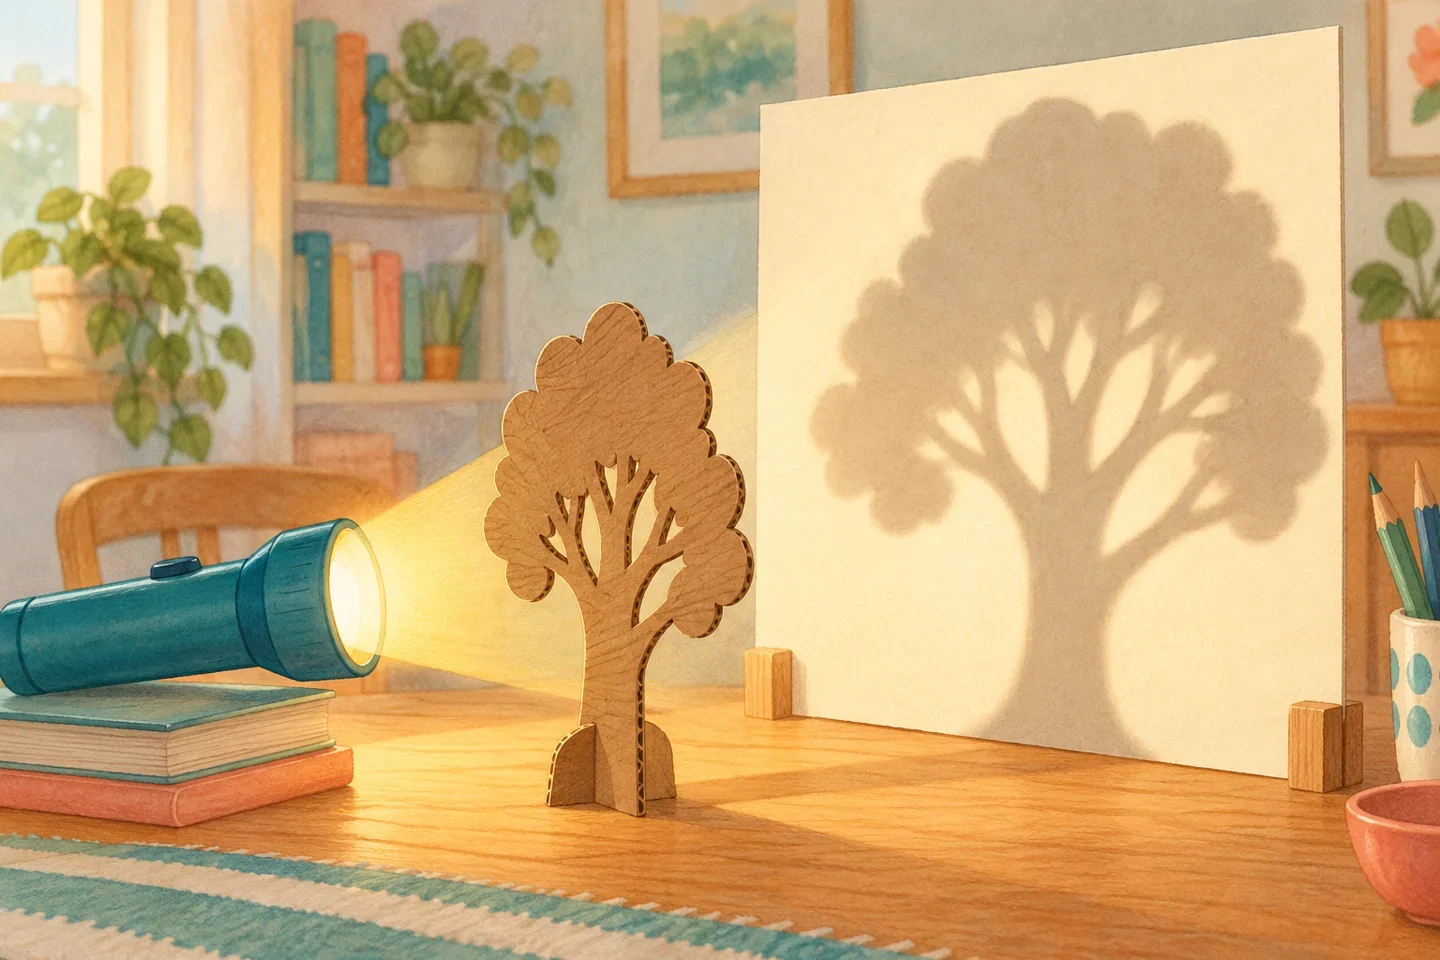
A cardboard shape can cast a small shadow or a much larger one, depending on where it sits between a light and a screen. Children compare marked positions indoors and trace what they observe. This guide focuses on size and a controlled light arrangement, rather than the outdoor shadow artwork already in the nature collection.
At a glance
| Suggested ages | 5–9 |
|---|---|
| Activity time | 20–30 minutes |
| Adult setup | 10 minutes |
| Participation | Individual or small group; watching, pointing, and partner assistance are welcome |
What you need
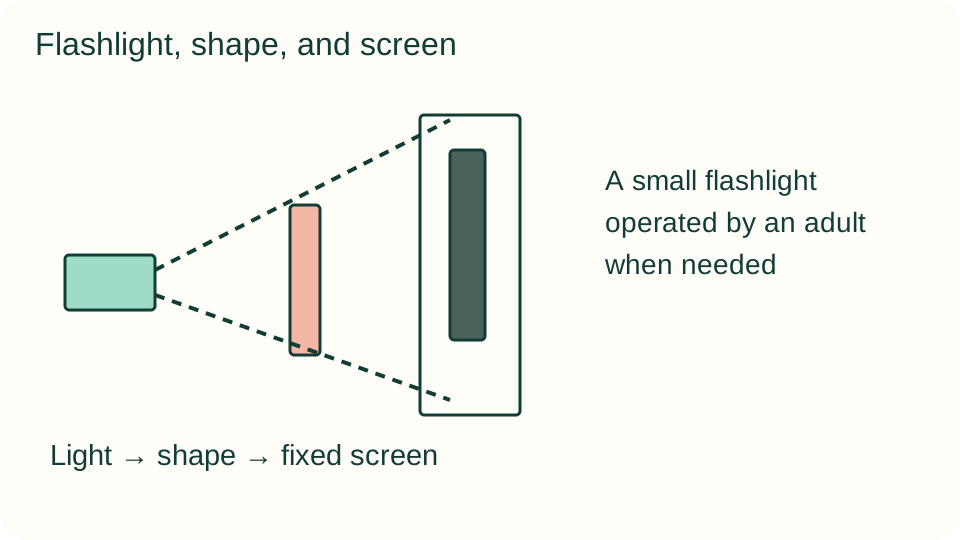
- A small flashlight operated by an adult when needed
- One large cardboard shape with a folded standing foot
- A paper screen or plain wall, ruler, pencil, and removable tape
Get ready
Cut a simple shape about 10 cm tall, with a 3 cm foldable foot beneath it. Use a room with enough ambient light to move safely; complete darkness is unnecessary. Do not shine the flashlight into anyone's eyes, open its battery compartment, or substitute a laser.
Try the activity
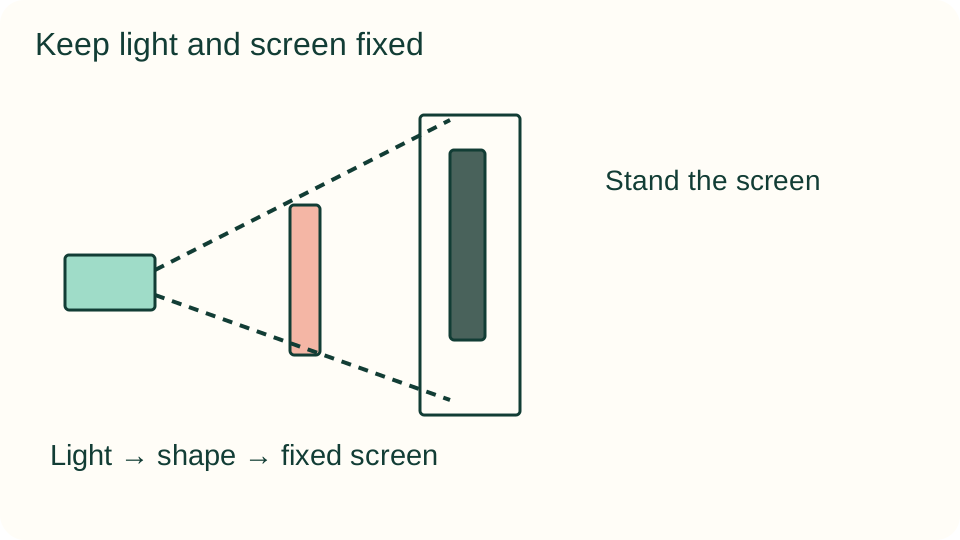
1. Stand the screen
Place a sheet of paper upright against a stable wall or cardboard support. Position a table in front of it with clear access. If tracing on the sheet, attach it temporarily so it does not shift between observations. Avoid a setup that blocks a doorway.
2. Fix the light position
Rest the flashlight on a stable low support, pointing horizontally toward the screen. Adjust its height so the beam reaches the cardboard shape. Mark its position with tape and leave it there. An adult steadies the light if it could roll.
3. Mark two object positions
Use a setup with roughly 60 cm between the light and screen. Mark one object position about 20 cm from the screen and another about 40 cm from it. These are convenient starting distances, not requirements for a particular shadow measurement.
4. Observe the near-screen shadow
Place the cardboard shape at the first mark and ensure its foot is flat. Trace or estimate the shadow's top and bottom on the screen. Note the shape position and shadow height. Keep the light and screen fixed while the child describes what is visible.
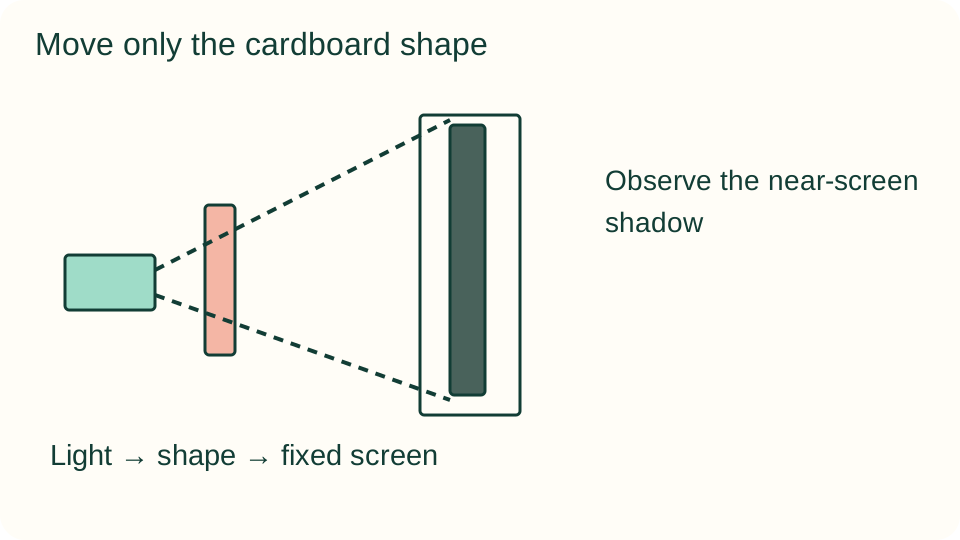
5. Move only the shape
Move the same cardboard shape to the second mark, farther from the screen and nearer the light. Compare its shadow with the first outline. Use another pencil color or a separate recording sheet if outlines become confusing. Repeat the first position to check the comparison.
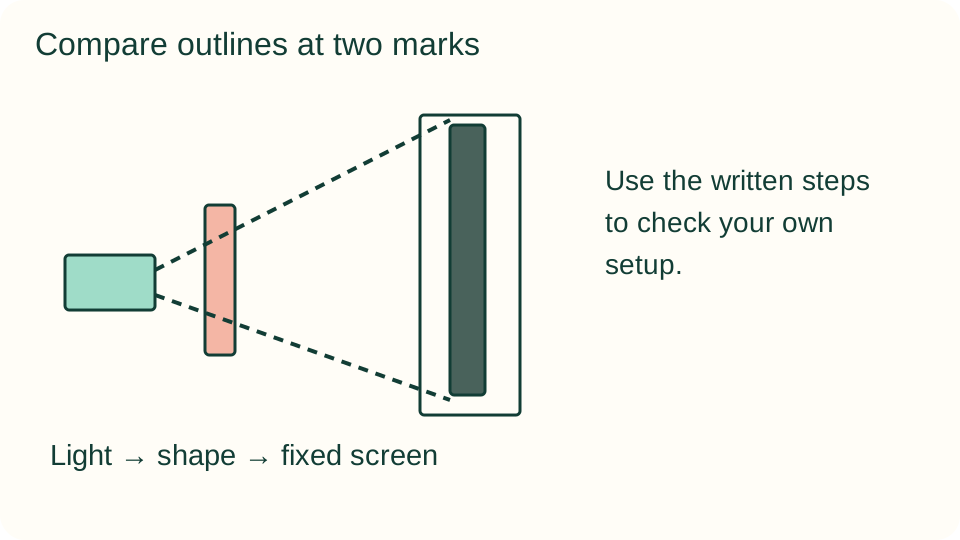
6. Test a question
Ask what might happen at a position between the marks. Predict, place the shape, and observe. Keep it between the light and screen. Explain whether the new outline supports the prediction, and record a fuzzy or incomplete shadow honestly rather than forcing an exact number.
What children can explore
In this arrangement, placing the object nearer the light usually produces a larger shadow on the fixed screen. Real flashlight beams and blurred edges make measurements approximate. Light travels past the object's edges while the cardboard blocks part of the beam; the outline depends on the positions of all three parts.
Make it work for your group
Use a large simple rectangle and compare outlines without measuring for beginners. Older children can record several distances and heights. A child who dislikes dim rooms can observe with the normal room lights on and a screen placed where the shadow remains clear enough to see.
At home and in the classroom
Assign light keeper, shape mover, and observer, changing roles between complete comparisons. At home, mark the setup before moving anything for dinner or another activity. In a classroom, keep the light station away from a busy route and provide a drawing activity for waiting partners.
Save your discoveries
Copy a simple record onto paper: what you changed, what stayed the same, and what happened. Drawings, pointing to a sketch, or notes dictated to an adult work as well as independent writing. Record the actual observations, including trials that did not go as expected.
Helpful fixes and cleanup
A faint shadow may need a closer screen or better alignment, not a darker unsafe room. A moving outline often means the flashlight or screen shifted. Switch off and store the light, remove tape, and save the cardboard shape and labeled observation sheet for another investigation.