STEM & Discovery
Make a Paper Helicopter: Explore Spinning and Falling
 Facebook
 Pinterest
 X
X LinkedIn
 Reddit
 WhatsApp
 Telegram
 Bluesky
 Email
Email
A strip of paper can become a small spinning rotor with a few cuts and folds. Children compare two helicopters that have different blade lengths, noticing spin, sideways movement, and the way they reach the floor. The diagrams show the cutting pattern. The decorative hero illustration is an example, not a cutting template or a requirement for matching colors.
At a glance
| Suggested ages | 6–10 |
|---|---|
| Activity time | 25–35 minutes |
| Adult setup | 10 minutes |
| Participation | Individual or small group; watching, pointing, and partner assistance are welcome |
What you need
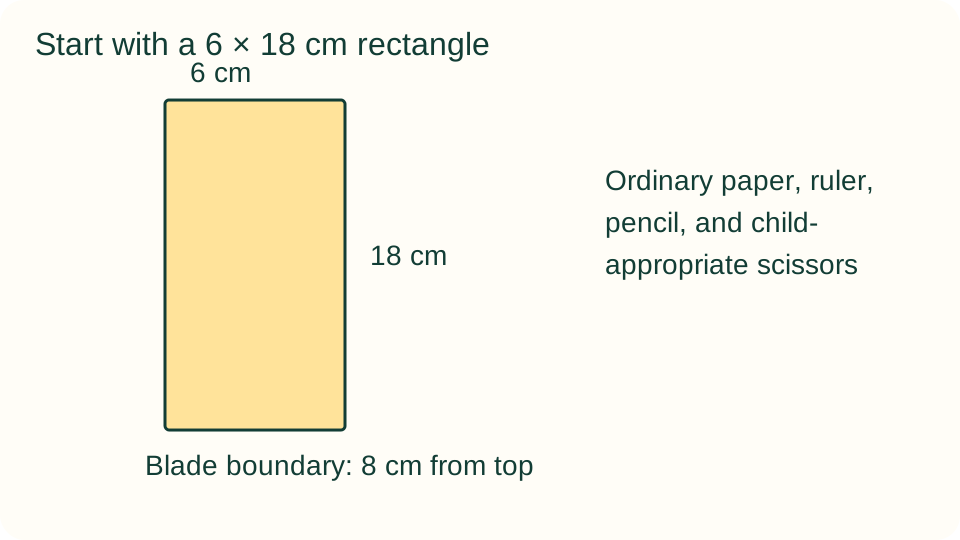
- Ordinary paper, ruler, pencil, and child-appropriate scissors
- Two paper rectangles, each 6 cm wide and 18 cm long, prepared by an adult if needed
- A clear indoor drop area and paper for observation notes
Get ready
An adult checks scissors and the floor area. Participants remain standing on the floor; no chairs, steps, or raised platforms are used. Turn off nearby fans if possible. Keep people clear of the landing area, and do not add paper clips or other small weights.
Try the activity
1. Mark the first rotor
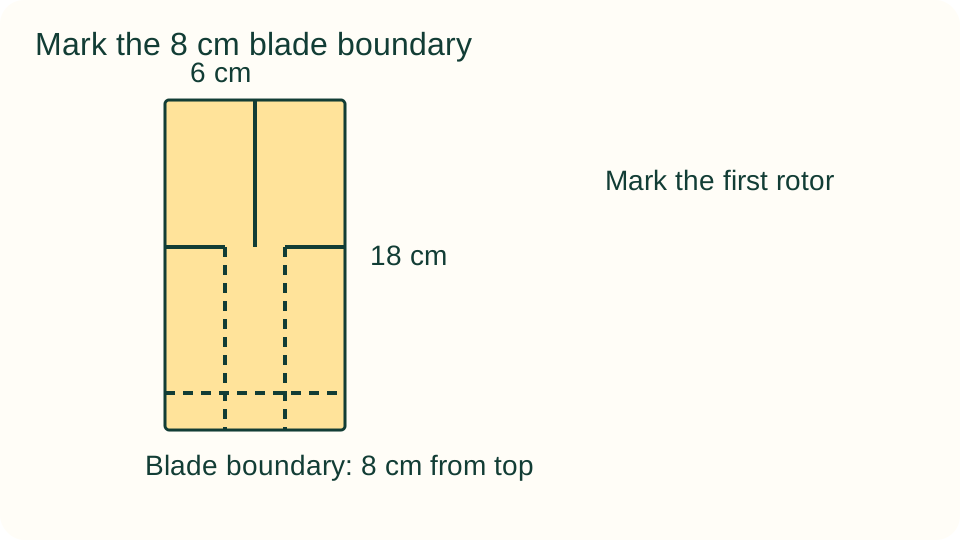
On the first rectangle, mark a horizontal line 8 cm below its top. Draw a center line from the top down to that mark. This upper portion becomes the two blades. Label the lower portion A before cutting so the designs are easy to identify.
2. Prepare the narrow stem
At the blade boundary, make a 2 cm cut inward from each side, leaving the central 2 cm uncut. Fold the two lower side flaps toward the middle so the stem is narrow. These folds run only below the blade boundary, not through the blades.
3. Separate and open the blades
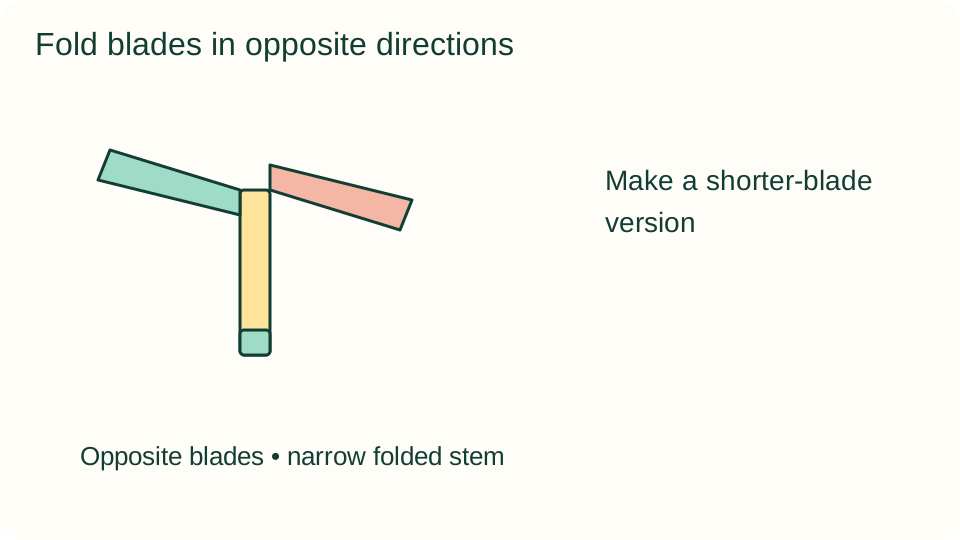
Cut down the upper center line to the horizontal mark. Fold one blade forward and the other backward along that mark. Fold the bottom 2 cm of the stem upward. Check that the blades spread in opposite directions and the stem remains below them.
4. Make a shorter-blade version
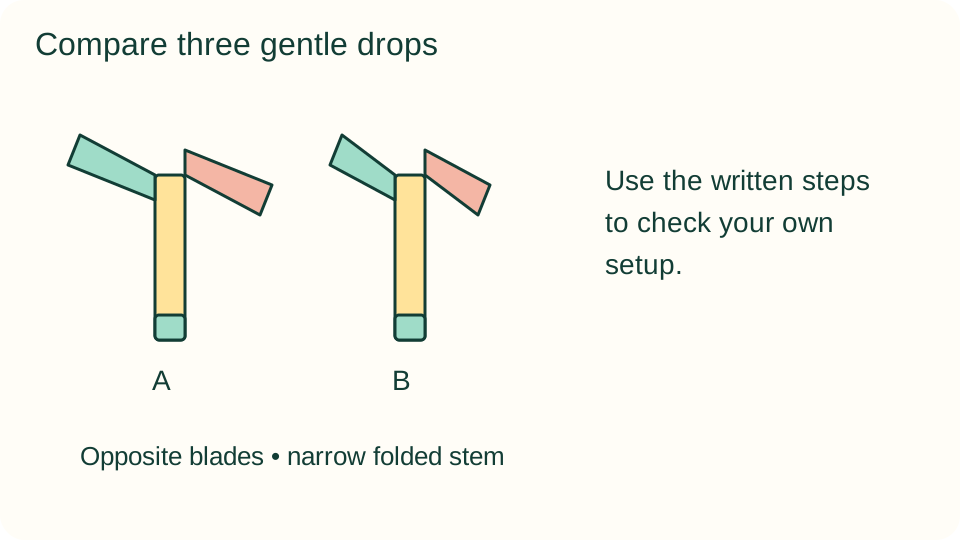
Prepare rectangle B with the same 8 cm boundary and stem folds. After forming the blades, trim 2 cm from the free end of each blade. Everything else stays the same. Save the offcuts away from the drop area rather than adding them as weights.
5. Release without throwing
Hold the bottom of the stem with the blades above it. Release gently from a comfortable chest-height position, without flicking or pushing. Use the same person and approximate release height for A and B. Pick up each rotor only after it reaches the floor.
6. Repeat and describe
Drop each rotor three times. Record whether it spins, drifts, or folds during the fall. Compare what happened across the trials rather than claiming an exact fall time from a short drop. Adjust one damaged fold and repeat if the rotor fails to open.
What children can explore
Moving air acts on the paper as it falls, and blade shape influences the motion. Two versions may behave differently, but folds, release angle, and room air also matter. Ask whether the pattern repeats. An inconsistent result is a reason to inspect the setup, not a reason to invent a tidier answer.
Make it work for your group
An adult can cut both outlines for children who want to focus on folding and dropping. Offer larger paper for easier handling, scaling every measurement equally. Older children can investigate another single change, such as stem width, after completing the original comparison.
At home and in the classroom
Use one release position and rotate the releaser and observer. A seated participant can release from a comfortable position; compare their trials with one another rather than with a taller child's drops. Keep a separate storage tray for labeled rotors and recording sheets.
Save your discoveries
Copy a simple record onto paper: what you changed, what stayed the same, and what happened. Drawings, pointing to a sketch, or notes dictated to an adult work as well as independent writing. Record the actual observations, including trials that did not go as expected.
Helpful fixes and cleanup
If the rotor drops flat, check that its blades face opposite directions and its stem is folded narrowly. If a blade tears, replace that rotor instead of concealing a major repair in the comparison. Sweep paper offcuts, store scissors, and keep usable rotors flat in a folder.