Arts & Crafts
Paper Strip Curl Art: Make Loose Loops and Arches on a Flat Base
 Facebook
 Pinterest
 X
X LinkedIn
 Reddit
 WhatsApp
 Telegram
 Bluesky
 Email
Email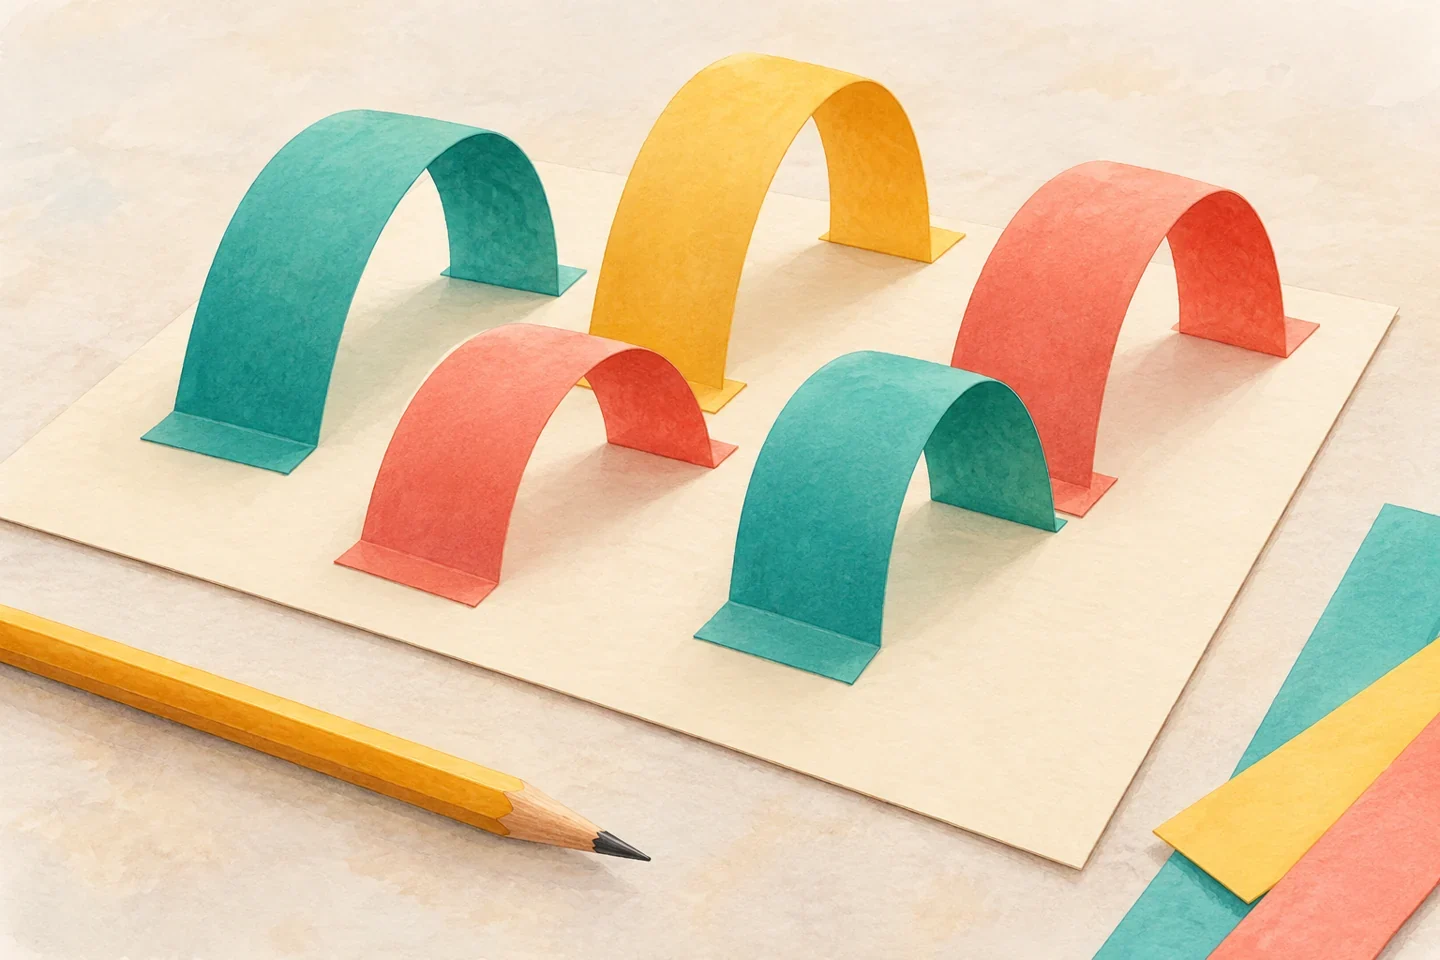
Wide paper strips can rise from a flat background in loose loops and arches. This project uses broad pieces rather than tight quilling coils or tiny tools. Children curve each strip around a plain pencil, relax it into a chosen shape, and attach its flat ends to cardstock. The result is a low paper relief that can be viewed from the front and side without needing a freestanding tower.
At a glance
| Suggested ages | 5–10 |
|---|---|
| Activity time | 30–45 minutes |
| Adult setup | 10 minutes |
| Participation | Individual or small group; watching, pointing, and partner assistance are welcome |
What you need
- One A4 or letter-size cardstock base
- Five to eight paper strips, each about 2 × 18 cm, prepared by an adult if needed
- One plain pencil used as a rolling form, not a cutting tool
- Glue stick or short tape pieces and optional crayons
- Child-appropriate scissors used with adult supervision for any strip trimming
Get ready
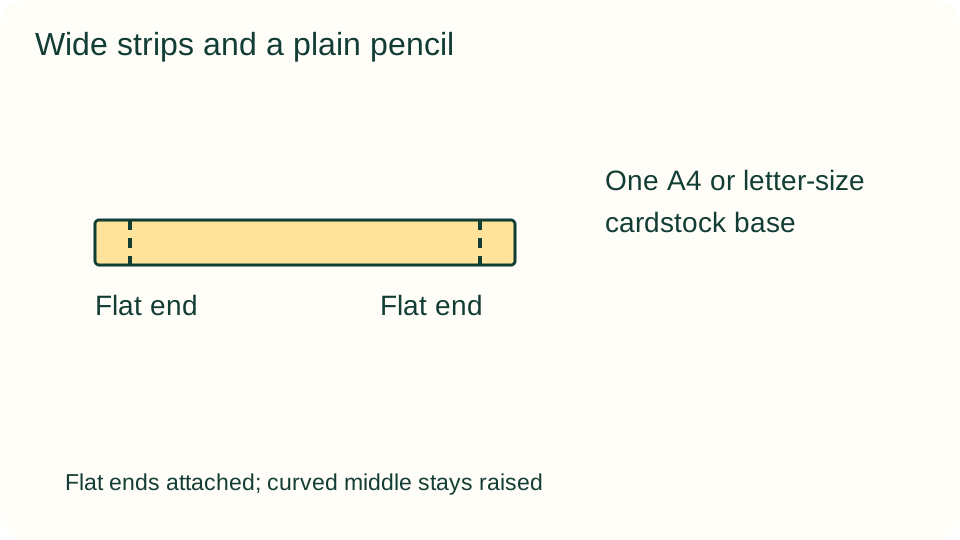
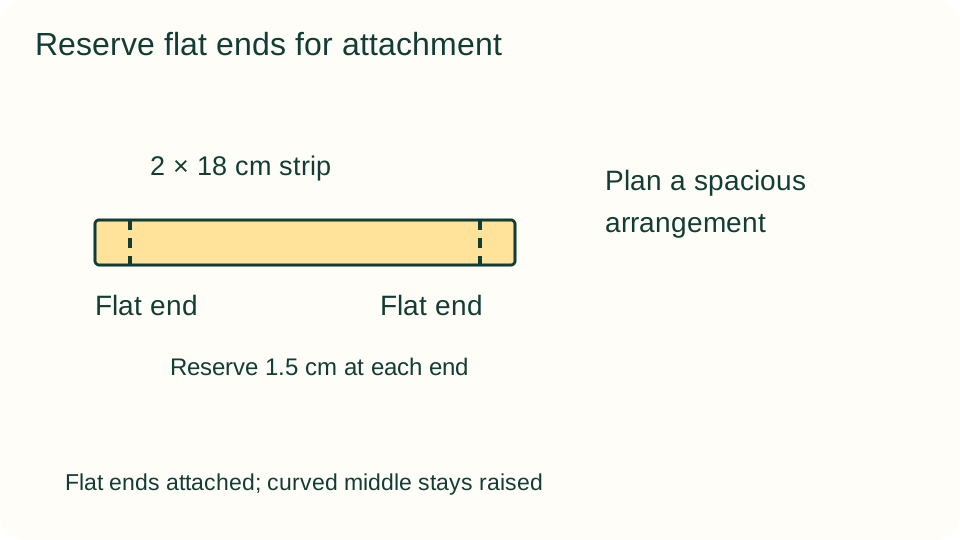
An adult cuts wide strips with smooth edges and chooses paper that curves without cracking. Clear a flat workspace and reserve about 1.5 cm at each strip end for attachment. Do not curl paper against a scissor blade, add wires, or make narrow coils. Prepare a drying area where raised shapes will not be crushed by other work.
Try the activity
1. Plan a spacious arrangement
Place several straight strips on the cardstock and choose their colors and rough positions. Leave open background around them. The arrangement can be abstract or suggest a garden, waves, or a creature, but a recognizable picture is optional. Begin with fewer strips rather than cover the entire base at once.
2. Mark the flat attachment ends
On one strip, mark about 1.5 cm from each end with light pencil lines. These end areas stay relatively flat so they can meet the base. Explain that the curved middle rises above the card while the ends hold it down. Use an adult-prepared example if the distinction is easier to see than describe.
3. Curve the middle gently
Roll the middle section around the plain pencil without wrapping the reserved ends tightly. Slide the pencil out and loosen the paper into a broad curve. Do not pull the strip against a sharp edge. If the paper cracks or becomes too tightly curled, replace it or gently open the curve.
4. Test a loop or low arch
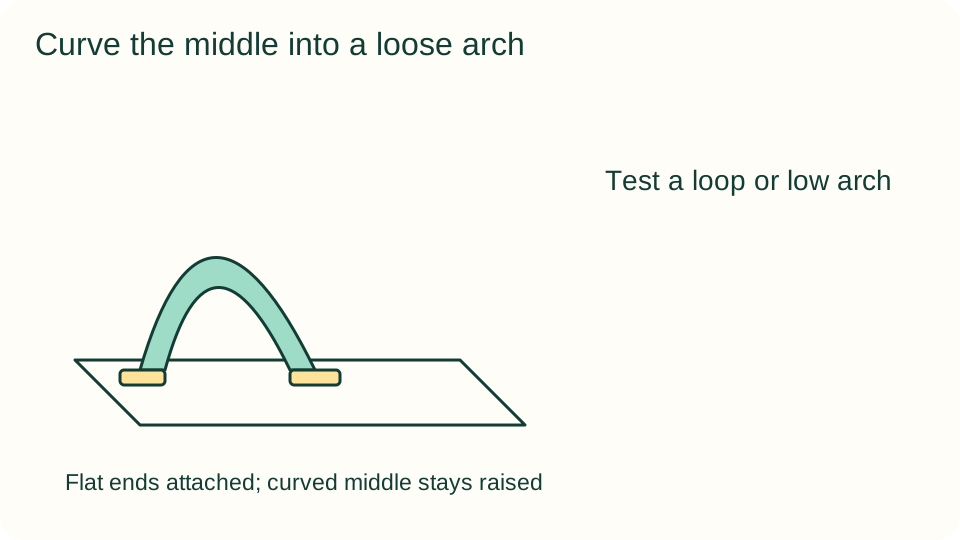
Rest the flat ends on the base and lift the middle into a loose loop or shallow arch. Adjust the spacing between the ends until the shape sits comfortably. Keep the rise modest, about a few centimeters, so it is easy to store. Try the position without glue before preparing every strip.
5. Attach only the flat ends
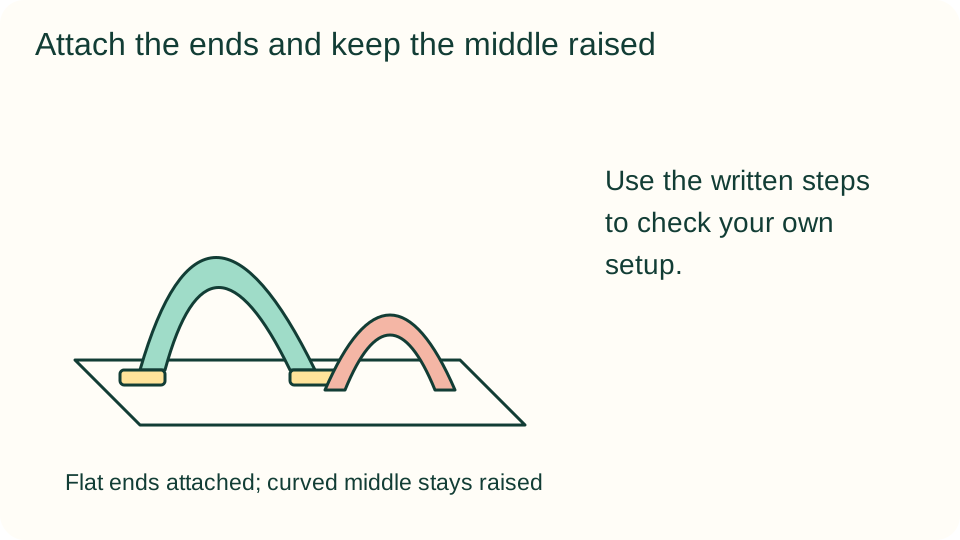
Glue or tape one flat end, then secure the other while preserving the chosen curve. Hold gently as needed without flattening the middle. Add another strip with room around it and repeat. Do not glue the entire underside down; the raised section is what makes the artwork a relief.
6. Look from two viewpoints
After the attachments settle, view the work from above and from table height. Notice overlaps, shadows, and open spaces. Add drawn details on the base only if wanted and reachable without crushing the curves. Stop when the maker is satisfied rather than filling every remaining gap with another strip.
What children can explore
Compare the paper before and after curving and explain which parts touch the base. The flat background and raised strips create different views from the front and side. Ask how changing the end spacing affects an arch's shape. Treat each curve as a design choice rather than requiring identical loops.
Make it work for your group
Provide adult-curved strips and let younger children choose placement. Older participants can combine several broad arches with an intentional repeated color order or sketch a side view. A participant can direct a partner's attachment work. Flat strip collage is an equally valid alternative if raised paper or rolling motions are uncomfortable.
At home and in the classroom
At home, test one strip before cutting a full set. In a classroom, prepare broad strips in advance and use a demonstration base that everyone can see from the side. Give each maker a clear drying space. Avoid stacking finished work or encouraging high structures that the chosen paper and adhesive cannot support.
Keep your creative choices
Save a sketch, a small test, or a short dictated note about one choice the maker wants to remember. A later version can use different colors, shapes, or decoration without matching the example. Let the maker decide whether to continue, share the work, or keep it private.
Helpful fixes and cleanup
If an arch collapses, reduce its height, widen the flat attachment area, or choose firmer paper on the next strip. If glue loosens, allow more drying time instead of adding heavy decorations. Gather scraps, close adhesives, and store the artwork flat with clear space above it. Transport it in a shallow box without pressure on the raised loops.