STEM & Discovery
Build a Paper Tower: A Freestanding Engineering Challenge
 Facebook
 Pinterest
 X
X LinkedIn
 Reddit
 WhatsApp
 Telegram
 Bluesky
 Email
Email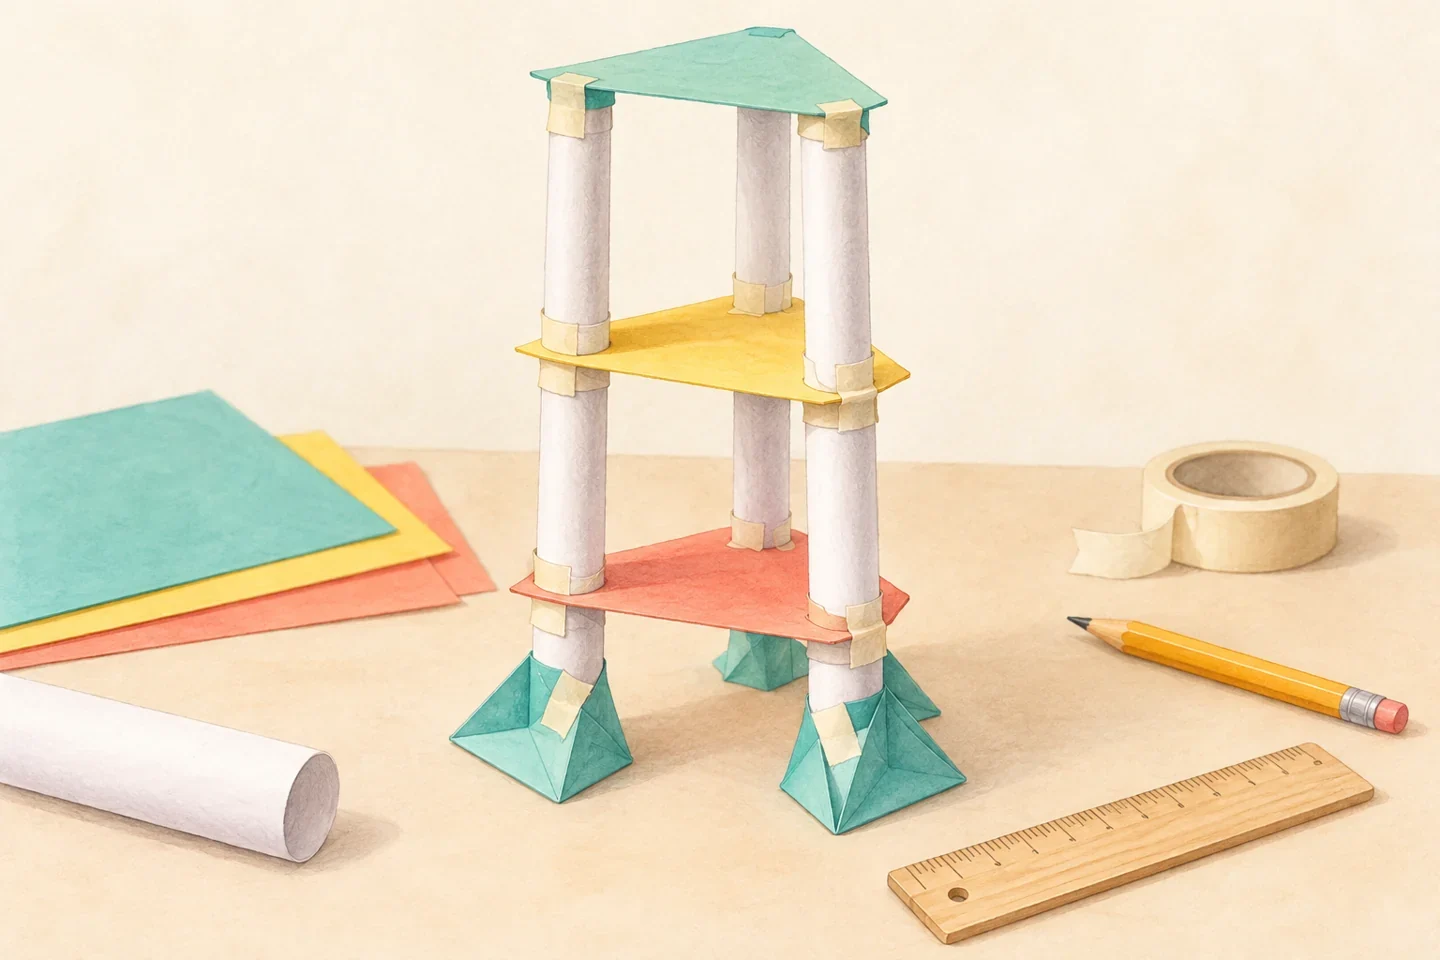
A tall tower is useful only if it can stand without someone holding it. Children use a small paper allowance to make columns, feet, and connections, then decide what to change when their first tower leans. Start with a modest structure. A shorter stable design provides more to investigate than a tall structure that falls before anyone can examine it.
At a glance
| Suggested ages | 5–10 |
|---|---|
| Activity time | 25–40 minutes |
| Adult setup | 5–10 minutes |
| Participation | Individual or small group; watching, pointing, and partner assistance are welcome |
What you need
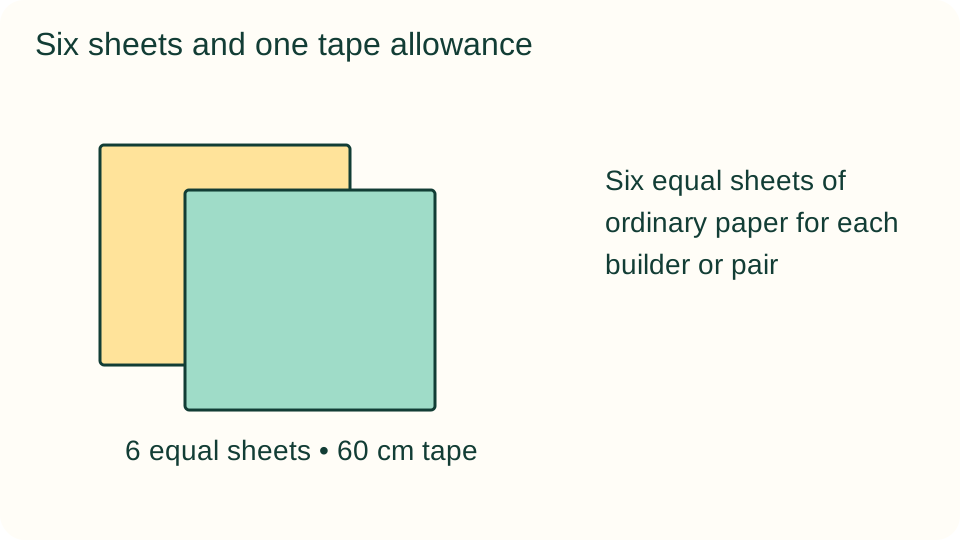
- Six equal sheets of ordinary paper for each builder or pair
- About 60 cm of masking tape, divided into short manageable pieces
- Ruler, pencil, flat table, and a spare sheet for a sketch
Get ready
Set out the same allowance for every pair. No heavy loads are needed. Clear space around the tower and work at a reachable table. Explain that the tower may touch the tabletop but cannot be taped to it or supported by a wall.
Try the activity
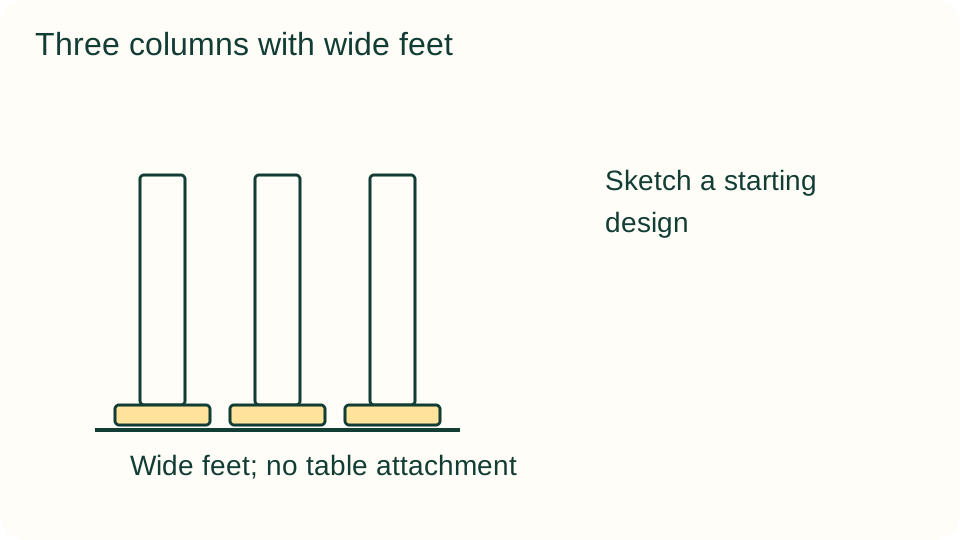
1. Sketch a starting design
Draw a quick side view and circle the part that will touch the table. Choose two or three columns rather than planning many floors immediately. Talk about where the paper will go, including connections and feet, before using the allowance.
2. Roll the columns
Roll three sheets into similar tubes along their long edges. Tape each seam with two short pieces. Press the bottom ends against the table to check they are reasonably level. A loose tube can be rerolled; a crushed end is harder to stand upright.
3. Make wide feet
Fold a fourth sheet into thirds, reopen, and separate it into three strips by careful tearing or adult-assisted cutting. Fold each strip into an L-shaped foot. Tape the upright part to a column and keep the horizontal part resting freely on the table.
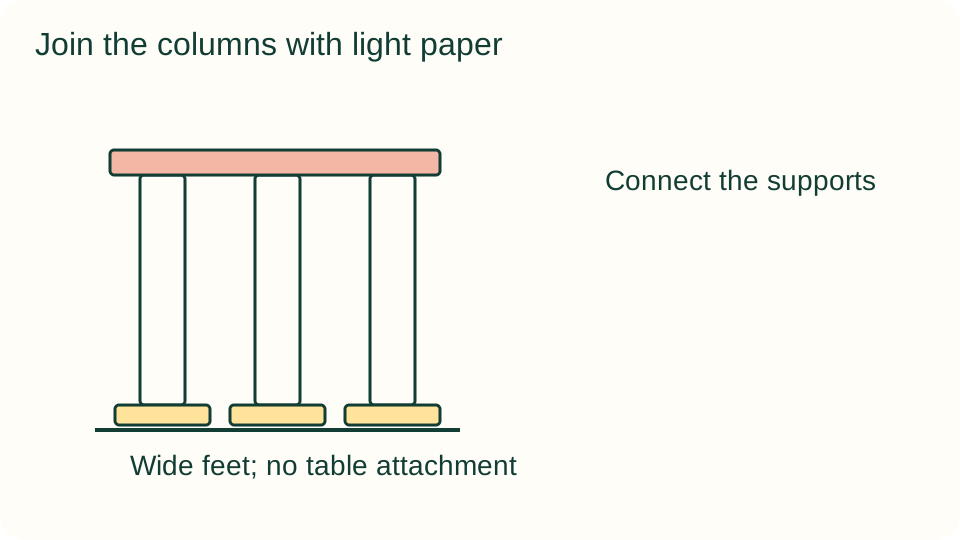
4. Connect the supports
Arrange the columns in a triangle and use a fifth sheet as a light top platform. Fold its corners around the column tops and secure them with small tape tabs. Place the sixth sheet between the feet as a loose floor if needed; do not tape it to the table.
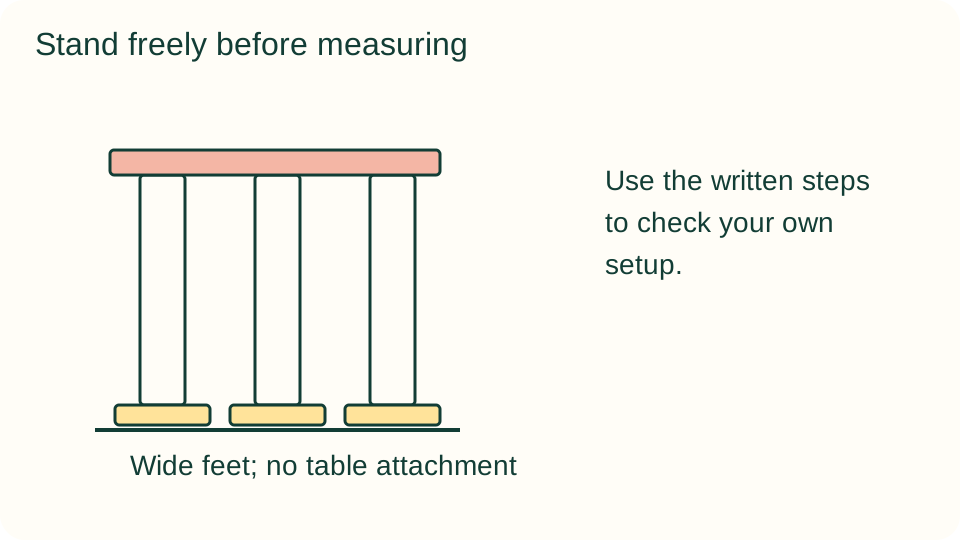
5. Check independent standing
Release the structure gently and step back. Count ten slow seconds without touching it. Measure from the table to the highest paper point only after it stands. Record the height and draw the base shape; a collapsed tower still deserves a useful sketch.
6. Revise one feature
Try moving the columns farther apart, widening a foot, or shortening a leaning column. Select one change and repeat the ten-second check. If adding a second level, keep it lightweight and reuse paper rather than silently increasing the agreed allowance.
What children can explore
The base, joints, column shape, and distribution of paper influence stability. This is an engineering problem with several workable solutions, not proof that one shape always wins. Ask where the leaning begins and which connection moves first. A close observation often suggests a smaller, more effective repair.
Make it work for your group
Offer pre-rolled tubes and a single-level goal for beginners. Older builders can compare two base arrangements while using the same columns. A group that finds tape frustrating can have an adult prepare folded tabs; the children still choose the layout and explain the changes.
At home and in the classroom
Give partners clear roles: one holds a loose connection while the other attaches tape, then they exchange jobs. Keep a shared measuring station away from busy walkways. At home, take a sketch or photograph before storing the tower so another attempt can begin with the previous design.
Save your discoveries
Copy a simple record onto paper: what you changed, what stayed the same, and what happened. Drawings, pointing to a sketch, or notes dictated to an adult work as well as independent writing. Record the actual observations, including trials that did not go as expected.
Helpful fixes and cleanup
If the tower tips, check level bottoms before adding more tape. If columns buckle, shorten them or reroll the damaged section. Peel tape where practical, reuse uncrumpled sheets, and recycle paper according to local guidance. Do not leave tall structures near a table edge.