Hanukkah
Build a Cardboard Dreidel Display Model
 Facebook
 Pinterest
 X
X LinkedIn
 Reddit
 WhatsApp
 Telegram
 Bluesky
 Email
Email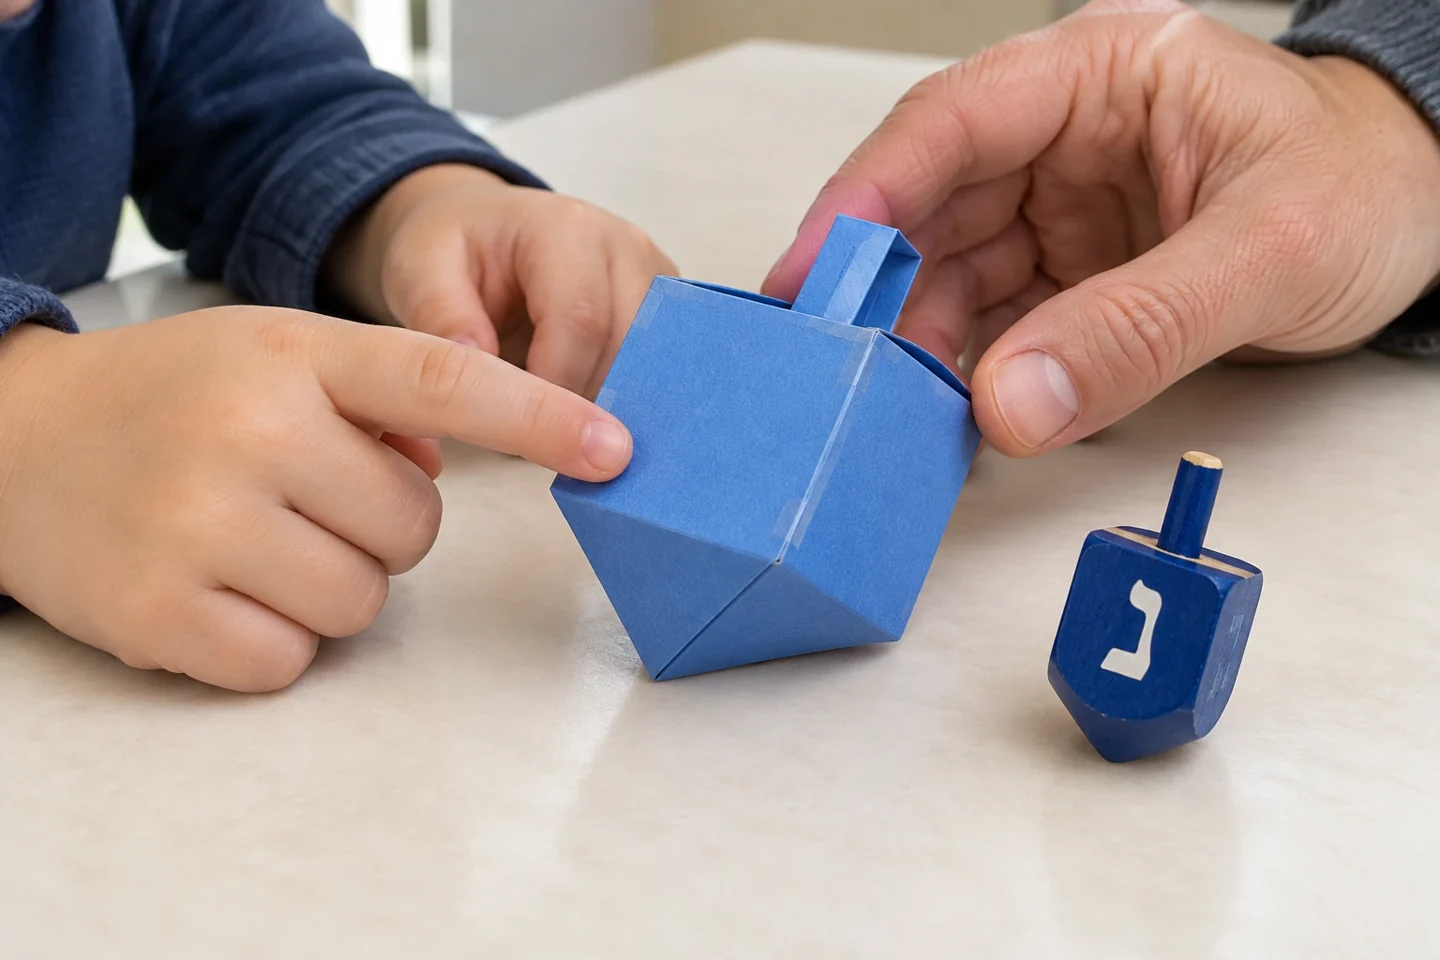
Your activity at a glance
| Suggested ages | 7–11 |
|---|---|
| Activity time | 45–60 minutes |
What you need
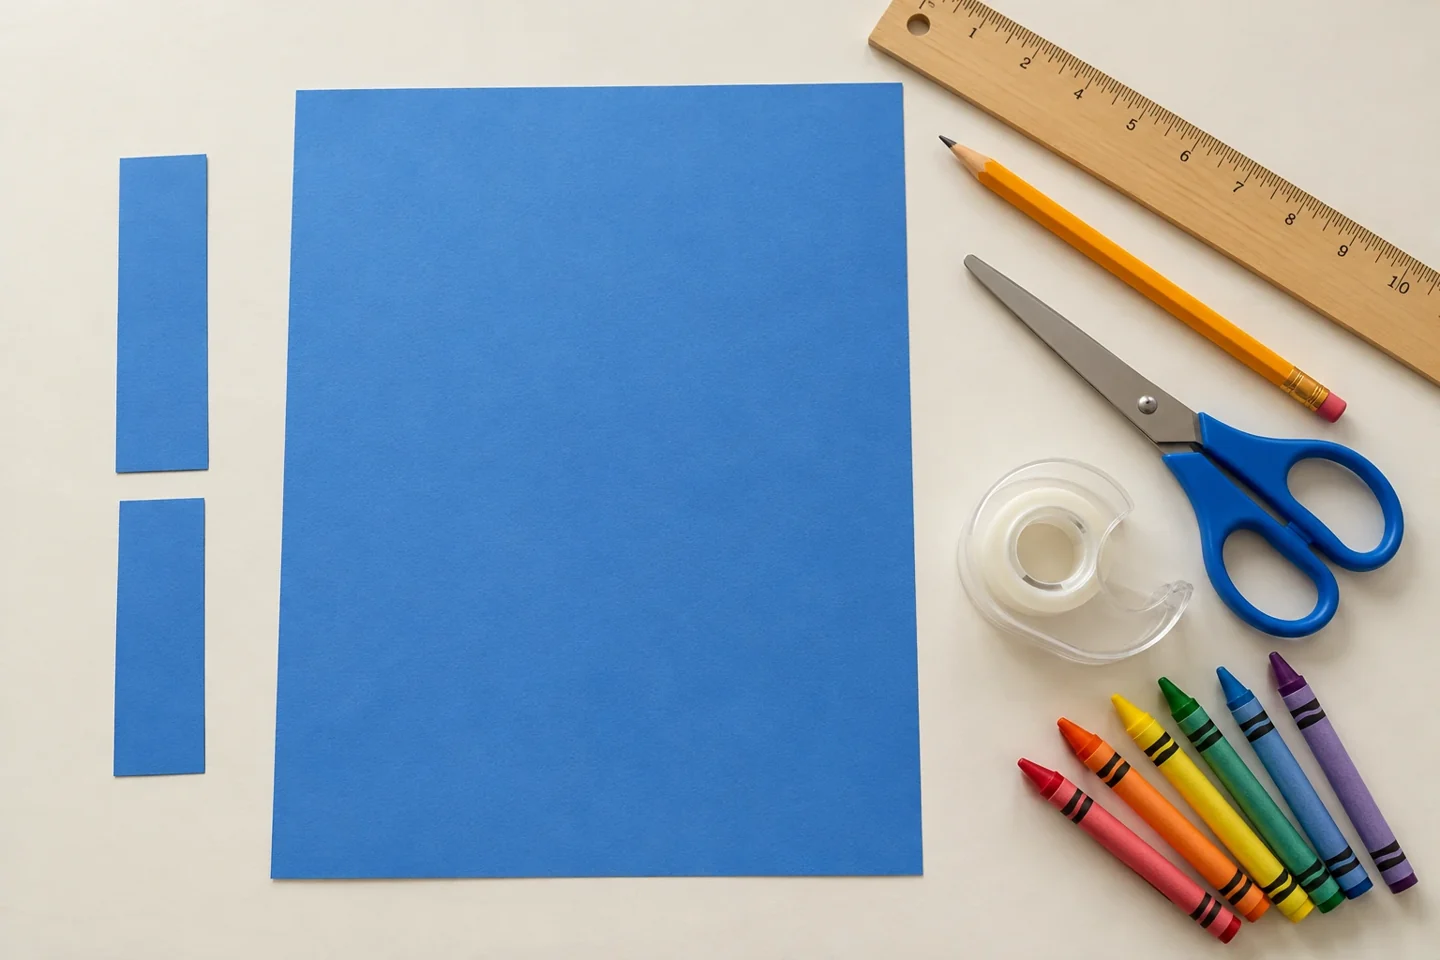
- Lightweight cardboard or firm cardstock approximately 8 × 10 inches
- Ruler, pencil, scissors, and tape
- 2 cardstock strips: one ½ × 3 inches for the folded handle and one ½ × 2½ inches for the top bridge
- Crayons or markers
- Adult-verified letter reference for nun, gimel, hey, and shin
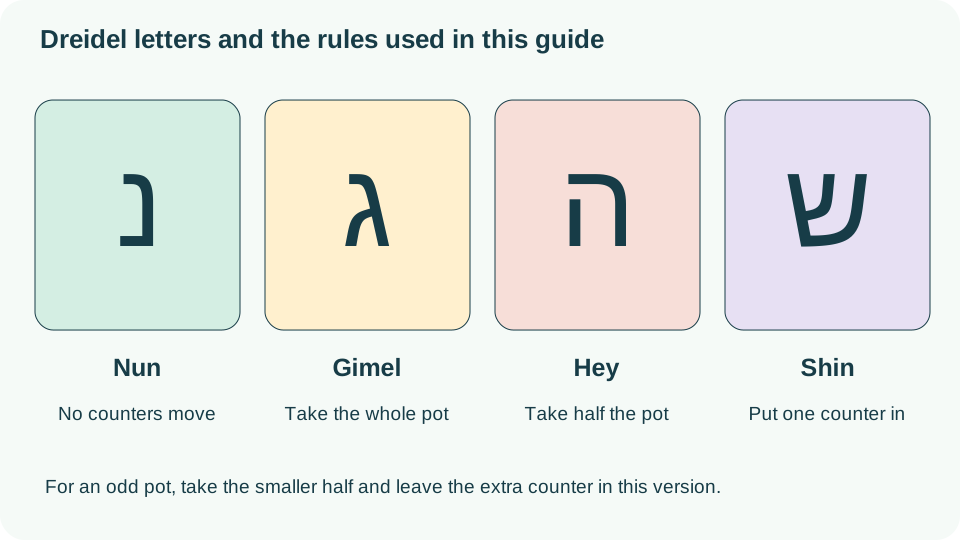
Fold four panels into a display model
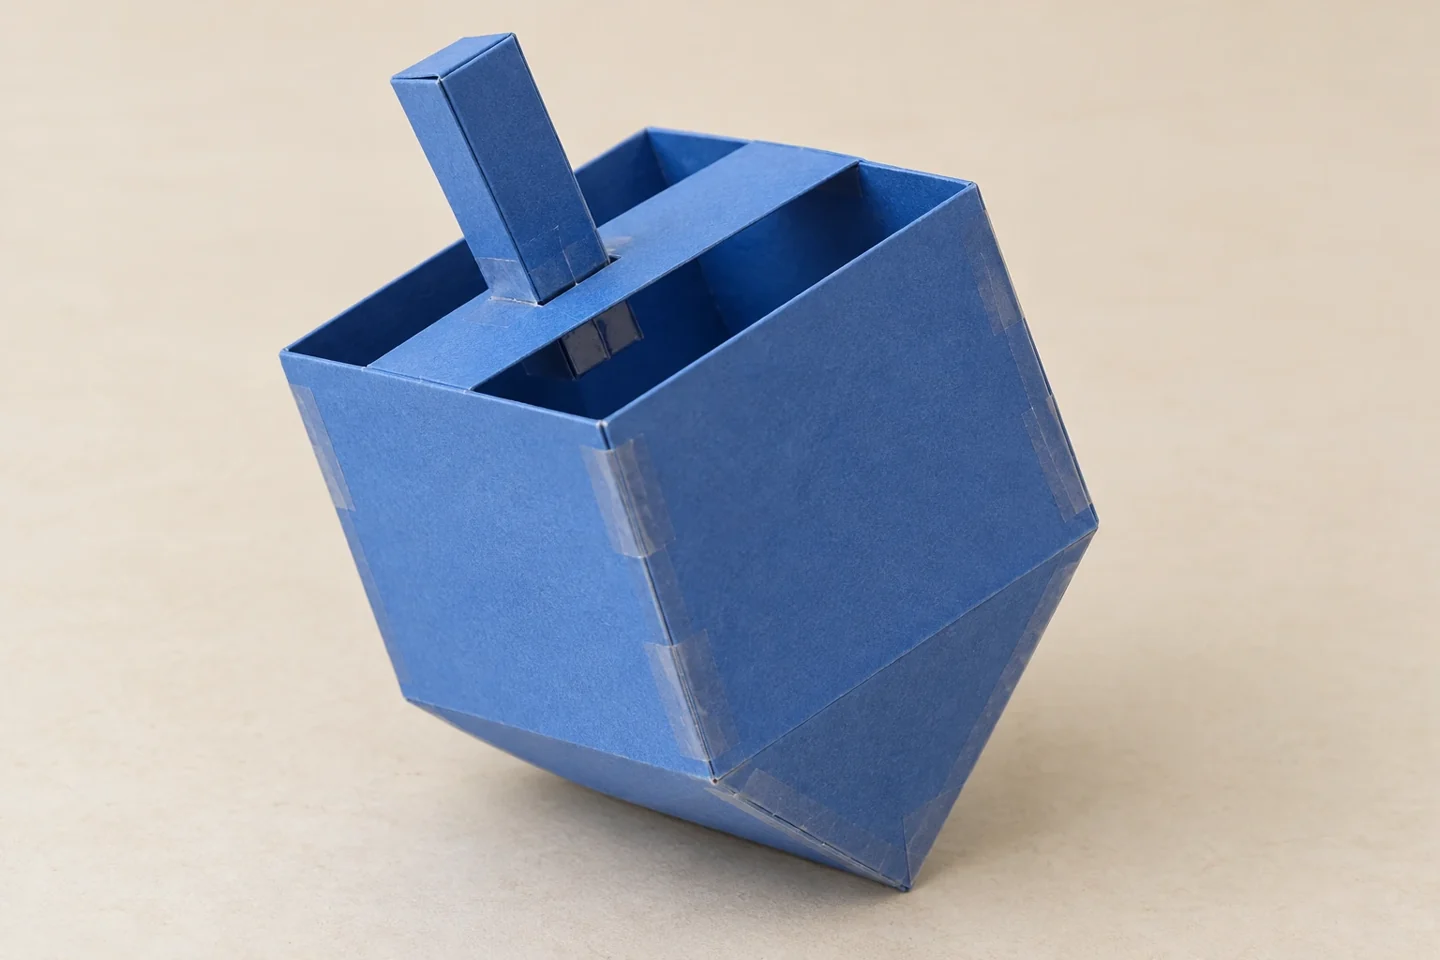
This folded cardboard dreidel is a display model rather than a working spinning top. Its square body, pointed base, and handle help children notice the form of a real dreidel while practicing measurement and assembly. Use a purchased dreidel for an actual game. Making the model offers a different kind of exploration: children can see how four flat panels become the sides of a three-dimensional object.
Before you begin
This project is easiest with cardstock that bends readily. Before inviting children over, set out a ruler and make one practice crease in a scrap. Keep a real dreidel or checked photograph nearby for comparing the shape. Draw the net on a fresh sheet; the connected panels must remain joined as one piece.
Let’s make it, step by step
1. Study a real example
Look at a dreidel or an accurate photograph. Identify its four broad sides, top handle, and pointed bottom. Explain that our cardboard version is for display. Prepare verified references for nun, gimel, hey, and shin; do not invent marks that merely resemble Hebrew letters.
2. Draw four connected panels
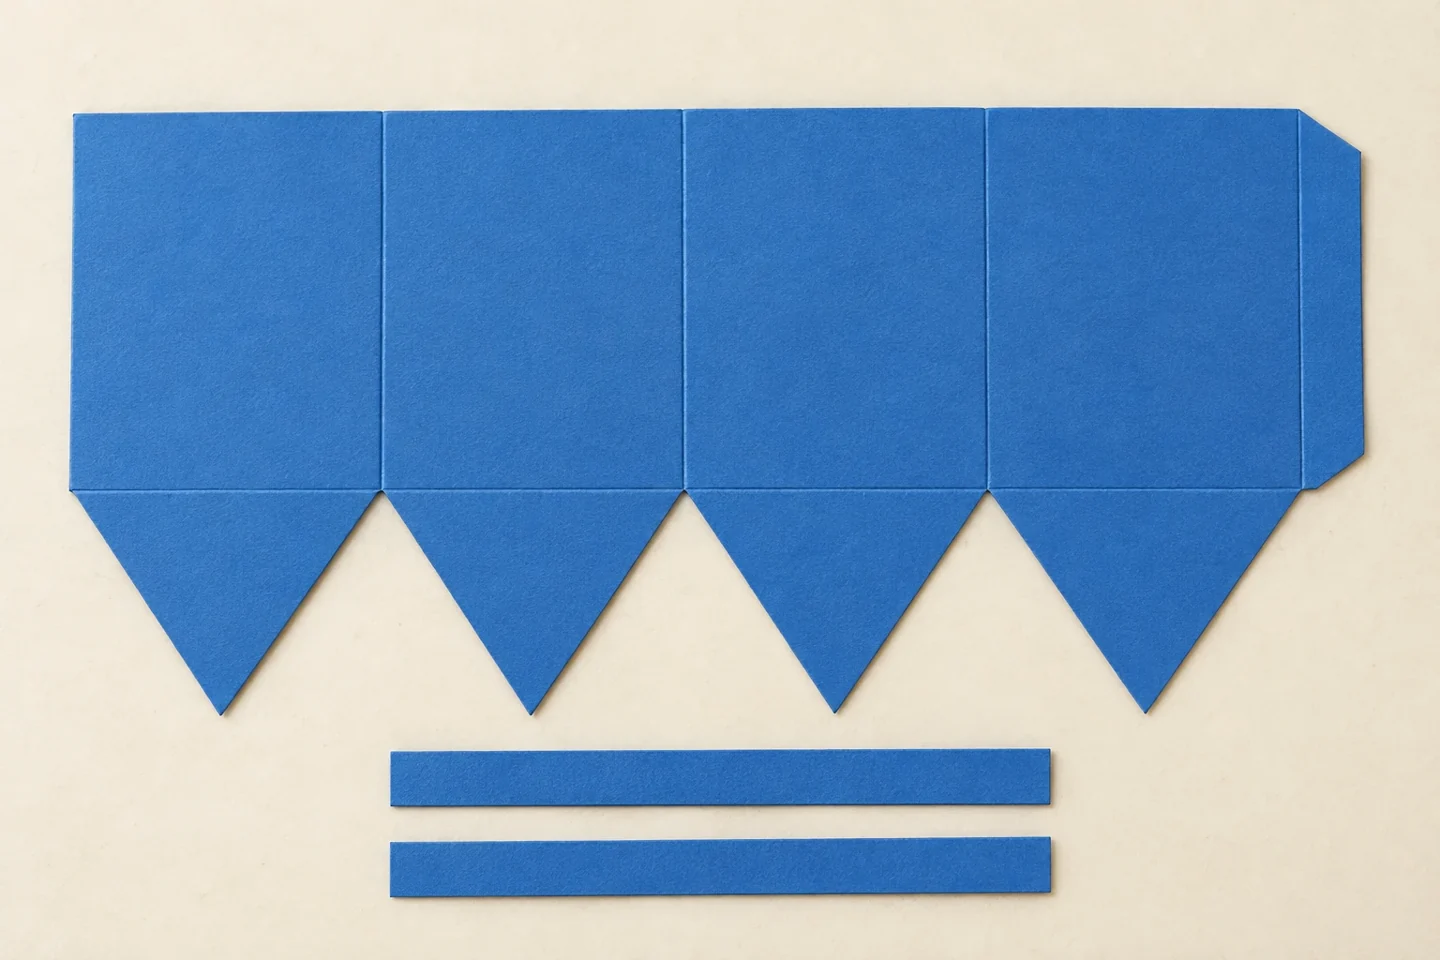
On cardstock, draw a row of four rectangles, each 1½ inches wide and 2 inches high. Add a ½-inch joining tab at one end. Lightly mark the three boundaries between rectangles; these lines will become folds rather than cuts.
3. Add the pointed lower pieces
Below each rectangle, draw a triangle with the rectangle’s full 1½-inch width as its base and a point 1½ inches below. Add narrow tape space or small glue tabs along alternate triangle edges. The four triangles will meet to suggest the lower point.
4. Cut and crease
Cut around the outside of the whole net, keeping panels connected. Fold gently along each panel boundary and along the triangles’ top edges. An adult can help make neat creases with a ruler edge; no sharp scoring blade is needed for lightweight cardstock.
5. Make the square body
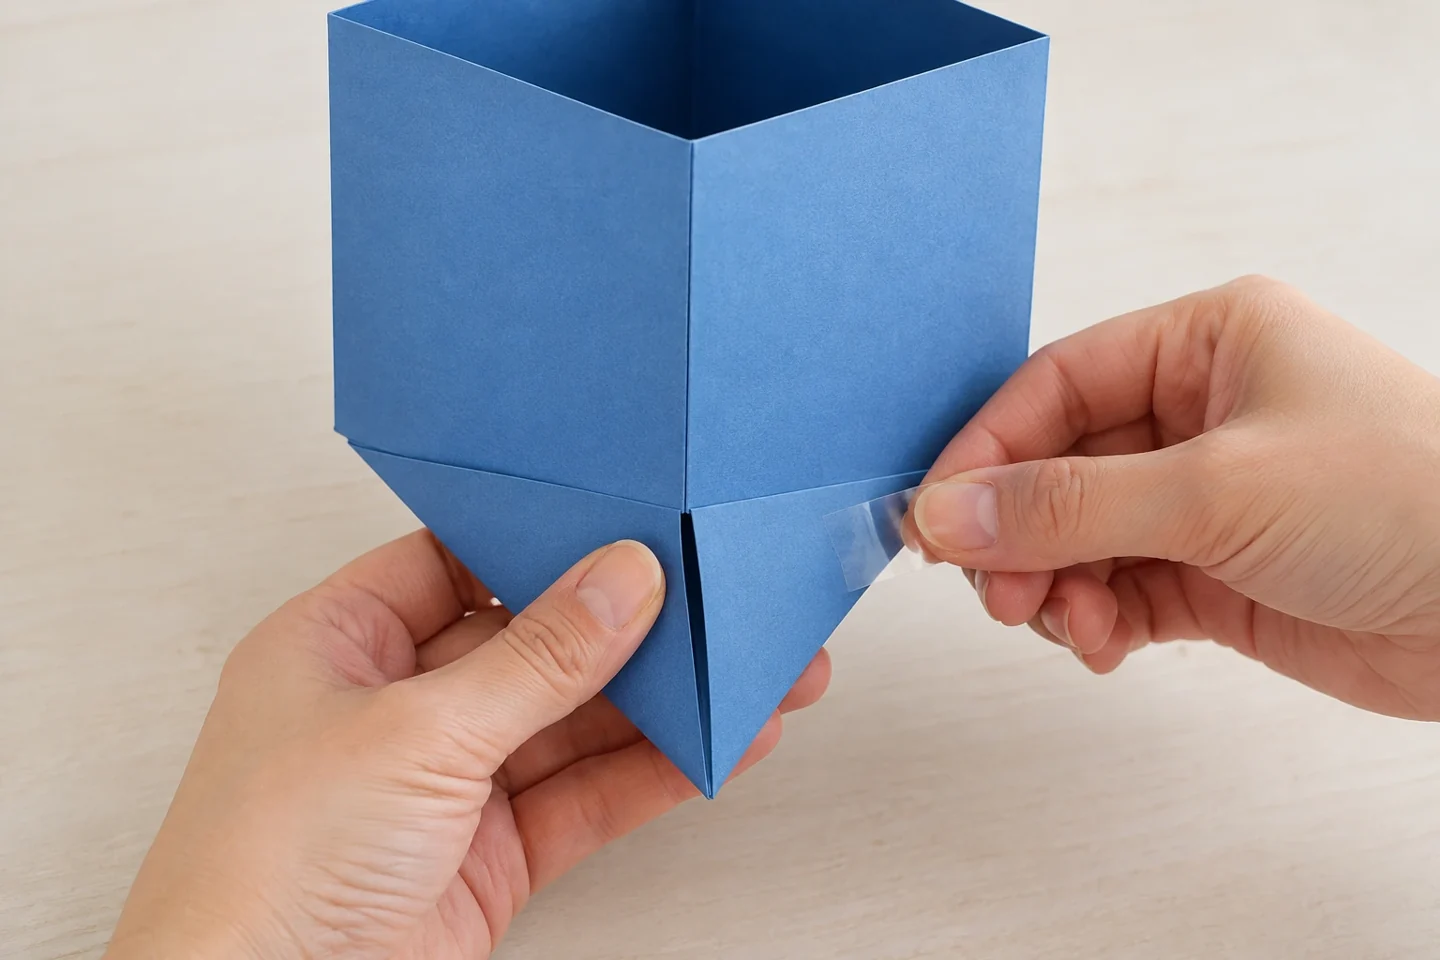
Curve the panel row into a square tube and tape the joining tab inside the first panel. Check the four corners from above. Keep the tube open at the top so fingers can reach inside while attaching the bottom triangles.
6. Close the pointed base
Fold the four bottom triangles inward until their points meet. Tape adjacent edges from the outside, then reinforce inside where reachable. Small gaps are acceptable in a display model. Do not add a sharp stick or claim this base will spin like a real dreidel.
7. Add the handle and lettering
Fold the ½ × 3-inch strip lengthwise into a narrow firm handle. Cut a small central slit in the ½ × 2½-inch bridge with adult help, pass the handle through and tape its lower end securely under the bridge. Tape the bridge ends over opposite upper rims of the square body. Copy one checked dreidel letter per face, or leave the model unlettered until an adult can help.
8. Compare model and dreidel
Place the display model beside a real dreidel and identify similarities and differences. Discuss why a cardboard seam or broad point might prevent smooth spinning. For a game, put the model aside and use the real top; the craft has served its construction purpose.
Talk, notice, and learn together
Ask how many panels became the square tube and which flat pieces formed the point. This is a concrete introduction to nets, faces, and folding a surface into a solid form. The verified letters connect the model with the actual object, while the display-only distinction keeps expectations realistic.
Make it work at home or in a classroom
Younger children can color an adult-assembled unlettered model while discussing its shape. Older children can draw a larger net with the same proportions. In a classroom, give each child a measured template and demonstrate the square tube before the pointed base; a diagram is more useful than expecting children to infer hidden folds from a photo.
Helpful fixes and cleanup
If the base does not close, reopen the tape and align one pair of triangles at a time. If cardboard is too stiff, switch to cardstock rather than forcing folds. Save the measured net drawing for another session. Display the model upright on its flat side or in a small support, not balanced on its point.
A useful way to extend the activity
Save a second copy of the flat net before assembling. Once the model is finished, place that drawing beside it and ask which rectangle became each face. Children can color corresponding faces in the same colors. This makes the connection between a flat surface and a hollow solid visible without needing to pull apart their finished model.