STEM & Discovery
Build a Cardboard Animal Shelter: A STEM Challenge for Kids
 Facebook
 Pinterest
 X
X LinkedIn
 Reddit
 WhatsApp
 Telegram
 Bluesky
 Email
Email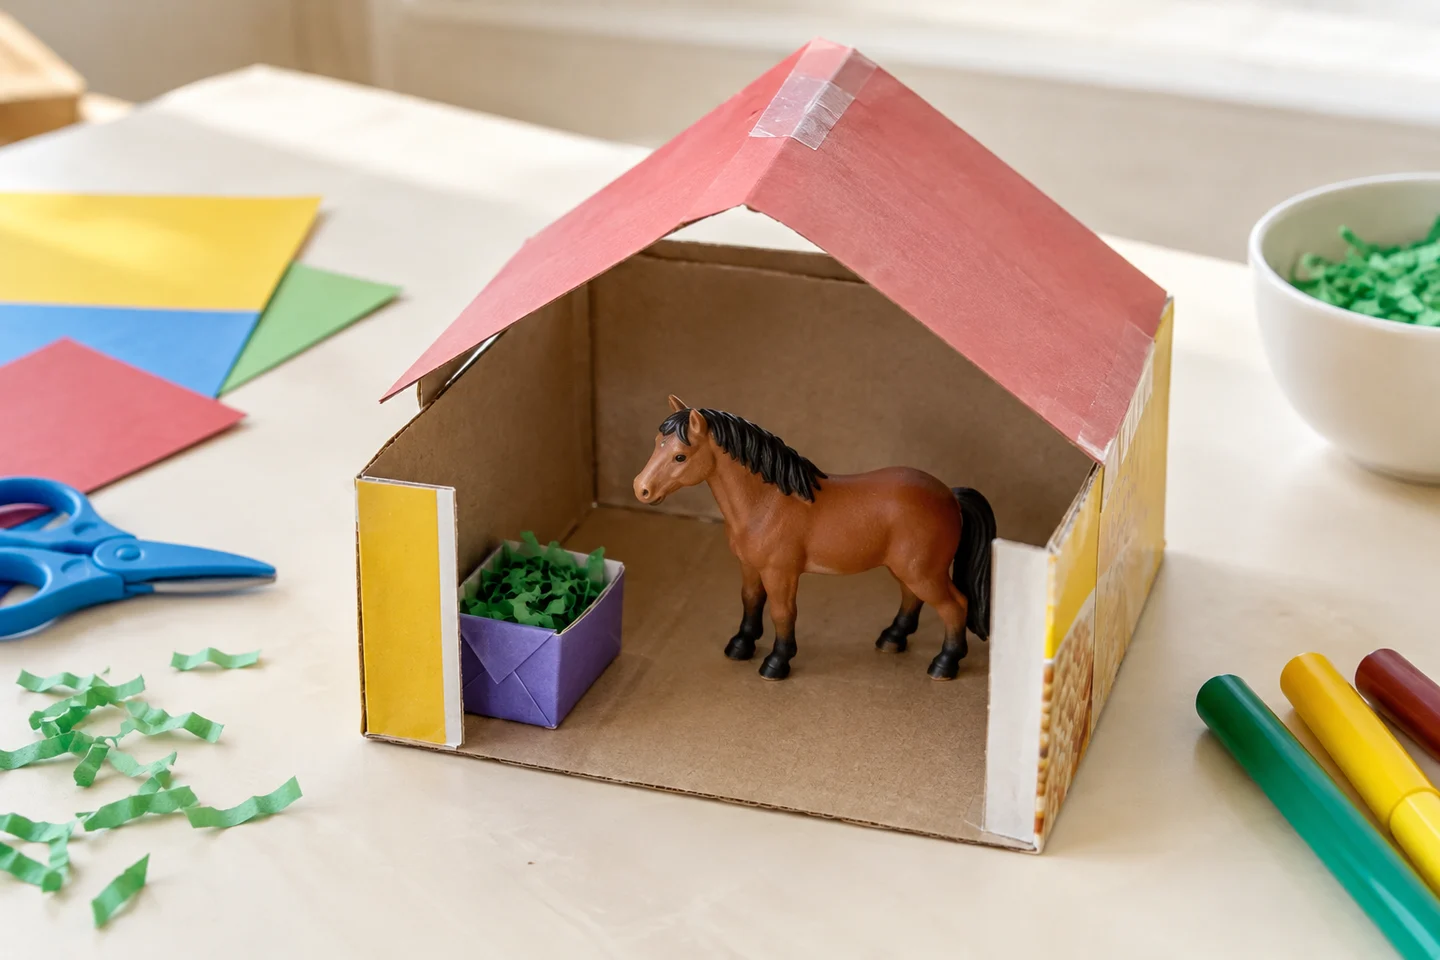
A toy animal needs a little home. Can your young builder make an entrance it can use, enough space inside, and a roof that stays up? This cardboard shelter challenge turns familiar packaging into a playful engineering project.
Children sketch, build, test, and improve their ideas. A simple open-sided shelter and an elaborate pretend house can both work: the fun is in making a design that fits the animal.
At a glance
| Detail | Plan |
|---|---|
| Suggested ages | 5–9, with adults preparing difficult cuts |
| Preparation | 10–15 minutes for one builder; about 25 minutes for a class |
| Activity time | 30–45 minutes |
| Group size | One child or teams of three |
| Mess level | Low to moderate |
What you need
- One toy animal about 2–4 inches tall, or a paper animal with a folded foot.
- A cardboard base about 10 × 12 inches.
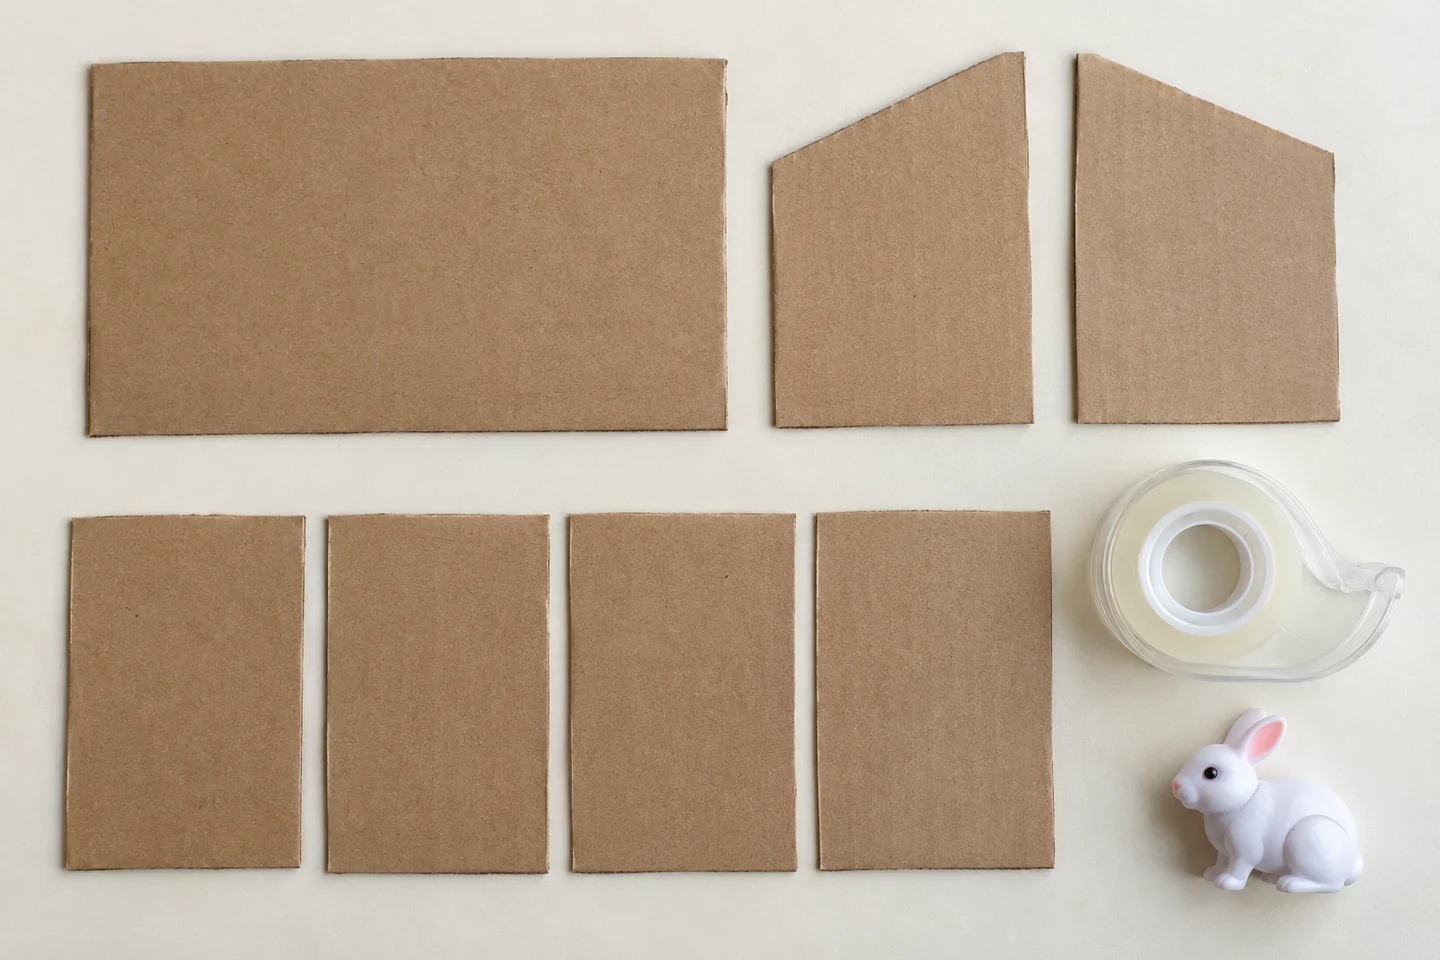
- Four lightweight wall pieces, one or two roof pieces, and extra scraps.
- Tape, planning paper, and a pencil.
- An optional ruler.
For 24 children in eight teams, gather eight animals, bases, tape supplies, and planning sheets, plus about 32 wall pieces and 8–16 roof pieces. Clean cereal-box card is easy to fold. Adults prepare thick cuts and remove staples before children begin.
Get ready
Set out the animal and materials. Explain the three goals: the animal fits inside, it can enter, and the roof stays in place when hands let go. Try folding a scrap into a tab and taping it down so children can see one useful joining method.
Build a little shelter
1. Meet your resident
Place the animal on the base and look at its size. Ask, “How tall will the doorway need to be?” Children can compare with their hands or a ruler. Leave a little extra room to move the animal in and out.
2. Sketch a plan
Draw where the walls, entrance, and roof could go. A few lines are enough. Invite the builder to point out how the animal will get inside before attaching anything.
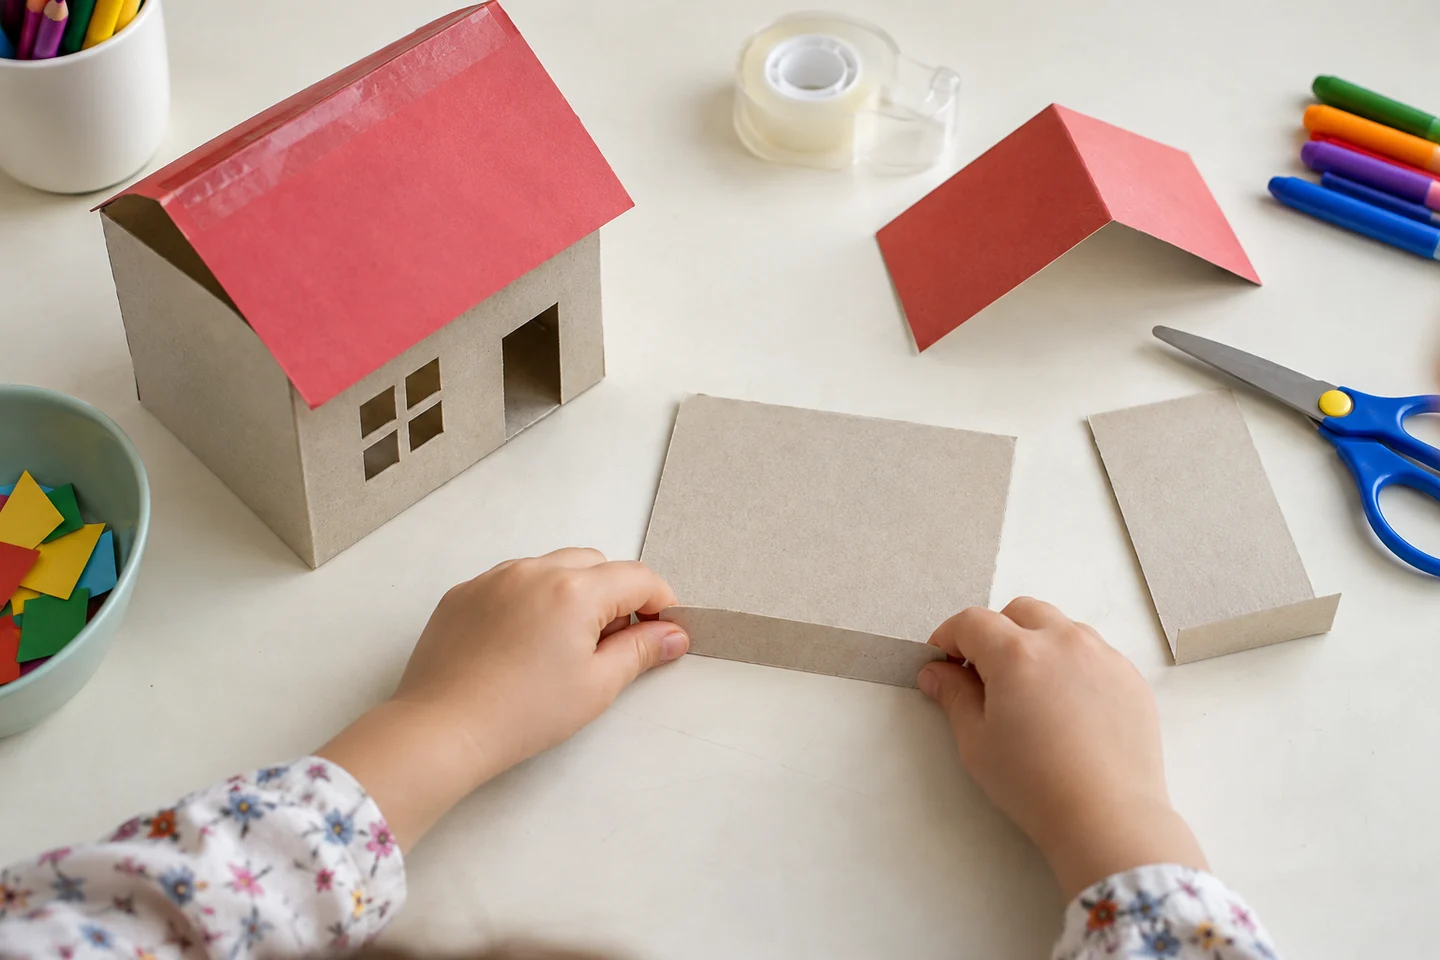
3. Stand up the walls
Fold a one-inch tab along the bottom of each thin-card wall. Rest the tab on the base and tape it down. Add tape at the corners where walls meet. A small open box is another easy starting point.
4. Leave an entrance
Keep a gap between walls or ask an adult to cut an opening. Move the animal through the gap now, while it is still easy to adjust the walls.
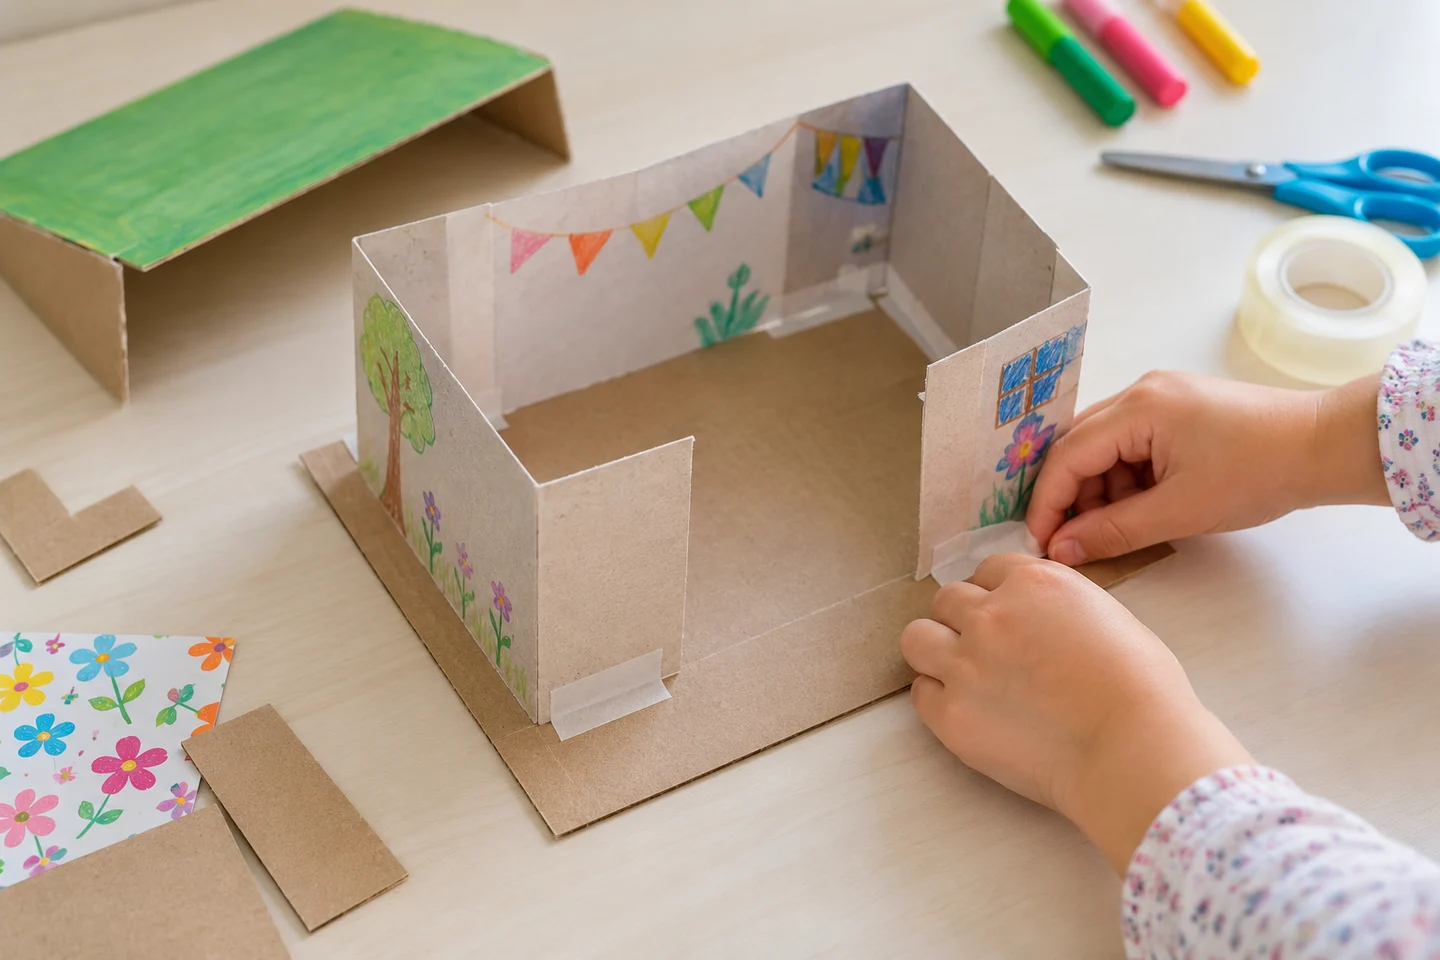
5. Add the roof
Try a flat piece slightly wider than the shelter. Tape one edge to a wall to make a lift-up roof. Check that it rests on the other walls rather than falling into the space inside.
6. Test and improve
Let go and try the three goals. If the roof slides, add a join; if the doorway is small, widen it. Test again after each change. Then add decorations or start a pretend animal-care story.
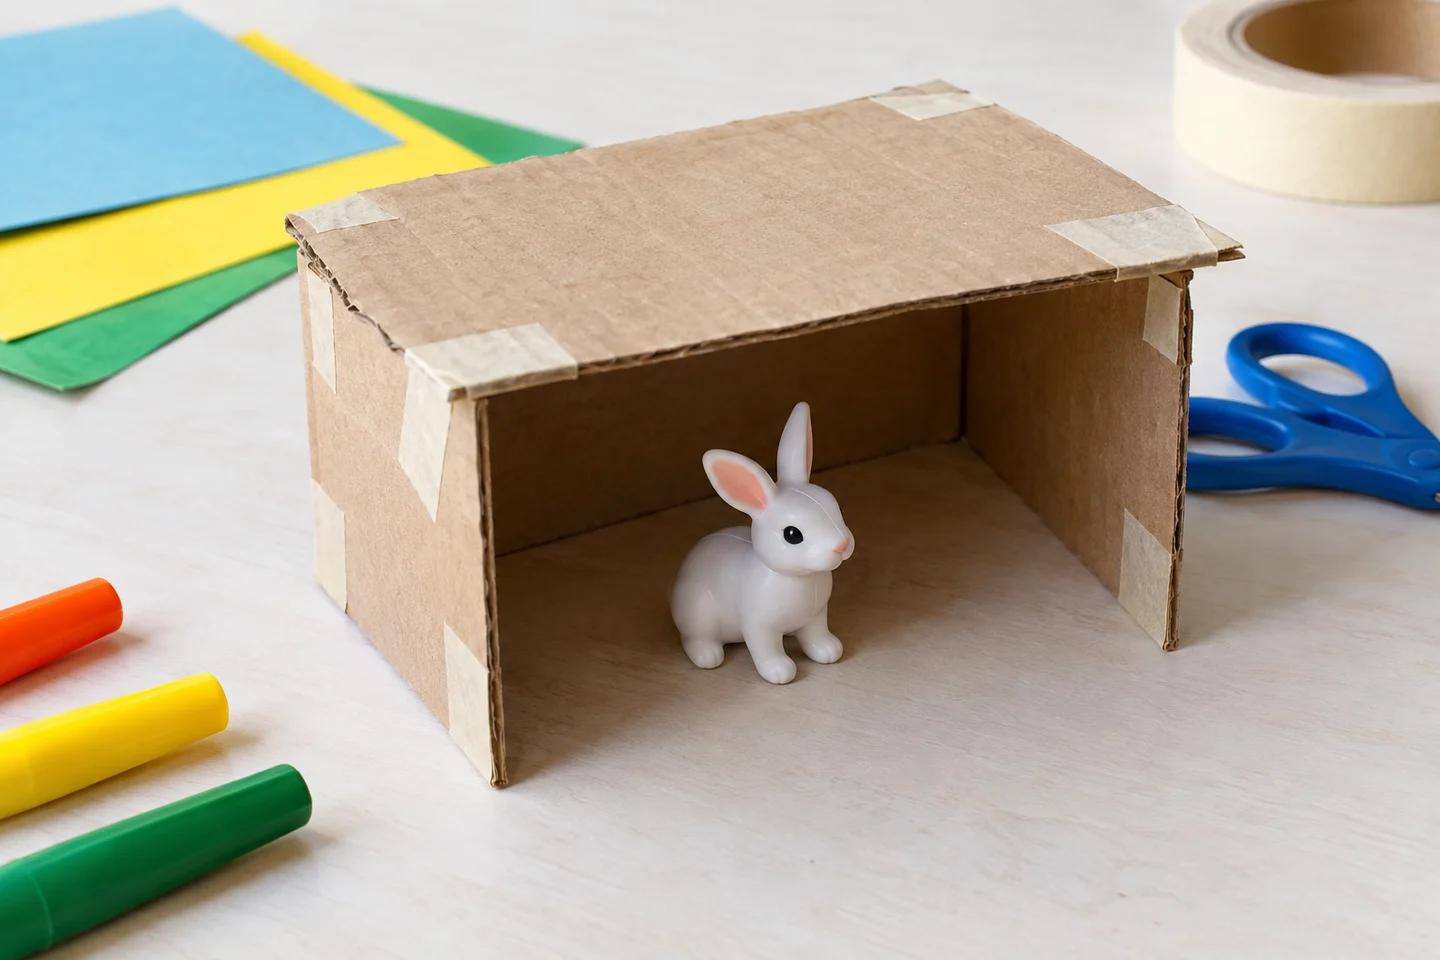
What children can explore
This project makes size, support, and planning visible. Ask, “Which part holds the roof?” or “What changed when you added that tab?” Sketching the first design and the improved version helps children describe how their idea developed.
At home and in the classroom
At home, start with packaging you already have and one favorite toy. In class, teams of three can take turns organizing materials, building, and testing. Give each child time with the tape and animal, and save unfinished shelters if the group wants to continue.
Make it work for your group
Prepare folded tabs for younger builders or offer an open box. A child can choose wall positions while a partner attaches them. Older children might design for two animals or add a removable roof; introduce one new goal at a time.
Helpful fixes and cleanup
- Leaning walls: try wider tabs or another corner join.
- Sliding roof: check wall heights and secure one roof edge with tape.
- Animal stuck outside: adjust the opening before decorating.
Collect scraps and store the shelter on a tray. Adults handle difficult cuts; use a paper animal when small toys are unsuitable for the children taking part.