STEM & Discovery
Build a Paper Chain: A Measuring and Engineering Challenge for Kids
 Facebook
 Pinterest
 X
X LinkedIn
 Reddit
 WhatsApp
 Telegram
 Bluesky
 Email
Email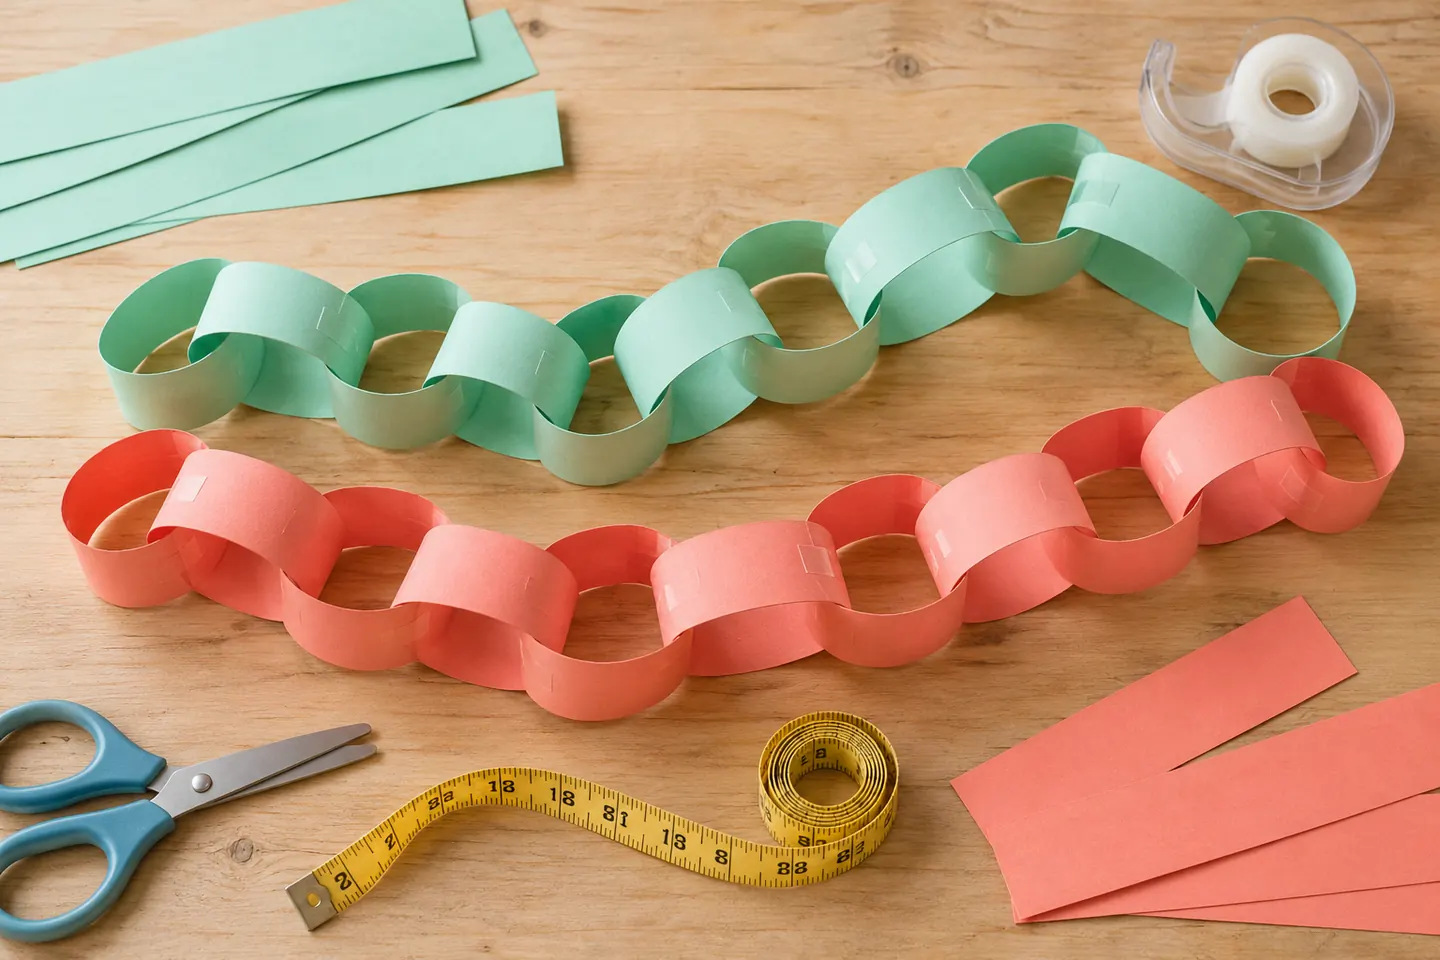
How long a chain can you make from one sheet of paper? This challenge invites children to cut strips, connect loops, measure their chain, and try a new design with the same paper allowance.
Longer is only one possible discovery. Some strips are easier to handle, some joins hold better, and a change that looks promising may need another try.
At a glance
- Suggested ages: 5–10; adults can cut strips for younger children.
- Preparation: About 10 minutes; activity time 25–40 minutes.
- Group size: One child, a pair, or small teams.
What you need
- Two same-size sheets per child or pair, one for each design.
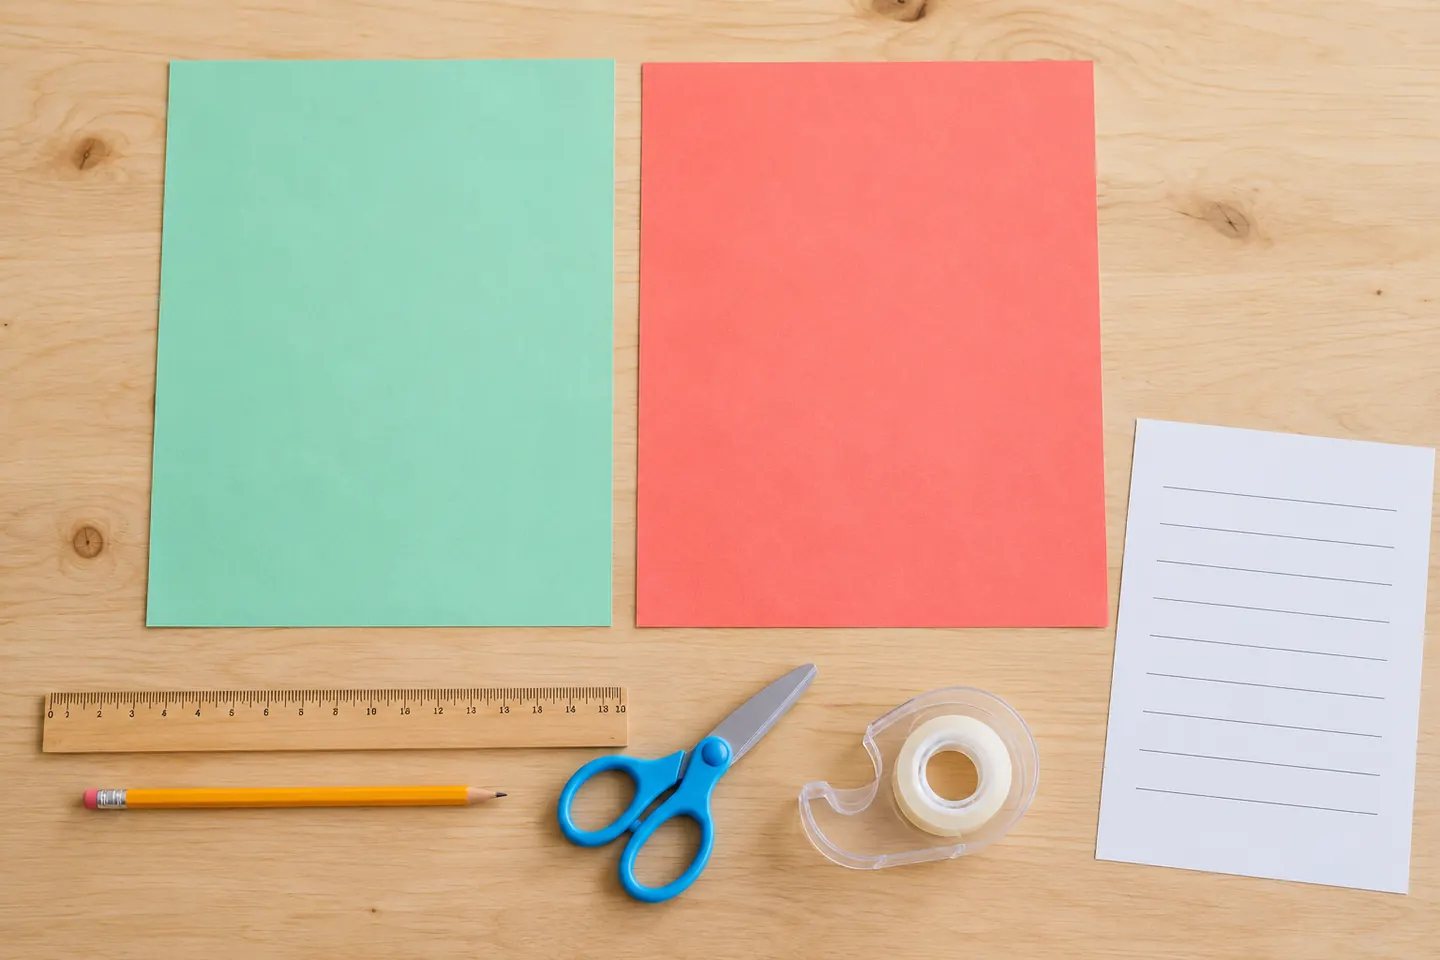
- A ruler, pencil, child scissors, and tape.
- A measuring tape or ruler for the completed chain.
- Recording paper.
For 24 children in pairs, prepare 24 sheets plus spares and shared supplies. If using glue instead of tape, keep that method the same for both designs and allow drying time before measuring. These are tabletop paper models, not chains to wrap around bodies or necks.
Get ready
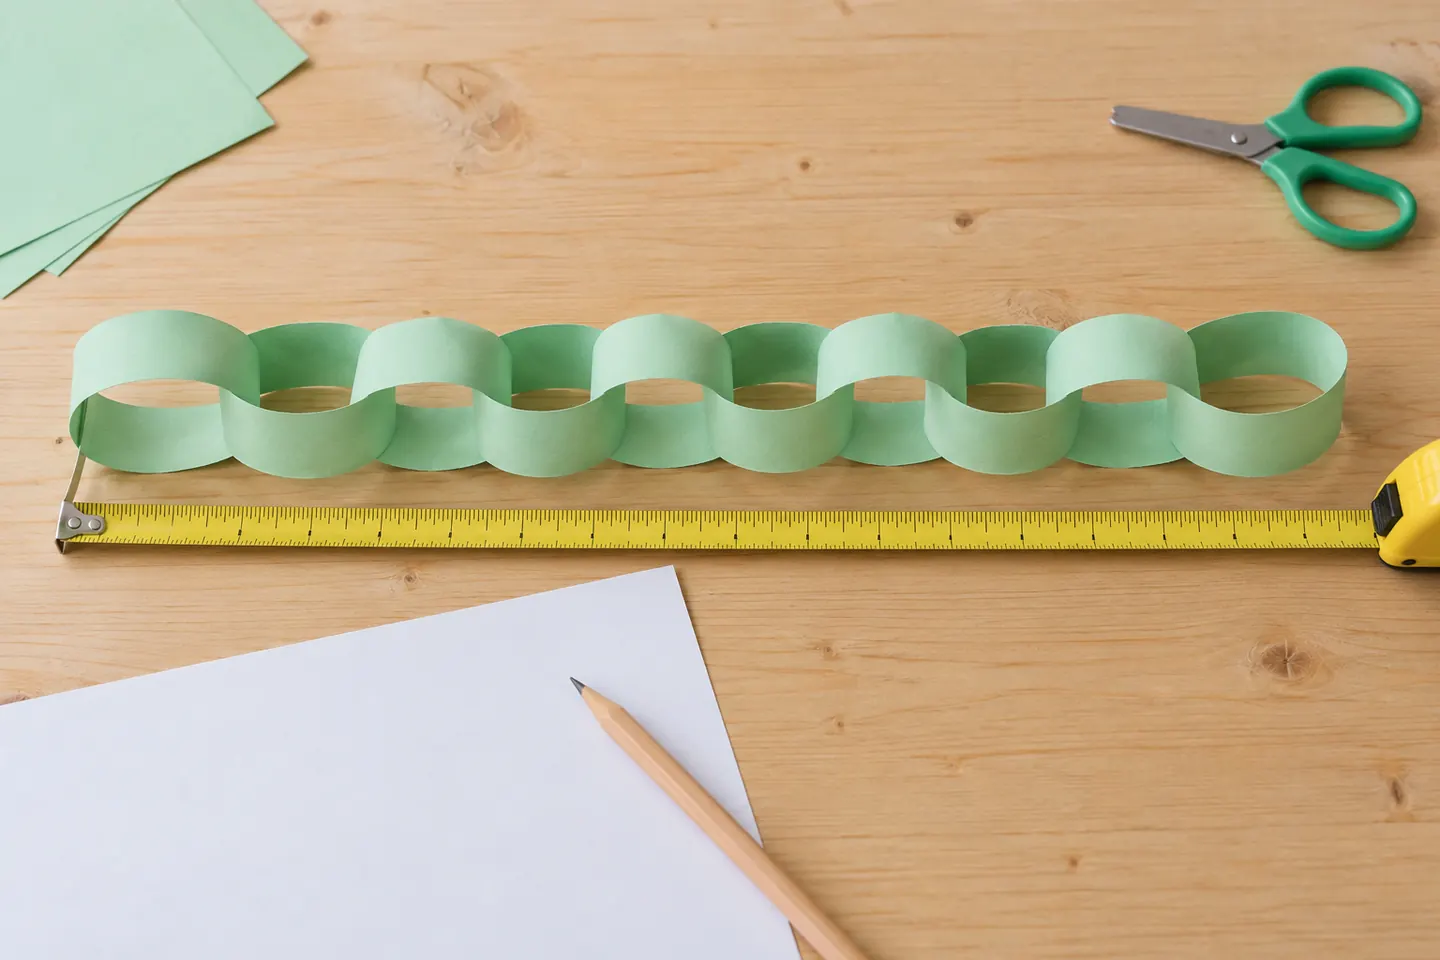
Agree how to measure: lay the chain straight on the table, gently taking up slack without pulling it tight. Record the paper size and use the same size for the second design. A sheet of 8.5 × 11-inch paper offers a useful example.
Build and compare
1. Plan the strips
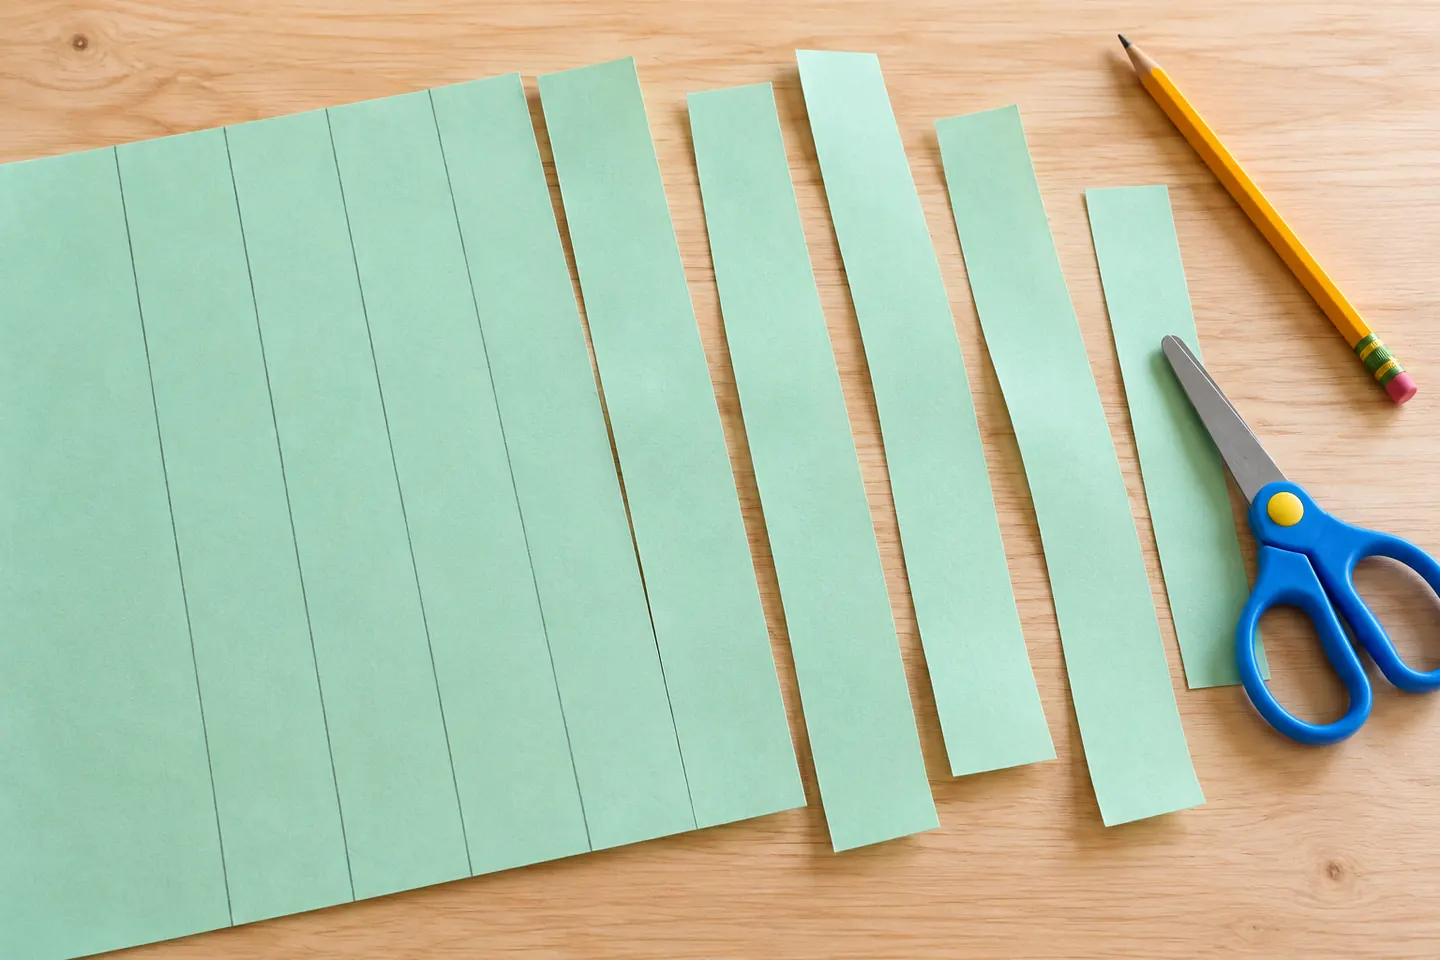
Ask whether the links will be wide or narrow. For the first design, mark one-inch intervals along the paper’s 11-inch edge. Cutting across the 8.5-inch width gives eleven strips, each 1 × 8.5 inches.
2. Make a first loop
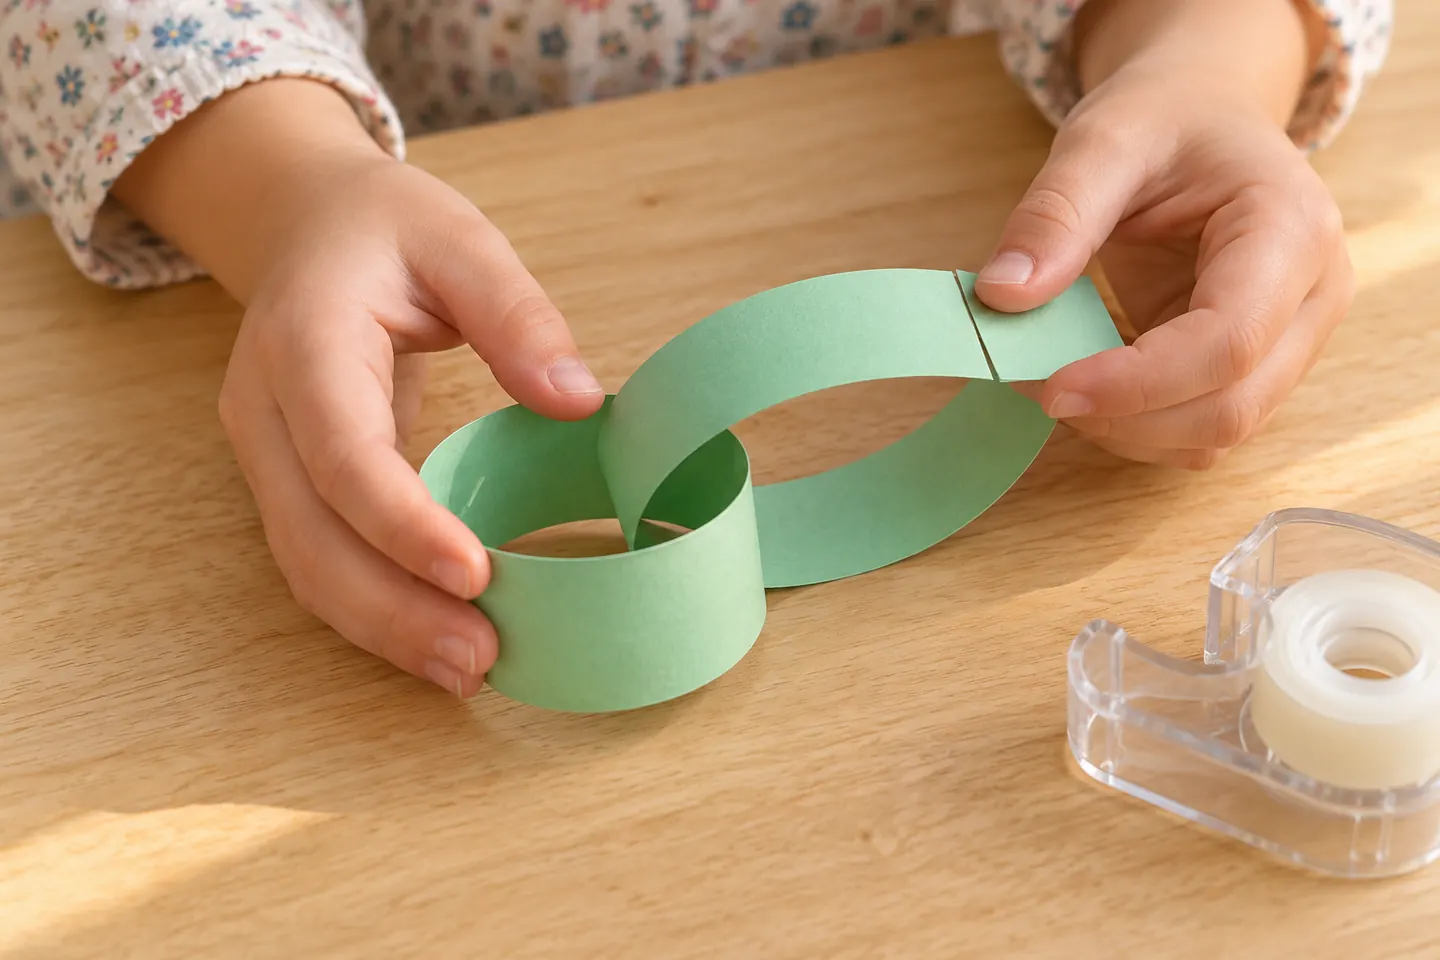
Curve a strip around, overlap its ends by about half an inch, and tape the join. Leave room inside the loop for another strip.
3. Connect the next link
Pass the next strip through the completed loop before joining its ends. Continue one strip at a time. Count the finished links and check that each connects to the previous one.
4. Measure the chain
Place it at the agreed starting point and lay it straight without stretching. One partner can steady the start while the other reads the ruler or tape. Write the actual length and number of links.
5. Try narrower strips
Use a fresh equal-size sheet. Half-inch intervals on the same example sheet make 22 strips, each 0.5 × 8.5 inches. Keep overlap and joining method similar, then build another chain.
6. Compare the designs
Measure the second chain the same way. Ask which is longer, which was easier to build, and which joins needed repair. A note about handling can be as useful as the final measurement.
Save your discoveries
Copy this simple layout onto paper and add your own observations. Drawing or dictated notes work just as well as independent writing.
| Design | Strip size | Link count | Chain length | Join observations |
|---|---|---|---|---|
| First | Record your size | Record | Measure | Describe |
| Revised | Record your size | Record | Measure | Describe |
What children can explore
The project connects measurement with a visible design decision. More strips create more links, but overlap, link shape, and handling affect the finished chain. Ask, “What changed when the strips got narrower?” or “What would you keep in a third design?”
At home and in the classroom
At home, work together on one comparison. In class, pairs can alternate cutting, joining, and measuring. Give each pair the same paper allowance, then compare observations without expecting every chain to measure identically.
Make it work for your group
Adults can prepare strips, mark cutting guides, or help read the ruler. Older children can propose another strip width and work out the expected number of pieces before cutting.
Helpful fixes and cleanup
An unconnected loop can be reopened and threaded through the last link. Weak joins may need more tape or a consistent overlap. Uneven measurements need the same laying-out method. Save a short sample of each design and recycle scraps after the comparison.