Nature & Outdoor Adventures
Cloud Sketching & Sky Stories: Observe, Draw, and Imagine
 Facebook
 Pinterest
 X
X LinkedIn
 Reddit
 WhatsApp
 Telegram
 Bluesky
 Email
Email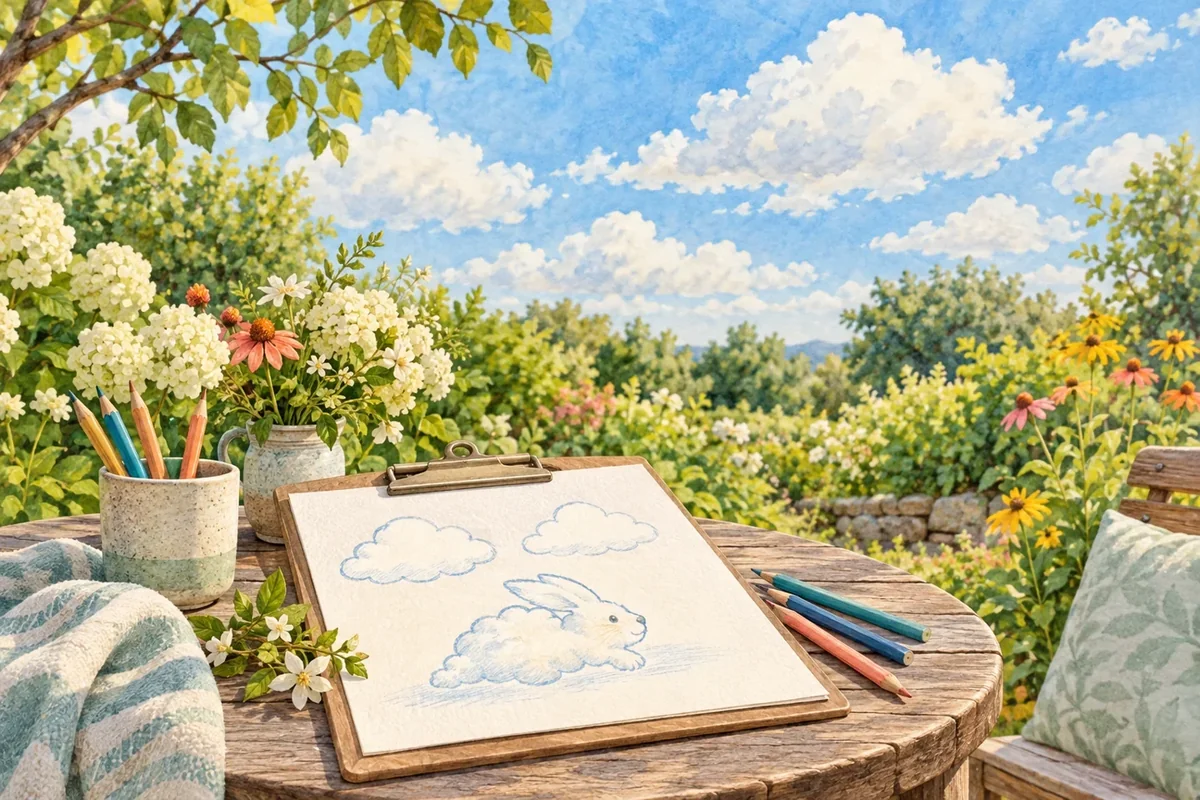
A cloud drawing can begin with careful looking and end with an invented story. Keep those two parts distinct: children first record a broad shape they can see, then decide what their sketch could become. The clouds may move or change before a drawing is finished. That is a useful observation, not a reason to erase the page or begin again.
At a glance
| Suggested ages | 4–10 |
|---|---|
| Activity time | 15–25 minutes |
| Adult setup | 5 minutes |
| Participation | Individual or small group; watching, pointing, and partner assistance are welcome |
What you need
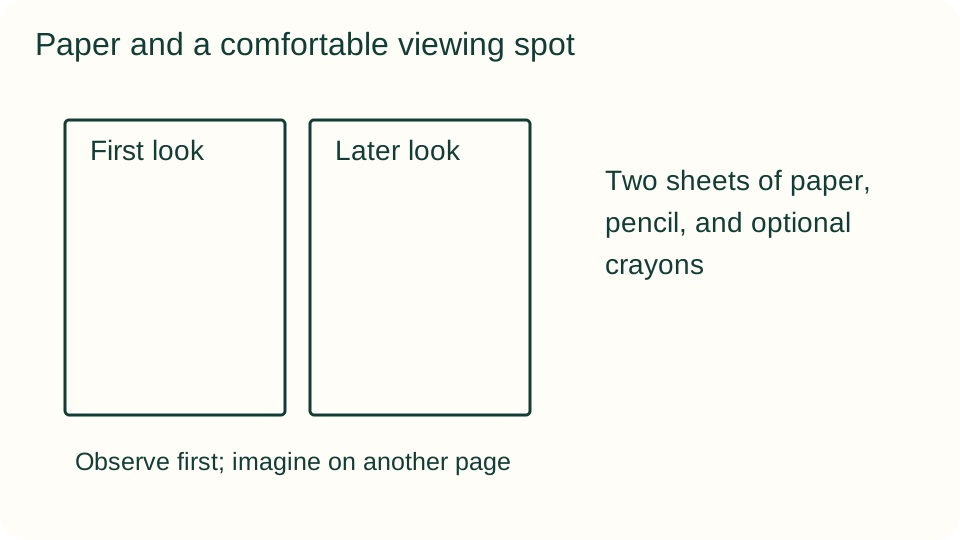
- Two sheets of paper, pencil, and optional crayons
- A clipboard or stable drawing surface
- An optional timer for a short repeat observation
- A safe outdoor seat or a suitable window view
Get ready
An adult selects a comfortable viewing position with a clear sky view away from the sun. Never look directly at the sun, including through a magnifier, camera, or binoculars. Do not use this activity during storms or unsafe weather. Choose a shaded seat if possible and make sure children can look comfortably without leaning over a barrier.
Try the activity
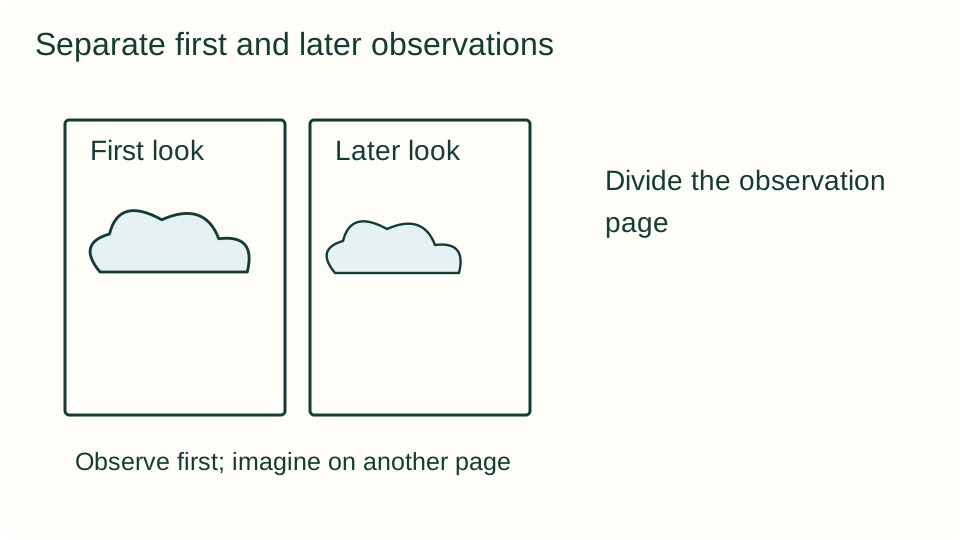
1. Divide the observation page
Divide one sheet into two drawing spaces and leave a small area for dictated notes. Label the spaces first look and later look if useful. Explain that the drawings record an observation rather than test artistic skill. Broad outlines and a few marks are enough to begin.
2. Choose a safe patch of sky
From the agreed seat or window, select one patch of sky away from the sun. Notice one cloud or a small group without trying to follow it beyond the safe viewing direction. An adult can point to a suitable area, but children choose which outline interests them.
3. Draw what is visible
Sketch the broad edge in the first space. Notice whether it looks long, rounded, broken, or layered. Use the child's descriptions in a short note. Avoid introducing an animal or character yet; begin with visible details so observation and imagination remain separate parts of the activity.
4. Look again after a pause
Wait a few minutes, using a timer only if it helps the group. Observe the same patch of sky again rather than chasing the original cloud. Sketch the later view in the second space. Record an empty patch or an entirely different cloud if that is what is visible.
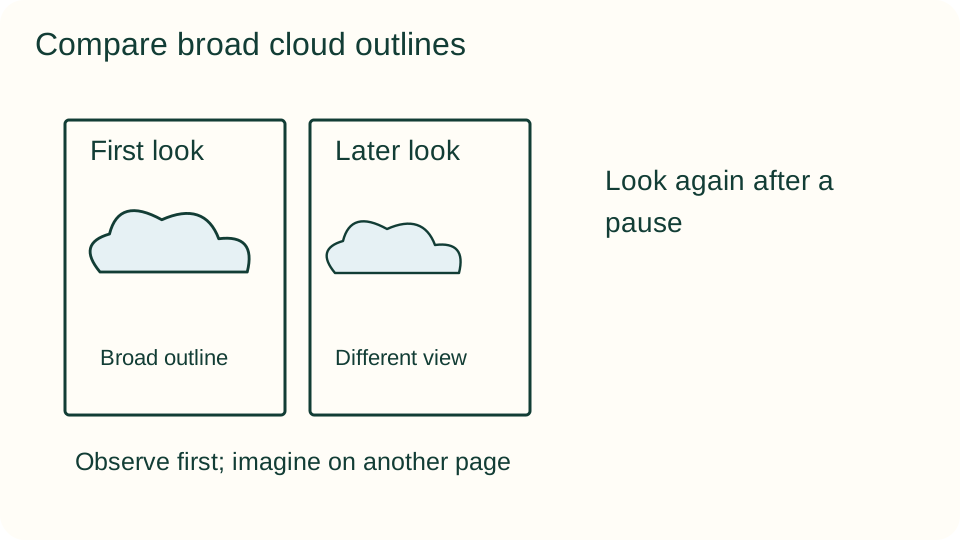
5. Compare the two views
Point out something that stayed similar and something that changed. The original cloud may have moved outside the viewing area, and you may not be able to tell whether it also changed shape. Treat uncertainty honestly. Do not turn these sketches into a prediction of future weather.
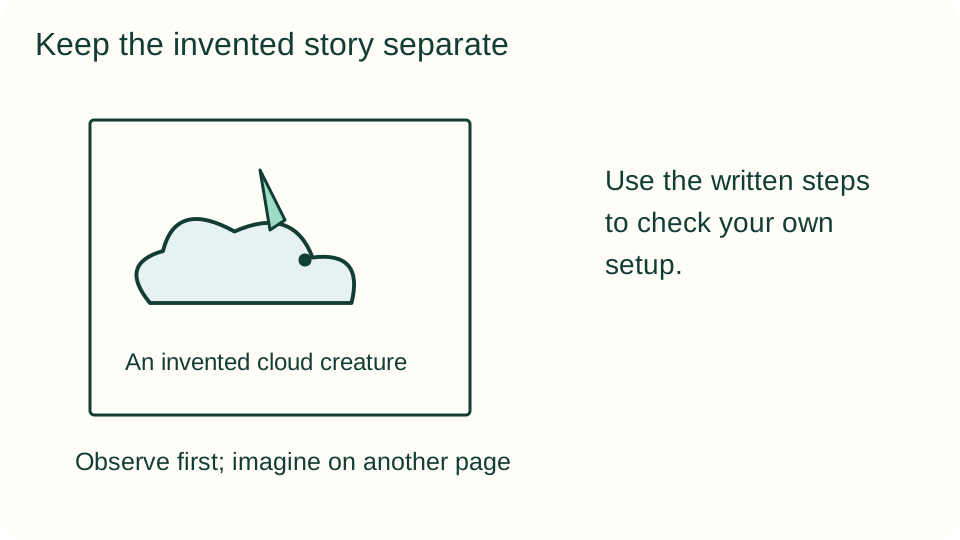
6. Invent a sky story
Choose one sketch and copy its outline onto the second sheet. Add imagined features to make a creature, vehicle, or setting. Dictate or write two or three story sentences. Label the result as an invented story, and keep the original observation drawing beside it for comparison.
What children can explore
Ask which marks came from looking and which were added for the story. Children can have different interpretations of the same sketch. A changing sky offers opportunities to discuss what was recorded and what cannot be concluded from two short observations. No cloud names or identification tools are required.
Make it work for your group
Younger participants can describe a shape while an adult sketches it. Older children can add observation times and more detailed comparison notes. Use a window when outdoor seating is unavailable. On a clear day, record the lack of clouds and make an explicitly imaginary cloud story on a separate page.
At home and in the classroom
At home, a short seated session works better than a long search for the perfect cloud. In a classroom, pairs can share a safe viewing direction while making independent sketches. Let children stay with the observation portion if they do not want to invent a story, or hear a partner's story instead.
Return to the observation
Keep the original record with any later notes so changes remain visible. Before returning outdoors, an adult checks permission, access, and current conditions again. Repeat only the parts that interest the child, and record what actually happens rather than recreating an expected result.
Helpful fixes and cleanup
If bright light makes viewing uncomfortable, stop and move indoors; do not ask a child to persist. Store observation and story pages together so their different purposes remain clear. Gather drawing tools and check the seat area for stray paper. Revisit another day only if the child is interested.