Sensory & Quiet-Time Activities
Large-Shape Mosaic: A Quiet Color and Arrangement Activity
 Facebook
 Pinterest
 X
X LinkedIn
 Reddit
 WhatsApp
 Telegram
 Bluesky
 Email
Email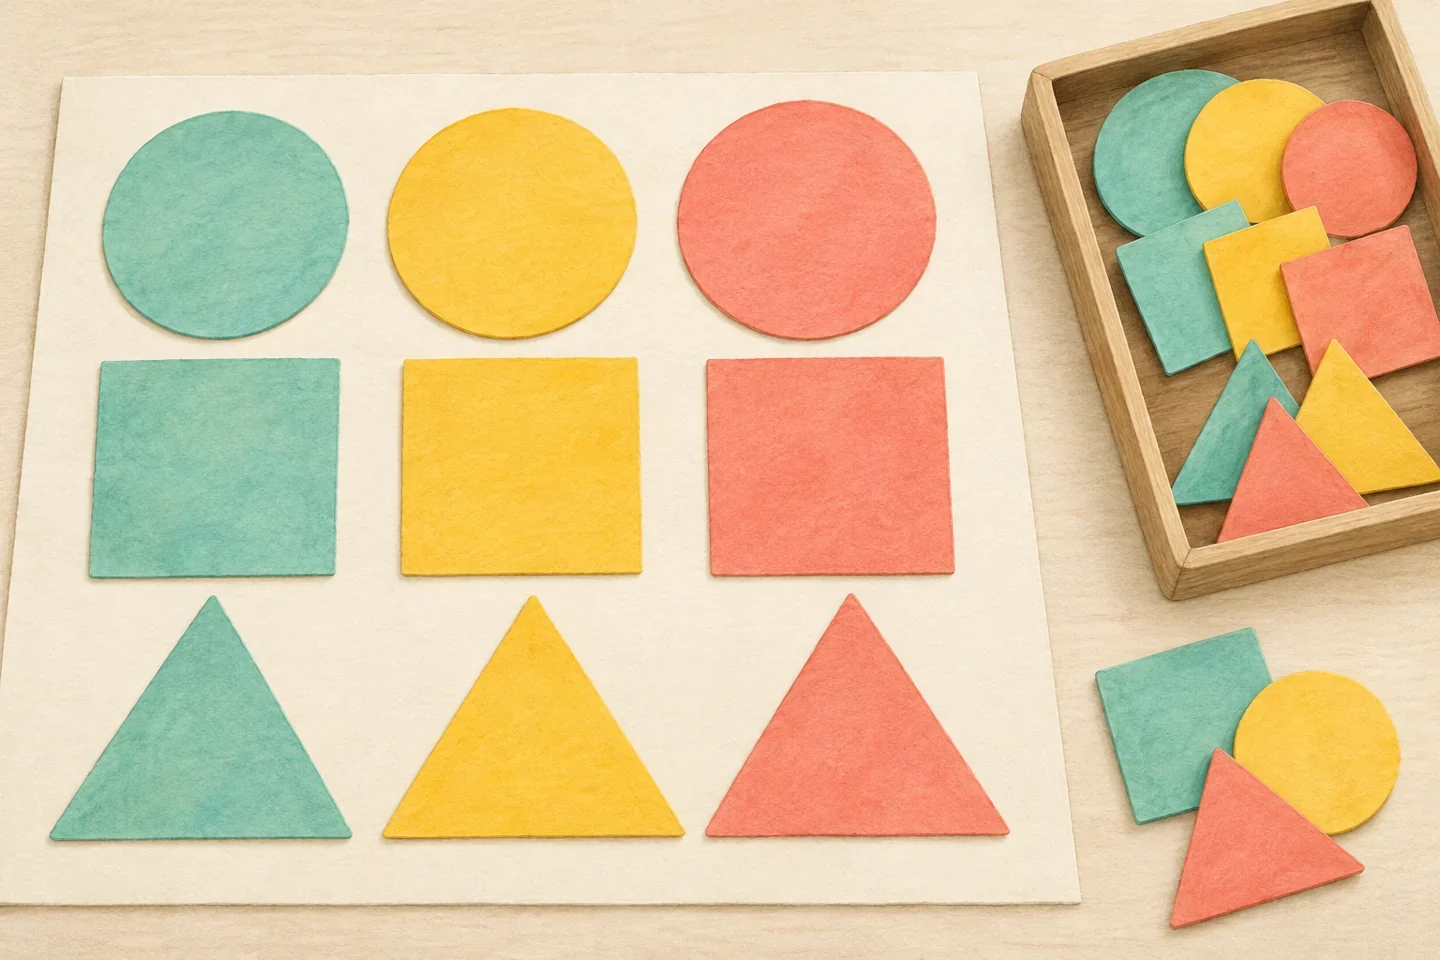
Large paper circles, squares, and triangles can make a mosaic without tiny tiles or permanent glue. Children arrange a small selection on a mat and change it as often as they like. Matching, sorting, and counting can happen naturally, but none is a required lesson. This guide centers on a quiet, reusable arrangement rather than a scored pattern game.
At a glance
| Suggested ages | 4–8 |
|---|---|
| Activity time | 15–30 minutes |
| Adult setup | 10 minutes |
| Participation | Individual or small group; watching, pointing, and partner assistance are welcome |
What you need
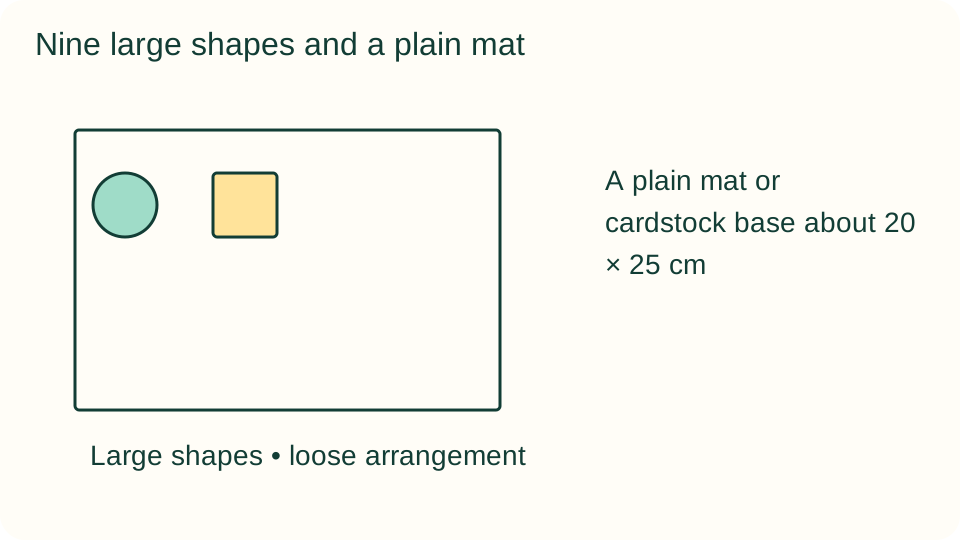
- A plain mat or cardstock base about 20 × 25 cm
- Nine large paper shapes, each roughly 5–7 cm across
- A shallow tray or envelope, contrasting paper, and adult scissors for preparation
Get ready
An adult cuts three circles, three squares, and three broad triangles. Use colors that contrast with the mat and pieces large enough for comfortable handling. Avoid glitter, beads, or other small accessories. Offer only some shapes initially if the full set makes choosing difficult.
Try the activity
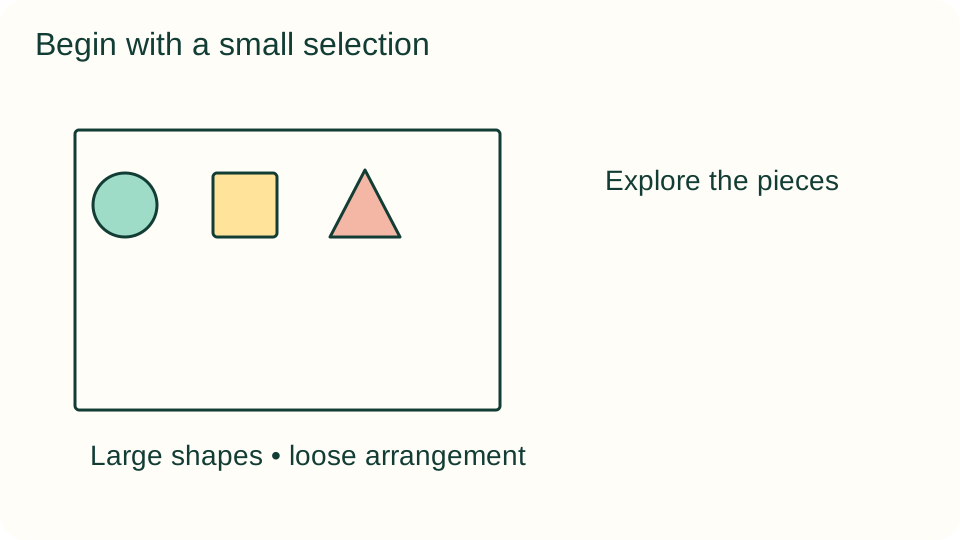
1. Explore the pieces
Lay out three or four shapes and let the child look, touch, or point. Name shapes only if useful to the conversation. A child can prefer one color or repeat a familiar arrangement without needing to progress to a more difficult task.
2. Make a first grouping
Place two pieces on the mat and leave room around them. They can sit beside one another or overlap. Demonstrate moving one piece without turning the arrangement into a correct example that the child must reproduce. Keep extra pieces in the tray until wanted.
3. Offer an optional picture
Suggest that two triangles could become a mountain, or that a circle beside a square could suggest a creature. These are invitations rather than picture instructions. Accept an abstract arrangement or a layout that uses only one kind of shape.
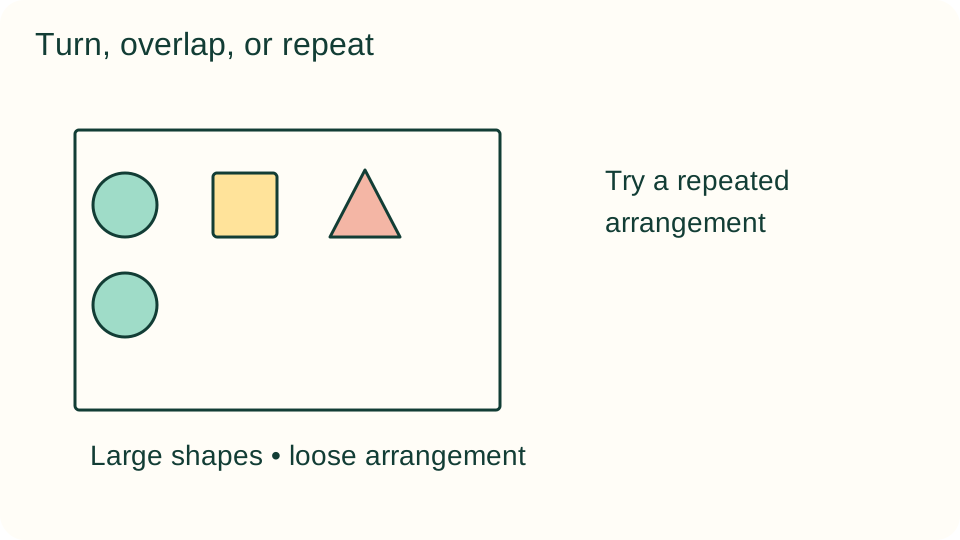
4. Try a repeated arrangement
If the child wants a pattern, place a circle and square in a short row and invite another pair. Explain the sequence only when helpful. Stop the pattern at any point, and avoid treating a changed shape as an error during open-ended exploration.
5. Change one relationship
Move a piece farther away, turn a triangle, or layer a circle over a square. Ask what the child notices about the new layout. A partner can handle the movement while the child chooses its location, allowing participation without picking up every piece.
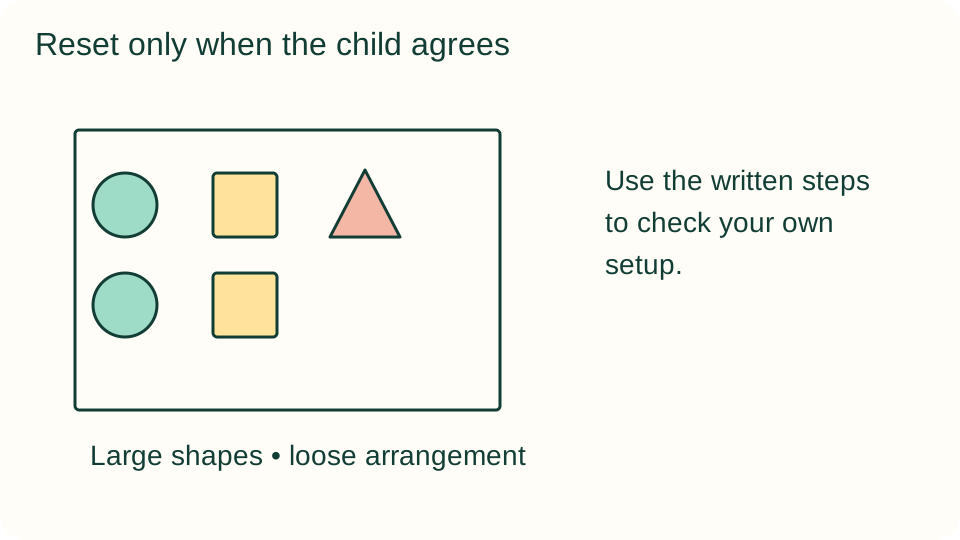
6. Save or reset the layout
The mosaic can be cleared and rebuilt, left on the mat briefly, or sketched on paper. Permanent glue is unnecessary. Ask before resetting a child's arrangement, and agree on a storage moment when a shared table needs to return to another use.
What children can explore
The activity offers comparison of shape, color, spacing, and overlap. Counting is available but not compulsory, and the finished mosaic does not demonstrate a child's overall mathematical ability. Ask which piece belongs beside another or what happens when a triangle turns, following the child's interest rather than a worksheet agenda.
Make it work for your group
Start with four pieces in two contrasting colors. Offer thicker cardstock for easier pickup or let shapes remain in a flat tray. Older children can make two related arrangements and explain their choices. A child who prefers looking may direct an adult without touching the materials.
At home and in the classroom
At home, keep a single set in an envelope beside its mat. In a classroom, assign a personal set or make sharing expectations clear before starting. Avoid communal piles with many small scraps; a limited, well-spaced selection preserves the intended manageable setup.
Return to it another day
If the child wants to return, save usable materials and unfinished work together. Ask which part they would like to try again rather than increasing the difficulty automatically. Watching, using a tool, choosing another material, or stopping are valid options; this guide does not promise a particular emotional response.
Helpful fixes and cleanup
If pieces blend into the background, change the mat color rather than increasing the number of pieces. Replace bent or torn shapes with large sturdy versions. Count the set only as a helpful storage check, not an assessment, then return it to the tray or envelope.