Sensory & Quiet-Time Activities
Paper Tearing Collage: Explore Shapes Without Scissors
 Facebook
 Pinterest
 X
X LinkedIn
 Reddit
 WhatsApp
 Telegram
 Bluesky
 Email
Email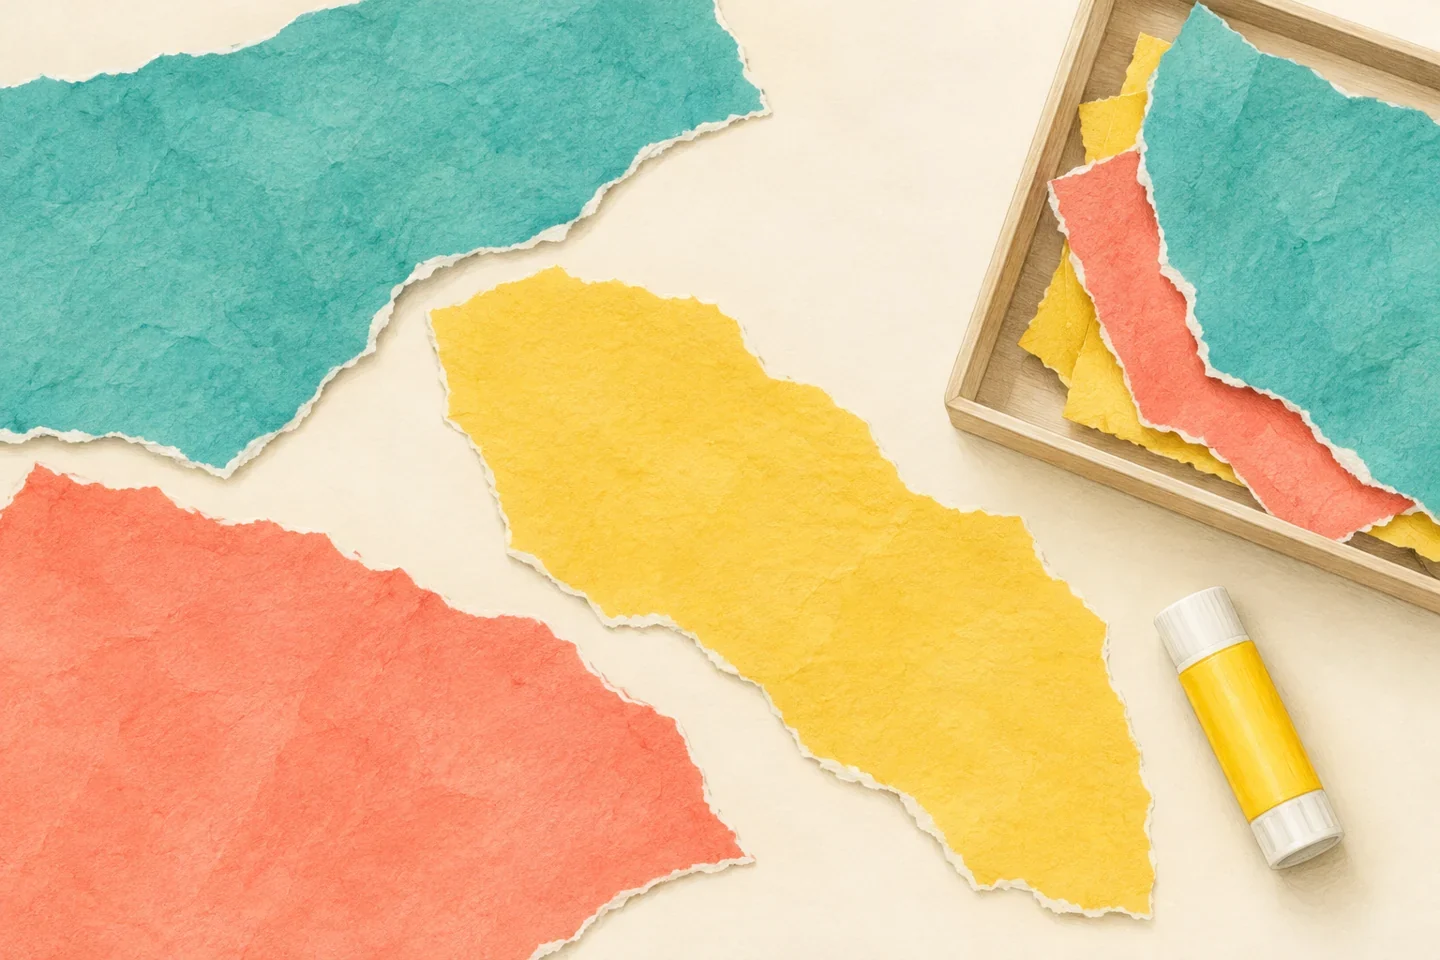
Torn edges create shapes that do not need to match a template. Children try a few manageable tears, arrange the pieces on a larger sheet, and decide whether to keep the layout loose or glue it. This is a small individual composition, distinct from the site's cooperative paper garden and quilt projects. A few large pieces are enough to begin.
At a glance
| Suggested ages | 4–8 |
|---|---|
| Activity time | 20–35 minutes |
| Adult setup | 5–10 minutes |
| Participation | Individual or small group; watching, pointing, and partner assistance are welcome |
What you need
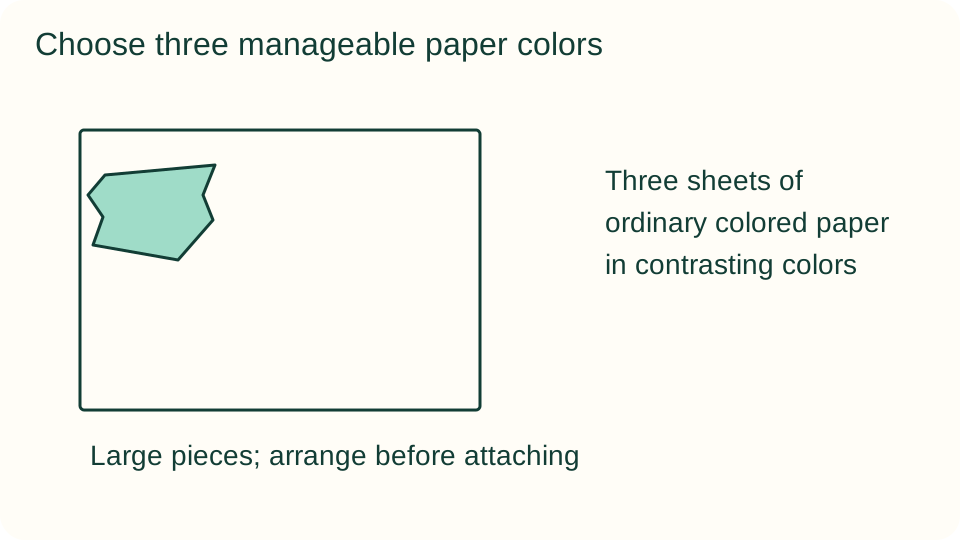
- Three sheets of ordinary colored paper in contrasting colors
- One larger sheet or cardstock base
- A shallow piece tray and an optional age-appropriate glue stick
Get ready
Avoid very stiff, glossy, or laminated paper for the first attempt. An adult can start short tears along an edge and prepare several large pieces. Check the glue product's instructions. Children do not need to touch glue or tear paper themselves to participate in arranging the collage.
Try the activity
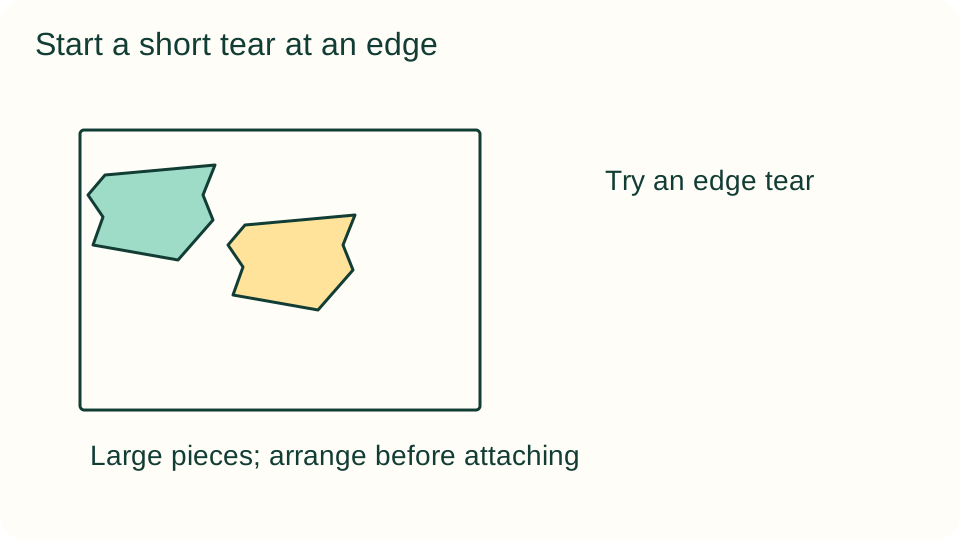
1. Try an edge tear
Hold a paper edge with both hands close together, thumbs near the place where the tear begins. Move one hand slightly forward and the other back. Start with a short tear rather than pulling the whole sheet apart. An adult can demonstrate on a separate sheet.
2. Make broad pieces
Tear off two or three pieces large enough to pick up easily. Move the hands nearer the active tear when it becomes difficult. The edge may wander; this is part of the material's behavior. Set aside small loose scraps rather than making them necessary decorations.
3. Choose a base layout
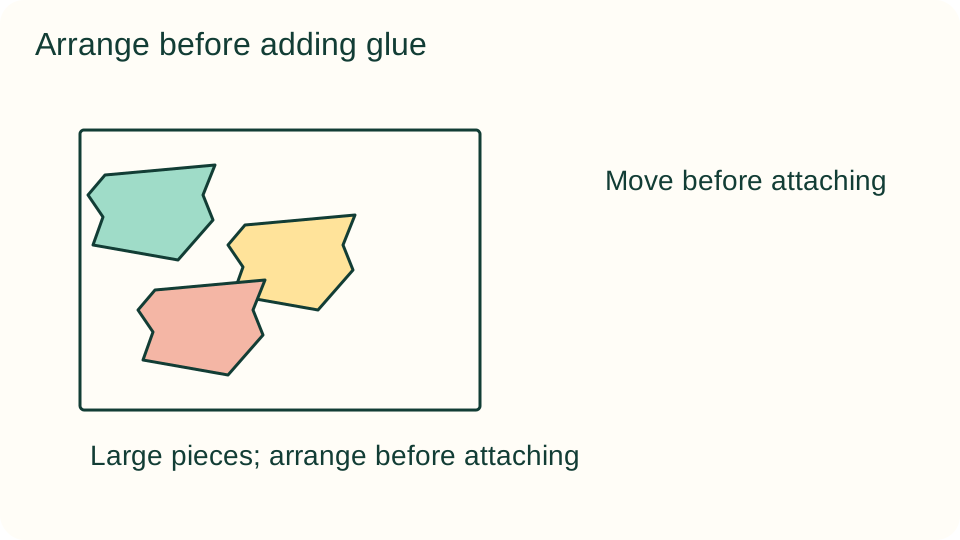
Place a few pieces on the base without glue. Try one overlap and one area of open background. The child can create an abstract arrangement or notice a possible scene. Neither direction requires naming a picture or reproducing the adult's example.
4. Move before attaching
Turn one piece, slide another, or remove a color. Compare the two layouts if wanted. Keep the number of options manageable by leaving extra sheets off the table. A child can point to a position while an adult or partner moves the piece.
5. Choose loose or fixed
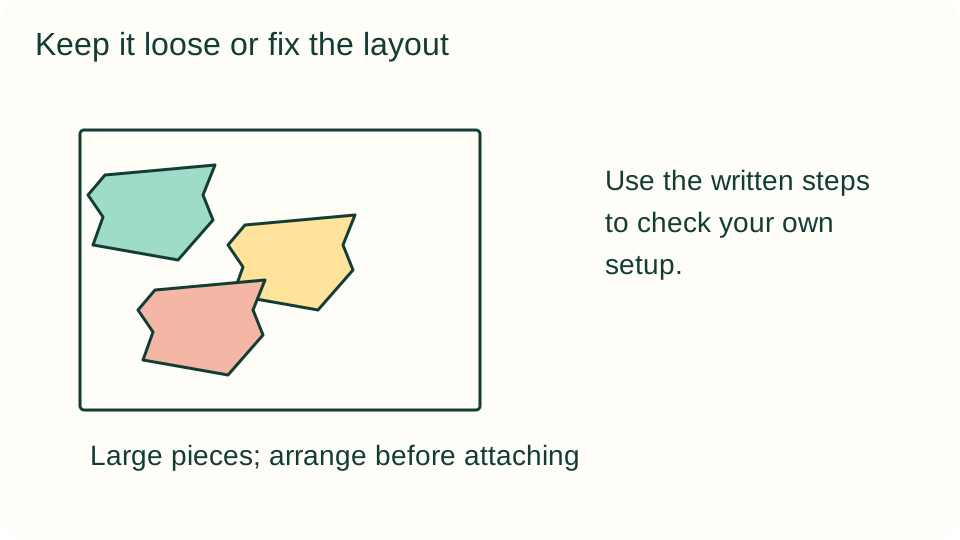
For a reusable arrangement, leave every piece unattached and store them afterward. For a permanent collage, lift one piece at a time and apply a light glue layer to its back on scrap paper. Press gently in the chosen place without coating the entire base.
6. Finish on the child's terms
Offer one final adjustment and a place to keep the work. Stop if tearing, sticky materials, or repeated choices become unwelcome. A collage with three shapes and plenty of background is complete if the child wants it to be; filling the page is optional.
What children can explore
This activity offers choices about shape, overlap, color, and space. Paper fibers influence how edges tear, so an irregular edge is not a mistake that needs correcting. Ask which piece the child wants to move or keep, using specific observations rather than judging the finished arrangement as neat or messy.
Make it work for your group
Offer adult-torn pieces and a dry arrangement for easier access. A child can use a tool to move pieces if direct paper handling is unwanted. Older children may tear longer curved shapes or build two related layouts, but scissors and detailed decoration are not required extensions.
At home and in the classroom
At home, put the piece tray beside one base to keep materials within reach. In a classroom, give each participant a base and a small paper allowance, sharing extra colors only on request. A quiet observing role is available without making the child explain why they prefer it.
Return to it another day
If the child wants to return, save usable materials and unfinished work together. Ask which part they would like to try again rather than increasing the difficulty automatically. Watching, using a tool, choosing another material, or stopping are valid options; this guide does not promise a particular emotional response.
Helpful fixes and cleanup
If paper will not tear, start a small edge split or choose a thinner sheet. If the base wrinkles, reduce glue and let it dry flat. Cap glue sticks, collect small scraps, and store large reusable pieces in an envelope with the child's name if wanted.