Nature & Outdoor Adventures
Map Your Mini Adventure: Make a Picture Map of a Familiar Route
 Facebook
 Pinterest
 X
X LinkedIn
 Reddit
 WhatsApp
 Telegram
 Bluesky
 Email
Email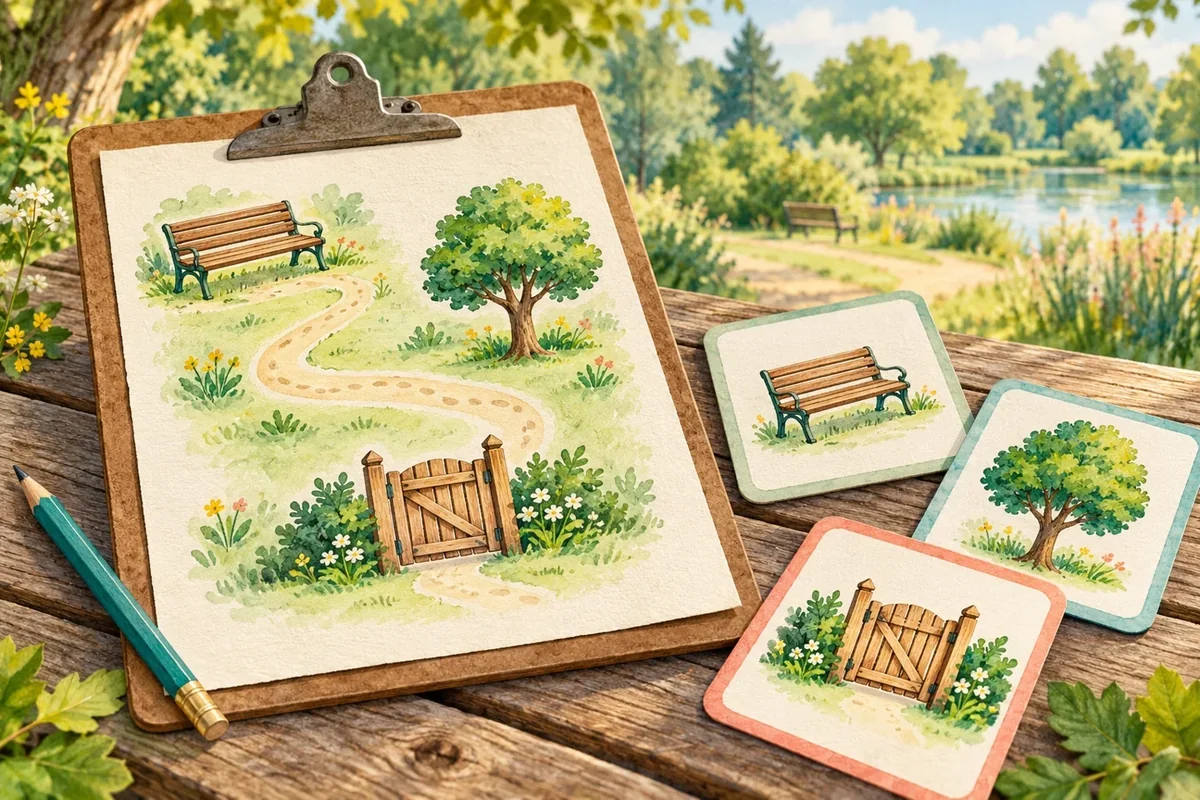
A picture map can help children connect a drawing with a familiar place. Start with three landmarks on one short route, invent a simple symbol for each, and test whether the map is understandable. This is not an independent navigation challenge. The adult stays with the group, and the route remains small enough to review without crossings, hidden destinations, or pressure to finish.
At a glance
| Suggested ages | 5–10 |
|---|---|
| Activity time | 25–40 minutes |
| Adult setup | 5–10 minutes |
| Participation | Individual or small group; watching, pointing, and partner assistance are welcome |
What you need
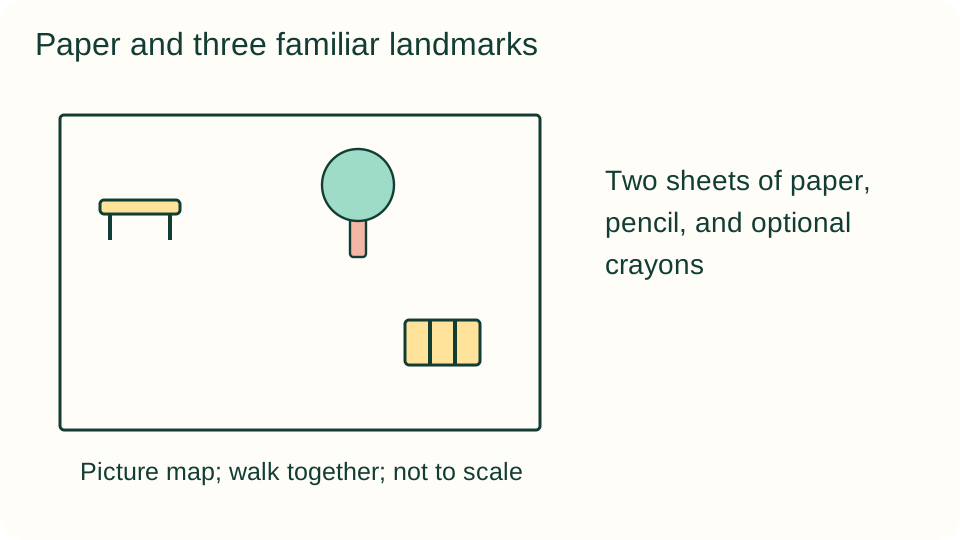
- Two sheets of paper, pencil, and optional crayons
- A clipboard or firm drawing surface
- Three optional large cards for drawing landmark symbols
- A short familiar route approved and supervised by an adult
Get ready
An adult checks permission, access, and conditions, then chooses a route with clear boundaries away from traffic, water edges, and restricted areas. Select three visible landmarks such as a bench, tree, and gate. Do not include private addresses, children's names, or identifiable home locations in examples intended for sharing. Keep the map with the group rather than posting it outdoors.
Try the activity
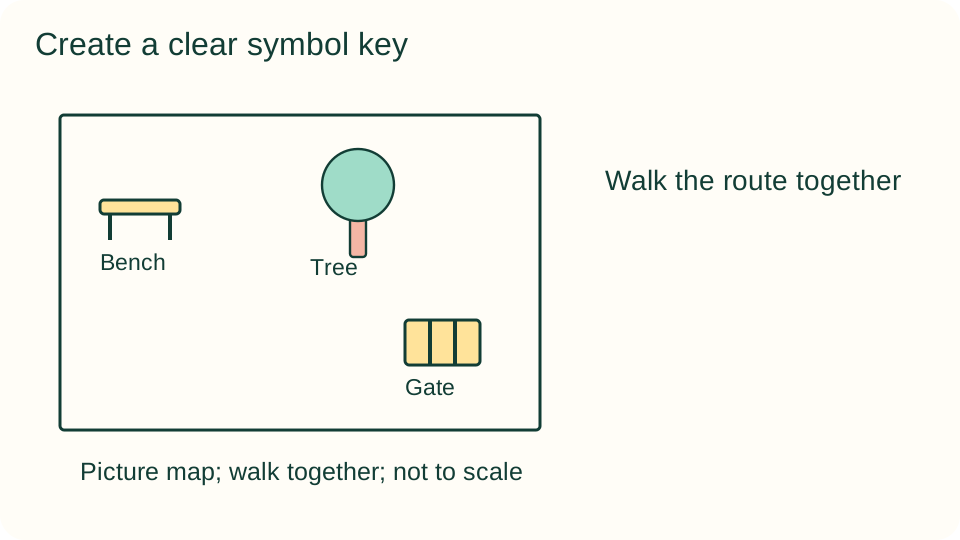
1. Walk the route together
Follow the short route with the adult and pause at the chosen landmarks. Notice their order and the path connecting them. Keep the activity within the checked boundary. If walking is not suitable, observe a small accessible courtyard or tabletop model and use its visible landmarks instead.
2. Choose three recognizable landmarks
Agree on three features that are easy to distinguish. Sketch each broadly on the first sheet or separate cards. Describe what helps identify it, such as a bench beside a tree rather than the exact number of branches. Do not add unfamiliar destinations just to make the map more complicated.
3. Invent simple symbols
Turn each sketch into a small repeatable symbol. A rectangle with short legs might represent the bench; a circle above a line might represent the tree. Draw the symbols beside plain-language labels to make a key. Children can choose alternatives as long as the key explains them clearly.
4. Arrange a picture map
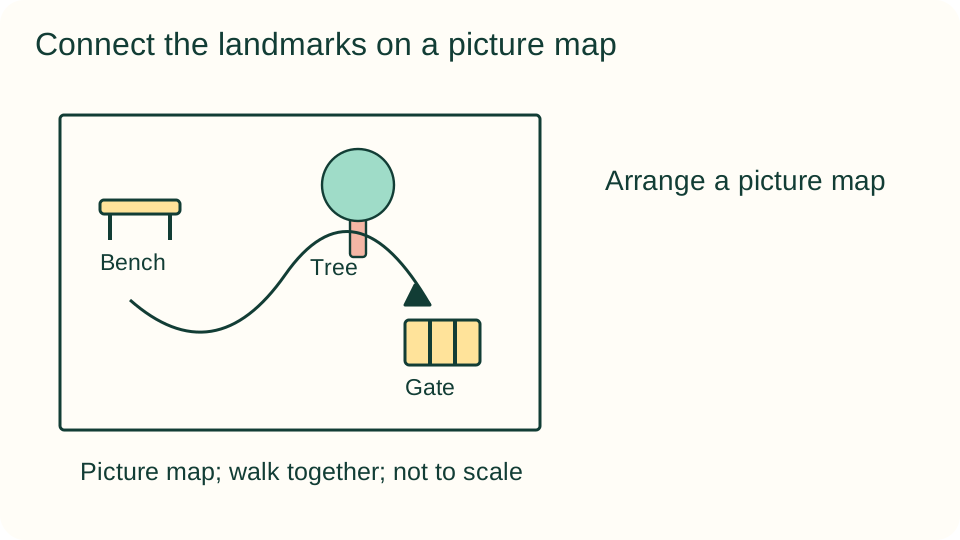
Place the symbols on the second sheet in roughly the order and positions seen along the route. Draw the connecting path, mark the start, and add an arrow for the intended travel direction. Explain that this is a picture map and may not be drawn to a consistent scale.
5. Test the map with a partner
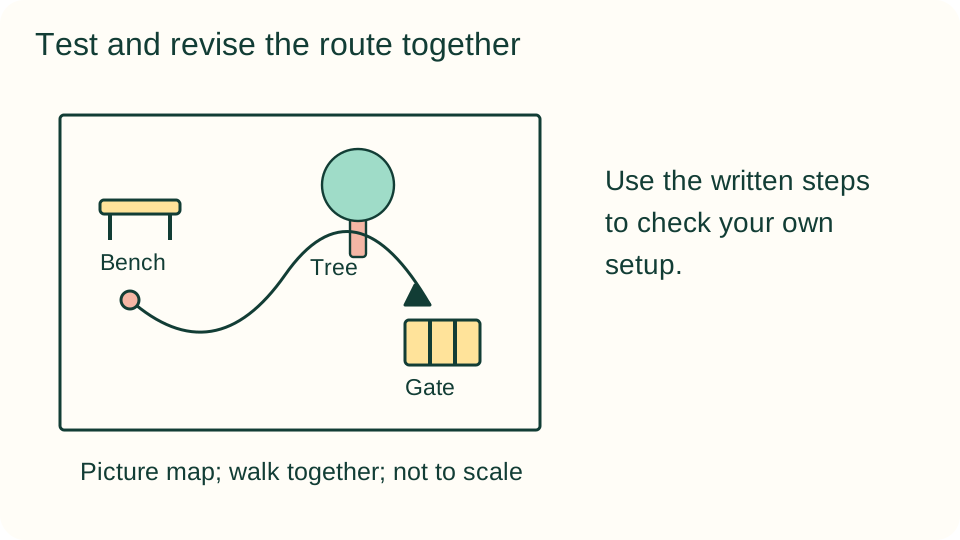
Follow the same short route together while a partner uses the map to describe the next landmark. The adult controls safety and movement; the map does not override the agreed route. Pause where a symbol or connection is confusing and record the problem instead of guessing a new destination.
6. Revise one unclear detail
Back at the drawing surface, change a symbol, path connection, or label that caused confusion. Check the revised map against the key. Ask the partner to describe the route once more without leaving the supervised area. Keep the earlier sketch if it helps show how the design became clearer.
What children can explore
A useful symbol does not have to resemble a detailed illustration. It needs to be distinguishable and explained consistently. Discuss which information helps someone follow this particular route and what the map leaves out. Avoid claiming that a rough picture map gives accurate distances or compass directions.
Make it work for your group
Younger participants can arrange adult-drawn symbol cards while describing the order. Older children can add a fourth landmark or compare two versions of a key. A seated participant can map visible features within one accessible view. A tabletop model works when the outdoor route is unavailable; make clear which setting the map represents.
At home and in the classroom
At home, choose a familiar permitted garden or park path. In a classroom, use one checked route and keep the group together rather than sending pairs off independently. Rotate observer, symbol designer, and route narrator. The adult remains responsible for the route even when children are taking the lead in describing it.
Return to the observation
Keep the original record with any later notes so changes remain visible. Before returning outdoors, an adult checks permission, access, and current conditions again. Repeat only the parts that interest the child, and record what actually happens rather than recreating an expected result.
Helpful fixes and cleanup
If a path is blocked, stop and let the adult choose whether to end the activity; do not treat rerouting as a game. Gather all cards and pencils. Keep personal location details private when displaying work, and use a generic demonstration map for public examples. Store the map and key together.