STEM & Discovery
Build a Moving Paper Picture: Explore Simple Mechanisms
 Facebook
 Pinterest
 X
X LinkedIn
 Reddit
 WhatsApp
 Telegram
 Bluesky
 Email
Email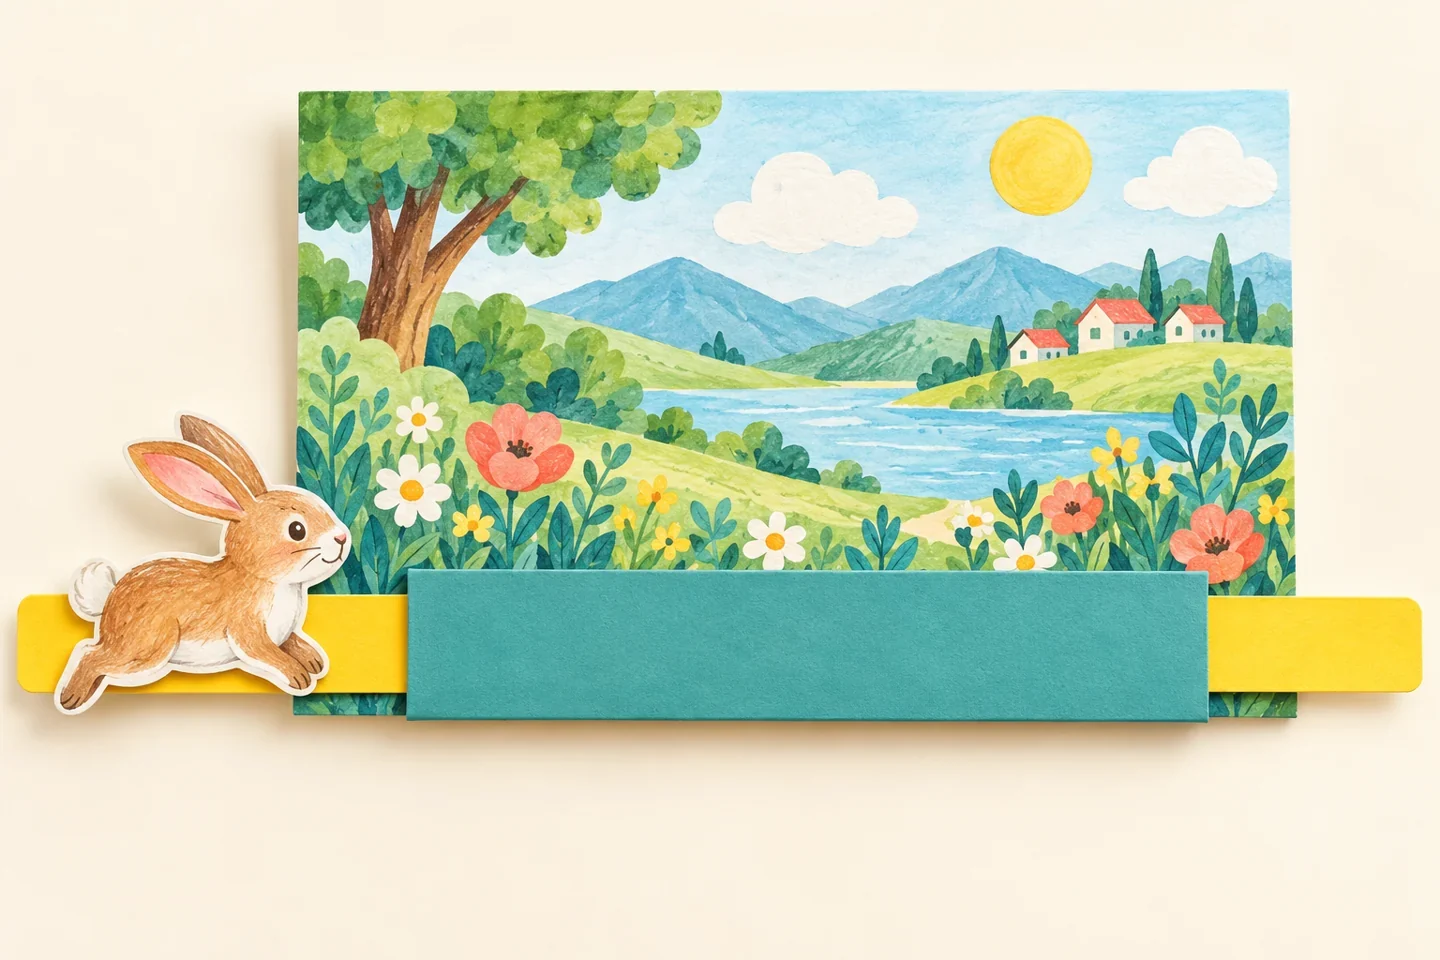
A paper character can travel across a scene when a child pulls a tab. This guide uses a visible horizontal guide sleeve on the front of the picture, making the mechanism easy to see and adjust. Children first build a working slider, then decorate the background. The aim is understandable movement, not an elaborate finished illustration.
At a glance
| Suggested ages | 6–10 |
|---|---|
| Activity time | 30–45 minutes |
| Adult setup | 10–15 minutes |
| Participation | Individual or small group; watching, pointing, and partner assistance are welcome |
What you need
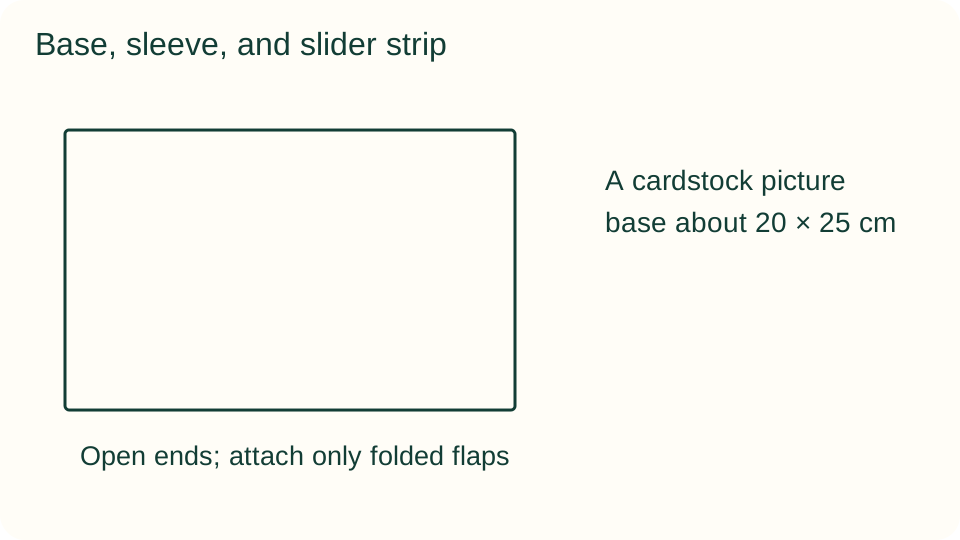
- A cardstock picture base about 20 × 25 cm
- A cardstock slider strip 3 × 25 cm and sleeve strip 7 × 12 cm
- A large paper character, crayons, masking tape, pencil, ruler, and adult-assisted scissors
Get ready
An adult cuts the rectangles and checks smooth edges. The finished sleeve is open at both short ends. Avoid craft knives, small fasteners, or cutting hidden slots through the base. Keep glue out of the guide channel; tape is easier to inspect and revise.
Try the activity
1. Plan a movement path
Place the picture base landscape-style and draw a horizontal path near the bottom. Decide which character will move along it. Leave enough space above the path for a background and at both sides for a child to grip the slider without bending the picture.
2. Fold the guide sleeve
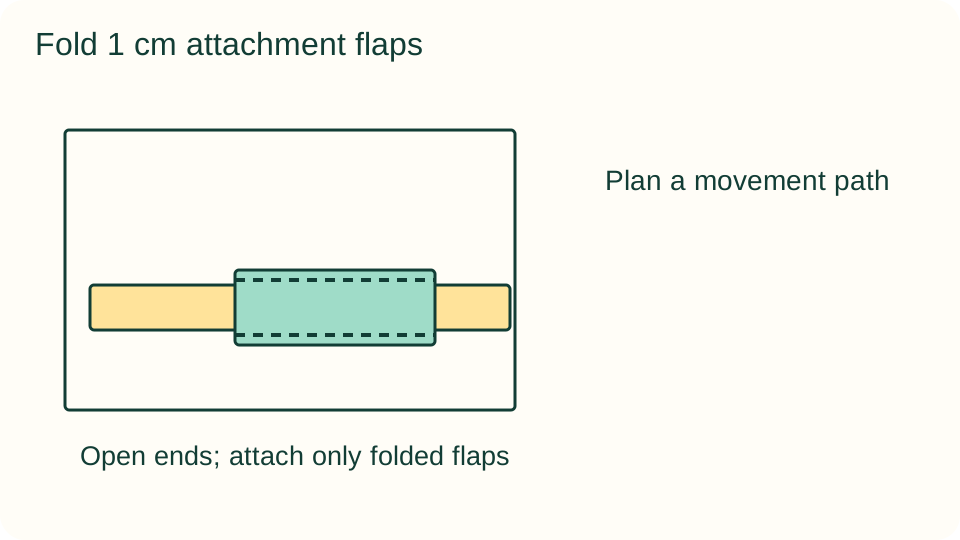
Place the 7 × 12 cm sleeve strip with its long dimension horizontal. Fold 1 cm of its top and bottom long edges backward. The center remains a 5 cm-high visible face, and the two narrow flaps become attachments to the picture base.
3. Attach only the flaps
Position the sleeve over the path. Tape the folded top and bottom flaps to the base, leaving the sleeve face slightly raised. Keep both short ends open. Do not put tape across the openings or through the channel; the slider needs a clear passage.
4. Thread and test the slider
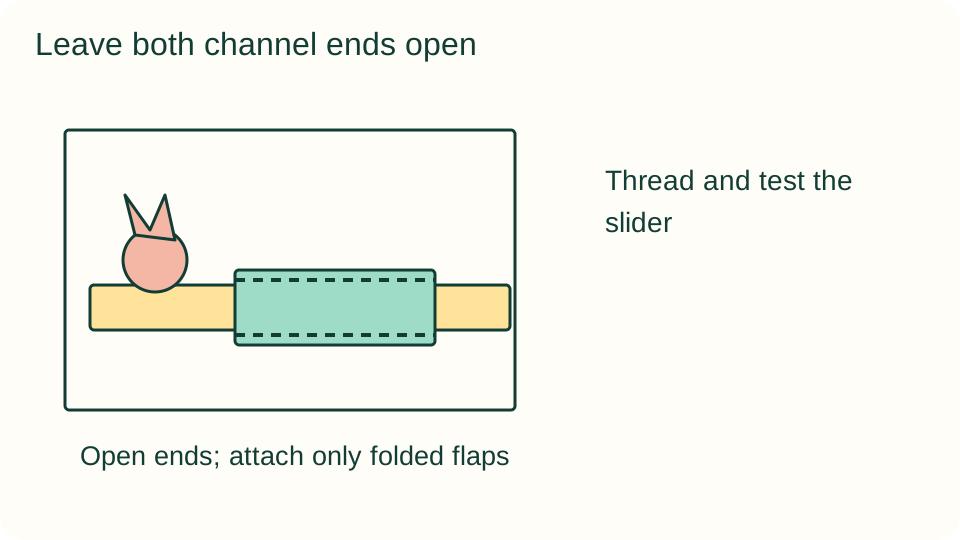
Slide the 3 cm-high strip through one open end until it extends on both sides. Move it slowly back and forth before decorating. If it drags, loosen a flap slightly. The 5 cm-high channel should have visible clearance above and below the 3 cm strip.
5. Attach the moving character
Tape a large paper character to the exposed part of the slider beside the sleeve, not to the stationary base. Place it on the left and pull the right end so it approaches the sleeve. Stop before the character hits the sleeve opening; the sleeve itself does not move.
6. Decorate and demonstrate
Add background details that do not cross the moving strip or block its ends. Demonstrate where to hold the base and where to pull gently. Mark two comfortable stopping positions on the strip, then explain which component guides the movement and which component travels.
What children can explore
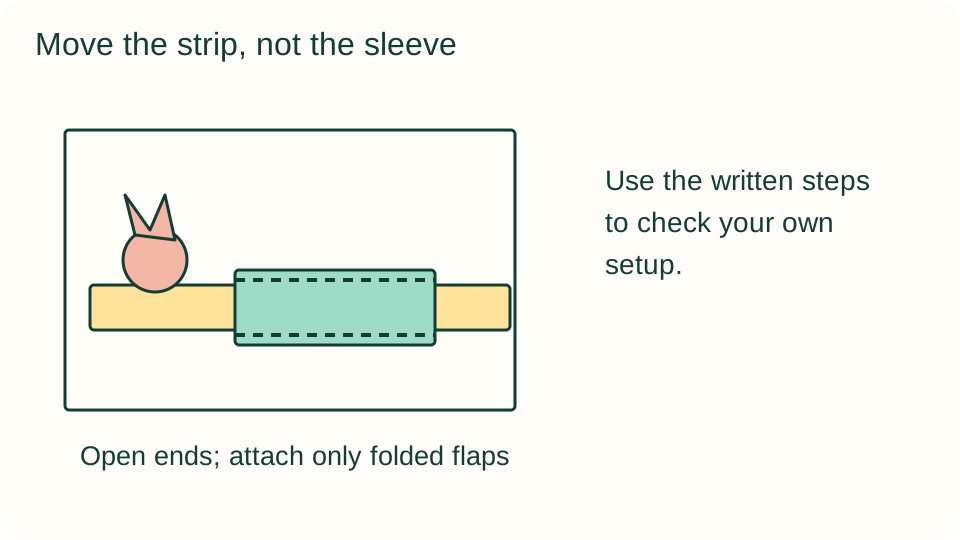
The sleeve constrains a loose strip to move along a path. Clearance, alignment, and rough edges affect how smoothly it slides. This visible version travels beside the sleeve rather than magically passing through it. Ask what would happen if tape connected the slider to the base, and let children inspect that relationship.
Make it work for your group
Provide an adult-built sleeve and a ready-cut character for beginners. Older children can add a second independent sleeve on another part of the base after the first works. Offer an undecorated mechanism for children who prefer construction, or let a partner move the strip while another narrates.
At home and in the classroom
At home, choose a short scene such as an animal walking toward a shelter. In a classroom, give each pair its own base and agree who checks the channel before taping. Partners exchange maker and tester roles; neither needs to produce detailed artwork to participate.
Save your discoveries
Copy a simple record onto paper: what you changed, what stayed the same, and what happened. Drawings, pointing to a sketch, or notes dictated to an adult work as well as independent writing. Record the actual observations, including trials that did not go as expected.
Helpful fixes and cleanup
A stuck strip usually means a taped-shut end, a tight sleeve, or a bent slider. Reopen the guide instead of pulling harder. Store the picture flat with the strip centered, keep loose scraps off the floor, and save usable cardstock rectangles for another moving design.