Sensory & Quiet-Time Activities
Build a Tabletop Paper Landscape
 Facebook
 Pinterest
 X
X LinkedIn
 Reddit
 WhatsApp
 Telegram
 Bluesky
 Email
Email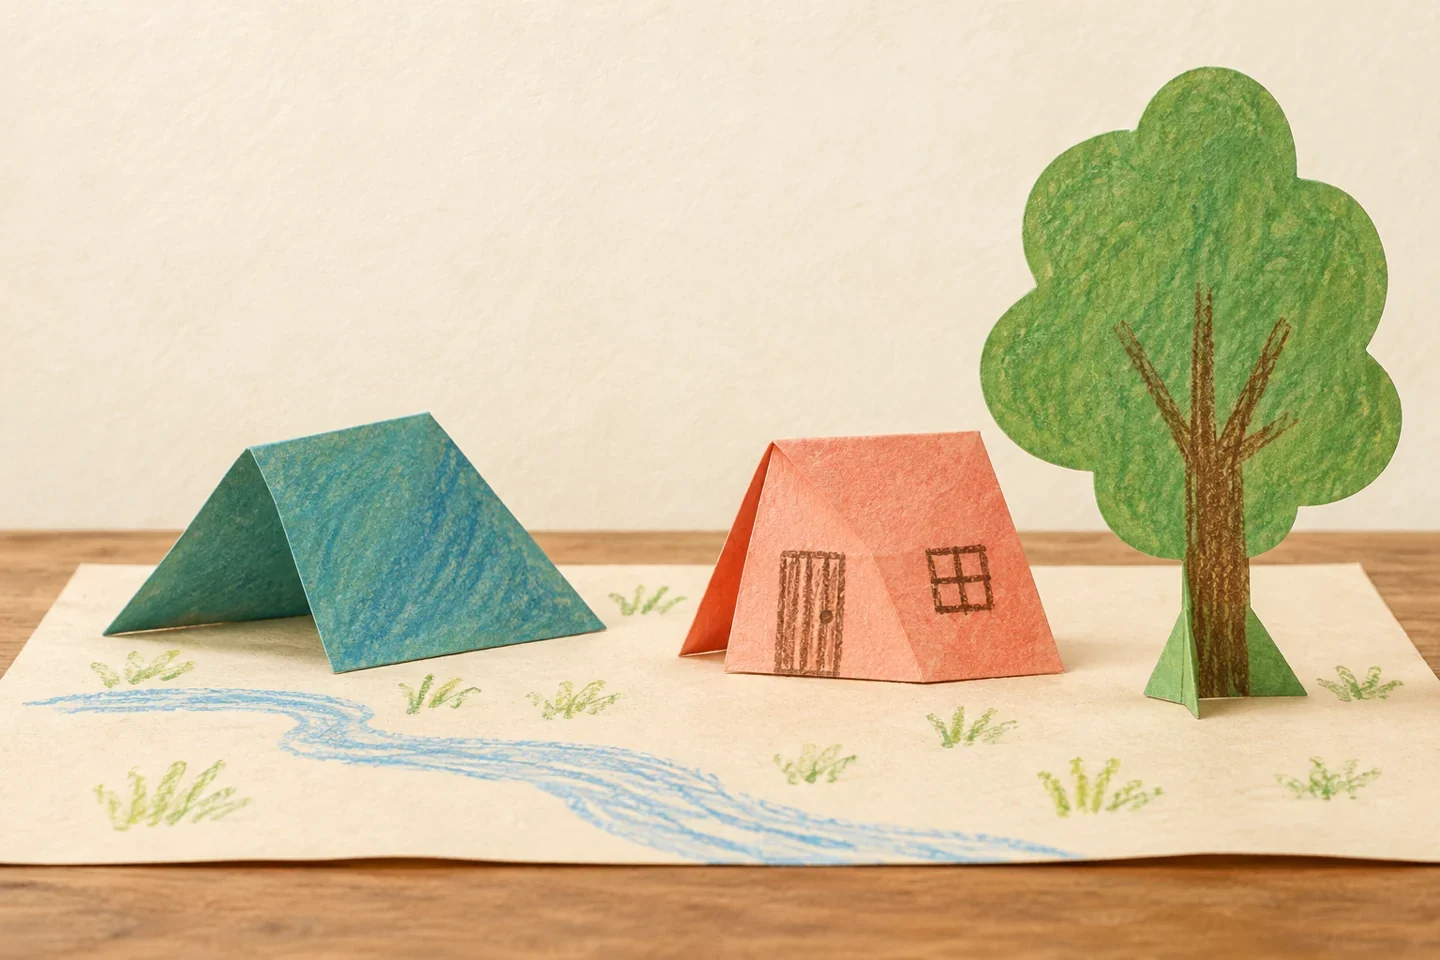
A few folded paper shapes can become a small landscape that changes whenever the child moves a hill or house. This guide emphasizes arranging a personal scene, not competing to build the strongest structure. Children can draw details, keep the scene abstract, or use adult-prepared shapes. Most parts stay loose so the landscape can be packed away and rebuilt.
At a glance
| Suggested ages | 5–9 |
|---|---|
| Activity time | 25–40 minutes |
| Adult setup | 10 minutes |
| Participation | Individual or small group; watching, pointing, and partner assistance are welcome |
What you need
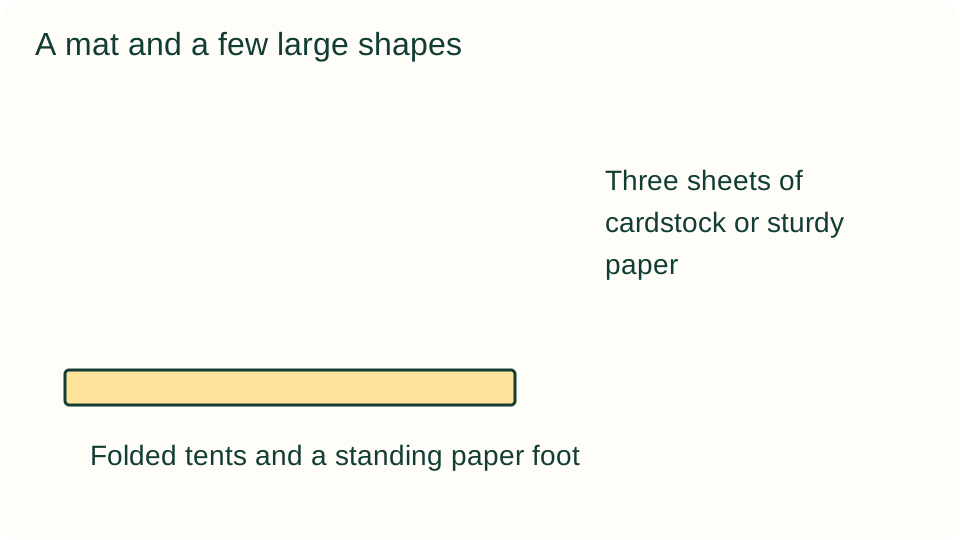
- Three sheets of cardstock or sturdy paper
- One flat landscape mat or sheet about 25 × 30 cm
- Crayons, pencil, ruler, optional tape, and adult-assisted scissors
Get ready
An adult prepares large rectangles with smooth edges. Avoid miniature accessories, sticks, or small loose decorations. Keep the first selection to a few shapes and leave spare materials elsewhere. The mat gives the scene a boundary but does not require every shape to remain within a drawn location.
Try the activity
1. Choose a simple setting
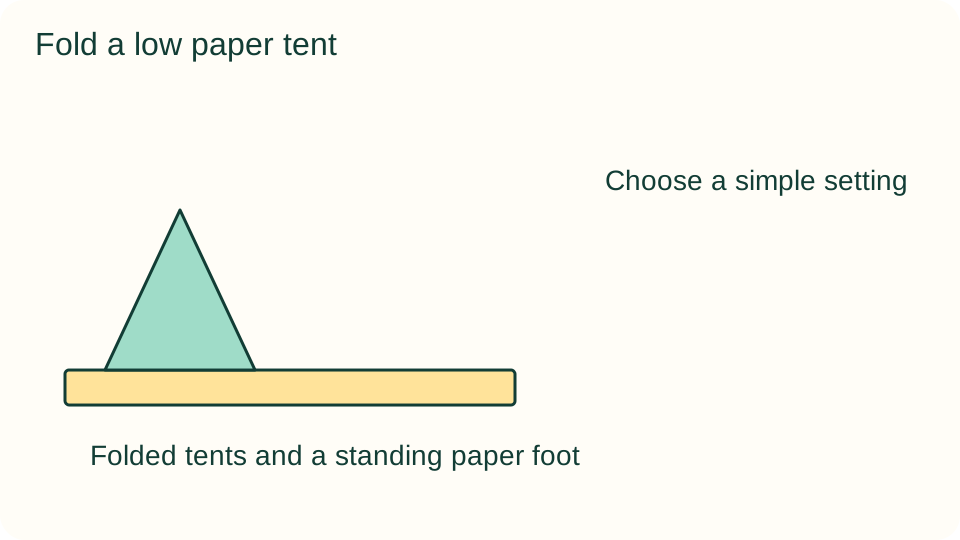
Offer a hillside, neighborhood, or entirely invented place. Ask whether the child wants a background line on the mat or an empty surface. A setting can remain unnamed. Place two or three colors of paper nearby without showing a fully finished landscape to copy.
2. Fold a low hill
Take a rectangle about 10 × 16 cm and fold its short ends together. Stand it as a low tent with the folded edge at the top. Open it only enough to stand. Draw a grassy curve or leave its surface plain; it does not need a cut hill outline.
3. Make a standing tree
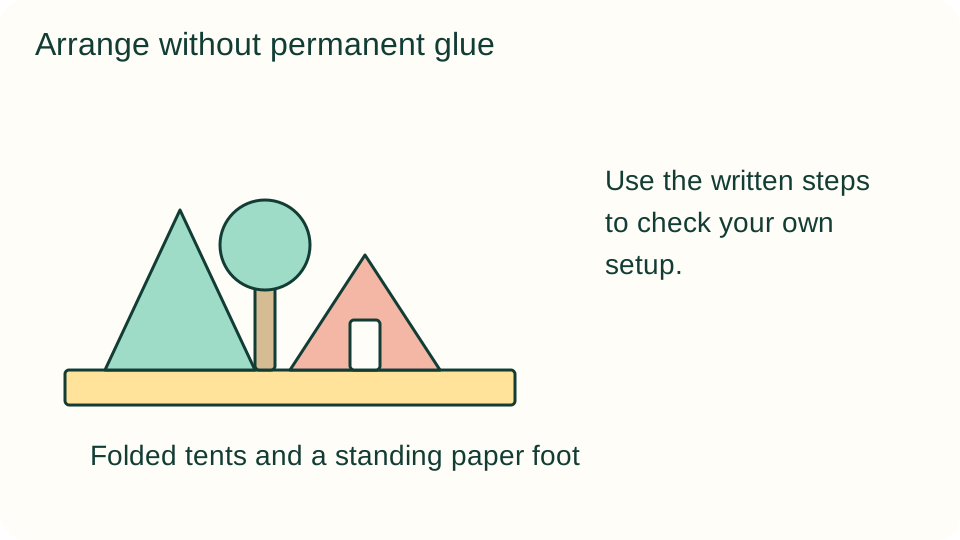
On a 10 × 12 cm rectangle, draw a broad tree shape above a 2 cm bottom border. An adult cuts the large outline but keeps the bottom border as a foot. Fold the foot backward so the tree can stand on the mat without a separate support.
4. Add a folded house
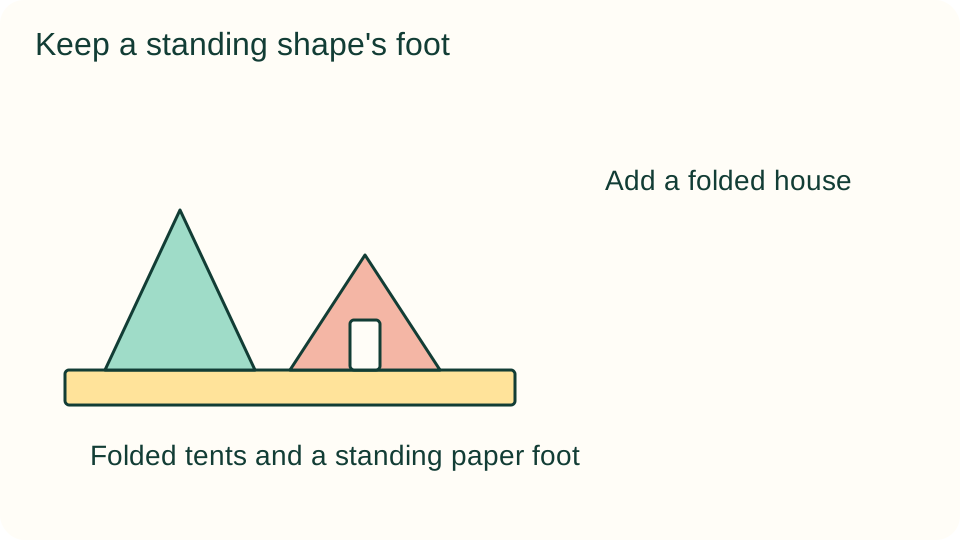
Fold a 10 × 15 cm rectangle into a tent like the hill and draw a door and window on one side. This is a simple symbolic house rather than a realistic model. Place it beside the hill and tree, leaving room to move the shapes independently.
5. Arrange and rearrange
Move one shape nearer another, turn the house, or draw a path between them. Notice which arrangement the child prefers. Pieces can remain unattached; use a small tape tab only if a child wants a particular shape secured temporarily to the mat.
6. Keep a version for later
Invite a sketch of the layout or simply fold the pieces flat for storage. The child can rebuild a similar scene or start differently next time. Do not require a story about the scene; quiet arranging and looking are complete ways to participate.
What children can explore
Children can explore placement, visual relationships, and how a fold changes a flat sheet into a standing shape. The scene need not resemble a real location. Ask which pieces should be close together or where the child wants an open space, rather than requesting a complex narrative about every object.
Make it work for your group
Offer adult-prepared standing shapes and only a few choices for beginners. Older children may add a paper bridge, pond, or second house after the initial scene works. A child can work with shapes lying flat if standing pieces are frustrating or unwanted.
At home and in the classroom
Give each classroom participant a personal mat or agree explicitly on a shared arrangement. Partners ask before moving another person's piece. At home, choose a tray-sized scene that can be relocated without occupying the whole table, and store the pieces where they will not be crushed.
Return to it another day
If the child wants to return, save usable materials and unfinished work together. Ask which part they would like to try again rather than increasing the difficulty automatically. Watching, using a tool, choosing another material, or stopping are valid options; this guide does not promise a particular emotional response.
Helpful fixes and cleanup
A falling shape may need a deeper folded foot or a less-open tent. Try that small adjustment rather than requiring more tape. Remove temporary tabs, flatten the pieces gently, and place the landscape mat and shapes in a folder. Check for loose paper scraps around the table.