Nature & Outdoor Adventures
Nature Shape Safari: Find Circles, Curves, and Branching Shapes Outdoors
 Facebook
 Pinterest
 X
X LinkedIn
 Reddit
 WhatsApp
 Telegram
 Bluesky
 Email
Email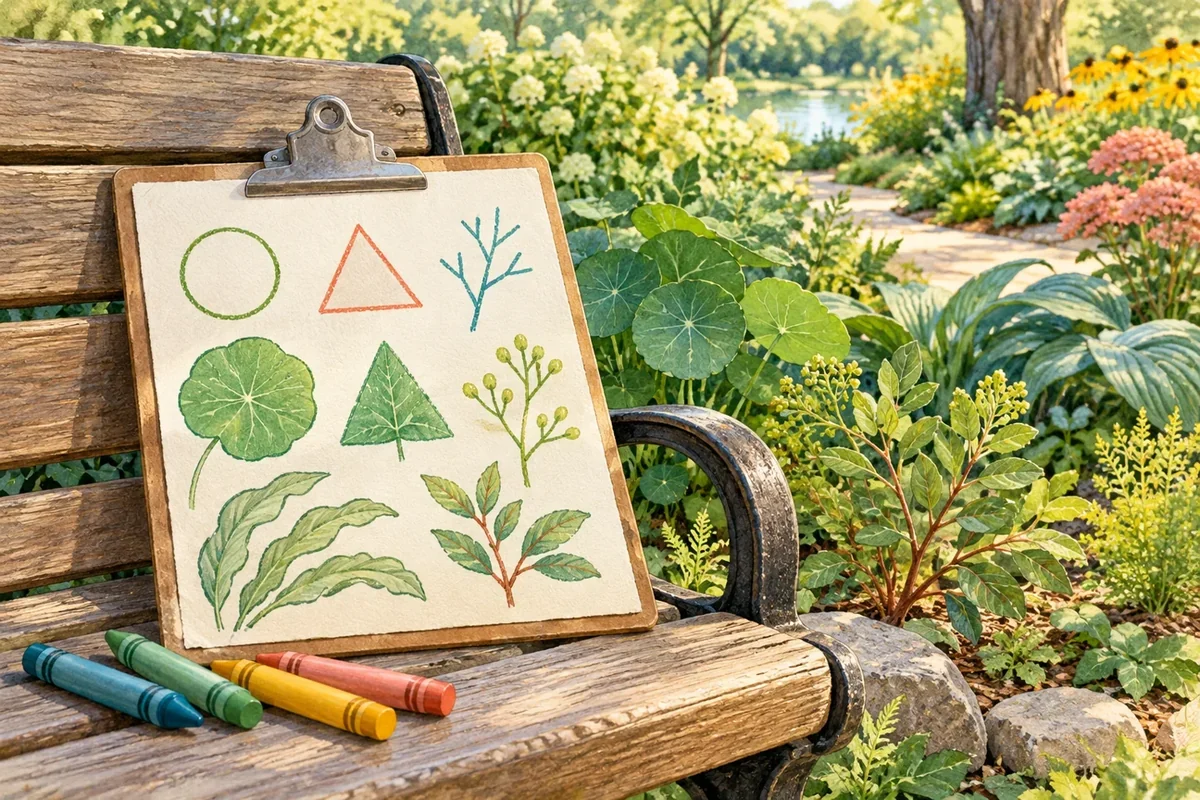
A round leaf, a curling stem, and a branching tree give children different ways to notice shape. This safari is a looking activity, not a collecting challenge. Children choose a few outlines to investigate, draw what catches their attention, and compare examples. A garden view, courtyard, or short accessible path works; you do not need a forest or a long walk.
At a glance
| Suggested ages | 4–9 |
|---|---|
| Activity time | 20–30 minutes |
| Adult setup | 5 minutes |
| Participation | Individual or small group; watching, pointing, and partner assistance are welcome |
What you need
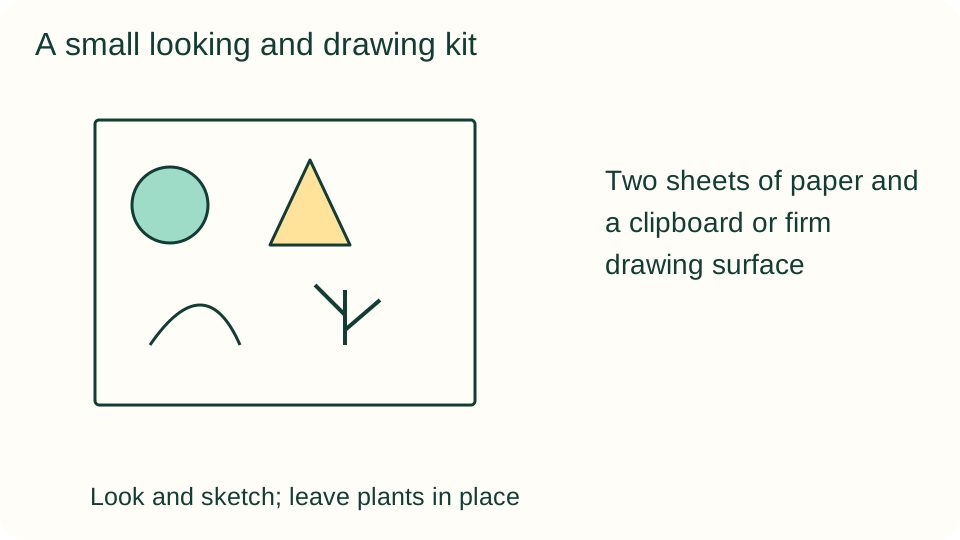
- Two sheets of paper and a clipboard or firm drawing surface
- A pencil or two to four crayons
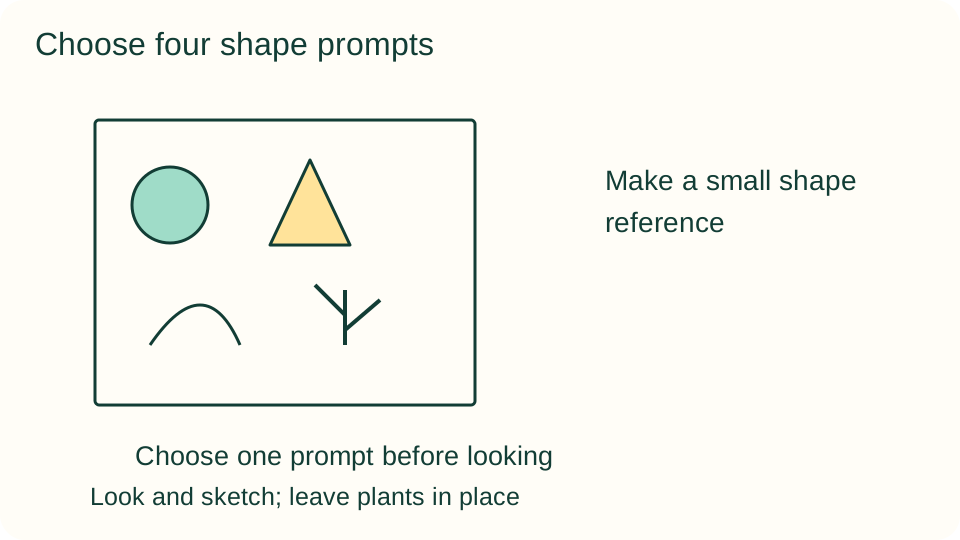
- An adult-prepared reference with a circle, triangle, curve, and branching line
- A familiar outdoor viewing area with clear boundaries
Get ready
An adult checks the route and chooses a manageable boundary away from traffic, water edges, and damaged paths. Use familiar plants as visual examples without touching them. Check current conditions, dress for the weather, and choose shade when available. Keep the group together and stop if the space or weather becomes unsuitable.
Try the activity
1. Make a small shape reference
Draw a circle, triangle, curved line, and a branching line on the first sheet. Name each together. Explain that the shapes are prompts rather than exact targets: a leaf may be almost round or have several curves. Leave room for a child to add another shape.
2. Choose one place to begin
Stand or sit in the agreed area and choose one shape from the reference. Look slowly at the plants and surroundings already within view. Do not race to find every shape. If there is nothing obvious, an adult can suggest looking at outlines rather than naming an object.
3. Notice an outline
Point to an example without reaching into vegetation. Describe what makes it resemble the chosen shape: a curved edge, three broad points, or a main stem splitting into smaller stems. Accept different reasonable interpretations and ask the child to show the part they mean.
4. Sketch and locate the discovery
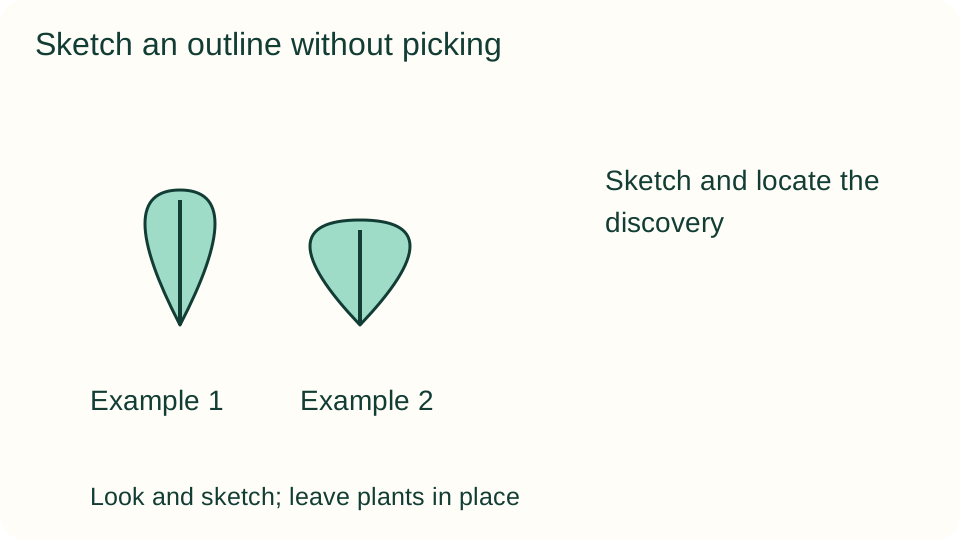
On the second sheet, draw a broad outline rather than every detail. Add a simple location clue, such as beside the bench or near the gate. An adult can write the child's words. Keep the plant in place and move the drawing surface instead of moving the object.
5. Compare a second example
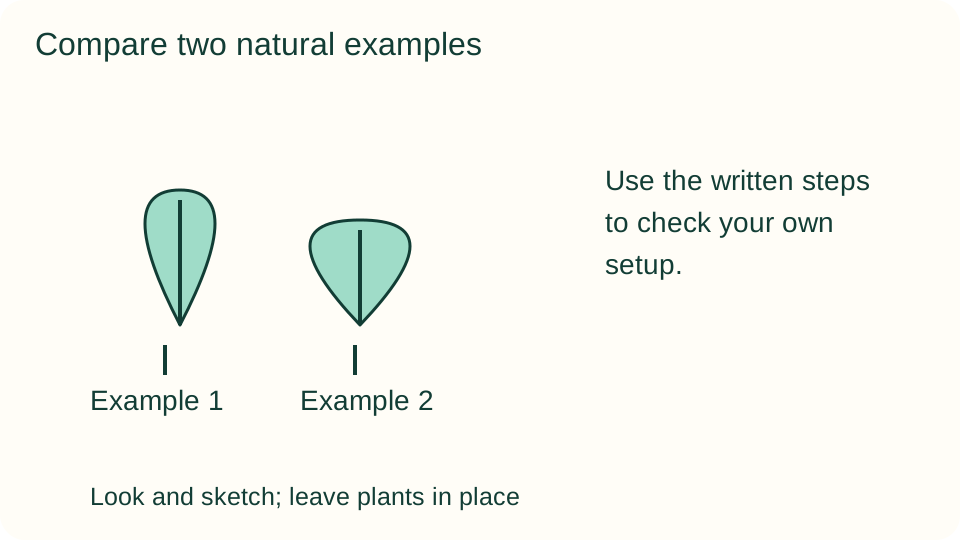
Find another example of the same shape from the safe viewing area. Sketch it beside the first. Ask which edges are smoother, which curve is tighter, or where the branching begins. Look for differences as well as similarities; matching two perfect circles is not the goal.
6. Share a shape gallery
Arrange the sketches on a table or hold them together for a short discussion. Invite each participant to point out one chosen detail. A partner can connect the drawing to the reference card. Finish with a shape the child would like to notice on a future outing.
What children can explore
Natural outlines do not usually match ideal geometric shapes. Comparing them gives children a reason to look closely and describe their choices. Ask whether one object could fit more than one prompt. Keep observations specific rather than declaring a drawing correct because it resembles an adult's example.
Make it work for your group
Offer just circles and curves for a younger child, or invite older children to distinguish an outline from a pattern inside it. A seated participant can investigate one garden view; an indoor participant can observe through a window. Pointing, describing, and directing an adult's drawing are valid ways to take part.
At home and in the classroom
At home, use a familiar yard or a short section of a public path. In a classroom, let pairs investigate different shapes within the same supervised area. One partner can observe while the other draws, then swap roles. Avoid sending children to separate hidden locations to complete a checklist.
Return to the observation
Keep the original record with any later notes so changes remain visible. Before returning outdoors, an adult checks permission, access, and current conditions again. Repeat only the parts that interest the child, and record what actually happens rather than recreating an expected result.
Helpful fixes and cleanup
If a shape is difficult to find, change the prompt or viewing direction without extending the boundary. Store the reference and sketches together. Count pencils and crayons before leaving, check that no paper remains outdoors, and leave plants and other natural features exactly as you found them.