STEM & Discovery
Paper Roller-Coaster Tracks: Explore Slopes, Turns, and Speed
 Facebook
 Pinterest
 X
X LinkedIn
 Reddit
 WhatsApp
 Telegram
 Bluesky
 Email
Email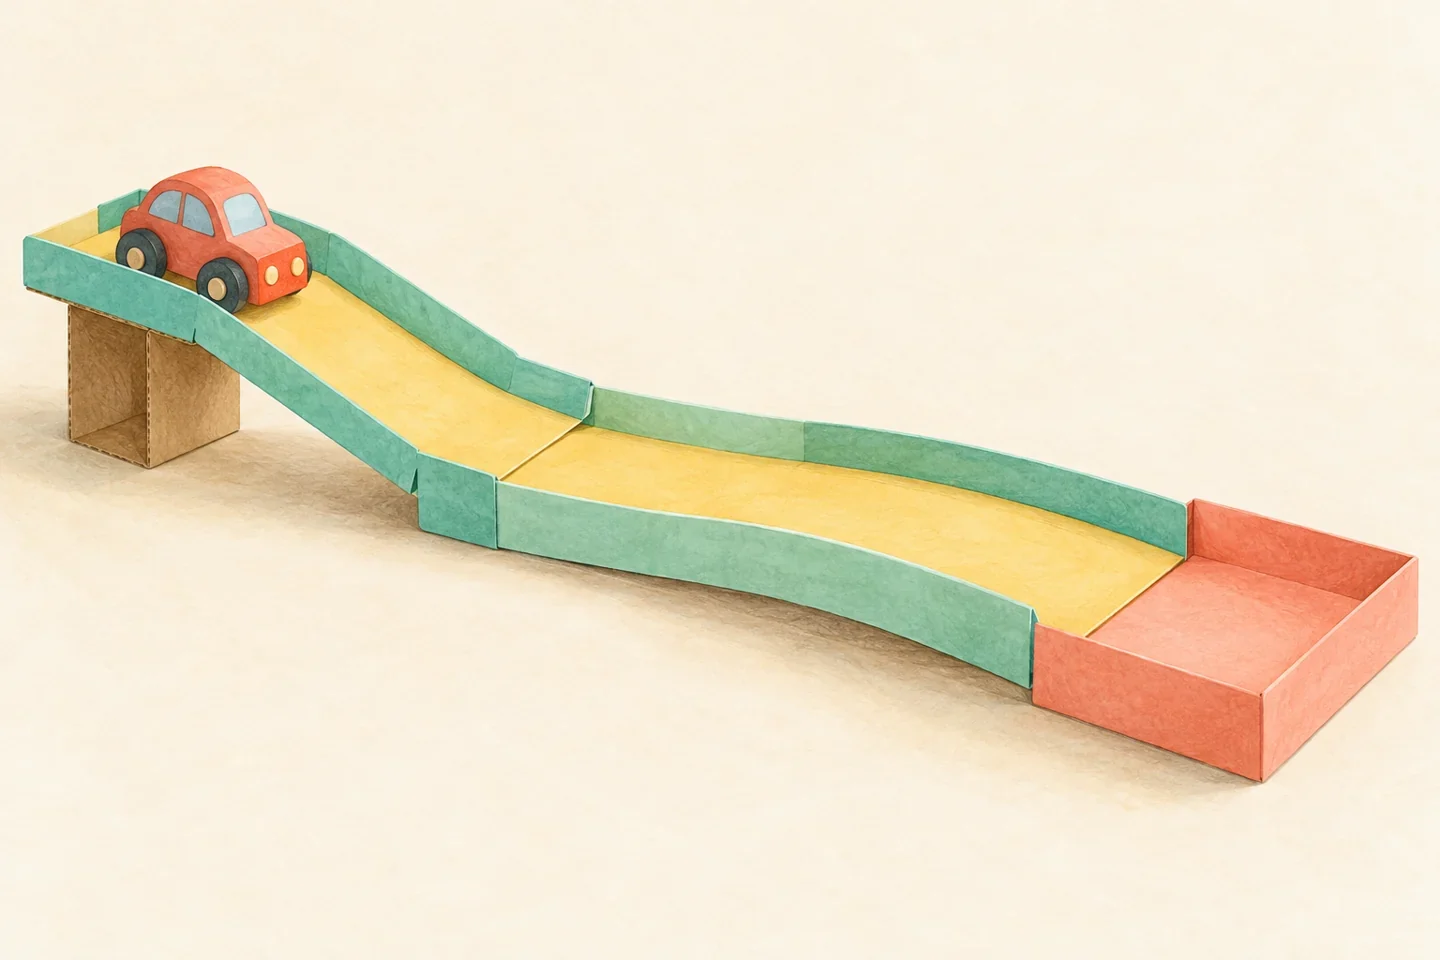
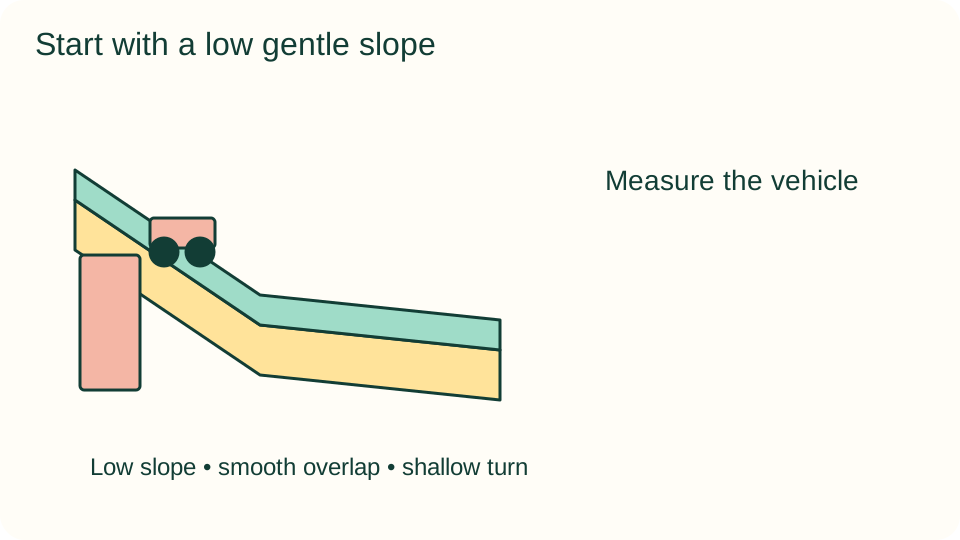
This miniature roller-coaster-inspired track uses a toy vehicle on a low paper road, not a person-carrying ride. Children investigate smooth joins and broad changes of direction. Unlike a narrow marble run, the track must leave room for the vehicle's wheels and body. Start with one gentle slope and a nearly straight bend; complete loops are not part of this design.
At a glance
| Suggested ages | 6–10 |
|---|---|
| Activity time | 35–50 minutes |
| Adult setup | 10–15 minutes |
| Participation | Individual or small group; watching, pointing, and partner assistance are welcome |
What you need
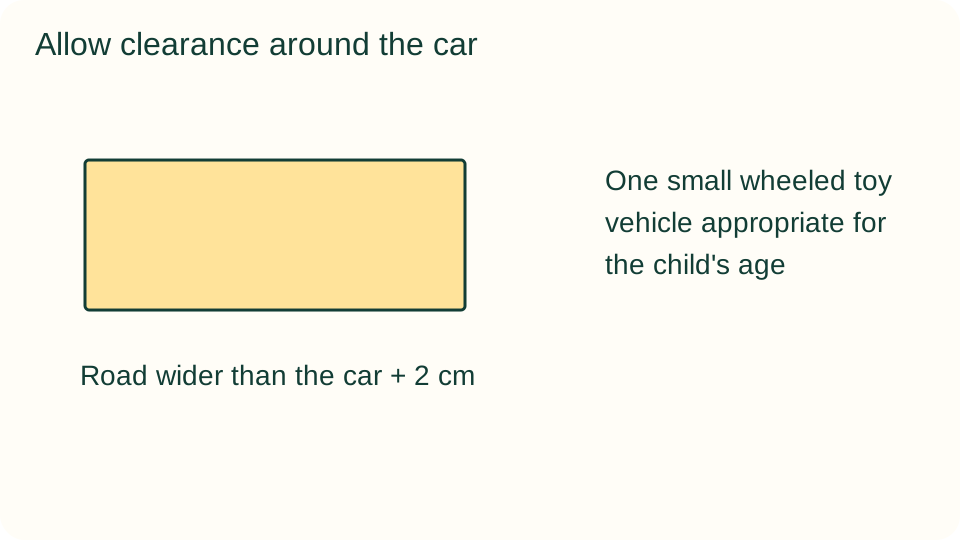
- One small wheeled toy vehicle appropriate for the child's age
- Two cardstock strips, each about 10 × 30 cm
- Low stable cardboard supports, masking tape, ruler, and a shallow catch tray
Get ready
Choose a vehicle that rolls freely and fits the track with space on either side. Work on the floor or a low table with an adult monitoring the edge. Keep supports below about 10 cm for the first build. An adult cuts strips and checks recycled cardboard for staples.
Try the activity
1. Measure the vehicle
Measure the widest part of the vehicle, including wheels. The flat road between side walls should be at least 2 cm wider than that measurement. If a 10 cm strip is too narrow after folding walls, prepare a wider strip rather than squeezing the car.
2. Fold the first road
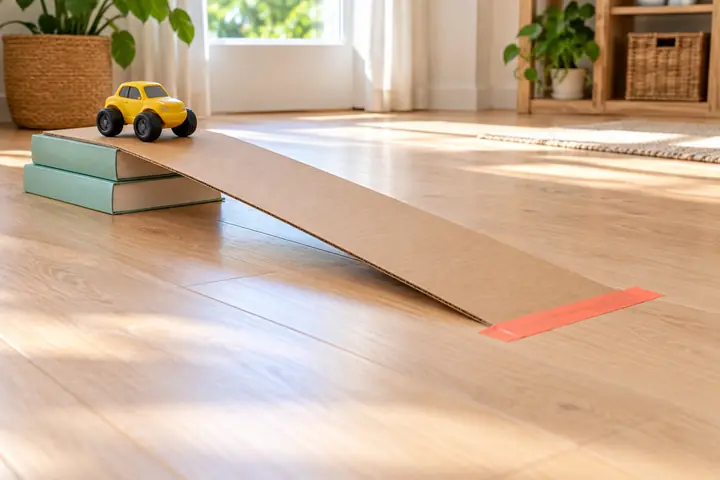
Fold a 1 cm side wall upward along each long edge of the first strip. Crease without wrinkling the middle. Place one short end on a low support and the other on the floor or table, making a gentle slope with a clear landing area.
3. Create a broad direction change
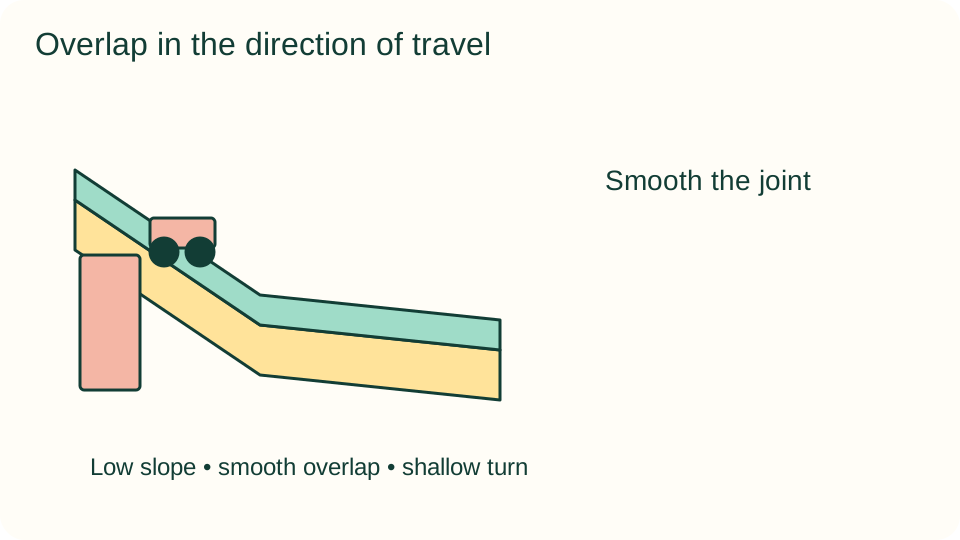
Prepare the second strip with the same side walls. Position it mostly flat, rotated only slightly from the first. Overlap the lower end of the slope over the start of this strip by about 2 cm, making a shallow bend rather than a sharp corner.
4. Smooth the joint
Tape the overlapping road edges flat so the car rolls from the upper layer onto the lower one. Keep bulky tape folds outside the wheel path. Add the catch tray beyond the final strip, and check the joint with a slow hand-guided pass before releasing the car.
5. Test gentle releases
Place the car at a marked point on the slope and let go without pushing. Run it three times. Note whether it reaches the catch tray, strikes a wall, or stops at the join. Use the same car and release position throughout this first comparison.
6. Revise the problem section
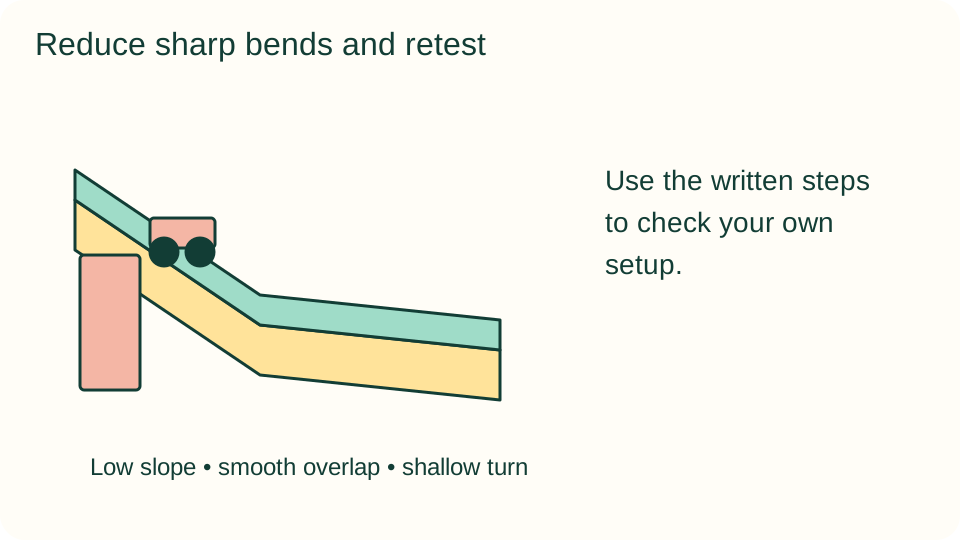
If the car stops, flatten the overlap; if it hits a wall, reduce the bend angle or widen the road. Change one feature and repeat three runs. A successful run is useful, but repeatability matters more than a dramatic single launch.
What children can explore
Gravity helps a released car move down a slope, while contact with the road and obstacles can slow or stop it. Road width and the car's ability to turn limit the curve. This guide does not promise banked curves, vertical loops, or a particular speed; the design should follow the vehicle's actual behavior.
Make it work for your group
Use one straight slope and a catch tray for a shorter beginner activity. Older children can compare two shallow bend angles while retaining the same slope. A child who prefers drawing can sketch the track and mark stop points while a partner handles tape and releases.
At home and in the classroom
Make one shared testing lane rather than several cars rolling into one another. Rotate designer, track builder, releaser, and observer between complete test sets. At home, store the supported strips flat and reuse the same vehicle when comparing an improved layout on another day.
Save your discoveries
Copy a simple record onto paper: what you changed, what stayed the same, and what happened. Drawings, pointing to a sketch, or notes dictated to an adult work as well as independent writing. Record the actual observations, including trials that did not go as expected.
Helpful fixes and cleanup
A stationary car may have a wheel rubbing on the folded wall; widening the track is more useful than raising the slope sharply. Remove loose tape and damaged supports. Return the toy vehicle, flatten reusable strips, and keep the track sketch with notes about its difficult join.