Sensory & Quiet-Time Activities
Design a Pattern Bookmark: A Small Creative Project
 Facebook
 Pinterest
 X
X LinkedIn
 Reddit
 WhatsApp
 Telegram
 Bluesky
 Email
Email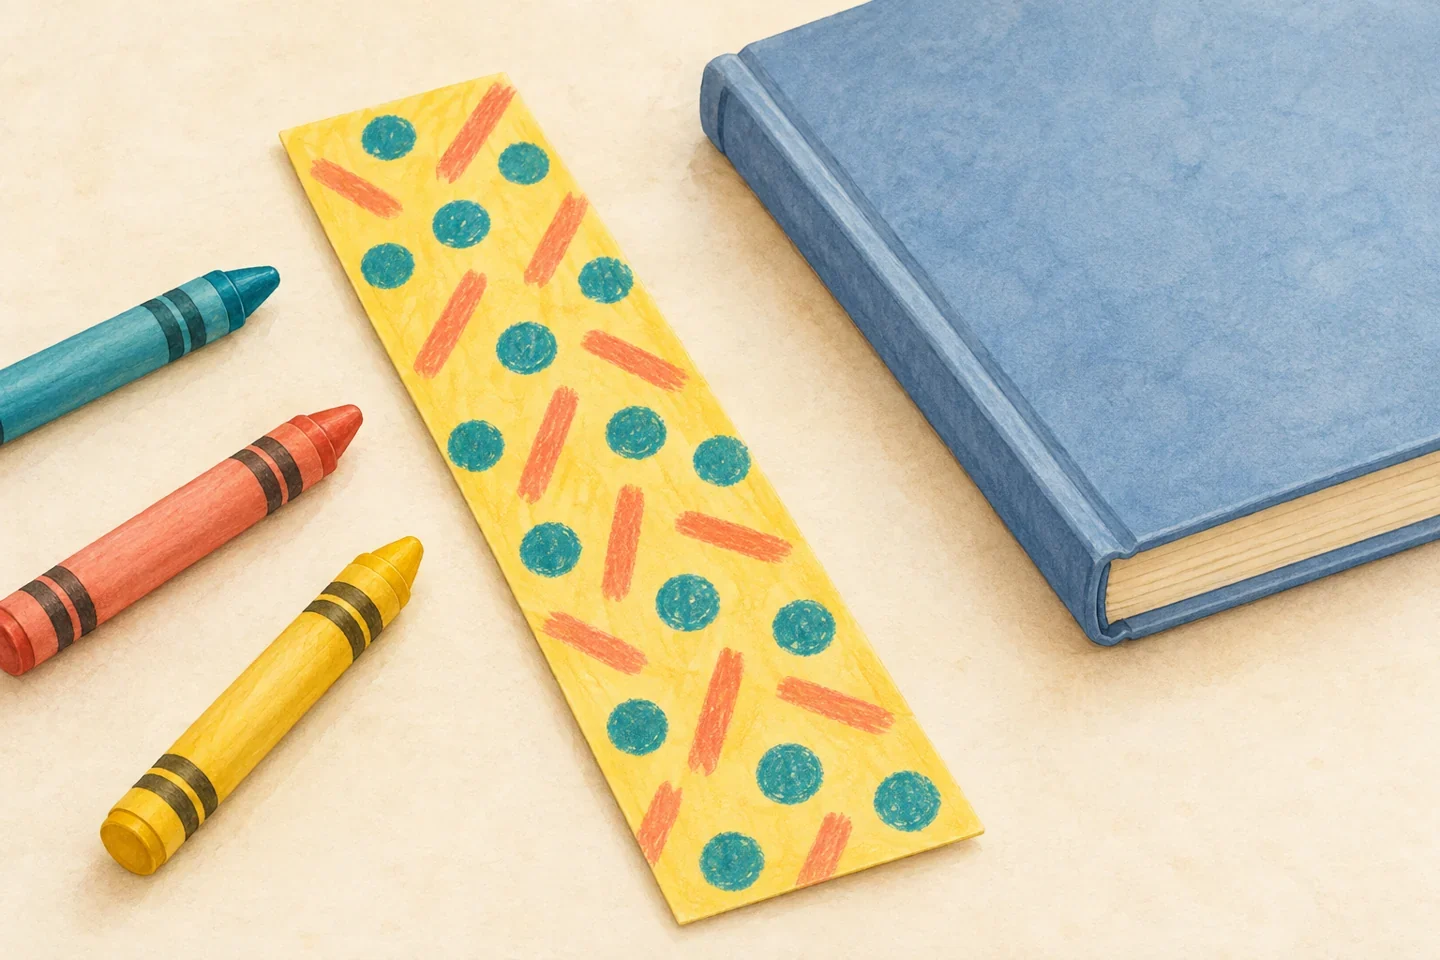
A small bookmark offers a contained drawing space and a practical connection to reading together. Children can use a repeated pattern, an original picture, or a few broad marks. There are no beads, tassels, or special finishing materials. The finished bookmark belongs to the child's design choices and does not have to match a polished adult example.
At a glance
| Suggested ages | 5–10 |
|---|---|
| Activity time | 15–25 minutes |
| Adult setup | 5 minutes |
| Participation | Individual or small group; watching, pointing, and partner assistance are welcome |
What you need
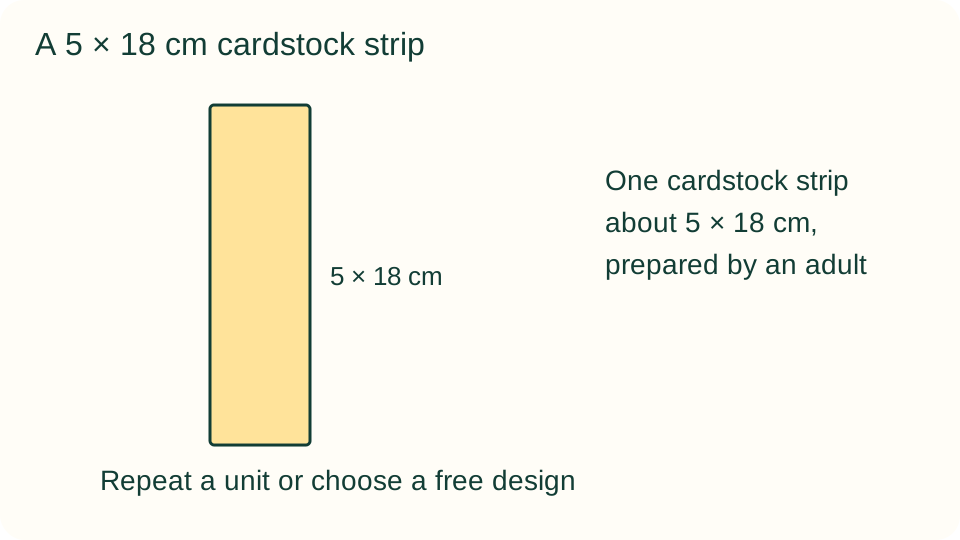
- One cardstock strip about 5 × 18 cm, prepared by an adult
- Two to four familiar crayons or colored pencils
- Scrap paper, an optional ruler, and a book for checking the fit
Get ready
An adult cuts the strip and checks smooth edges and comfortable corners. Keep drawing tools appropriate to the child. Do not laminate with equipment during the session or add small decorations. Protect the table with scrap paper so a mark can continue past an edge without causing a problem.
Try the activity
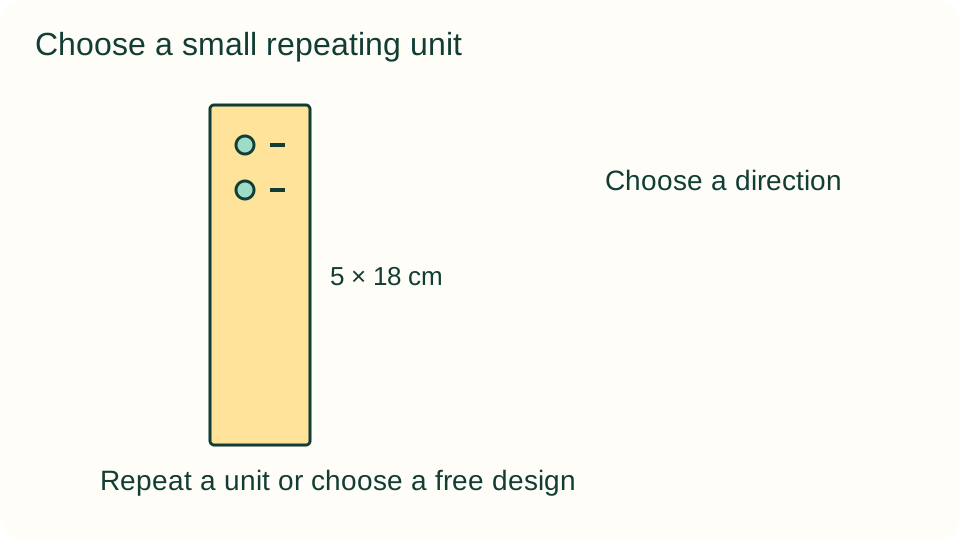
1. Choose a direction
Place the strip vertically or horizontally and let the child decide which way to use it. Offer an open page before suggesting a pattern. A bookmark can have one decorated side or two, but completing both is not a condition for keeping it.
2. Select a simple unit
If a pattern is wanted, choose two marks such as a dot and dash, a circle and square, or two alternating colors. Draw one pair on scrap paper first. Explain that repeating this small unit can make a pattern, while another design is equally welcome.
3. Continue the sequence
Add another pair along the strip, leaving whatever spacing feels comfortable. Pause to look at the earlier marks before continuing. If the child changes the sequence intentionally, let the design develop rather than treating every departure from the example as an error.
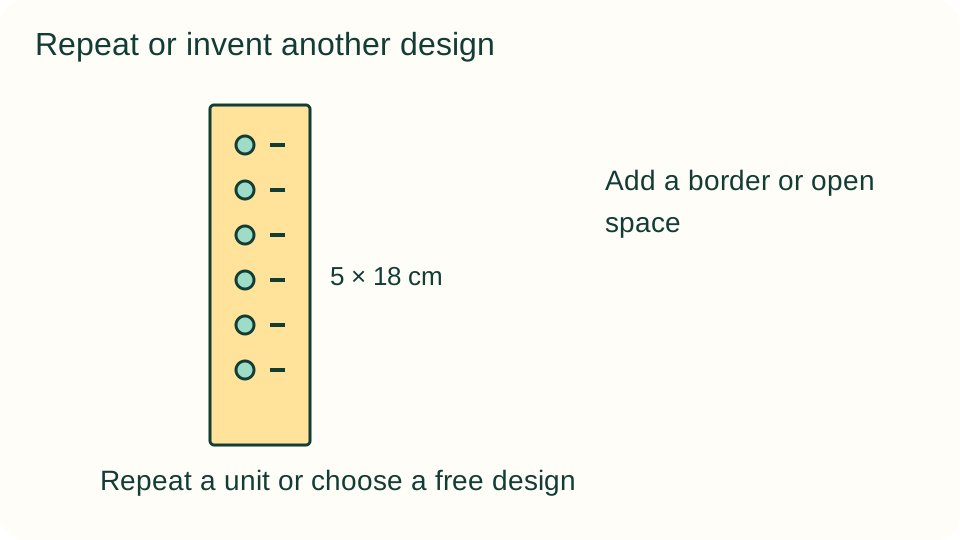
4. Add a border or open space
Offer a broad line near one edge, a few corner marks, or no border at all. A ruler is optional. Keep the strip flat and turn it on the table as needed; asking the child to reach awkwardly around a narrow page can make a small project unnecessarily difficult.
5. Check the bookmark in a book
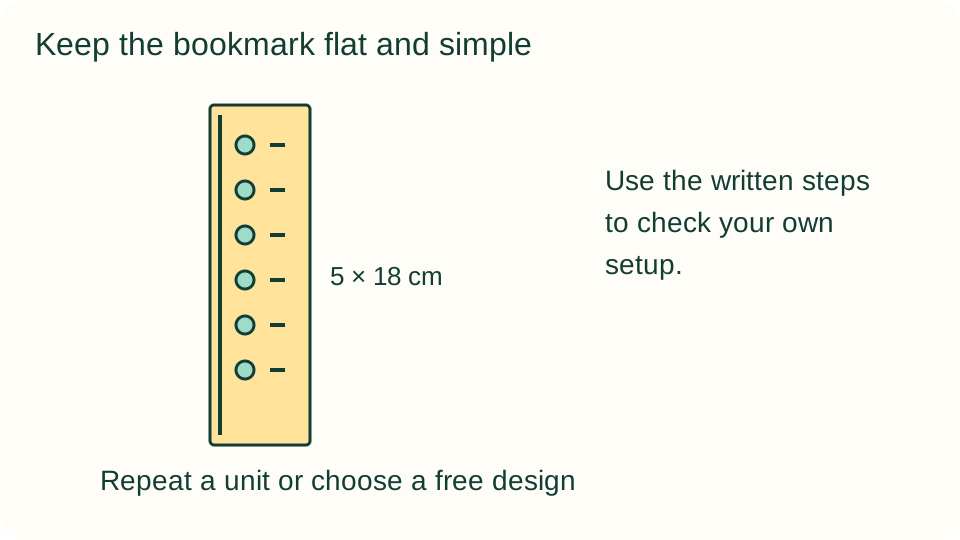
Place the strip between pages of a suitable book with a small part showing at the top. Use dry drawing tools so the surface does not transfer wet color. It should lie flat without glued-on bulky pieces that press into the pages.
6. Choose a use or a home
The child can put the bookmark in a current shared-reading book, store it in a folder, or give it away if they choose. Ask before labeling it with a name or assigning it as a gift. Another blank strip can wait for a later session.
What children can explore
Children can explore repetition, spacing, contrast, and the relationship between a paper object and its use. A bookmark may include a pattern without becoming a formal mathematics task. Ask which marks repeat or which color makes a detail easier to see, following interest rather than testing recall.
Make it work for your group
Use a wider strip and a few large marks for easier handling. Prepare an adult-drawn starting unit if a child wants one, but keep free drawing available. Older children may create two different repeating units or compare a wide and narrow border without needing to decorate a full set.
At home and in the classroom
At home, connect the activity with choosing a book to read together. In a classroom, provide individual strips and a small tool selection at each place. Do not require children to exchange bookmarks or place private names on a public display; storage and sharing remain choices.
Return to it another day
If the child wants to return, save usable materials and unfinished work together. Ask which part they would like to try again rather than increasing the difficulty automatically. Watching, using a tool, choosing another material, or stopping are valid options; this guide does not promise a particular emotional response.
Helpful fixes and cleanup
If the strip curls, keep it flat in a folder until ready to use. If colors rub off, choose a cleaner dry tool and test on scrap first rather than putting the bookmark into a valued book immediately. Return tools, recycle small offcuts, and store spare strips for another session.