Sensory & Quiet-Time Activities
Slow Drawing Paths: Lines, Loops, and Gentle Patterns
 Facebook
 Pinterest
 X
X LinkedIn
 Reddit
 WhatsApp
 Telegram
 Bluesky
 Email
Email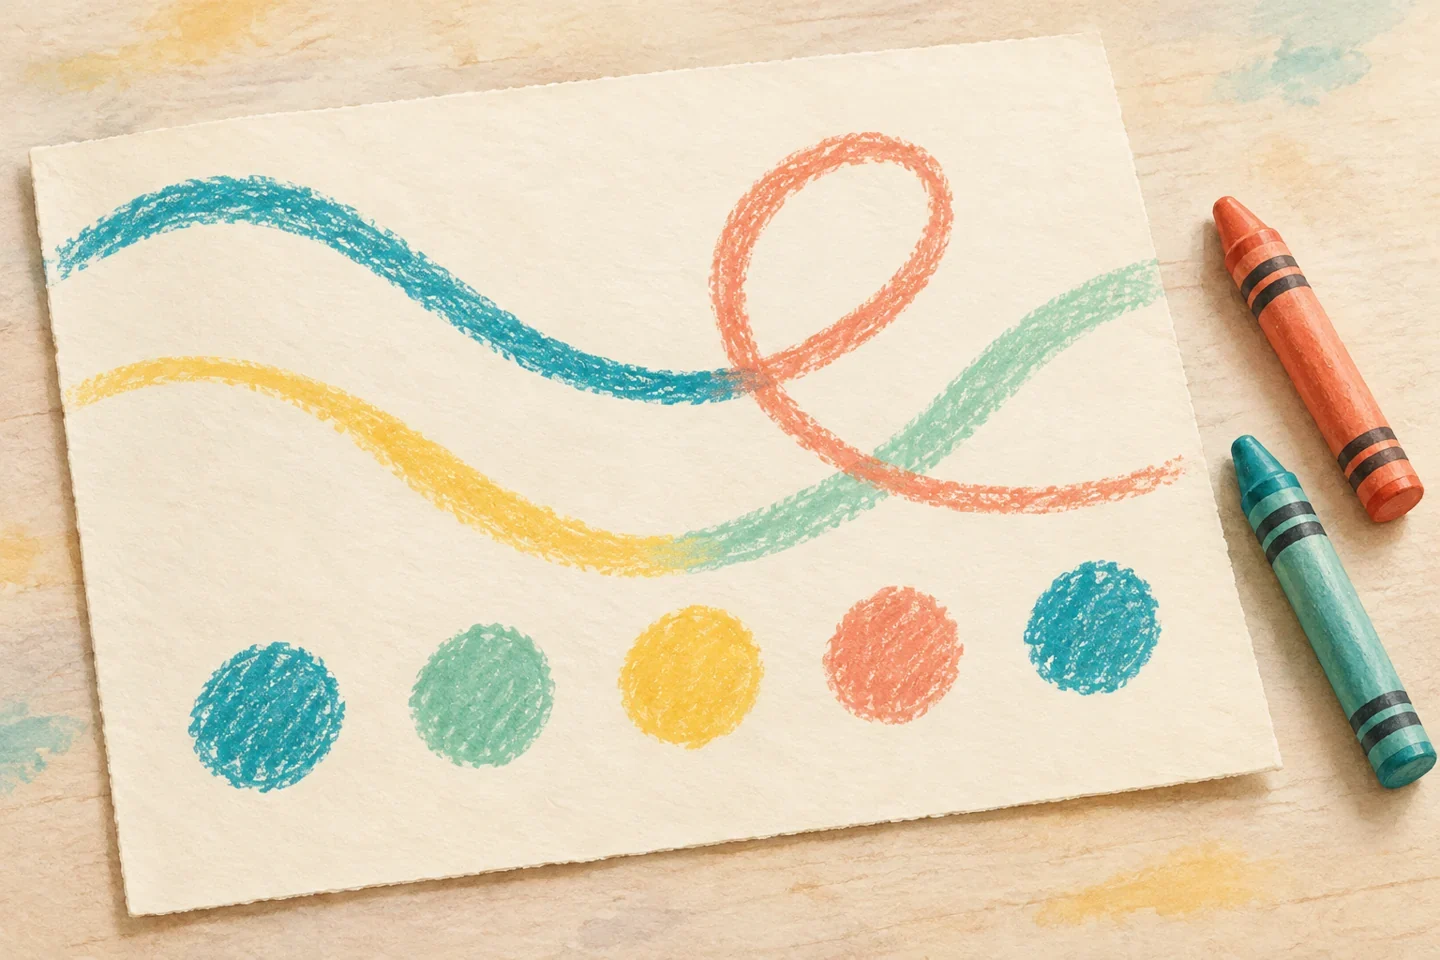
A long line can curve, loop, stop, and begin again. This drawing invitation gives children space to explore those movements without timing, scoring, or handwriting targets. The word slow describes an available pace, not a rule the child must obey. A few marks or a finger-followed path can be the whole activity.
At a glance
| Suggested ages | 4–9 |
|---|---|
| Activity time | 10–20 minutes |
| Adult setup | 5 minutes |
| Participation | Individual or small group; watching, pointing, and partner assistance are welcome |
What you need
- Two or three large sheets of plain paper
- Two familiar crayons or broad drawing tools
- A smooth stable surface and optional removable tape to hold paper
Get ready
Place paper within a comfortable reach and provide a supportive seated or standing position. Check the drawing tools for damaged ends. If taping the corners, use a surface-safe tape and leave the drawing area unobstructed. No timed breathing, closed eyes, or required body position is part of the activity.
Try the activity
1. Make a starting mark
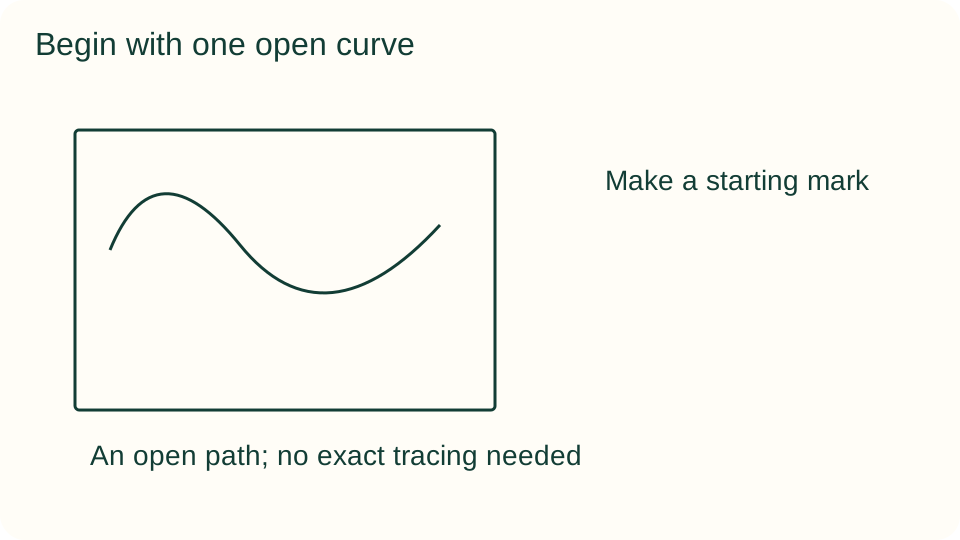
Invite one dot near an edge or let the child choose another starting place. Show a short broad line on a separate sheet if needed. Leave plenty of empty paper so the demonstration does not become a shape that must be traced exactly.
2. Draw an open path
Move the tool from the dot across part of the page. Try a gentle curve or a bend, then lift the tool whenever wanted. There is no need to reach the opposite edge or keep contact with the paper throughout the movement.
3. Explore a loop
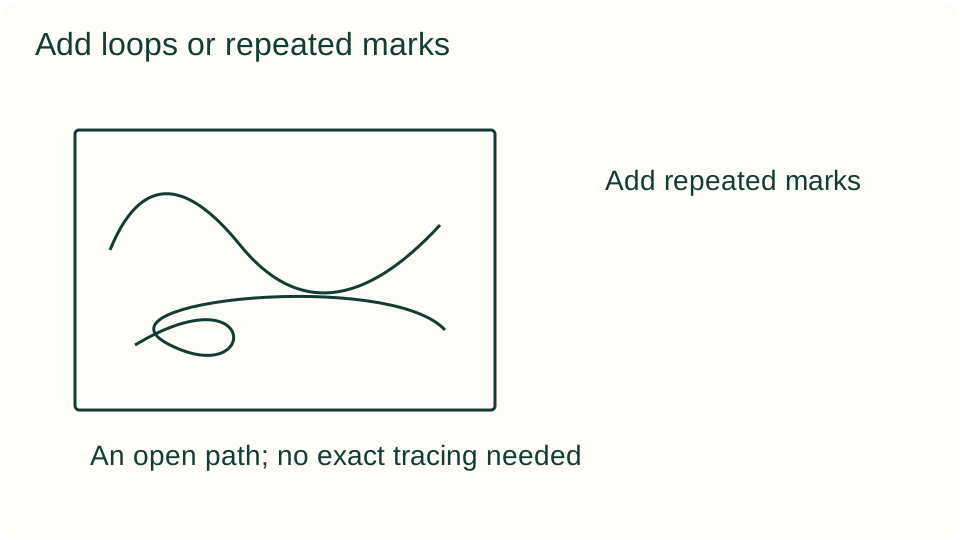
Add one loose loop to the path or draw it separately. The line can cross itself or remain open. Describe the actual mark, such as a curve turning back toward its starting place, rather than correcting it into a perfect circle.
4. Add repeated marks
Choose dots, short dashes, or small arches beside one section. Repeat as many as the child wants, with space between them if helpful. Keep this as an invitation to experiment; do not count errors or require equal spacing across a full row.
5. Follow a path another way
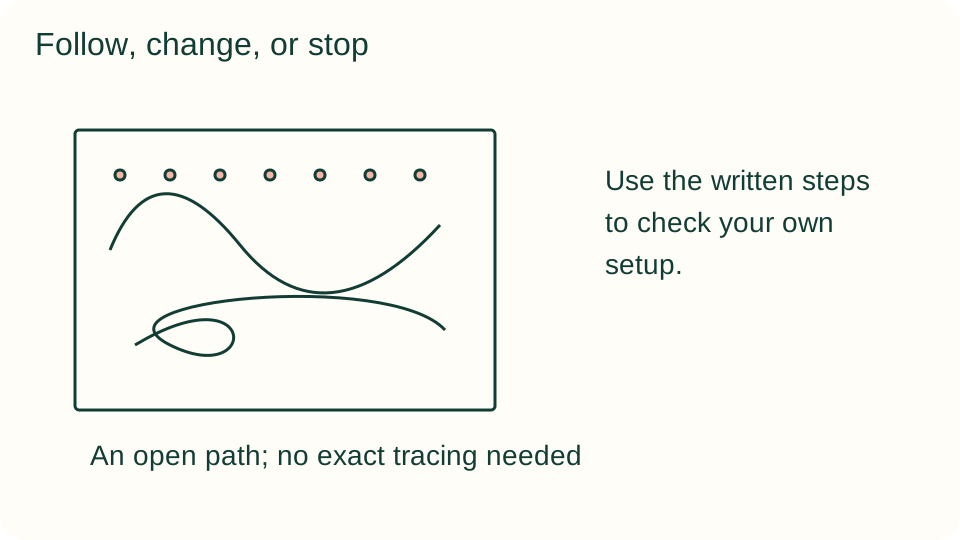
Set the crayon aside and follow a line with a finger if comfortable. Another option is to point to the direction while an adult follows it. The drawn line is a visual route, not a narrow boundary that fingers must stay inside.
6. Choose a second version
Offer a fresh sheet, another color, or a pause. A child may redraw a favorite curve or make something entirely different. Put the first sheet beside the new one if they want to compare, and allow the activity to finish before a second page begins.
What children can explore
Children can notice how direction, pressure, and tool angle change a mark. Crossing lines and uneven spacing are ordinary features of exploratory drawing. This guide is not a therapy or handwriting assessment. Ask which motion felt interesting or which part of the page they would like to revisit.
Make it work for your group
Use thicker tools and larger paper for broader movements. Offer one adult-drawn path for a child who wants a starting route, but keep exact tracing optional. Older children may create two contrasting paths, such as angular and curved, then describe their choices without assigning one greater value.
At home and in the classroom
At home, share the table while drawing on separate pages so one person's marks remain their own. In a classroom, provide individual papers and keep verbal prompts brief. Participants can choose to observe, finger-follow, or draw; these are alternative ways to use the same invitation.
Return to it another day
If the child wants to return, save usable materials and unfinished work together. Ask which part they would like to try again rather than increasing the difficulty automatically. Watching, using a tool, choosing another material, or stopping are valid options; this guide does not promise a particular emotional response.
Helpful fixes and cleanup
If the paper slips, secure the corners rather than asking the child to press harder. If marks are difficult to see, offer a contrasting tool or darker line. Remove tape gently, store unfinished drawings flat, and return the tools without requiring a display-ready picture.