Sensory & Quiet-Time Activities
Quiet-Time Texture Cards: A Simple Sensory Activity for Kids
 Facebook
 Pinterest
 X
X LinkedIn
 Reddit
 WhatsApp
 Telegram
 Bluesky
 Email
Email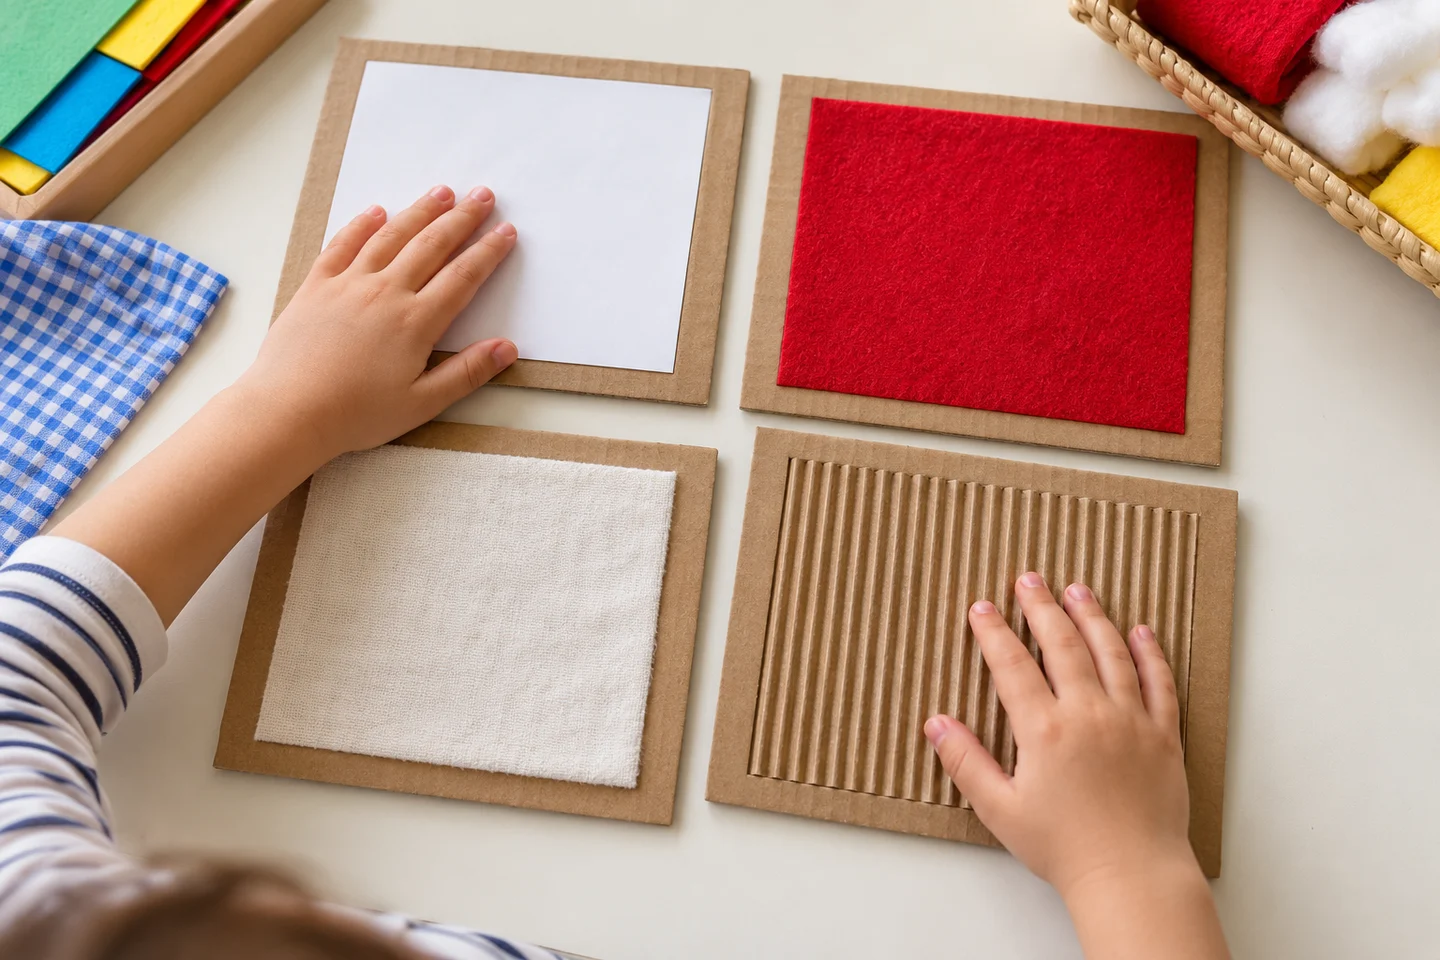
A smooth piece of felt, a ridged cardboard surface, or a soft fabric patch can each feel different. Texture cards gather a few of those surfaces into a small collection children can explore in their own way.
This is a quiet invitation to look, touch, compare, or choose a favorite. The cards do not need to produce a particular mood; they simply offer another kind of hands-on discovery.
At a glance
| Detail | Plan |
|---|---|
| Suggested ages | 4–8, with adult assembly checks |
| Preparation | 15–20 minutes, plus the glue’s stated drying time |
| Creating time | 20–30 minutes |
| Exploring time | Optional 5–10-minute sessions after drying |
| Group size | One child or individual sets in a classroom |
What you need
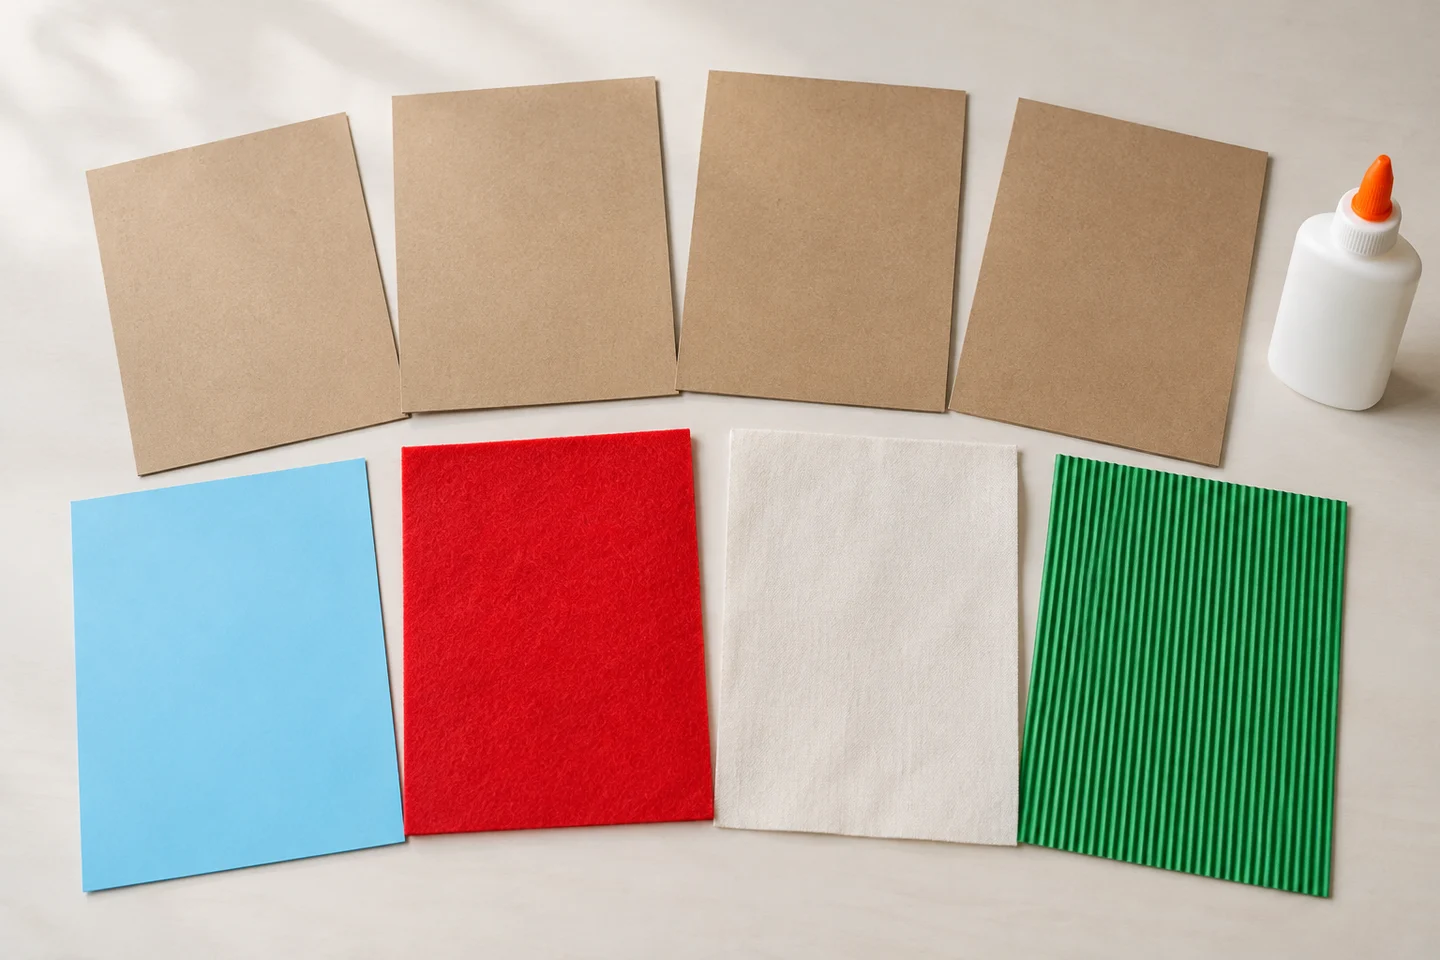
- Four sturdy cardboard bases, each about 5 × 7 inches.
- Four large, clean texture pieces, about 4 × 6 inches, such as felt, cotton fabric, or corrugated card.
- Glue suitable for those materials and the children’s ages.
- Scissors for adult preparation.
- A flat drying space and storage envelope or box.
For a classroom, begin with six shared sets of four cards rather than making one for every child. Choose materials that do not shed or have sharp parts. Leave out loose beads, tiny decorations, rough abrasives, and materials children may be sensitive to.
Get ready
Adults check the materials and cut pieces slightly smaller than the bases, leaving about half an inch of card visible around each edge. Set out two textures first if a large selection feels busy. Ask which ones the child would like to include.
Make and explore the cards
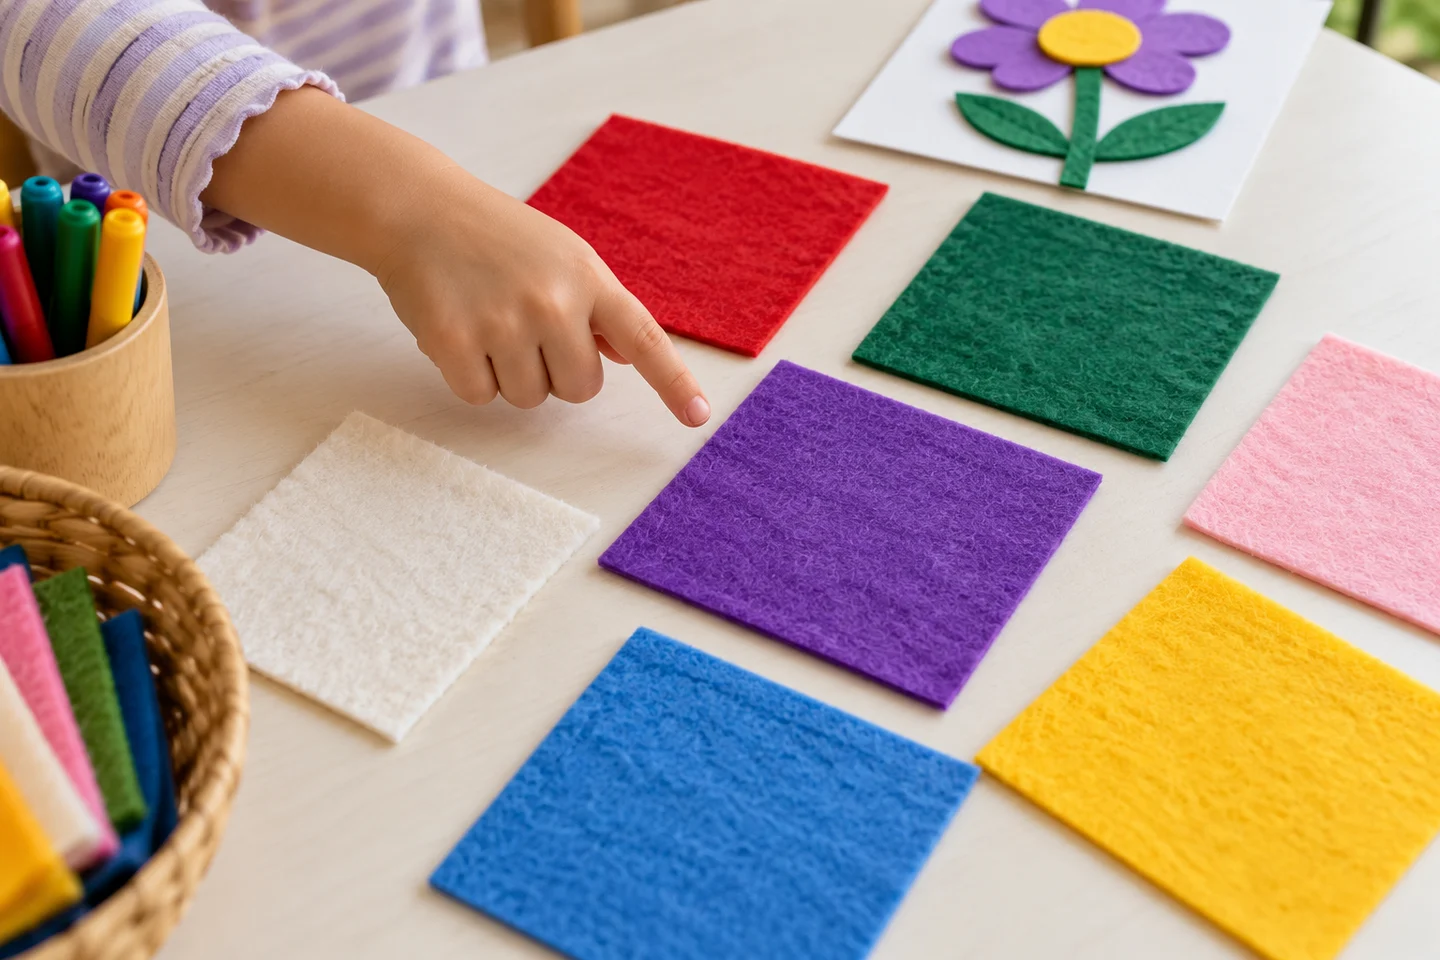
1. Choose a surface
Place a texture on its base without glue. Look at its shape and position. The child can choose by appearance or ask someone to describe how it feels.
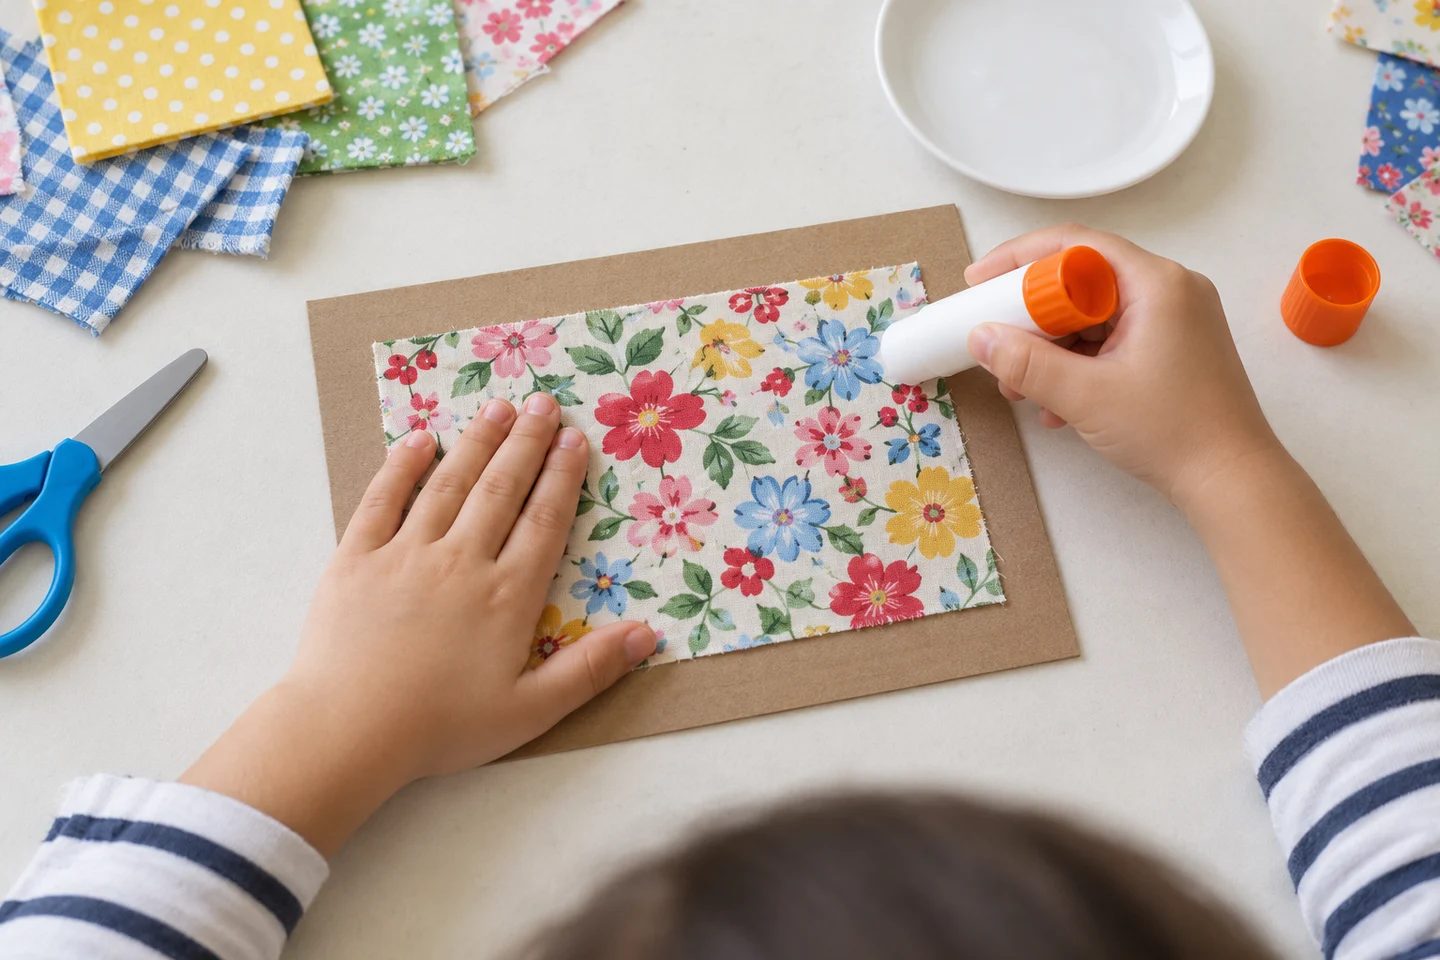
2. Attach it securely
Apply glue according to its directions, including the edges. Press the material onto the base. An adult can help with firm pressure or a fabric that is difficult to attach.
3. Allow drying time
Leave the cards flat for the adhesive’s full drying time. If making and exploring happen on different days, store the completed cards together once dry.
4. Check before using
An adult gently checks the edges and corners. Repair or remove pieces that lift, shed, or detach. The surface should stay in place during ordinary handling.
5. Offer a small choice
Present one or two cards and invite the child to look, touch, or hear a description. Ask, “Would you like to try this one?” A child can decline a texture or explore visually instead.
6. Compare or arrange
If interested, place cards beside one another. Children may describe smooth and ridged surfaces, sort by color, or pick a favorite. Stop when the exploration no longer feels enjoyable.
What children can explore
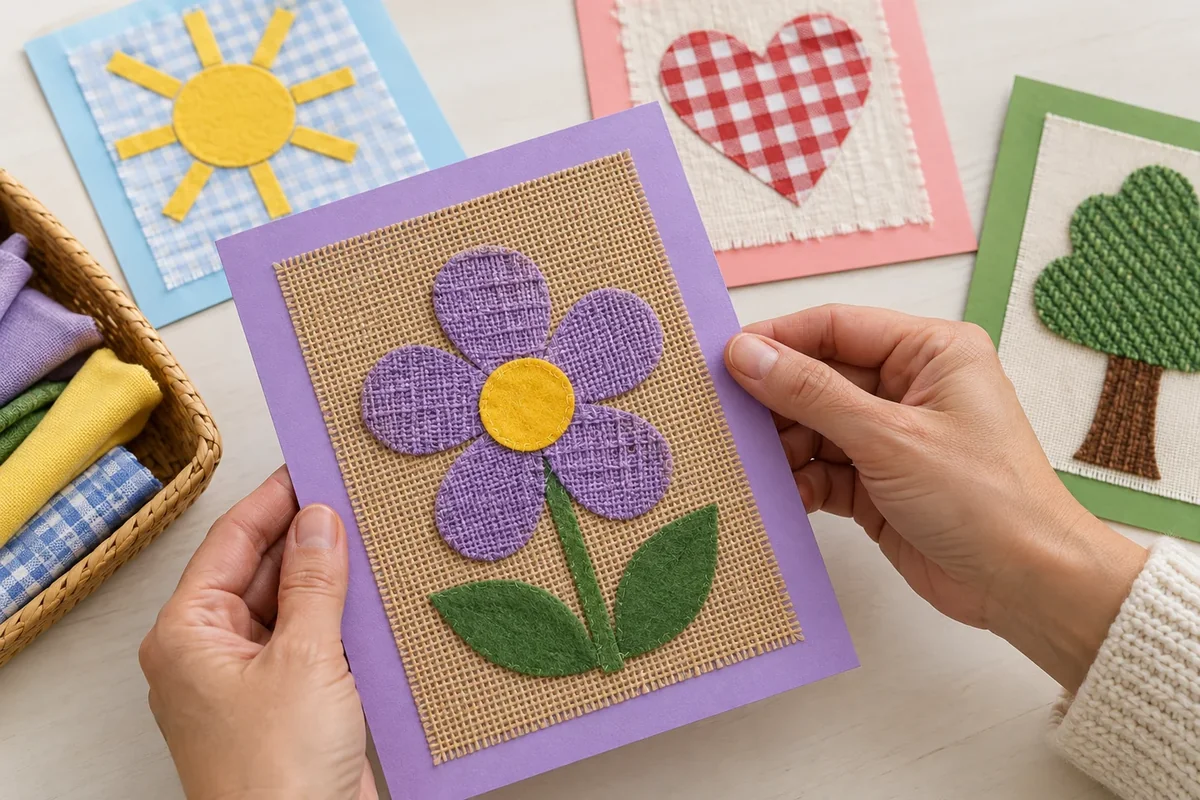
The cards introduce descriptive words such as soft, smooth, bumpy, and ribbed. Try, “What do you notice about this surface?” or “Which two look most alike?” The child’s own words and comparisons can lead the conversation.
At home and in the classroom
At home, keep a small set near a reading or art space. In class, offer cards as an optional station with a clean tabletop. Check their condition between uses and follow your setting’s usual cleaning guidance for shared materials.
Make it work for your group
Use larger cards, fewer choices, visual descriptions, or partner assistance. Children who prefer not to touch can point, look, or arrange the cards. Older children may create a descriptive label or predict which texture will make a clear crayon rubbing.
Helpful fixes and cleanup
Lifting edges need repair and drying before reuse. Unpleasant textures can simply be removed from the set. Keep cards clean and dry, discard damaged ones, and return them to their box ready for another gentle exploration.