Hanukkah
Hanukkah Paper Pattern Chains
 Facebook
 Pinterest
 X
X LinkedIn
 Reddit
 WhatsApp
 Telegram
 Bluesky
 Email
Email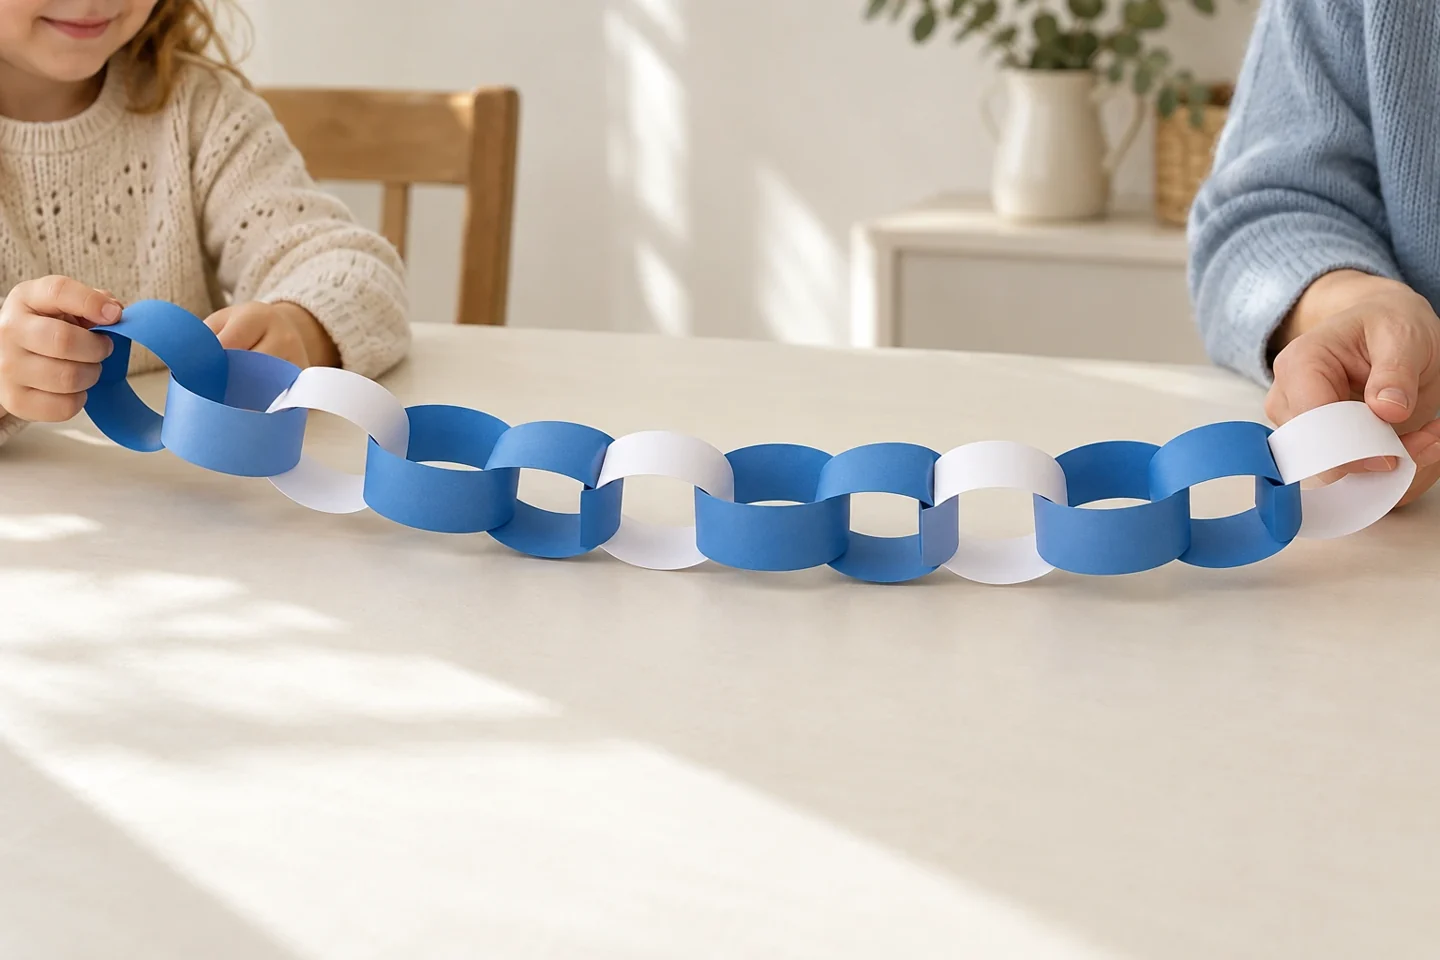
Your activity at a glance
| Suggested ages | 4–8 |
|---|---|
| Activity time | 25–35 minutes |
What you need
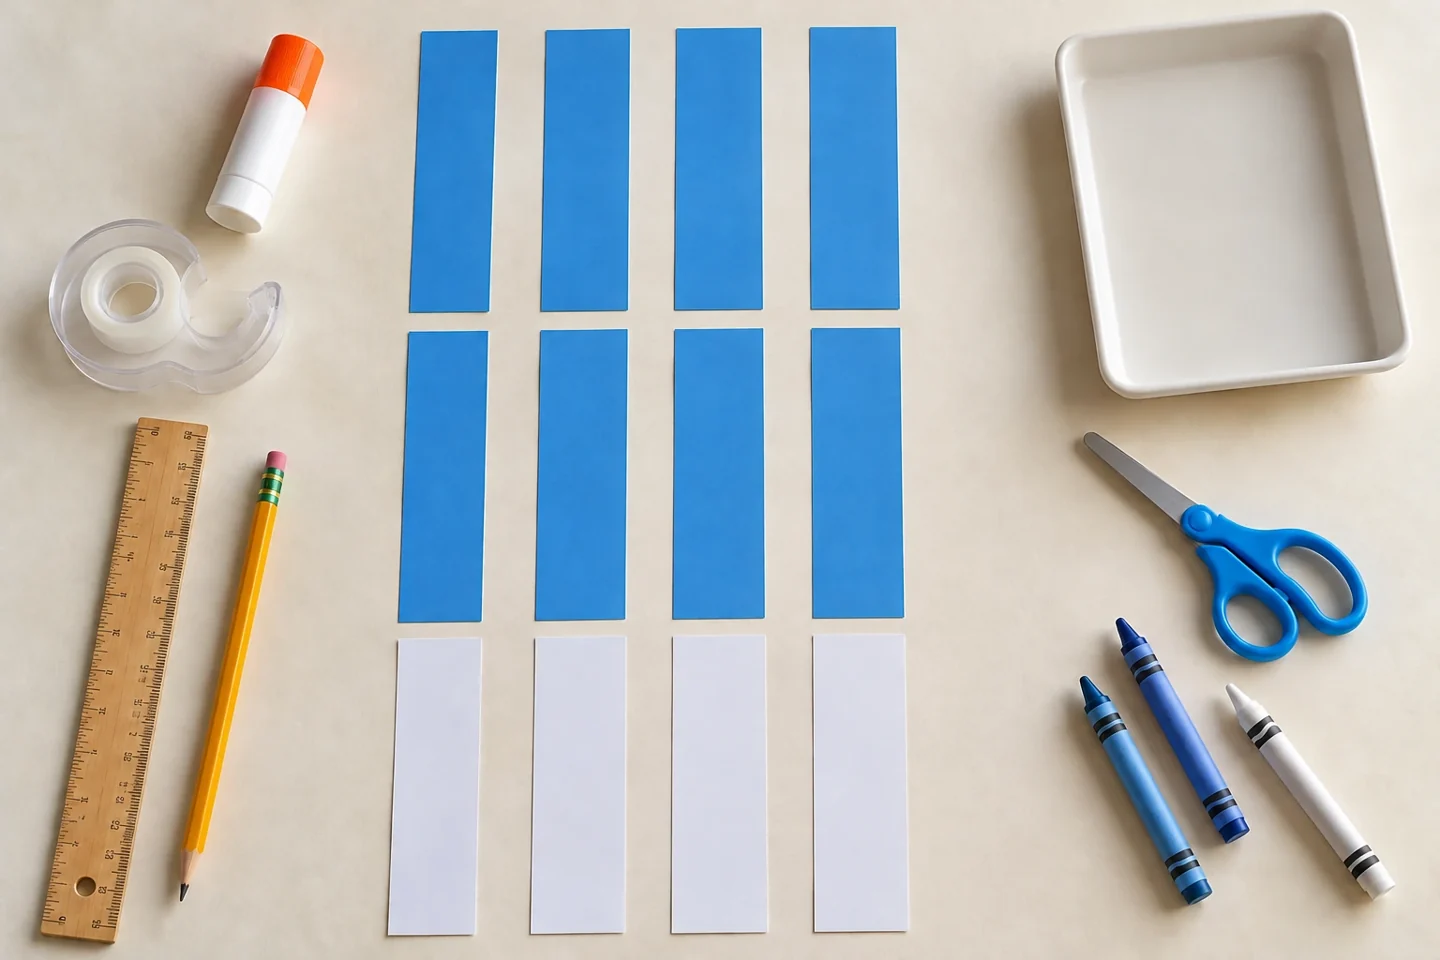
- 12 paper strips approximately 1 × 8 inches in two or three chosen colors
- Glue stick or clear tape
- Crayons for optional patterns
- Ruler, pencil, and scissors
- A tray for loose strips
Thread a repeating color sequence
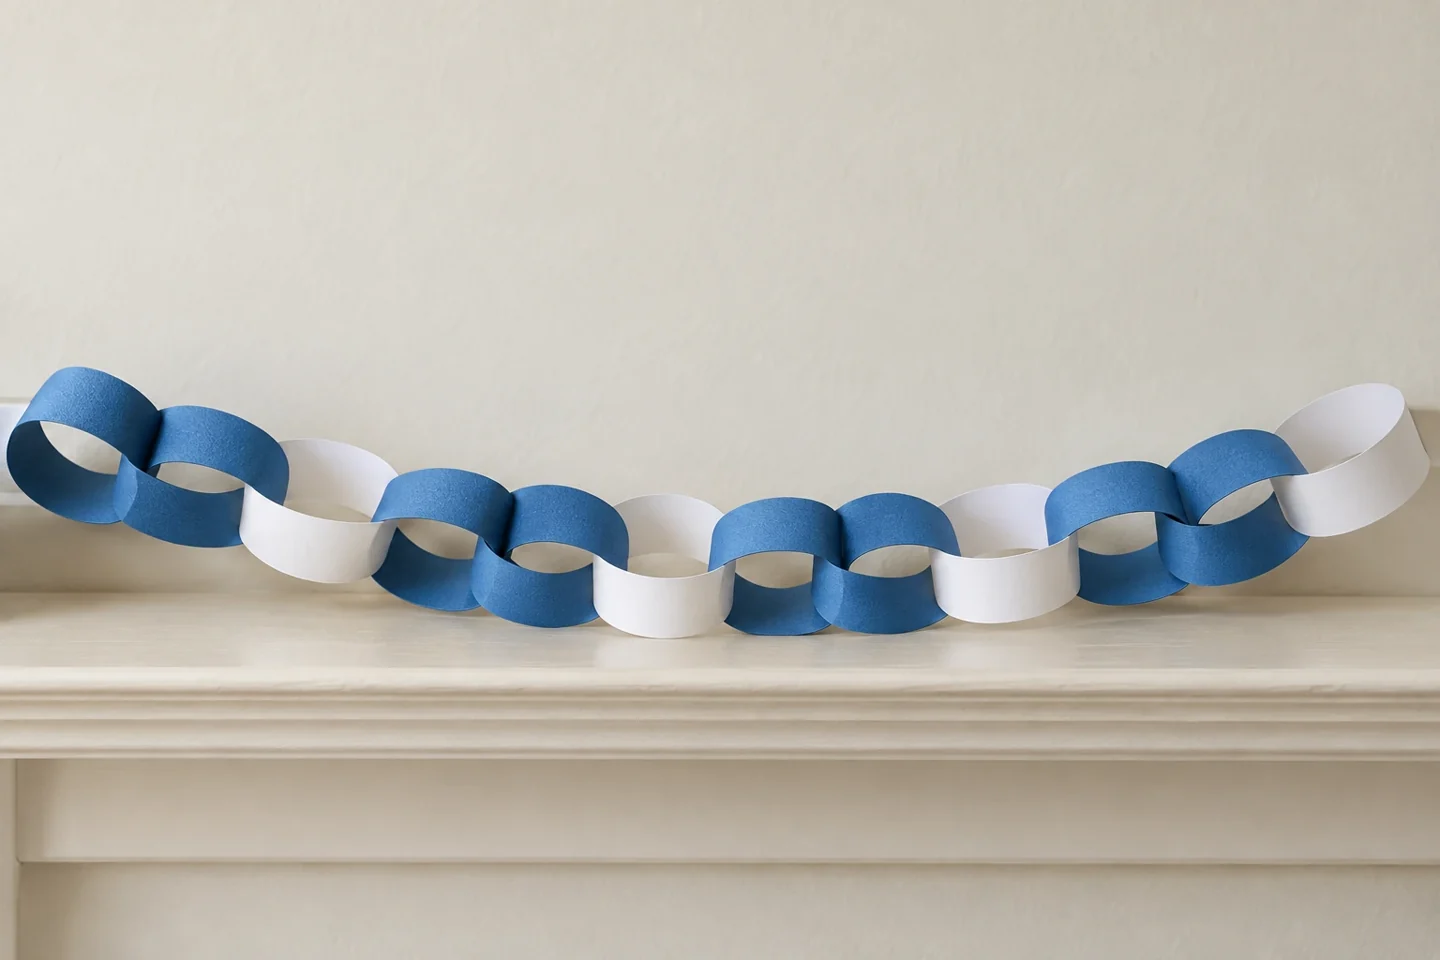
A paper chain is a simple decoration that makes a repeating pattern visible from one end to the other. For this Hanukkah craft, children can choose blue and white or another palette they like, then decide how their colors will repeat. The paper chain is a creative decoration, not a ritual object or a traditional requirement. Its useful learning moment comes when a child predicts which strip should follow the last link.
Before you begin
Make twelve equal strips and sort them into two color piles of six before starting. Blue-white is an easy first repeat because every next choice changes color. Keep the glue or tape within reach, with the first strip flat in front of the child. Show the threading action once, then let them build the sequence.
Let’s make it, step by step
1. Choose the colors
Set out two or three paper colors and explain that this is a handmade decoration for Hanukkah. Blue and white are common decorative choices, but children can choose another combination. Select colors that remain easy to distinguish when the chain is hanging.
2. Cut equal strips
Measure twelve strips approximately 1 inch wide and 8 inches long. An adult can cut them for younger children. Equal strip lengths help the loops look similar in size, making the color sequence easier to see rather than distracting attention with very different link sizes.
3. Plan the repeating unit
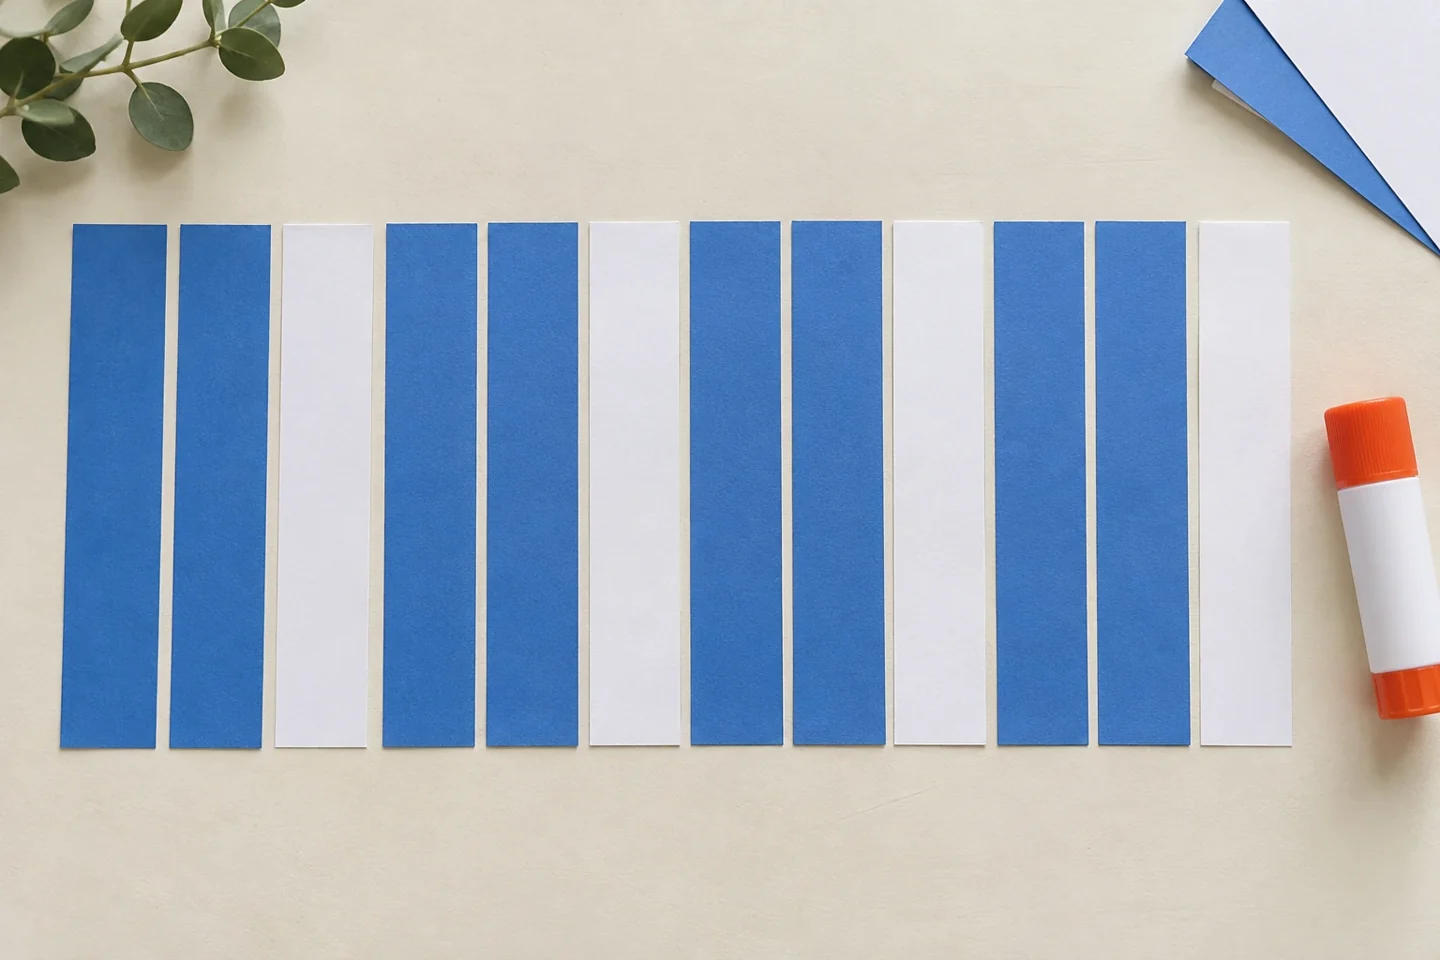
Lay strips flat in a short sequence such as blue-white or blue-blue-white. Name the part that repeats. Repeat that unit twice on the table before joining anything. Children can point to the next color or choose its strip rather than needing to say a label.
4. Decorate before joining
Add drawn dots, lines, or small stars to the flat strips if desired. Keep about an inch at each end clear for the overlap. Decorating the strip while it lies flat is easier than drawing on the curved outside of a finished loop.
5. Make the first link
Curve the first strip into a loop and overlap its ends by about an inch. Glue or tape the overlap securely. Hold the join until it grips. The loop should be open enough for another strip to pass through comfortably.
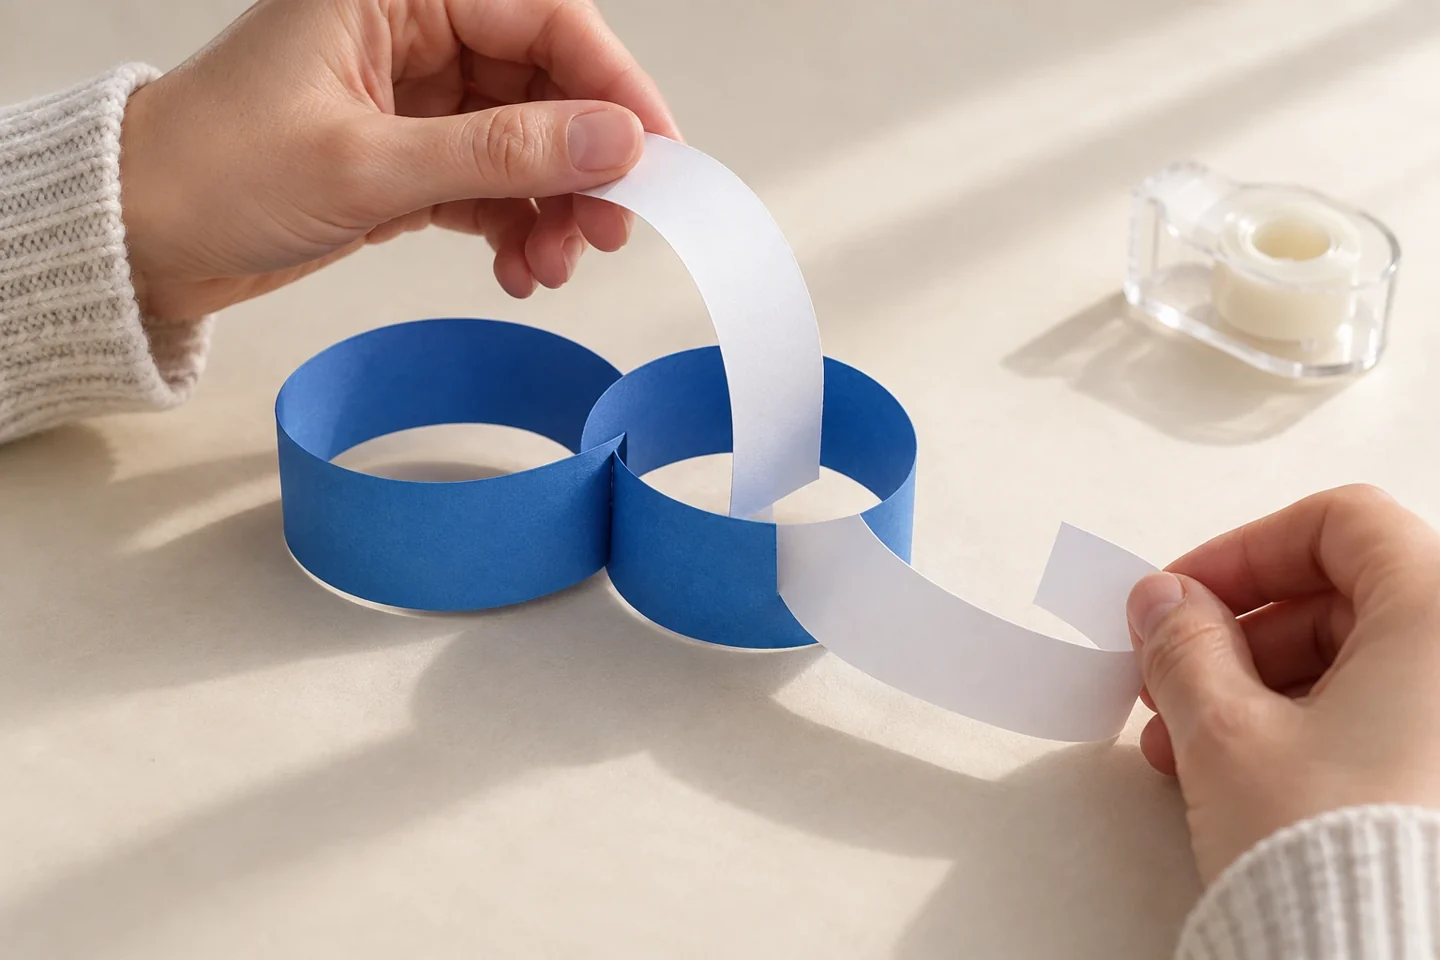
6. Thread the next link
Pass the next strip through the first loop before joining its ends. Check the chosen color sequence, then close the second loop. Repeat this motion slowly so children see why threading must happen before the new loop is sealed.
7. Continue and check
Add links until all twelve strips are used or the chain reaches the planned length. Lay it down and trace the repeating unit along the links. If a color differs from the plan, children can keep their variation or replace the link intentionally.
8. Display the chain
Have an adult place the chain on a suitable shelf or wall display away from candles and heat. Keep it out of pathways and off children’s bodies. Invite children to show the repeating unit and tell someone which color would come next.
Talk, notice, and learn together
Ask, “Where does your pattern start again?” and “What comes after two blue links?” The sequence can be extended without making a longer chain: children can lay the predicted next strips nearby. The construction also offers practice coordinating one hand that holds a loop with another that threads paper.
Make it work at home or in a classroom
For younger children, use wider strips and a two-color alternating pattern. Older children can try a three-part unit or compare two chains with different rules. In a classroom, pairs can share the threading and joining jobs, swapping roles after a few links so both children practice each movement.
Helpful fixes and cleanup
If links open, reinforce overlaps with short tape pieces. If strips tear, use cardstock-light paper rather than very thin tissue. Keep finished chains loosely coiled in a box, without heavy objects on top. Loose unused strips can stay flat in the same storage tray.
A useful way to extend the activity
A twelve-strip set can show several pattern lengths. An alternating two-color unit repeats six times, while a blue-blue-white unit repeats four times. Children can build both sequences flat before choosing which to join. If they use the same number of strips, the chain lengths may be similar even though the color rhythm differs. Compare the units by pointing, without requiring written notation.