Hanukkah
Make a Hanukkah Window Garland
 Facebook
 Pinterest
 X
X LinkedIn
 Reddit
 WhatsApp
 Telegram
 Bluesky
 Email
Email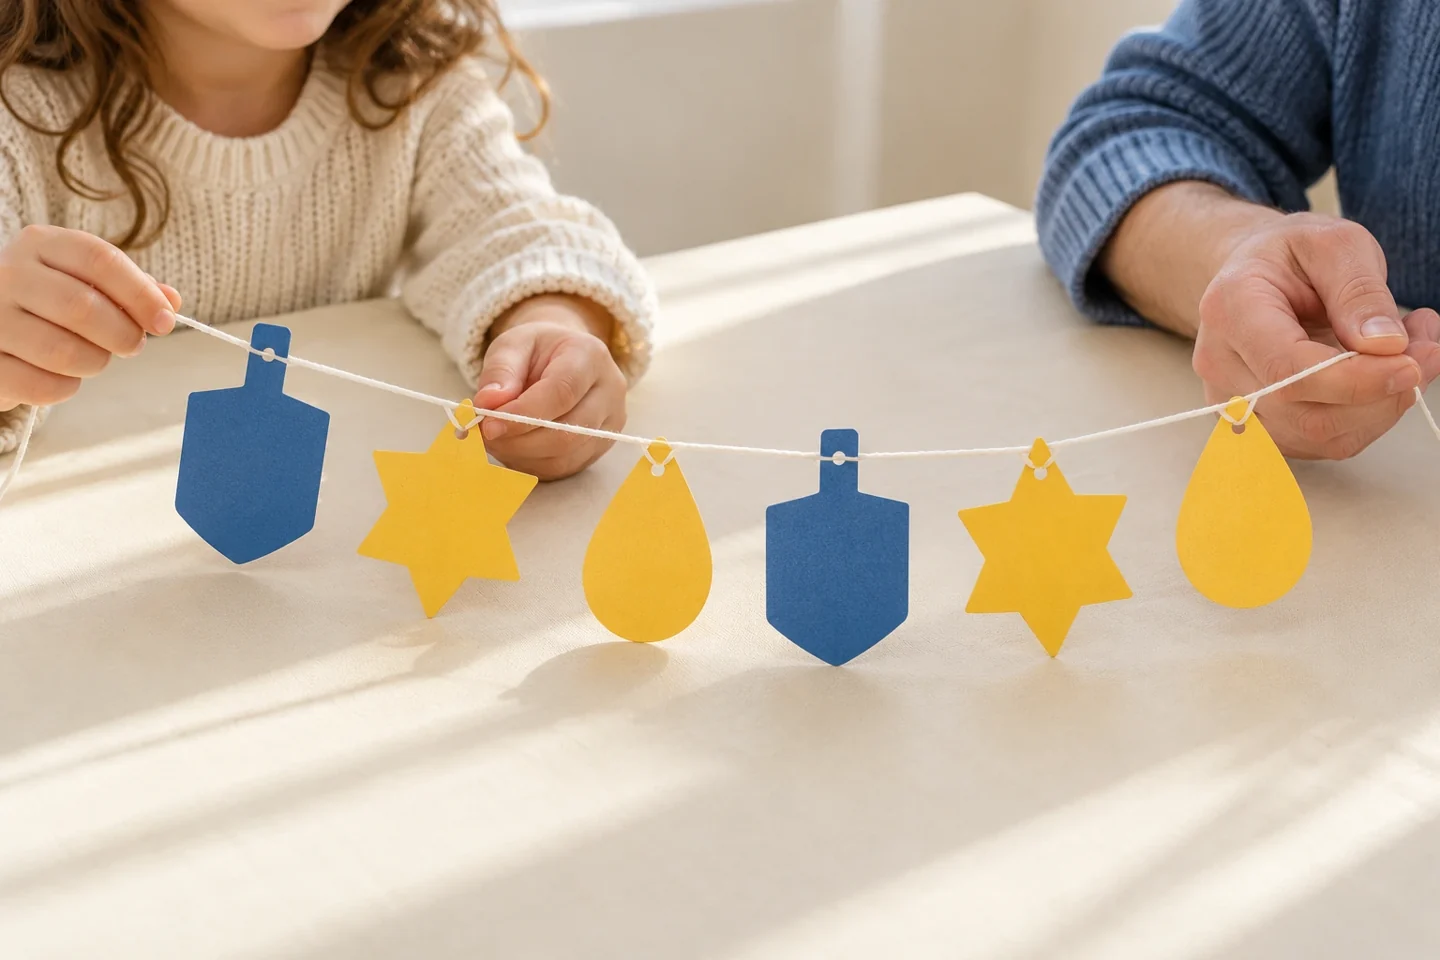
Your activity at a glance
| Suggested ages | 5–10 |
|---|---|
| Activity time | 35–45 minutes |
What you need
- 2 sheets of blue cardstock and 1 sheet of yellow cardstock
- 1 length of cotton string approximately 4 feet
- Paper scraps for decoration
- Hole punch, scissors, pencil, and glue stick
- Crayons or colored pencils
- Clear tape for reinforcing holes and holding the string positions
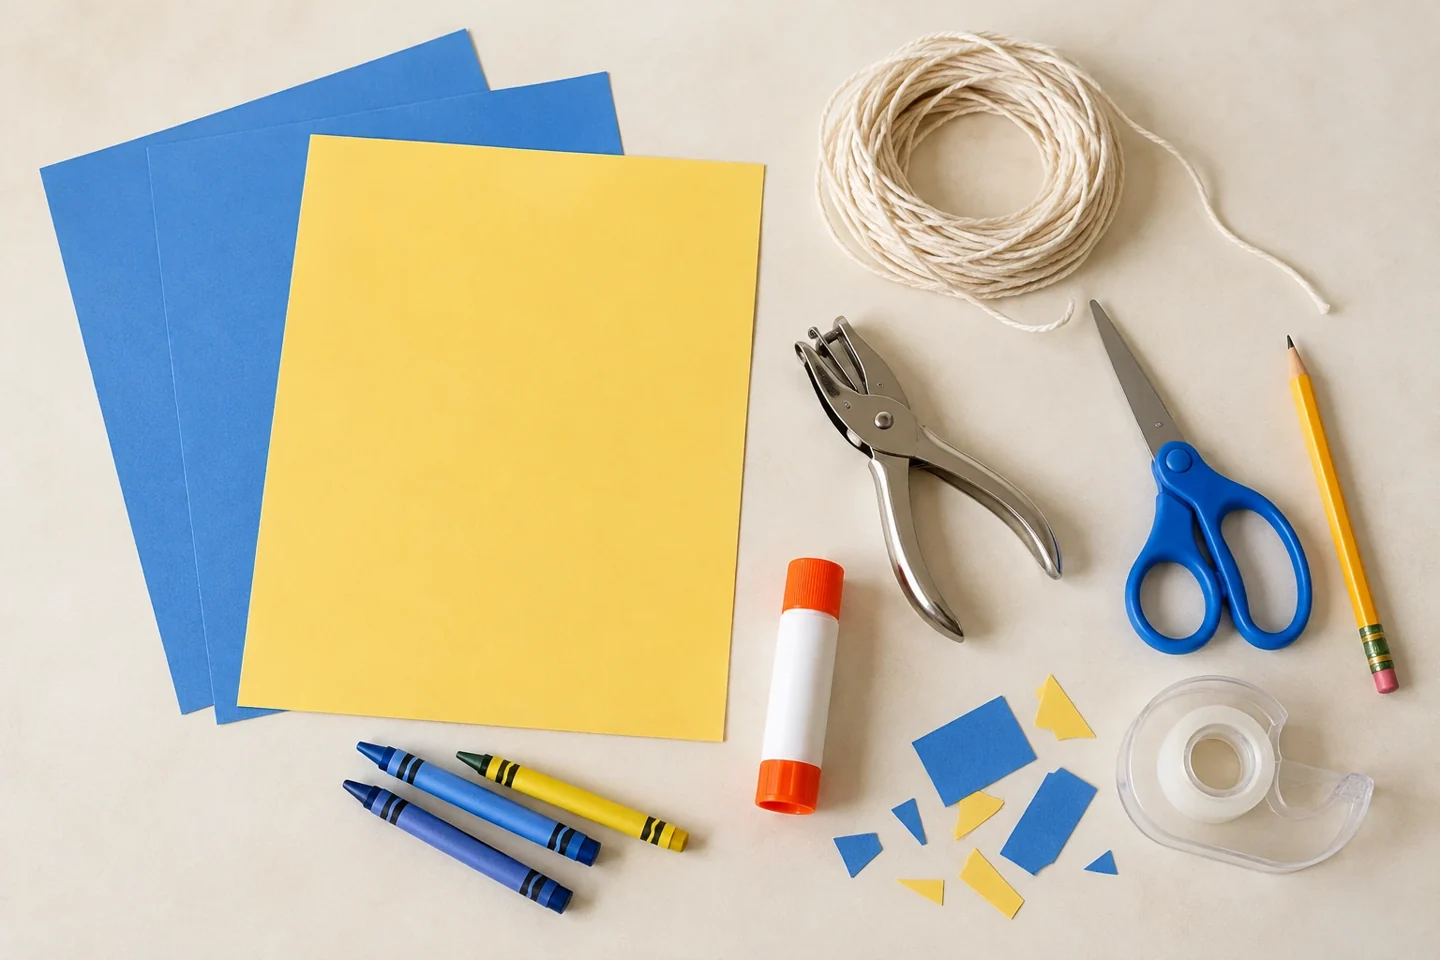
Plan and thread a six-piece window garland
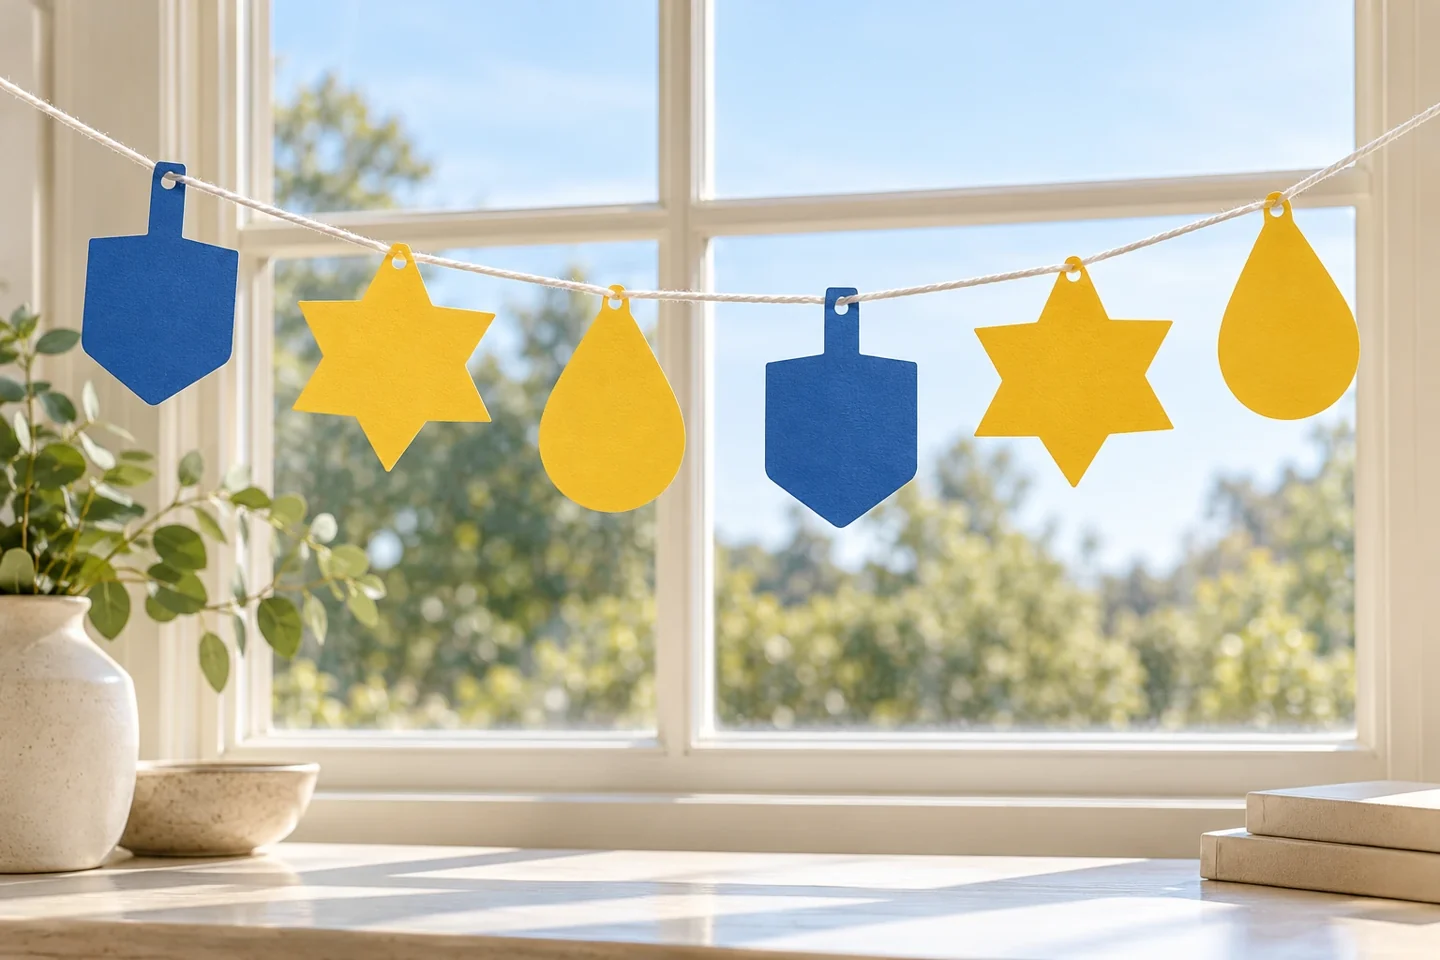
A window garland gives children a chance to make a small collection of Hanukkah-inspired paper shapes and decide how they fit together. This version combines simple dreidel silhouettes with stars and teardrop light shapes. Keep the pieces bold enough to recognize from a distance. The garland is a decorative craft, and children can enjoy arranging color and shape without copying a complicated finished design.
Before you begin
Measure the intended display space before cutting your six pieces. A four-foot string allows room for the three matching pairs and short end ties. On the table, try two unlettered dreidels, two stars and two teardrop lights in different orders. Choose a place away from actual candle displays where an adult can hang it.
Let’s make it, step by step
1. Choose a small shape set
Plan six hanging pieces: two dreidel silhouettes, two stars, and two flame-like teardrops. Explain that the dreidel is associated with a Hanukkah game. Stars and light shapes are decorative choices here, not a substitute for explaining the holiday’s traditions.
2. Draw sturdy outlines
Draw each shape approximately 3–4 inches tall. A dreidel silhouette can have a small rectangular handle, a square body, and a pointed lower end. Keep narrow parts broad enough not to tear. An adult can prepare outlines for younger children.
3. Cut the pieces
Cut around the shapes and set them in a row. Use cardstock for the main pieces so the garland hangs neatly. Keep the two matching silhouettes together while children compare their sizes. Slight differences are fine as long as each hanging point remains strong.
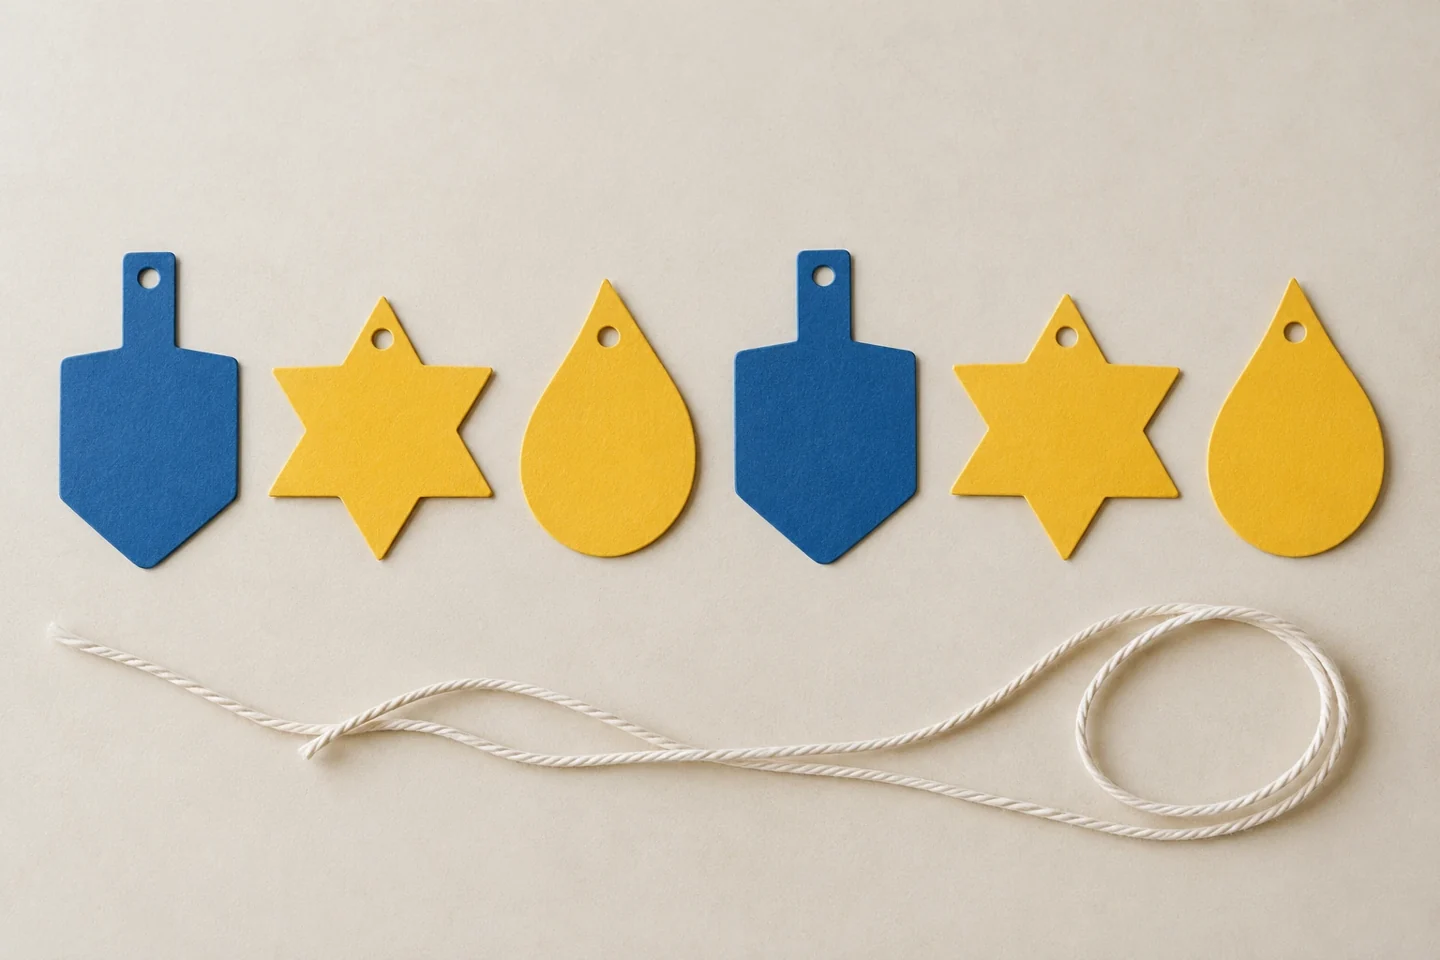
4. Decorate the surfaces
Add paper strips, dots, or drawn patterns. Keep a small area near the top clear for a hole. Avoid invented Hebrew markings; the dreidel silhouette can remain unlettered on this decorative garland. Children who want authentic lettering can ask an adult to provide a verified reference.
5. Try the hanging order
Lay the six shapes in different sequences before threading. Try alternating blue and yellow or placing two matching shapes apart. Ask which arrangement the child likes and why. A garland does not need one correct order to look intentional.
6. Punch the holes
Punch one hole near the top of each piece, leaving enough cardstock above it to resist tearing. If a handle is too narrow, punch the hole in the wider upper body instead. Reinforce the back with a small paper patch when necessary.
7. Thread and secure
Pass the string through each hole, leaving several inches at both ends. Spread the pieces evenly and hold their positions with a small tape tab on the back. Check the length on the table before an adult attaches the garland to the display spot.
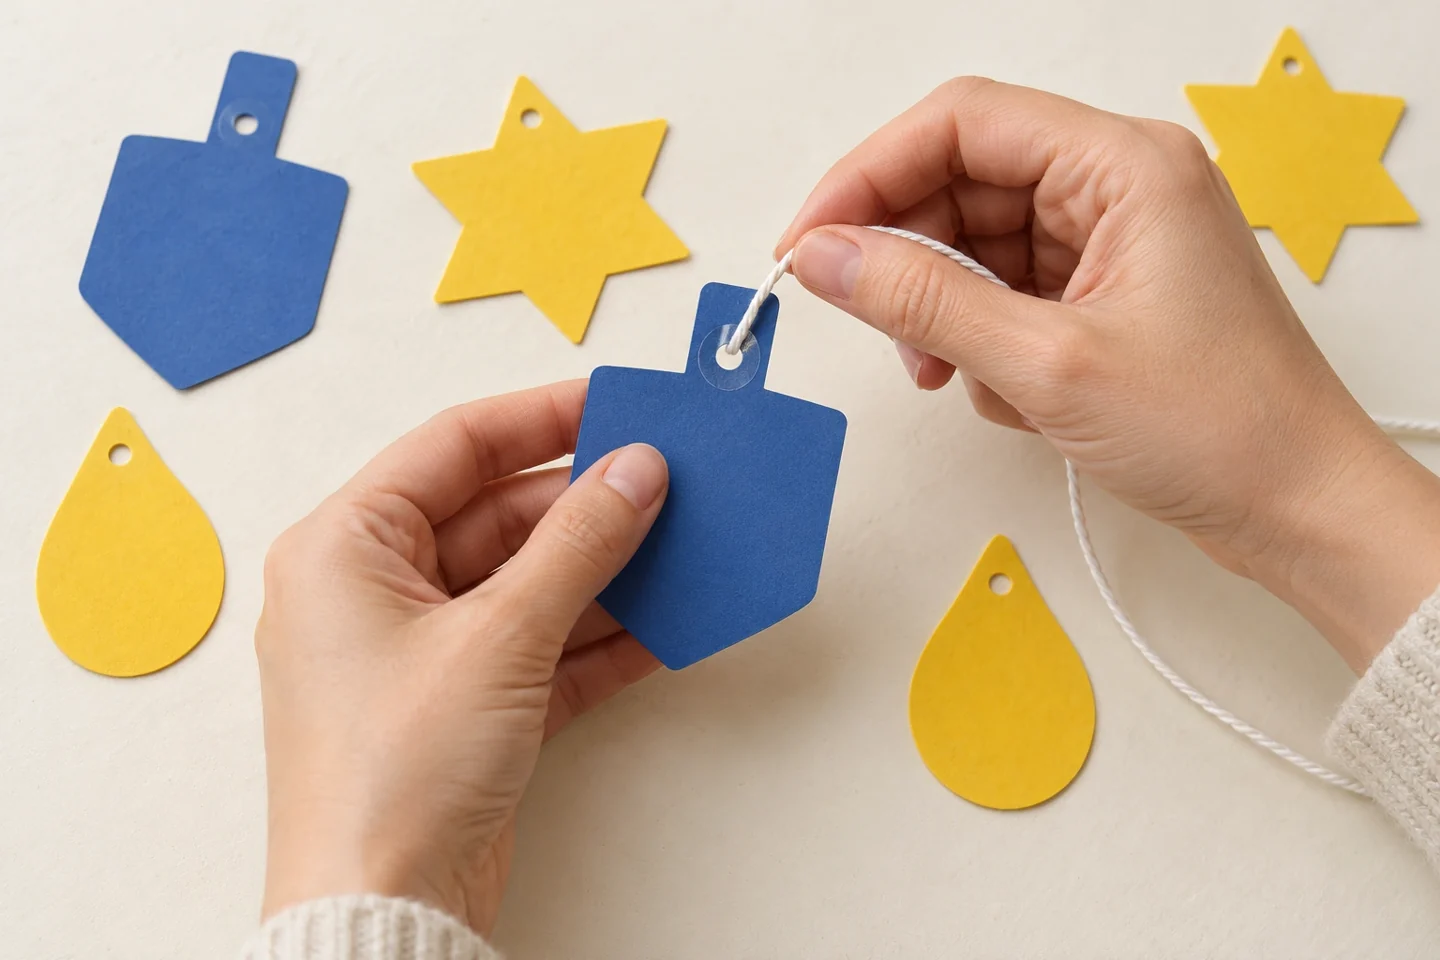
8. Enjoy the display
Hang it where daylight catches the shapes without blocking the window opening. Keep all paper decorations well away from real candles. Invite children to point to a repeated color or shape sequence, then revisit the garland from across the room to compare its appearance.
Talk, notice, and learn together
Ask which shapes are easiest to recognize from a distance and whether spacing changes the overall design. Children can compare repeated silhouettes, order colors, and describe why a hanging hole needs a strong edge. These are useful design observations tied directly to the craft.
Make it work at home or in a classroom
Younger children can decorate adult-cut shapes with crayons. Older children can make two different arrangements and compare them before threading. In a classroom, give each child one shape and assemble a shared garland, allowing them to help plan its order without crowding the hanging task.
Helpful fixes and cleanup
If a piece turns backward, tape the string lightly against its back or decorate both sides. If a hole tears, add a cardstock patch and punch again after it grips. Store the garland flat with its string loosely coiled so narrow dreidel handles do not bend.
A useful way to extend the activity
For a two-sided window display, decorate the backs before threading. Keep corresponding paper pieces lightweight so the string does not twist under uneven weight. If the garland faces a window, check it from inside and outside while it is still at table height. Children can decide whether they want matching reverse designs or a different pattern visible from each side.