Hanukkah
Paper Mosaic Hanukkah Art
 Facebook
 Pinterest
 X
X LinkedIn
 Reddit
 WhatsApp
 Telegram
 Bluesky
 Email
Email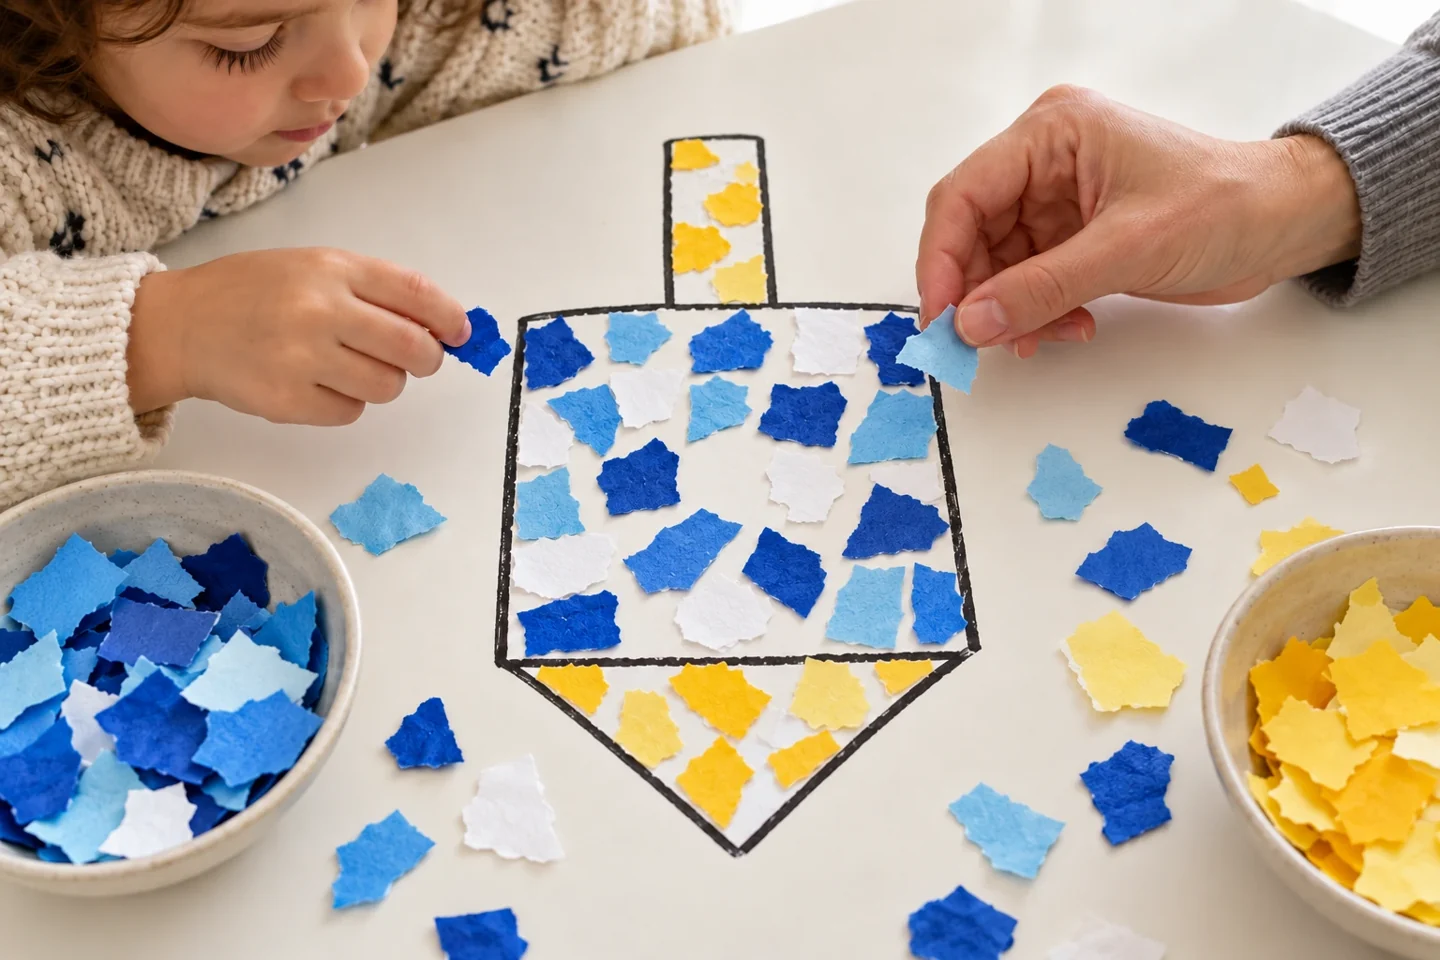
Your activity at a glance
| Suggested ages | 4–10 |
|---|---|
| Activity time | 35–45 minutes |
What you need
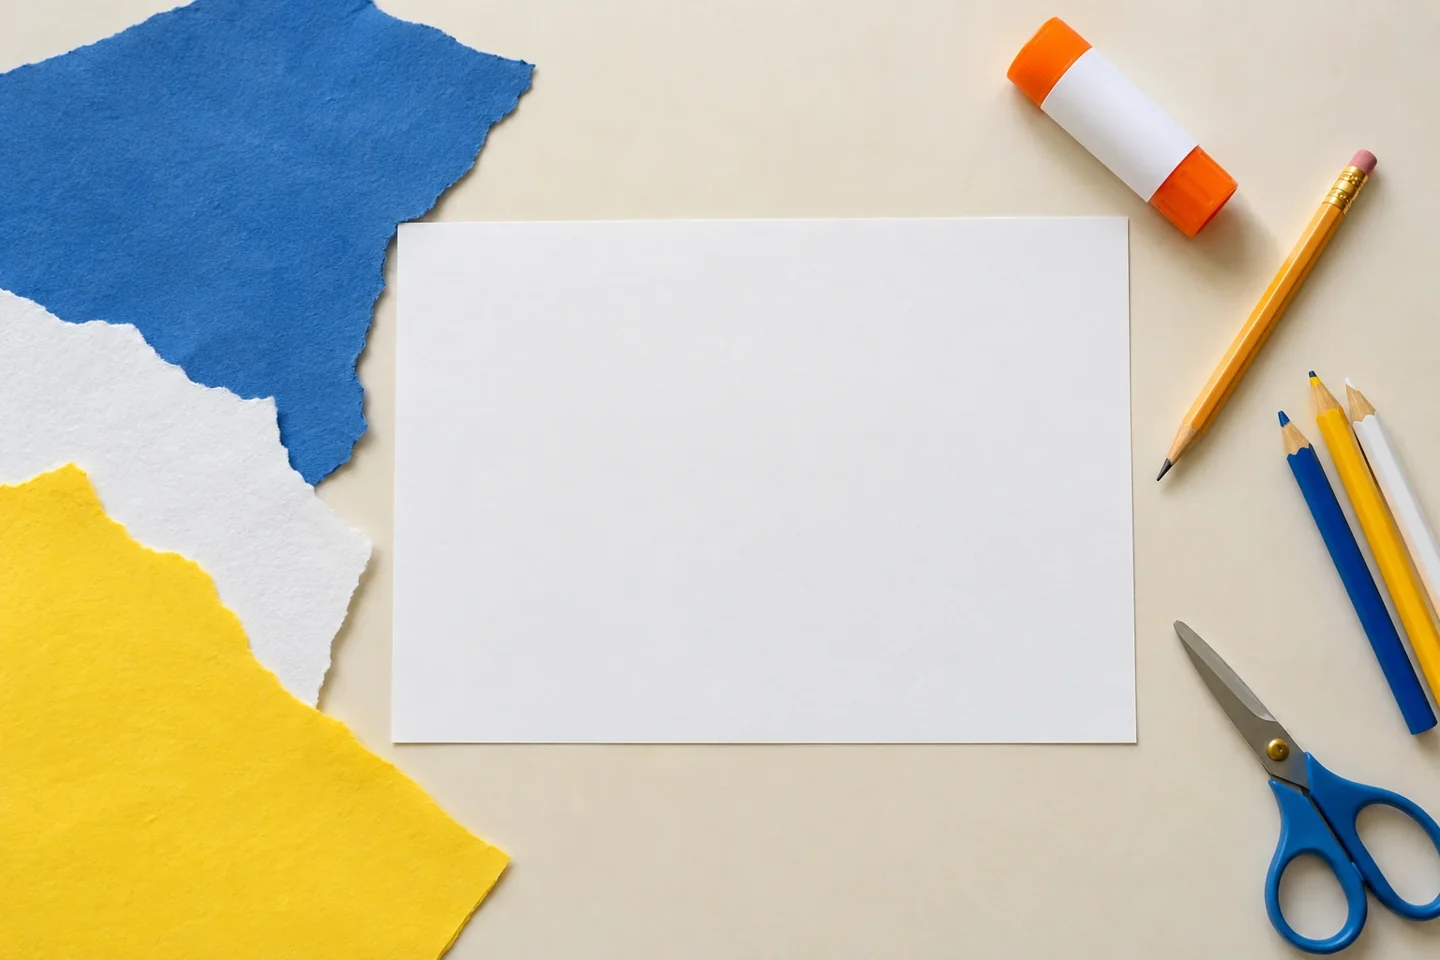
- 1 sheet of firm background paper
- Blue, white, yellow, and other chosen paper scraps
- Glue stick or small amount of child-safe liquid glue
- Pencil and crayons
- Scissors or hands for tearing paper into pieces
Finish a bold outline with small scraps
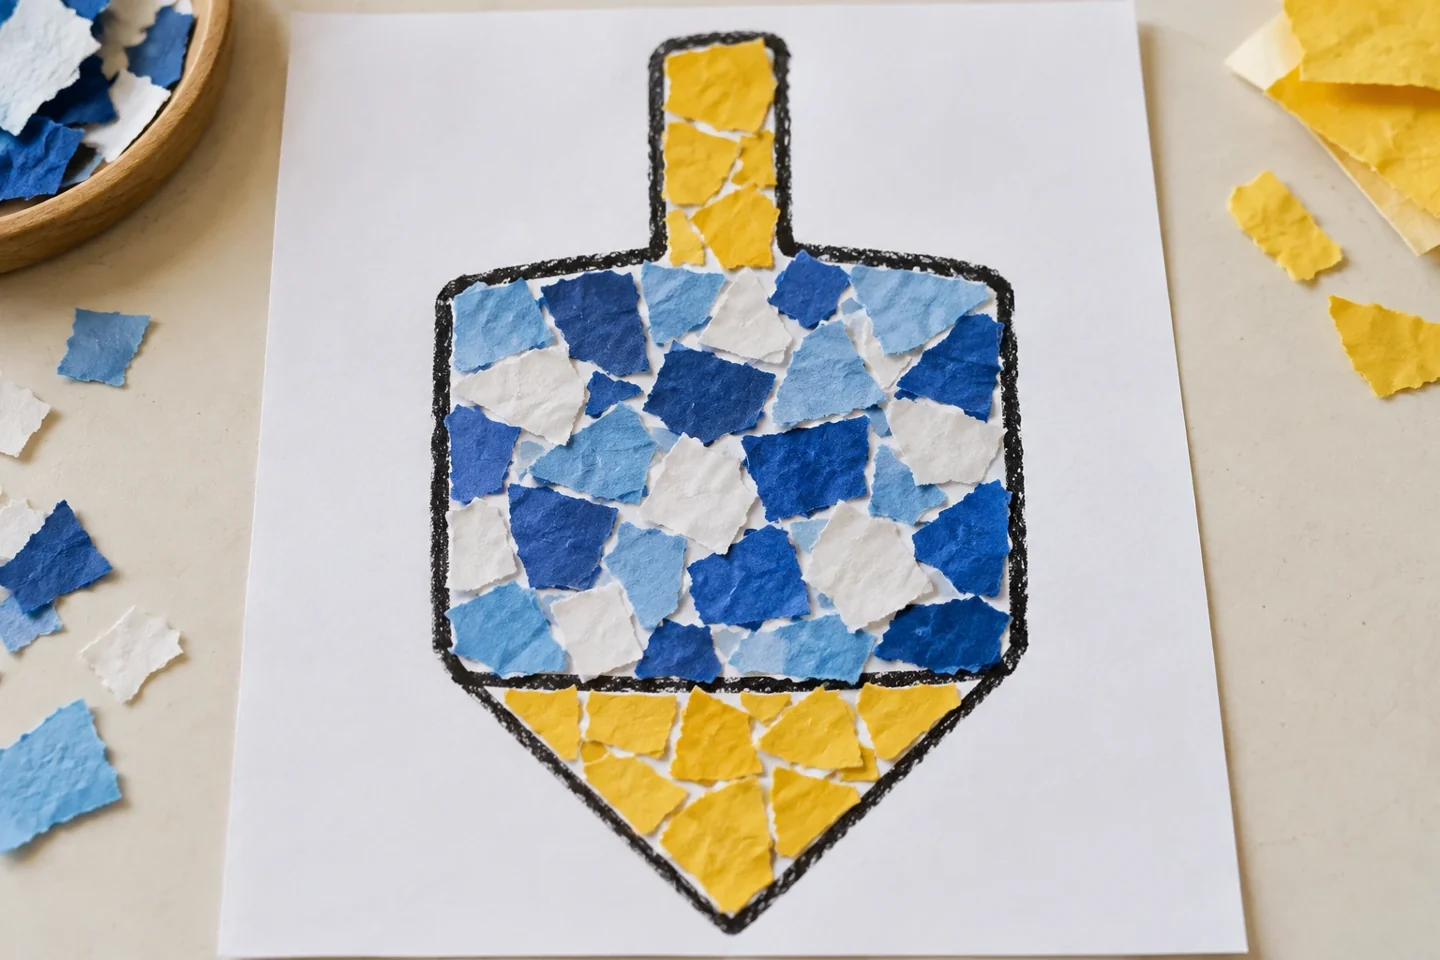
A paper mosaic turns small scraps into a larger picture. Children fill a bold dreidel outline with torn or cut paper pieces, choosing how closely to place them and which colors belong together. The visible gaps become part of the design. This is a decorative Hanukkah-inspired art activity, with an unlettered dreidel silhouette that keeps the construction accessible and avoids introducing inaccurate lettering.
Before you begin
Choose one bright background and a small tray of scraps before drawing the outline. A six-inch dreidel leaves plenty of room for pieces about half an inch across. Invite children to tear a few scraps first and see which size their fingertips can comfortably place. Keep the glue closed while they try their first arrangement.
Let’s make it, step by step
1. Draw the outline
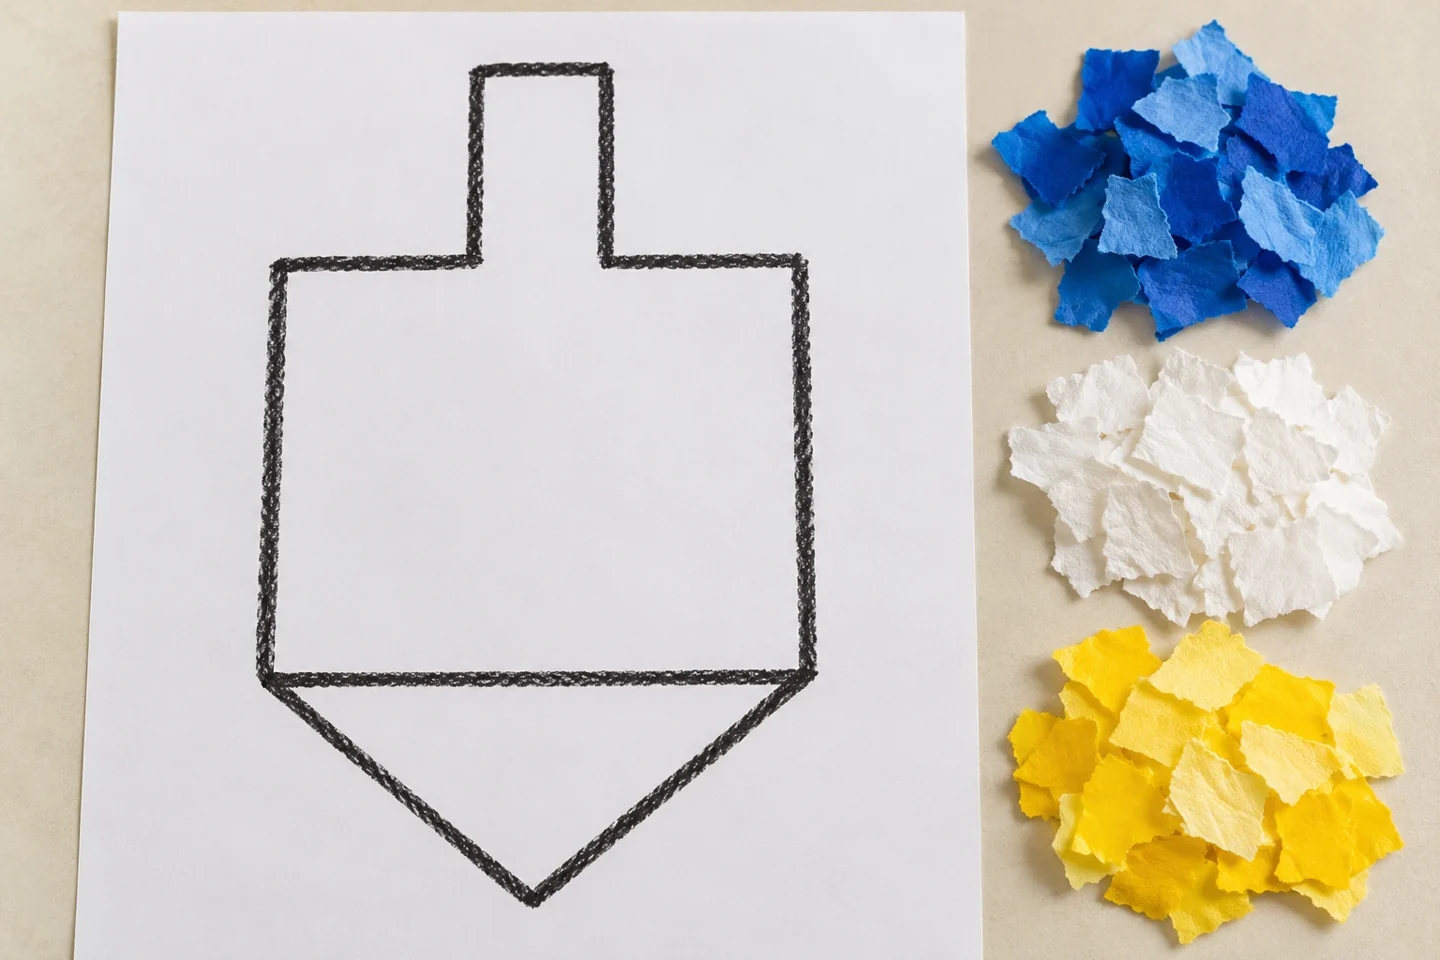
Sketch a large dreidel shape in the center of the background: a broad square body, short rectangular handle, and pointed base. Keep it at least 6 inches tall so small paper pieces have room. Use a dark crayon to make the boundary easy to follow.
2. Prepare paper pieces
Tear or cut scraps into pieces approximately ½–1 inch across. They do not need to be equal squares. Keep the pieces large enough for the child to pick up comfortably. Sort a small selection into shallow piles by color before adding more.
3. Choose a color plan
Decide whether to fill the body with one color family, alternate colors, or create a patchwork. Leave the handle and point for a contrasting choice if desired. Children can change their plan as they work; the outline gives the project its recognizable shape.
4. Begin at one edge
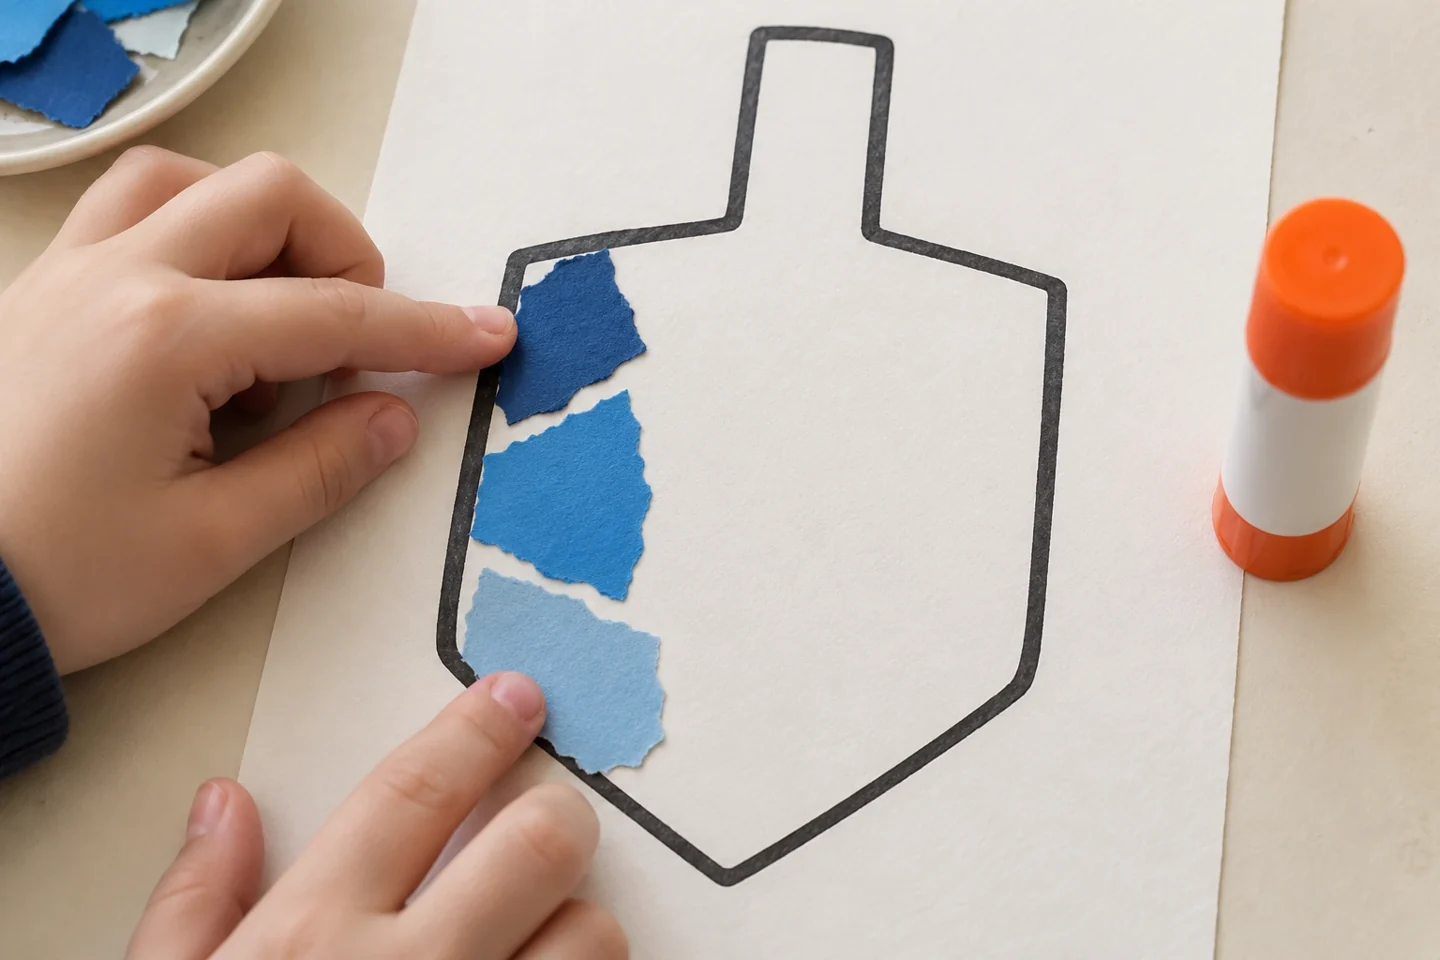
Place a few pieces along the outline without glue. Leave small gaps so the background is visible between them. Trim or tear a piece that crosses the boundary if the child wants a neat edge, but do not require every piece to fit perfectly.
5. Glue a small area
Apply glue to one small section of the background, then press the planned pieces into it. Work in sections so glue does not dry before the paper arrives. Use fingertips or a clean scrap-paper cover to press pieces flat without smearing excess glue.
6. Fill the main body
Continue inward from the edge, choosing pieces that suit the open spaces. Compare a crowded section with a more open one. Keep the small gaps consistent enough that separate pieces remain visible, rather than covering the whole outline with overlapping layers.
7. Complete the handle and point
Fill the remaining parts using the chosen contrasting color or a continuation of the body pattern. Trace a few outline sections again if necessary after the glue dries. Keep the dreidel unlettered unless an adult supplies accurate letters as a separate finishing step.
8. Dry and share
Lay the artwork flat until the glue sets. Invite children to describe one color decision and point to a piece they changed to fit. Display it as a paper mosaic, then store it flat in an art folder. Save unused scraps for future collages.
Talk, notice, and learn together
Ask how a tiny piece contributes to the larger picture and what happens when pieces overlap instead of leaving gaps. Children compare size, position, and available space. The work offers a manageable design problem: choosing the next piece based on the shape of a visible opening.
Make it work at home or in a classroom
Younger children can use larger pieces and a simplified body outline. Older children can create a deliberate color gradient or an alternating border. In a classroom, prepare individual scrap trays and show the glue-in-small-sections method; children can keep their own arrangements instead of matching a sample.
Helpful fixes and cleanup
If pieces curl, use less liquid glue or switch to a glue stick. If the background becomes wet, pause and let that section dry before continuing. A piece placed outside the outline can remain an artistic choice. Sweep loose scraps into a tray and recycle tiny leftovers after useful pieces are saved.
A useful way to extend the activity
Offer only a modest handful of pieces at first, then refill the tray when needed. A huge pile can make choosing harder and scatter across wet glue. Children can try placing one light piece between two dark pieces to see how contrast changes the surface. The handle and point remain recognizable even when the body’s paper pieces form an entirely original arrangement.