Summer & Patriotic Days
Design a Backyard Discovery Map
 Facebook
 Pinterest
 X
X LinkedIn
 Reddit
 WhatsApp
 Telegram
 Bluesky
 Email
Email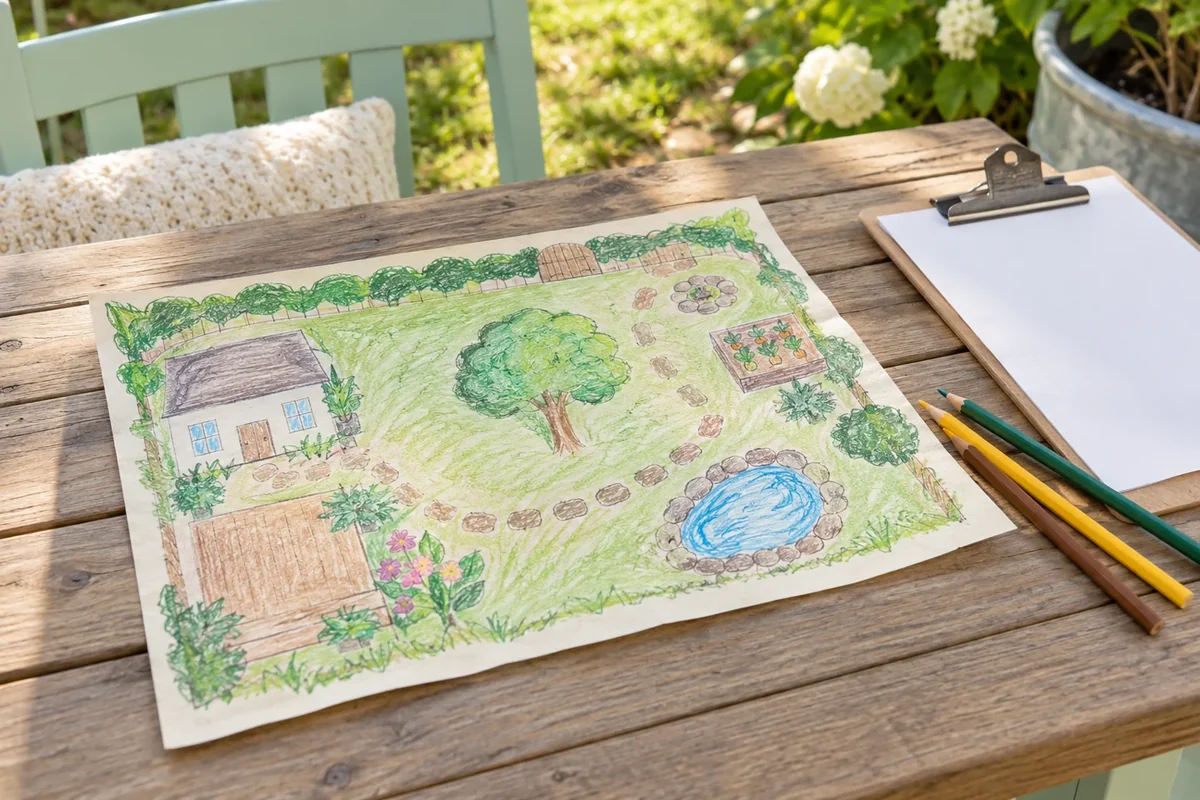
Your activity at a glance
| Suggested ages | 6–11 |
|---|---|
| Activity time | 35–45 minutes |
What you need
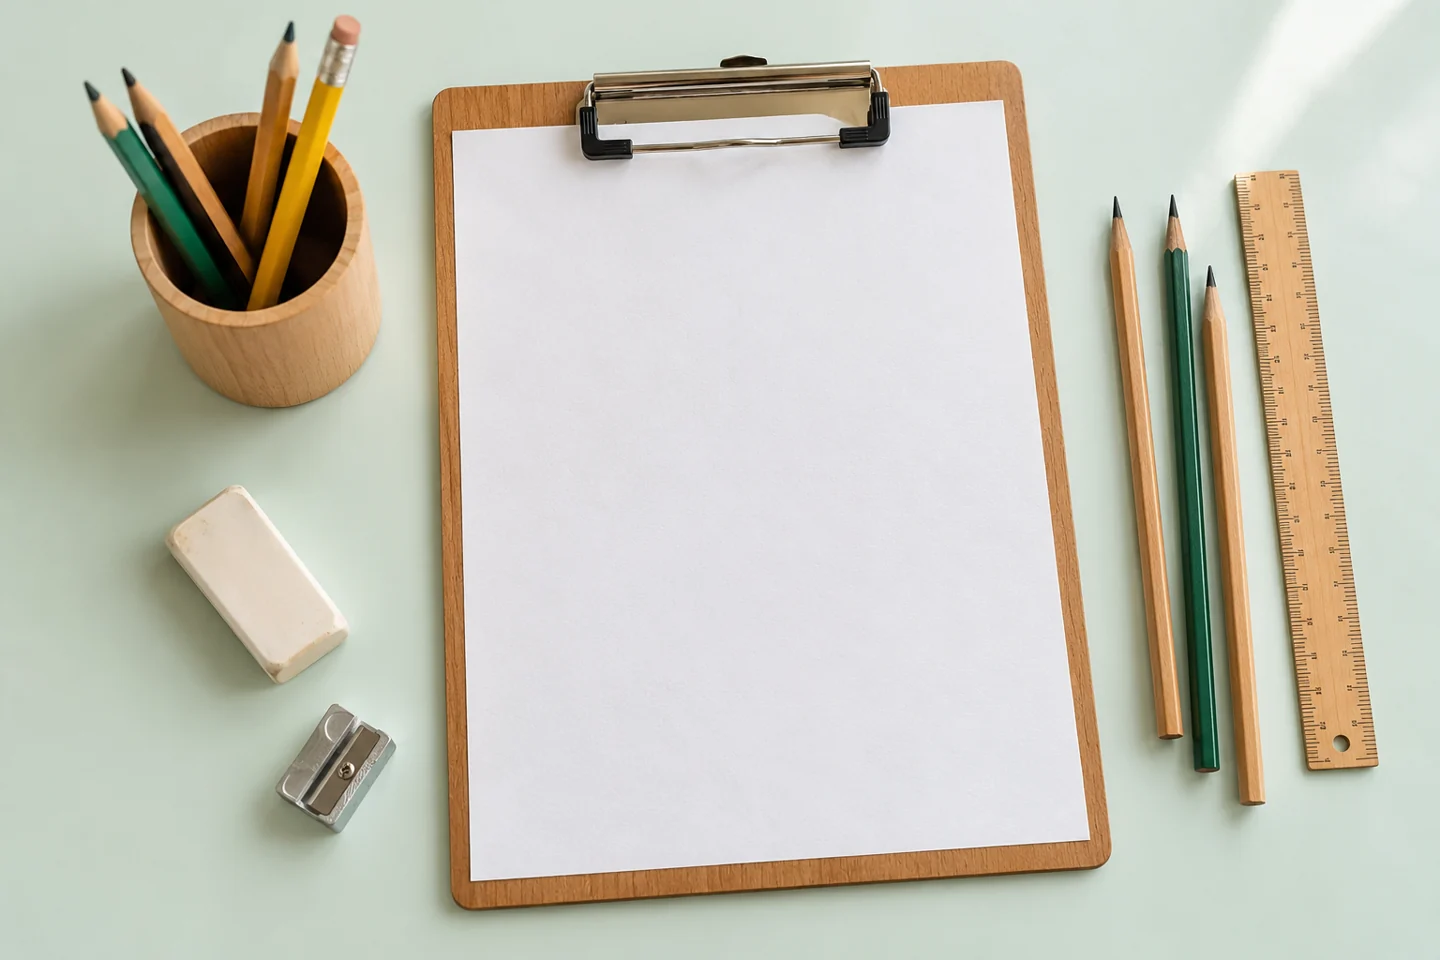
- 2 sheets of paper
- Pencil and colored pencils
- Clipboard or firm book
- Ruler optional
- A familiar supervised outdoor space
A little project with room for your ideas
A discovery map helps children look closely at a place they already know. Instead of finding treasure that someone has hidden, they choose real features worth recording: a shady tree, a flowerpot, a bench, or a patch where ants travel. Drawing those details asks them to think about where things are in relation to one another. A small yard, courtyard, or school garden is enough.
Before you begin
An adult chooses clear boundaries and checks the space before beginning. Stay away from roads, water, unfamiliar plants, and wildlife nests. Children observe living things without picking, touching, or moving them. If the outdoor space is unsuitable, map a room or the view from a window using the same steps.
Make it step by step
- Walk the boundary. Take one slow look around the chosen area. Identify three large landmarks that are easy to recognize, such as a door, tree, and path. Decide which edge of the paper will represent the edge nearest the door. You do not need a compass or an exact scale for this first picture map.
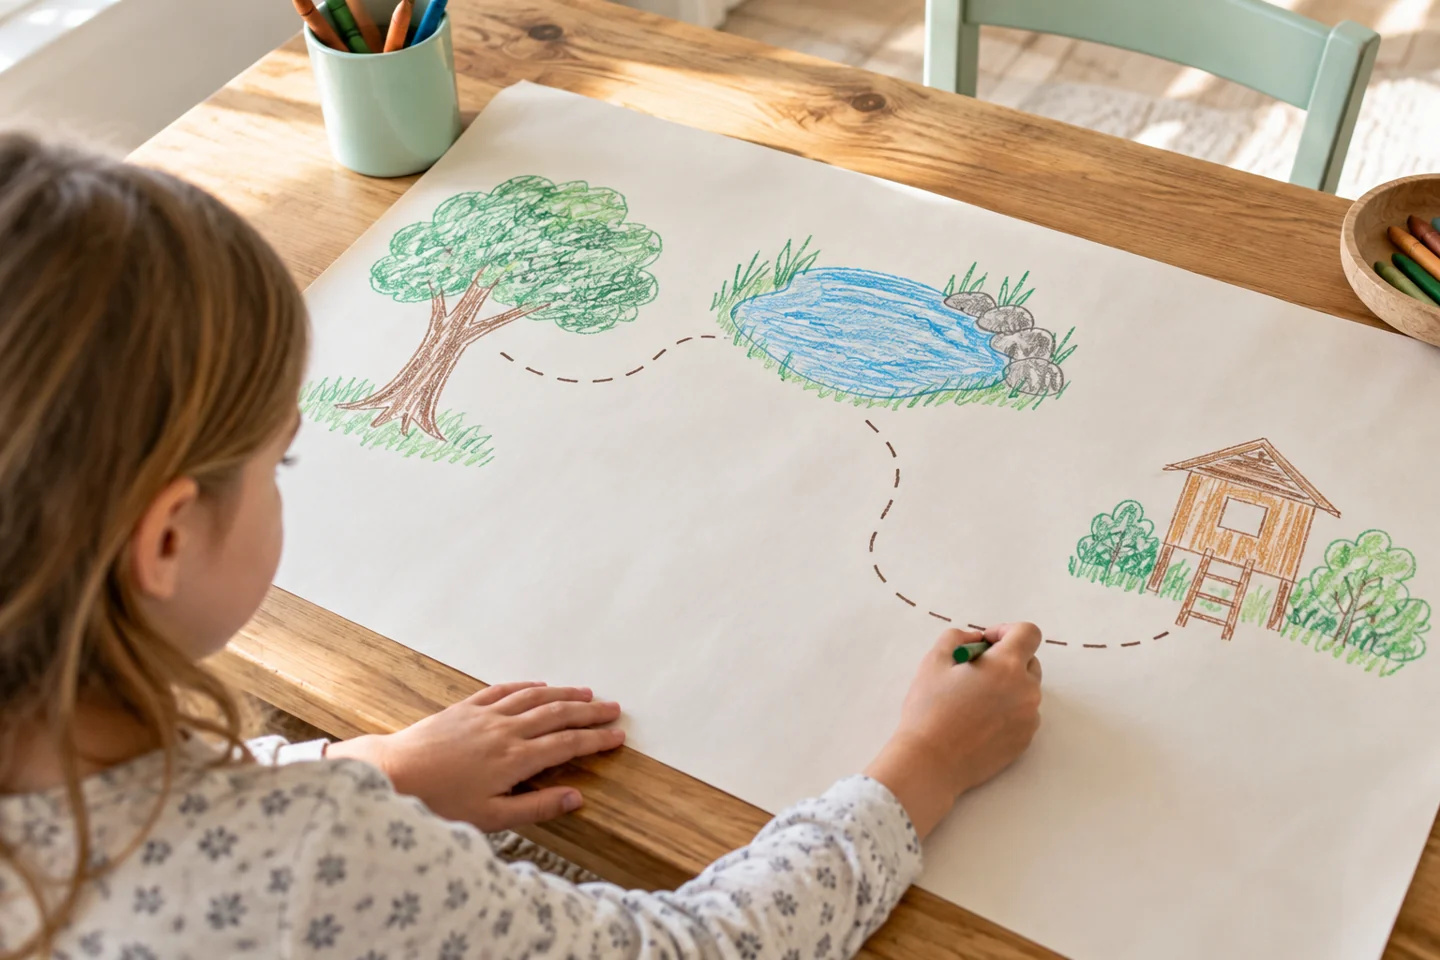
Paper boundary with three large drawn landmarks and ample blank space. - Draw the large features. Sketch the boundary and landmarks with simple shapes. A circle can stand for a tree seen from above; a rectangle can stand for a bench. Keep the marks small enough to leave room for discoveries. Walk back to a landmark if you need to check its position.
- Choose discovery symbols. On the second sheet, create three or four simple symbols: perhaps a leaf for plants, a dotted line for a route, and a small eye for a good observation spot. Add a short explanation next to each. This key helps someone else understand the map without being beside you.
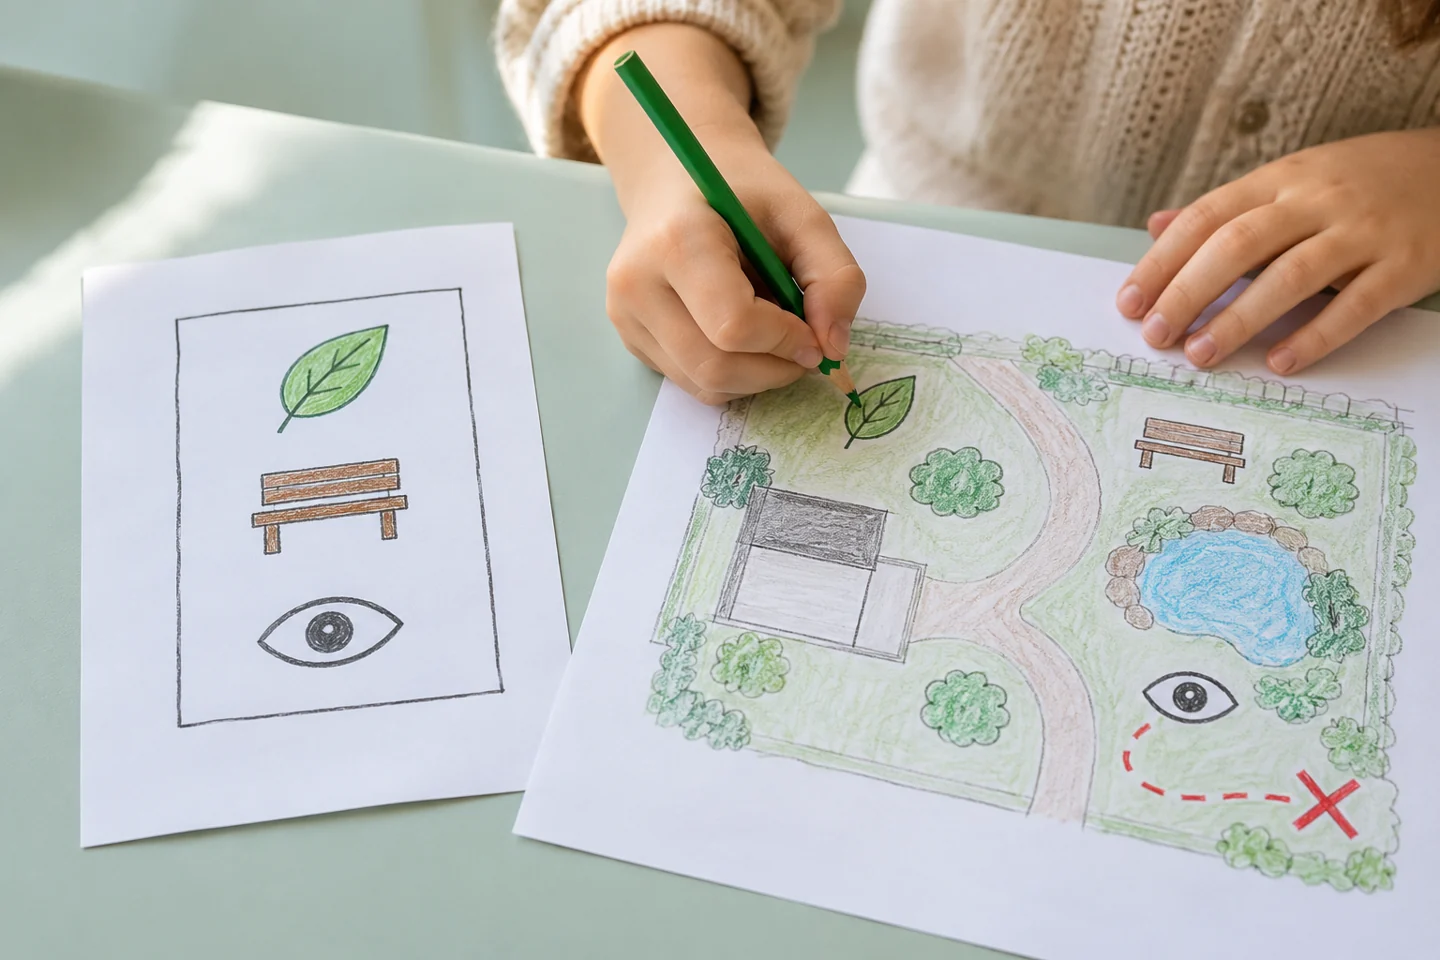
Map key with simple leaf bench eye symbols and nearby map receiving discovery mark. - Add the discoveries. Record a few specific observations in the right places. Mark the flowerpot near the bench rather than adding a flowerpot anywhere on the page. Draw a line showing how to reach an observation spot without crossing planted beds. Fewer well-placed details are more useful than a page full of guesses.
- Try the map. Ask another person to follow a short route using your drawing. Stay together and notice which parts were easy to understand. If a symbol caused confusion, change it or add a landmark. Mapping is a process of communicating a place, so revising the drawing is part of the activity.
Notice, talk, and explore
Use words such as beside, between, behind, and near while comparing map and space. Ask, “How could we show something too small to draw at its real size?” A symbol solves that problem. Children also discover that a map simplifies a place; it does not need to include every stone or blade of grass.
Make it work at home or in class
At home, add a new discovery after a later walk and compare what changed. In class, pairs can map different sections of the same supervised area and then explain how their drawings join. Younger children may enjoy arranging three landmark pictures before drawing. Keep maps in a folder and return borrowed drawing supplies indoors.
When the map feels crowded
Begin again on a second sheet if there is no room for the important landmarks. That first sketch helped you decide what matters, so it has done useful work. Try drawing only the door, path, and one discovery before adding anything else. If a reader mistakes one symbol for another, enlarge its distinguishing feature or change the symbol altogether. There is no need to rotate or correct a younger child’s page simply because it differs from an adult map. Instead ask which side represents the place where you are standing, and build the explanation from that choice.
Cleanup and storage
Bring the clipboard and pencils indoors, then return pencils to their container. Clip the map and its key together and store them flat in a drawing folder. Keep the original map when adding a later observation so you can compare what changed without losing the first record.
Keep the creativity going
Keep the map for a later visit to the same space. Compare what is still there and what looks different, then add one new observation in a fresh color. Children may discover that a familiar route feels new when they are responsible for showing it to someone else. They can tell a short story about a character following the map, or draw a second map of an imaginary garden. A picture book can introduce another setting to notice and describe. The Cozy Little Wonder Library offers a next reading choice while your child’s map remains a record of the place they explored themselves.