Summer & Patriotic Days
Make a Layered Paper Star Garland
 Facebook
 Pinterest
 X
X LinkedIn
 Reddit
 WhatsApp
 Telegram
 Bluesky
 Email
Email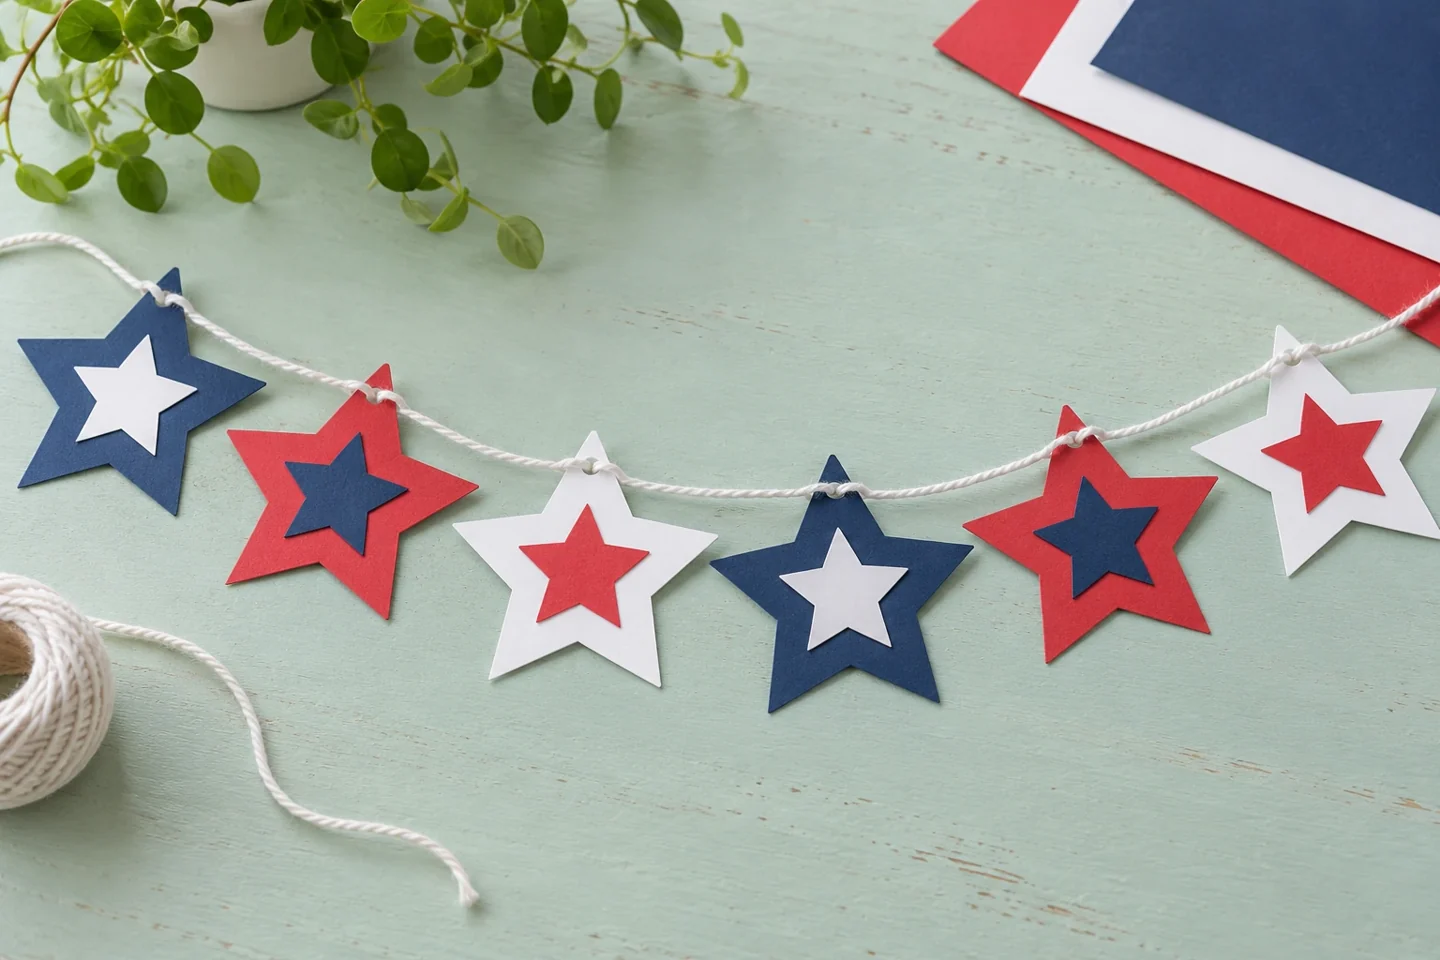
Your activity at a glance
| Suggested ages | 5–10 |
|---|---|
| Activity time | 30–40 minutes |
What you need
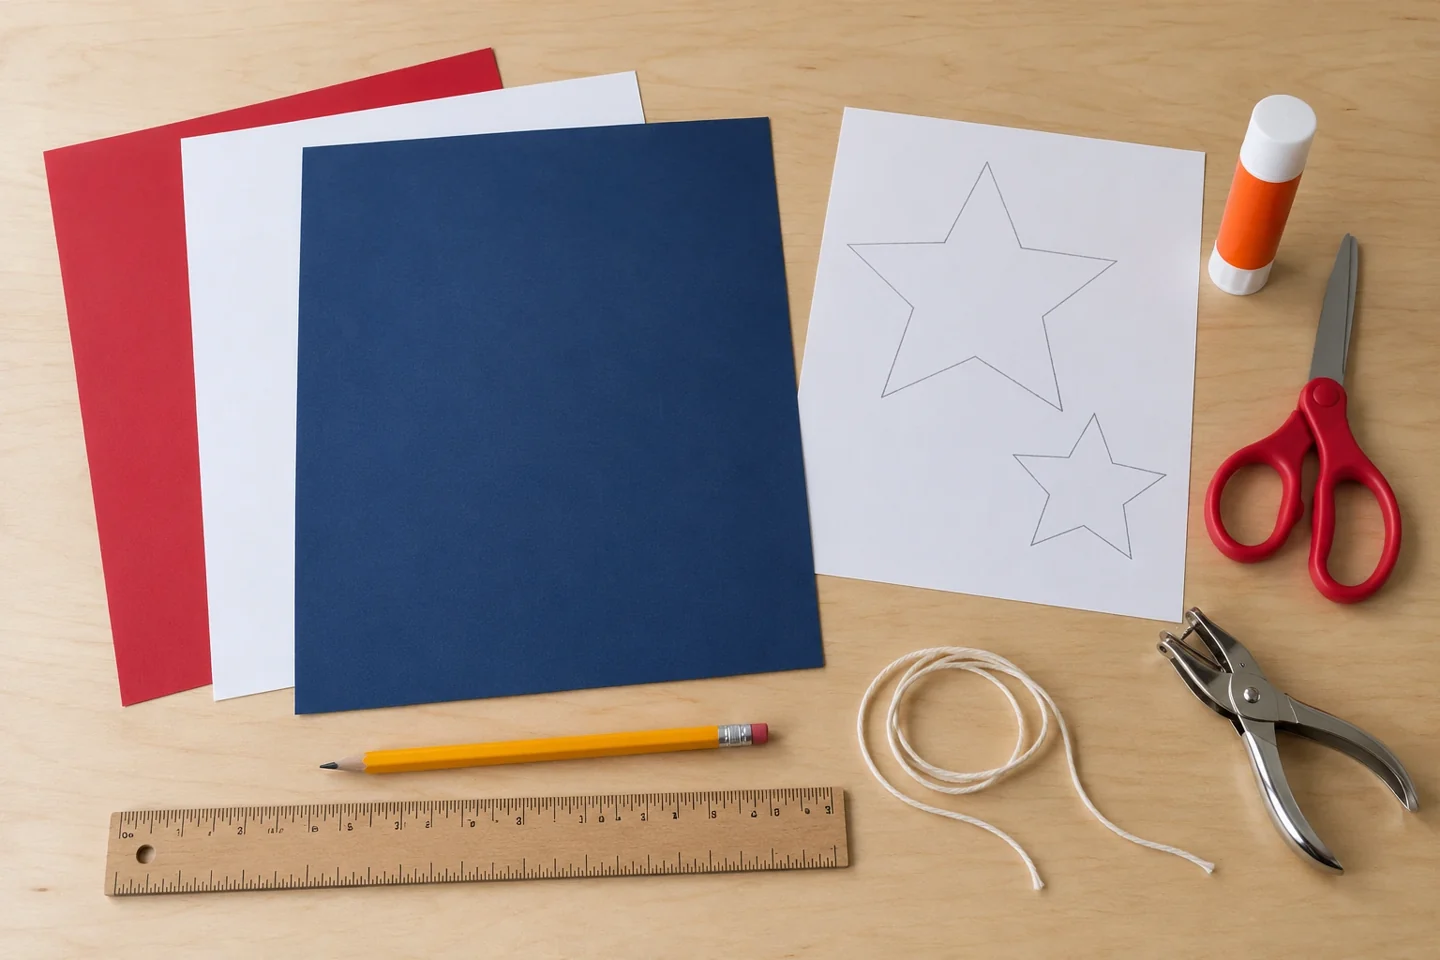
- 3 sheets of cardstock: red, white, and navy
- 1 sheet of scrap paper for templates
- Child scissors
- Glue stick
- Hole punch used with adult help
- 130 cm cotton string
- Ruler and pencil
A little project with room for your ideas
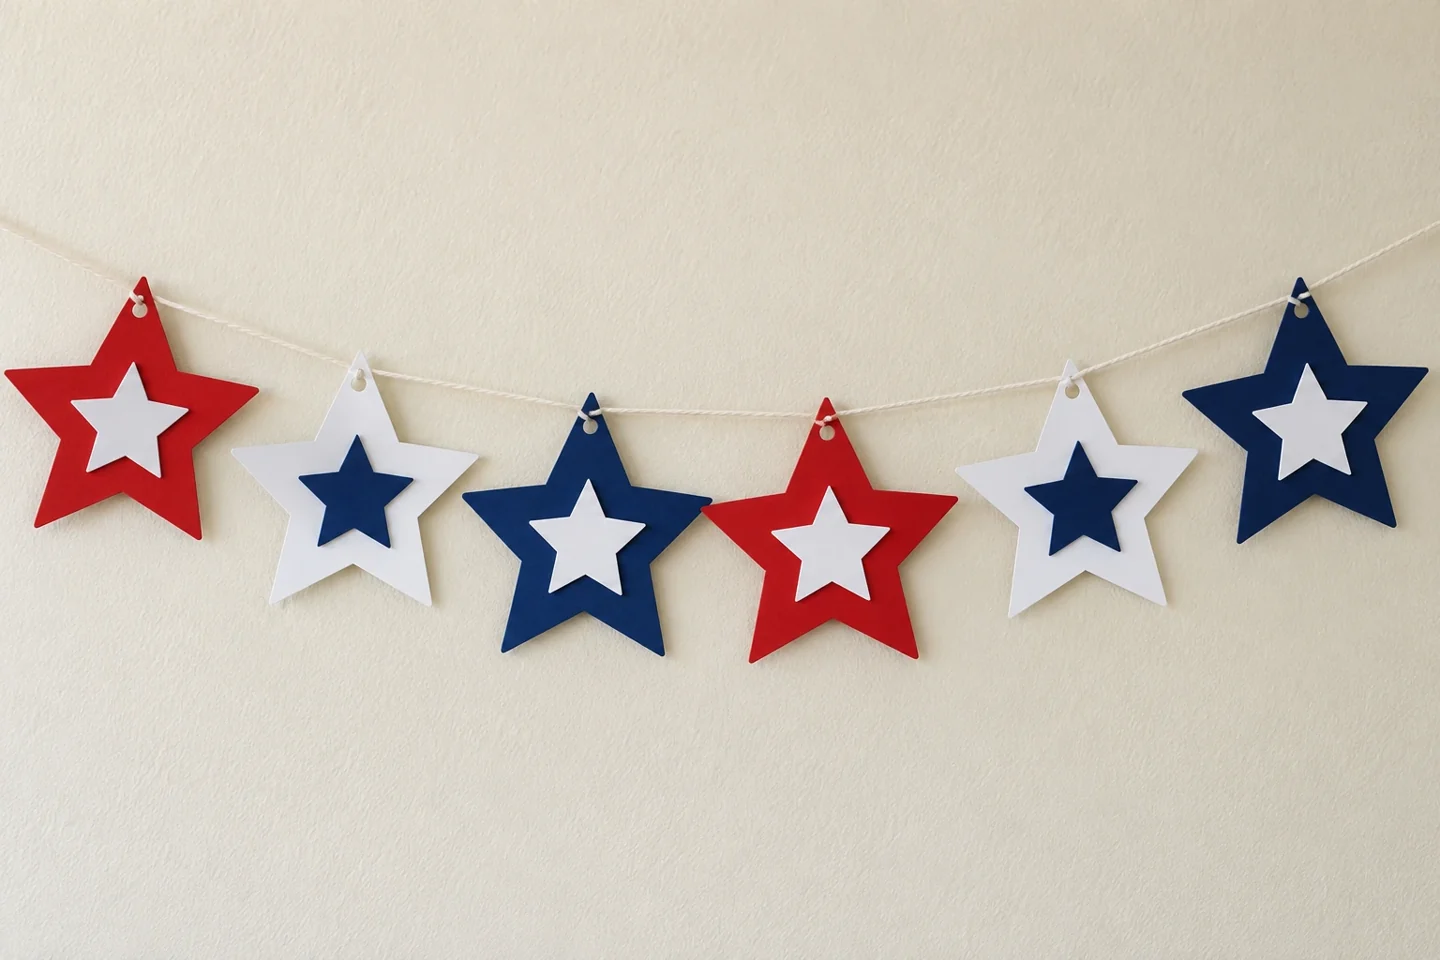
Paper stars look especially lively when a small star sits on top of a larger one. This garland uses that simple idea to create six lightweight decorations with plenty of room for individual choices. Children can repeat a color pattern, switch the layers around, or draw tiny designs on the centers. The result is a handmade decoration rather than a miniature flag, so there is no need to reproduce flag details.
Before you begin
An adult can prepare two five-point star templates, roughly 12 cm and 6 cm across. Draw them freehand on scrap paper; slightly different points are perfectly fine. Cut one example before the activity and check that the two sizes leave a visible border when layered. Put string away until assembly so the work surface stays clear.
Make it step by step
- Trace the stars. Trace six large stars and six small stars onto the cardstock. Divide colors however you like. For a repeating pattern, try two large red, two large white, and two large navy stars, then choose contrasting small stars. Mark the cutting lines lightly so children can see the edge without having to erase heavy pencil marks.
- Cut and compare. Cut along each outline, turning the paper rather than twisting your wrist around the points. Adult-precut stars are a good option for children still learning to use scissors. Place one small star on each large star. Before gluing, compare the combinations: which center stands out most clearly against its background?
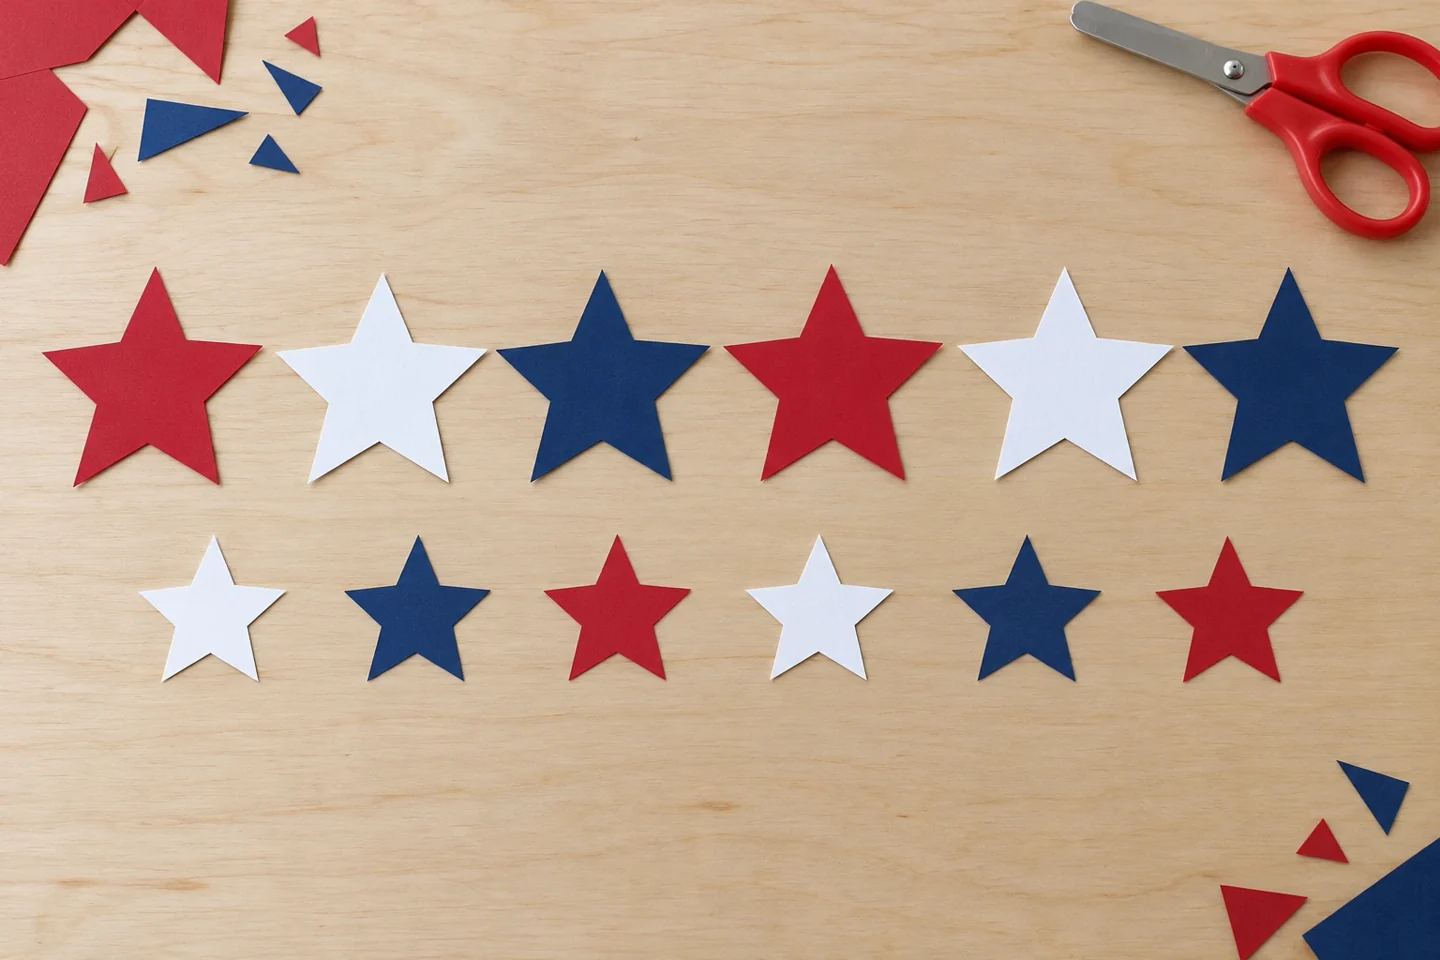
Compare contrasting centers before gluing each small star to a larger one. - Join the layers. Rub glue across the back of a small star, including its points, and press it onto the center of its larger partner. Repeat for the remaining stars. Let them lie flat for a few minutes. A curled point usually needs a little more glue and a gentle press, rather than a heavy object that might bend the whole star.
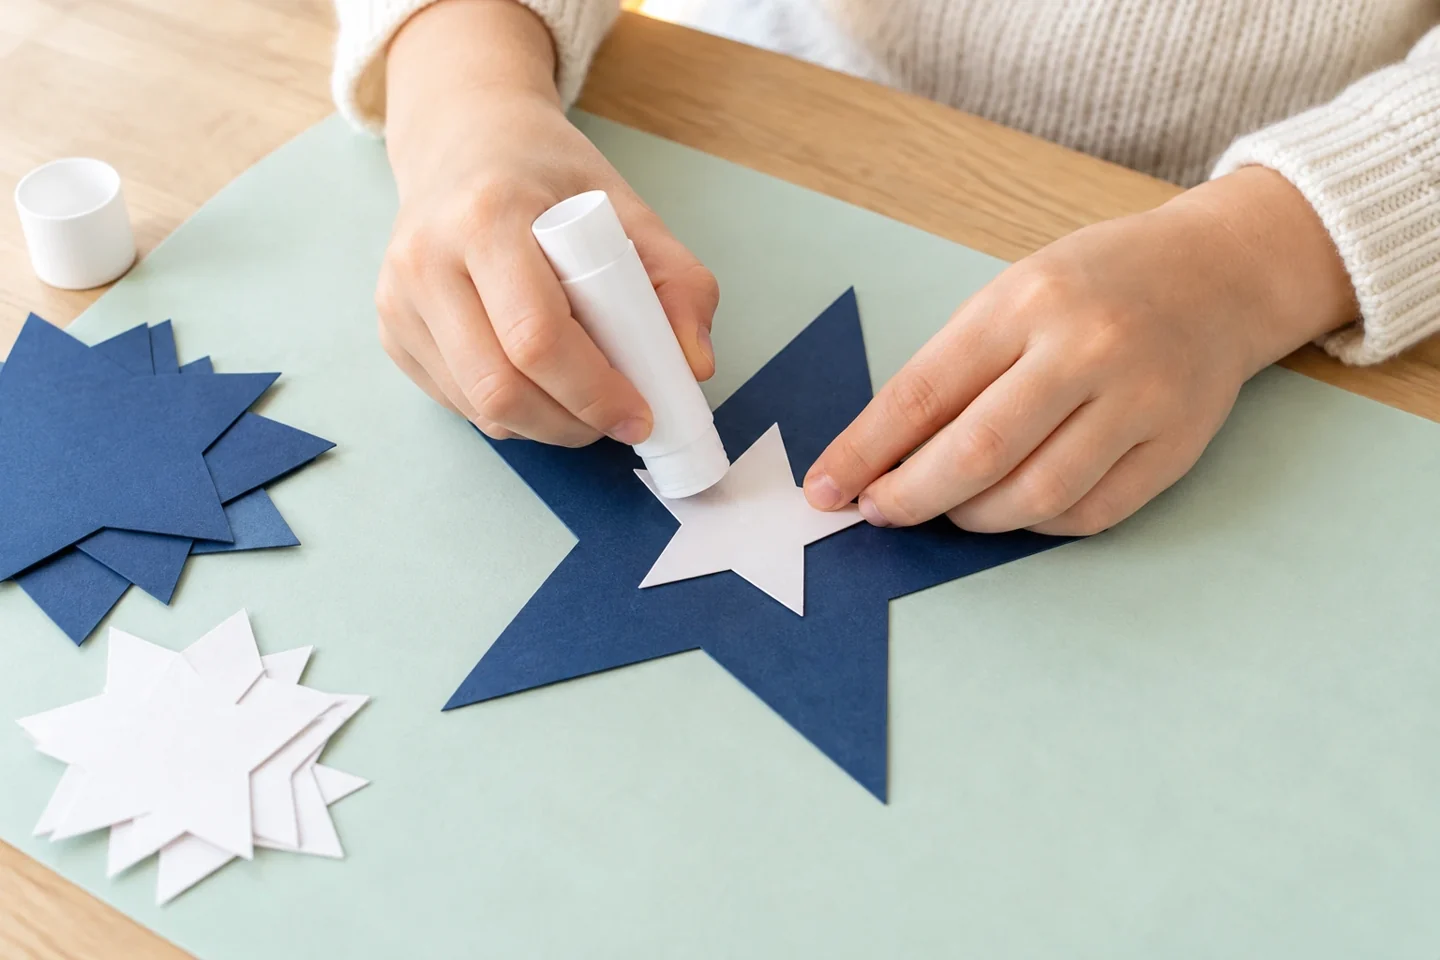
Press a small star onto the center of its larger partner. - Plan the sequence. Arrange the six stars in a line and decide on their order. Leave about 4 cm between neighbors. If you are using a repeating color sequence, say the colors aloud and check what comes next. Children can also make an original arrangement and explain why they chose it.
- Thread and display. An adult punches one hole near each star’s upper point, leaving enough paper above it to prevent tearing. Thread the string through the holes, leaving spare string at both ends. Adjust the spacing and secure each star with a loose knot if it slides. Display on a wall or shelf, well away from young children’s reach; this is a decoration, not something to wear.
Notice, talk, and explore
Ask, “What changes when the small star is off-center?” and “How could we keep the same pattern with different colors?” Turning the layers, comparing sizes, and describing a sequence make the making process as useful as the finished decoration. A five-point star offers plenty of corners to count, but let that conversation grow from what children notice.
Make it work at home or in class
At home, make a short three-star version for a bookshelf. In class, each child can contribute one layered star to a shared display; an adult handles the long string afterward. Older children can invent a third template size. Store flat between sheets of paper and untie the end knots when taking the display down.
If the stars slide or tear
A hole placed too close to a pointed tip can pull through the paper. Punch a new hole farther down the same point, then cover the damaged area with a small matching paper patch if you want to keep the star. If the garland sags, shorten the span between display points rather than pulling the string tighter. Cardstock makes stronger layers than thin copier paper. Before making a classroom-sized display, assemble one sample and check that the chosen paper holds the punched hole. Let children make their own color decisions even if the finished sequence differs from the example.
Cleanup and storage
Collect the star offcuts for collage and close the glue stick. Untie the display ends before removing the garland, then lay the stars flat between two sheets of scrap paper. Keep the string loosely coiled so it does not pull against the punched holes.
Keep the creativity going
Keep one layered star aside as a sample of the color combination your child liked best. Next time, try a different large-and-small pairing and compare the two. A garland can also become a collaborative project: one person cuts, another arranges, and another explains the sequence before the adult hangs it. If the patriotic theme has sparked questions about America, a shared story or coloring session can carry that interest forward. Choose a book together and notice the places, symbols, or everyday moments it includes. The paper stars can stay nearby as a reminder of the choices that began the conversation.