Sensory & Quiet-Time Activities
Water Painting on Cardboard: A Low-Mess Creative Activity
 Facebook
 Pinterest
 X
X LinkedIn
 Reddit
 WhatsApp
 Telegram
 Bluesky
 Email
Email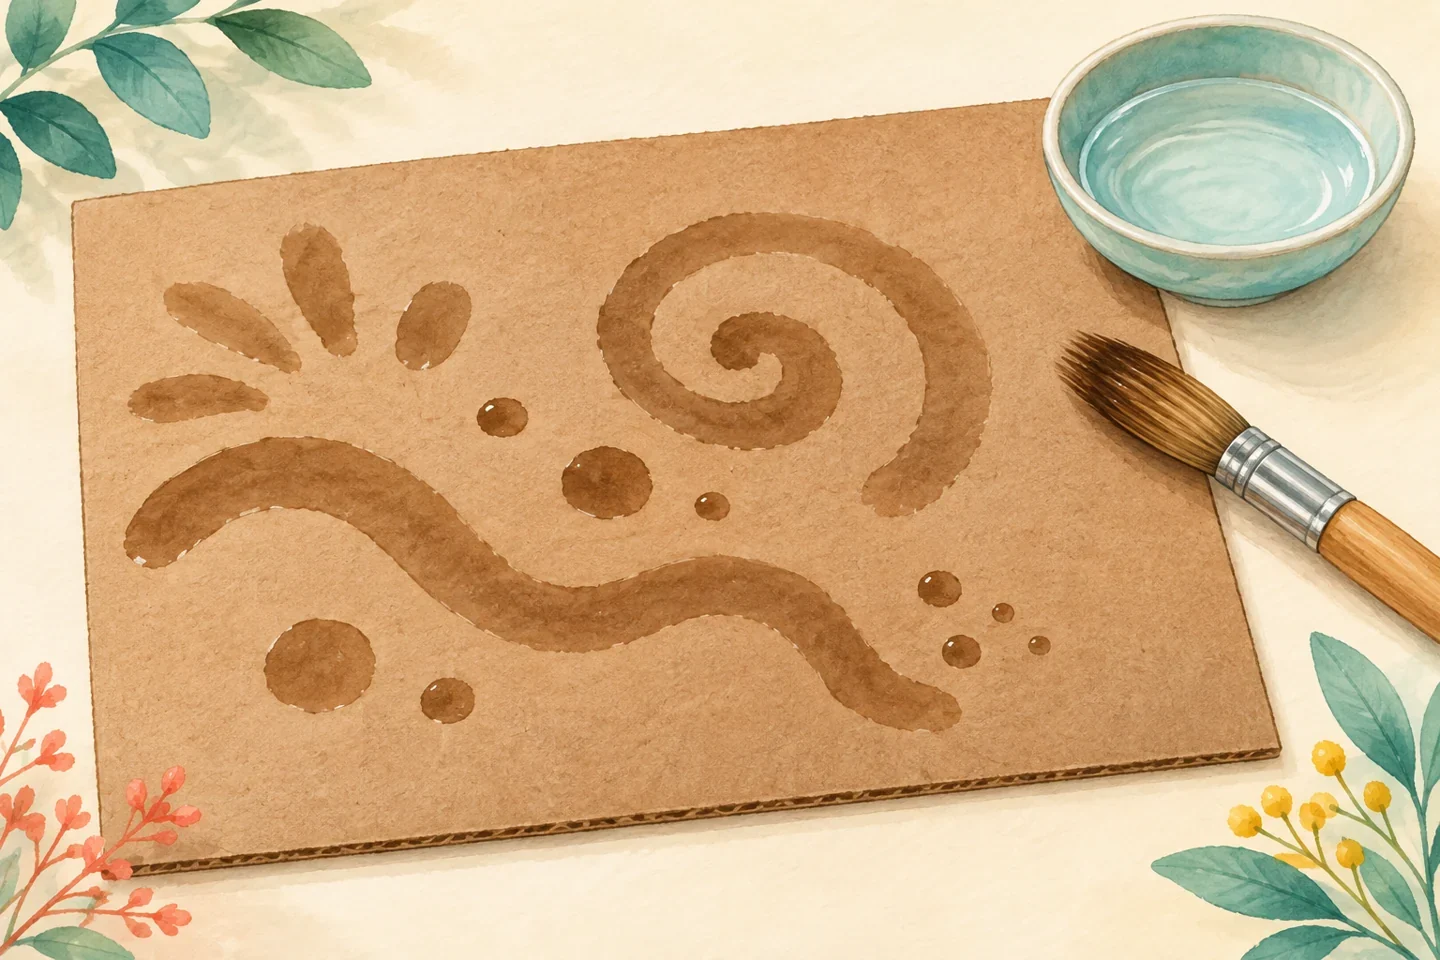
A little water can make visible marks on ordinary brown cardboard without paint or dyes. Children can draw broad paths, dots, and shapes, then notice how the marks change as the surface dries. The picture is temporary by design. There is no requirement to cover the board or save a finished painting, and the activity can end after a few marks.
At a glance
| Suggested ages | 4–8 |
|---|---|
| Activity time | 15–25 minutes |
| Adult setup | 5 minutes |
| Participation | Individual or small group; watching, pointing, and partner assistance are welcome |
What you need
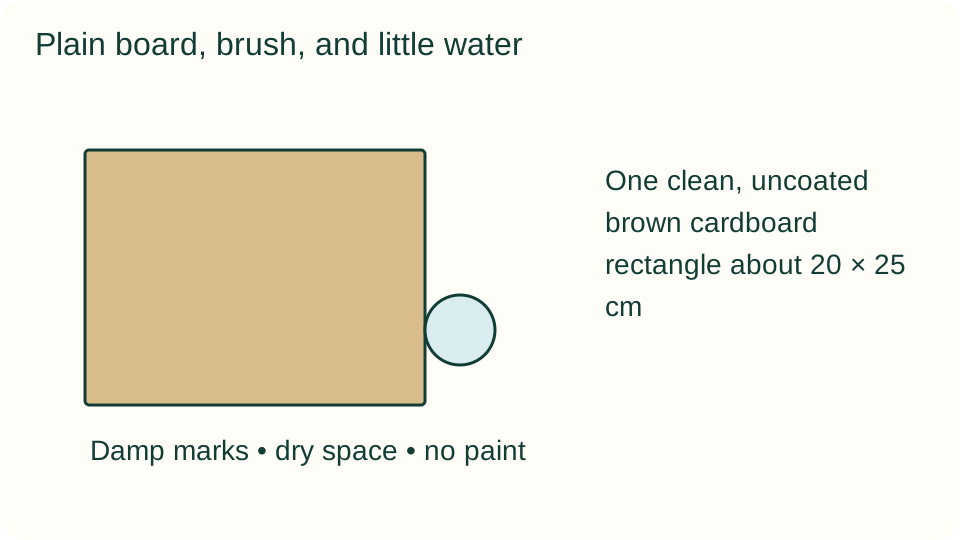
- One clean, uncoated brown cardboard rectangle about 20 × 25 cm
- A broad soft brush and a stable shallow container holding a small amount of water
- A waterproof table mat, absorbent cloth, and a spare dry board
Get ready
Choose cardboard without glossy coatings, staples, loose fibers, or food residue. An adult checks the water container and protects the surface beneath the board. Offer a brush handle rather than requiring direct water contact. This is not a drinking or splashing activity; keep spills away from electrical items.
Try the activity
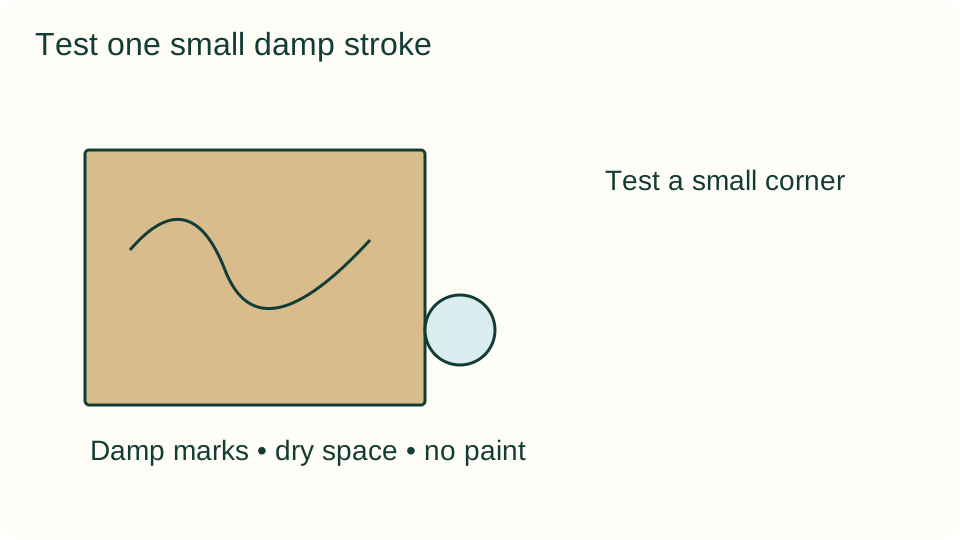
1. Test a small corner
Dip the brush lightly, wipe excess water against the inside rim, and make one short stroke in a corner. Look for a darker visible mark. If water beads up or nothing changes, try a different uncoated board instead of flooding the surface.
2. Offer an open invitation
Place the board within easy reach and invite a line, dot, or any mark the child wants to try. Keep examples small so the demonstration does not become a pattern to copy. A child may watch the first mark or indicate where an adult should make one.
3. Try a broad path
Move the brush across one area with gentle pressure. Notice the beginning, middle, and end of the stroke. It may change width as the brush turns. Refill only when necessary, using a lightly damp brush rather than a dripping one.
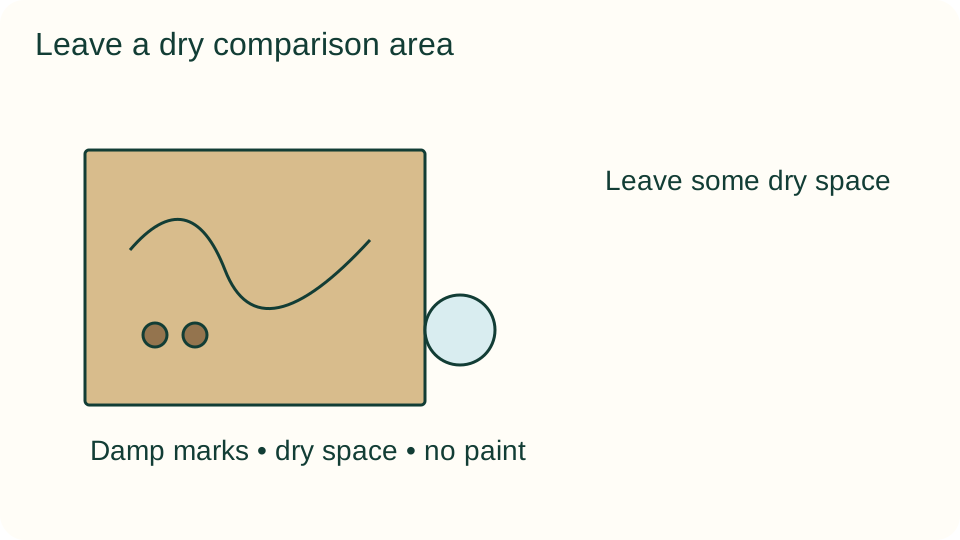
4. Leave some dry space
Make another mark beside the first, retaining an untouched area for comparison. A single broad curve or a few dots are enough. If the board begins to soften, curl, or shed fibers, switch to the dry spare or finish the session.
5. Observe a drying change
Set the brush down and look again after a short pause. Ask whether the oldest mark and newest mark look alike. Drying time varies with the board and room conditions, so do not promise that a design will disappear within a particular number of minutes.
6. Choose a stopping point
Offer a final mark, a fresh board, or a place to let the first board dry. The child can choose not to continue. If they want a permanent reminder, draw a similar shape on ordinary paper rather than insisting on a photograph or repeated painting.
What children can explore
The activity invites observation of wet and dry appearance, brush pressure, and temporary marks. It is not a sensory treatment or a test of drawing ability. Some children enjoy the changing picture; others prefer something permanent. Ask what they would like to keep the same or change in a future setup.
Make it work for your group
Offer a thicker handle or an adult-held brush for easier access. A child who avoids water can draw on dry paper beside the station. Older children may compare a thin and broad brush on separate boards, with no need to complete a formal experiment or write measurements.
At home and in the classroom
At home, use one protected tabletop spot and a nearby cloth. In a classroom, provide an individual board and brush rather than passing a wet board between children. Keep the water portion small and supervised, and allow another dry activity at the same table.
Return to it another day
If the child wants to return, save usable materials and unfinished work together. Ask which part they would like to try again rather than increasing the difficulty automatically. Watching, using a tool, choosing another material, or stopping are valid options; this guide does not promise a particular emotional response.
Helpful fixes and cleanup
Wipe spills immediately, rinse the brush, and dry it according to its material. Let a reusable board dry flat before storing; discard one that stays soft, smells musty, or breaks apart. Empty the container after the activity and leave the working area completely dry.