Arts & Crafts
Cardboard Stamp Printing: Build a Large-Shape Stamp and Repeat a Motif
 Facebook
 Pinterest
 X
X LinkedIn
 Reddit
 WhatsApp
 Telegram
 Bluesky
 Email
Email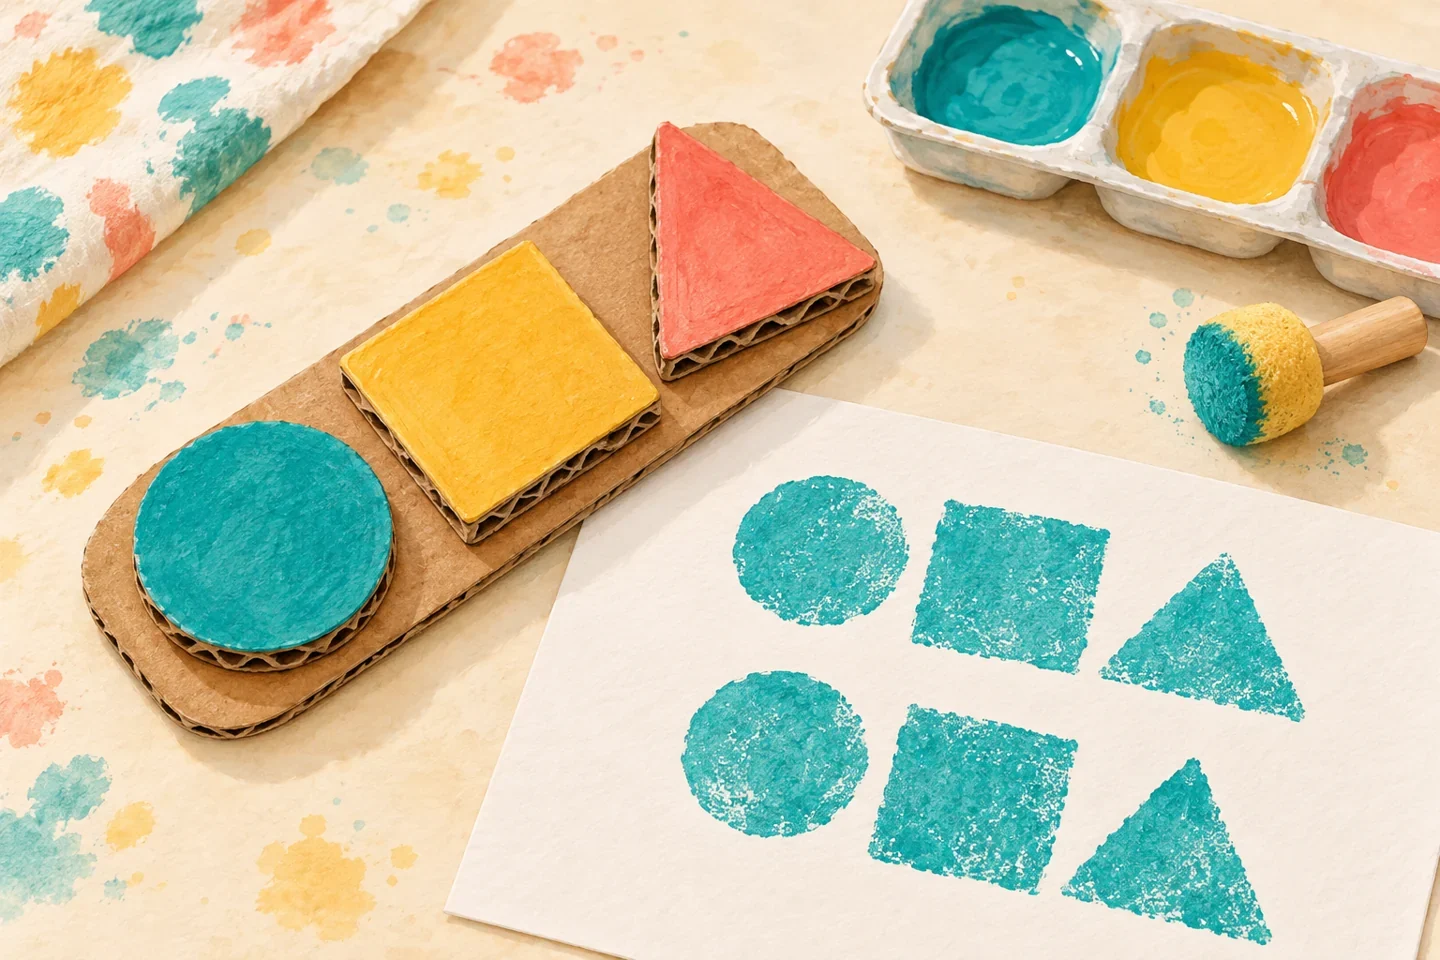
A homemade cardboard stamp can create a repeated motif from a few large shapes. The raised shapes form the printing face; the flat backing is held from the other side. Children arrange the motif, make a test print, and adjust the amount of paint before using their final paper. Cardboard absorbs moisture, so this is a short-session tool rather than a permanently washable commercial stamp.
At a glance
| Suggested ages | 5–10 |
|---|---|
| Activity time | 35–50 minutes, plus glue and paint drying |
| Adult setup | 15 minutes |
| Participation | Individual or small group; watching, pointing, and partner assistance are welcome |
What you need
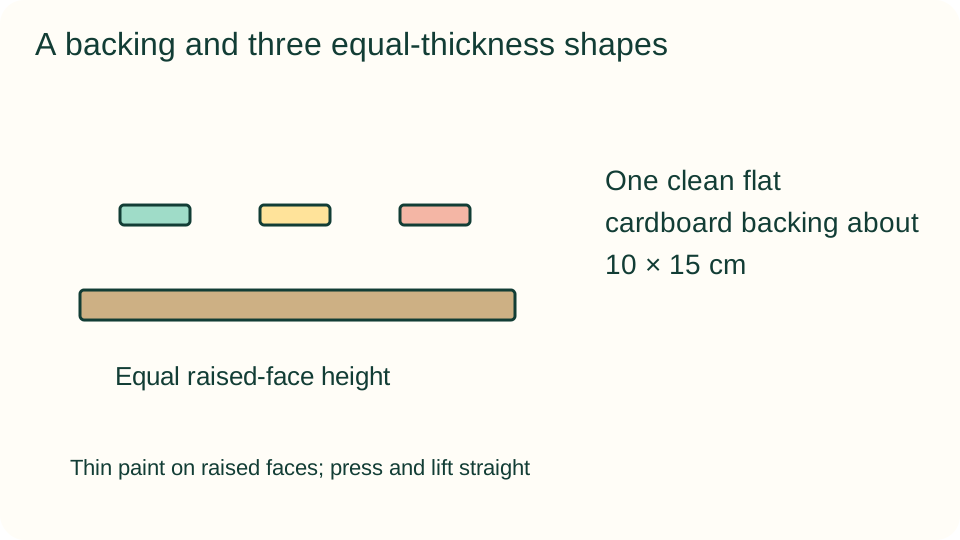
- One clean flat cardboard backing about 10 × 15 cm
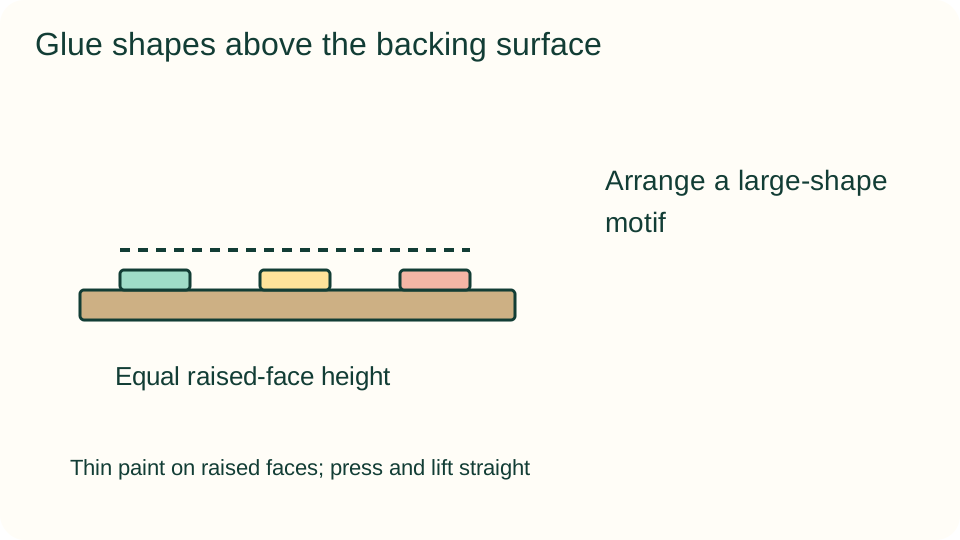
- Three adult-precut cardboard shapes, each about 3–4 cm across and cut from the same thickness
- Glue suitable for the cardboard and used according to its instructions
- Child-appropriate washable paint, a shallow tray, a sponge dabber or broad brush, and two sheets of paper
Get ready
An adult cuts the backing and broad shapes with appropriate tools, removing sharp or rough edges. Children do not use craft knives. Cover the table and set aside time for glue to dry fully. Choose cardboard pieces of the same thickness so their faces can meet the paper together. Keep the paint tray shallow and supplies away from food.
Try the activity
1. Arrange a large-shape motif
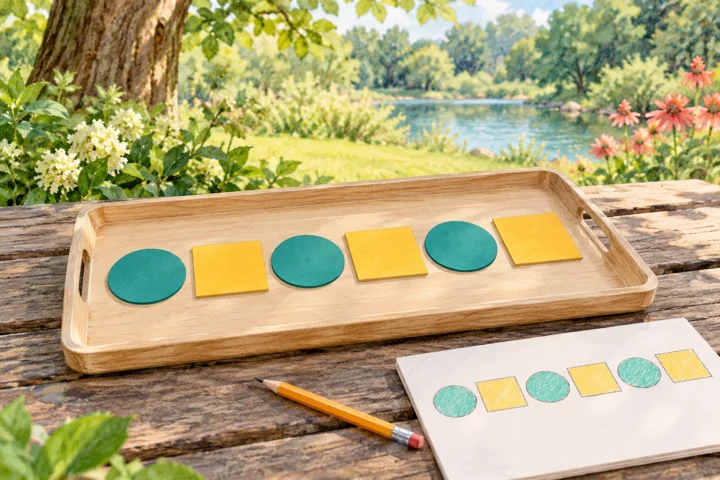
Place the three shapes on the backing without glue. Leave space between them and a border around the edge so the backing is easy to hold. Choose a simple arrangement that can be recognized in a print. Avoid tiny pieces or a design requiring all the shapes to touch exactly.
2. Glue the raised printing face
Attach the shapes to one side of the backing with the recommended glue. Keep their upper surfaces free of lumps and check that they are level. Leave the opposite side plain for holding. Allow the adhesive to dry completely before introducing paint; a loose shape will shift during printing.
3. Apply a thin paint layer
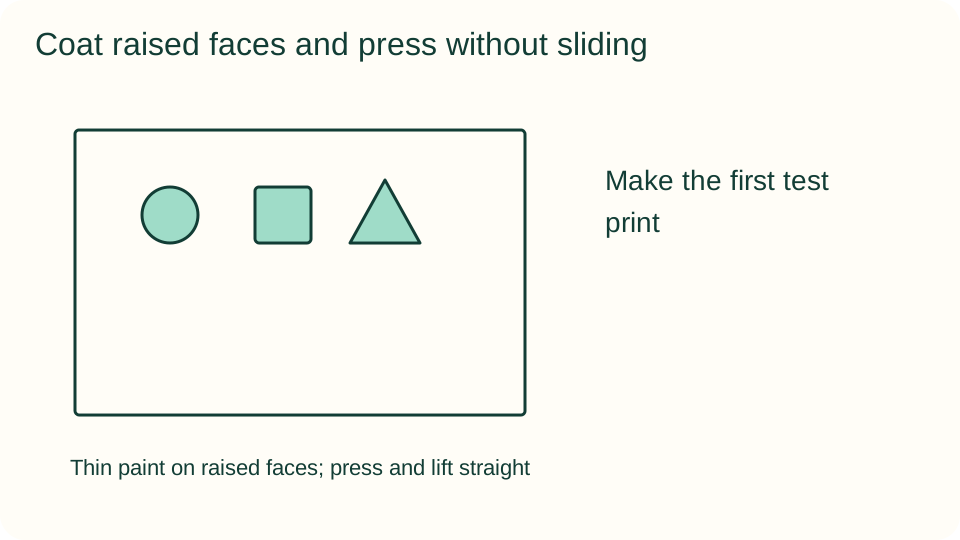
Use a lightly loaded sponge dabber or brush to coat only the raised faces. Keep paint off the backing where possible. A thick puddle can fill spaces and smear the motif. Begin with less paint than you think you need, and use the spare sheet to judge the result.
4. Make the first test print
Place the stamp face-down on the spare paper. Press evenly on the back without sliding, then lift straight up. Look at which shapes printed and whether the gaps remain visible. If a shape is faint, check that its surface is level and coated before adding more pressure.
5. Repeat with deliberate spacing
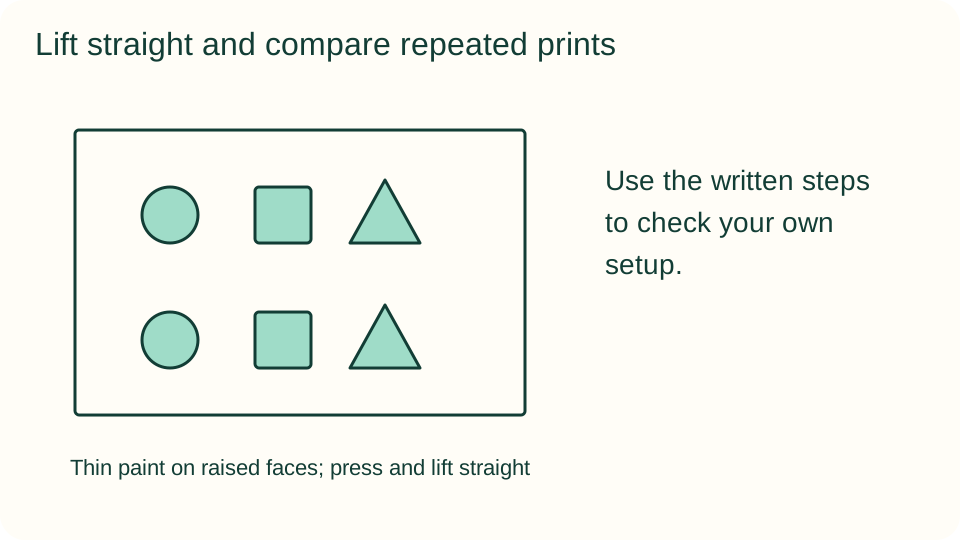
On the final sheet, make two or three impressions, recoating the raised faces lightly between prints. Leave enough room to lift the stamp without dragging it across wet marks. A child can rotate the stamp to change the motif's direction. Record the test print rather than hiding it.
6. Review and let the paper dry
Compare the impressions and point out one difference in coverage, spacing, or direction. Choose whether to add drawn details after the paint dries. Set printed sheets flat in the drying area. Stop using the stamp if its cardboard softens or a shape begins to detach instead of trying to soak it clean.
What children can explore
Printing transfers the raised surface's paint onto another surface. Ask which cardboard parts left marks and why the lower backing usually did not. A printed motif reverses left and right, so a lopsided shape may look different on paper. Simple geometric shapes make this change easier to discuss without needing reversed lettering.
Make it work for your group
Offer one large shape and an adult-made stamp for a shorter introduction. Older children can compare two orientations or plan a border with repeated spacing. A child who does not want paint can arrange cardboard shapes on a drawing and trace them with assistance. Partner pressing is available without requiring independent tool handling.
At home and in the classroom
At home, use one motif and a few prints rather than a long stamping session. In a classroom, prepare dry stamps ahead of time and rotate small groups through the paint station. Give each group a spare test sheet and a defined drying space. Keep adult cutting separate from children's printing work.
Keep your creative choices
Save a sketch, a small test, or a short dictated note about one choice the maker wants to remember. A later version can use different colors, shapes, or decoration without matching the example. Let the maker decide whether to continue, share the work, or keep it private.
Helpful fixes and cleanup
A smeared print usually calls for less paint and a straighter lift, not harder pressing. Wipe excess paint from the tool gently; do not immerse cardboard in water. Clean reusable trays and brushes as directed, wash hands, and dispose of paint-coated cardboard according to local guidance. Store a fully dry usable stamp only if its pieces remain secure.