Nature & Outdoor Adventures
Outdoor Pattern Studio: Build, Repeat, and Describe a Design
 Facebook
 Pinterest
 X
X LinkedIn
 Reddit
 WhatsApp
 Telegram
 Bluesky
 Email
Email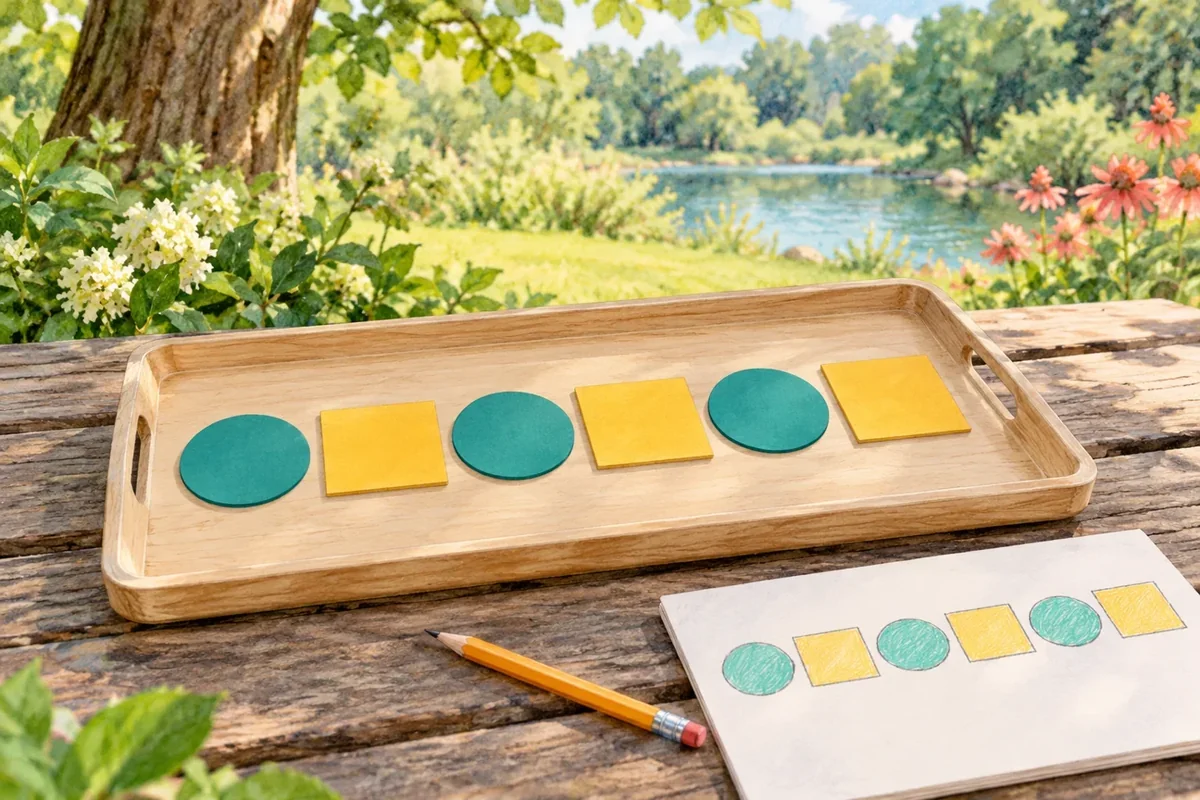
A repeating design can begin with just two kinds of shape. In this outdoor studio, children arrange manageable pieces on a mat or tray, explain the part that repeats, and invite a partner to continue it. The default setup uses reusable cardstock shapes brought from home. Fallen materials are an optional alternative only where collection is permitted and an adult approves the specific items.
At a glance
| Suggested ages | 4–9 |
|---|---|
| Activity time | 20–35 minutes |
| Adult setup | 10 minutes |
| Participation | Individual or small group; watching, pointing, and partner assistance are welcome |
What you need
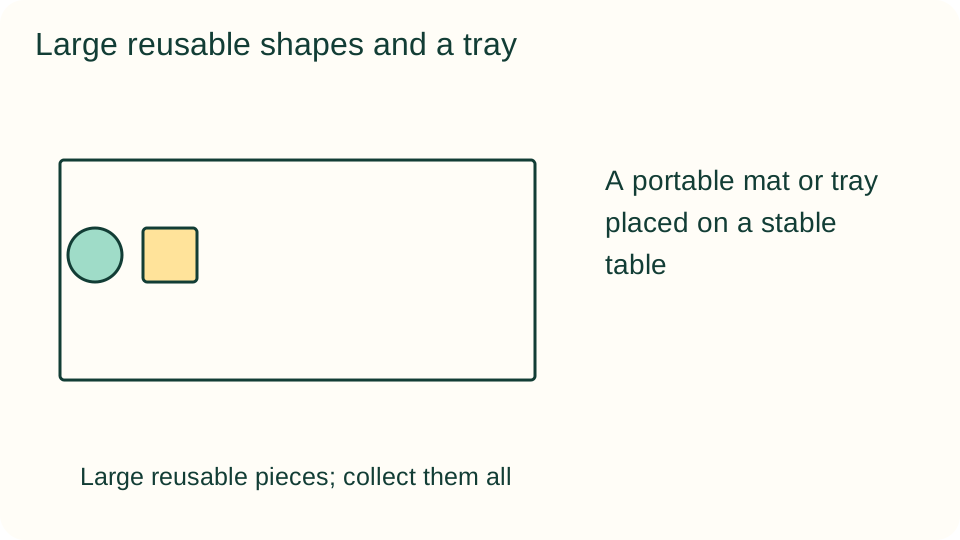
- A portable mat or tray placed on a stable table
- Six large cardstock circles and six large cardstock squares, each about 6–8 cm across
- Paper and a pencil for recording the design
- An optional adult-approved selection of permitted fallen materials instead of the cardstock shapes
Get ready
An adult checks the table and weather; choose a sheltered spot where pieces will not blow away. Keep reusable shapes large enough for the participating children. Do not use unknown plants, berries, mushrooms, sharp items, or small loose objects for children who mouth materials. Never pick living plants or collect from places where removal is prohibited.
Try the activity
1. Explore the available pieces
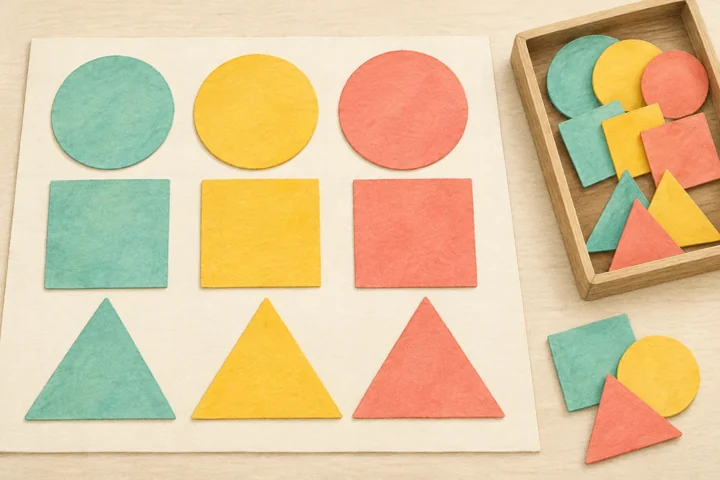
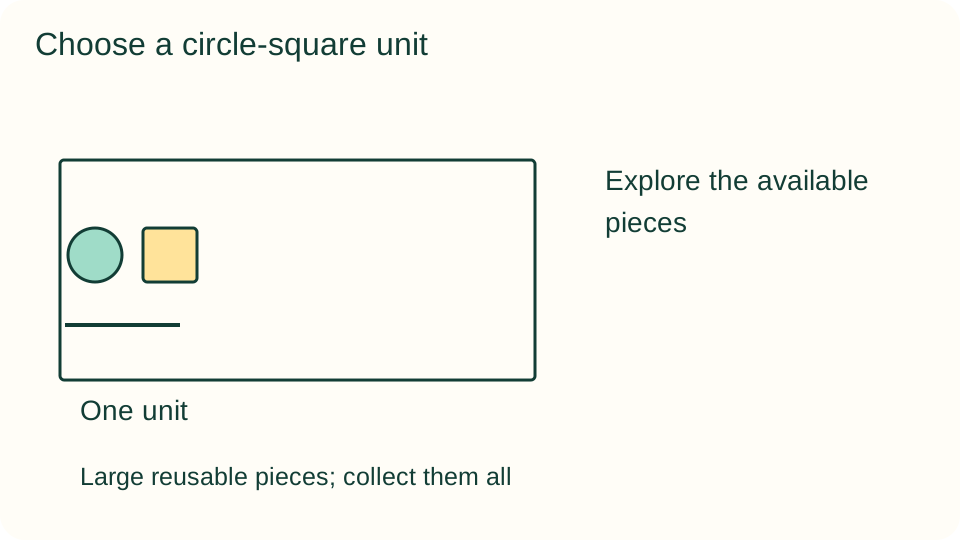
Place a small selection on the tray and describe the differences. Choose two kinds to begin, such as circles and squares. The distinction can be shape, color, or another clear feature. Leave extra pieces nearby without requiring children to use every item or sort an entire collection first.
2. Make one repeating unit
Arrange one circle followed by one square. Explain that this pair is the part you will repeat. Keep the pair visible and say its order aloud if helpful. A child can point, dictate, or direct a partner's placement rather than handle the pieces independently.
3. Extend the design
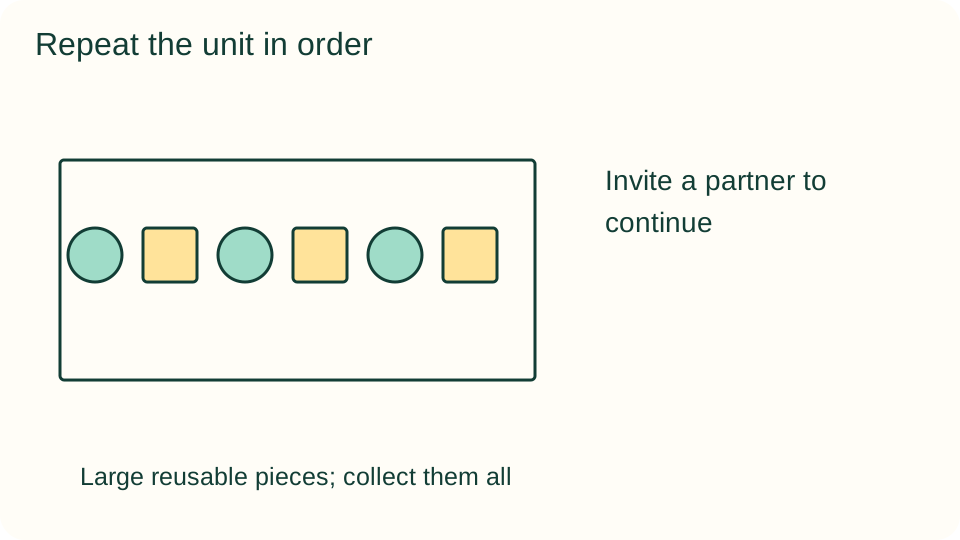
Place another circle-square pair beside the first, then a third. Compare the sequence with the original unit. Ask what should come next and why. If a piece breaks the pattern, notice it together without calling the whole arrangement wrong; the child can revise it or choose a different design.
4. Invite a partner to continue
Show a partner the arrangement without telling them the answer immediately. Ask them to describe the unit and choose the next two pieces. Explain your thinking and compare interpretations. If the pattern was ambiguous, adjust the spacing so each repeating group is easier to see.
5. Try one intentional change
Reset only with the child's agreement. Try circle-circle-square and repeat that unit, or add a third kind of large shape prepared by an adult. Change one feature at a time so the new pattern can be described. A free arrangement is also valid; name it as a design rather than a repeat.
6. Record and pack the arrangement
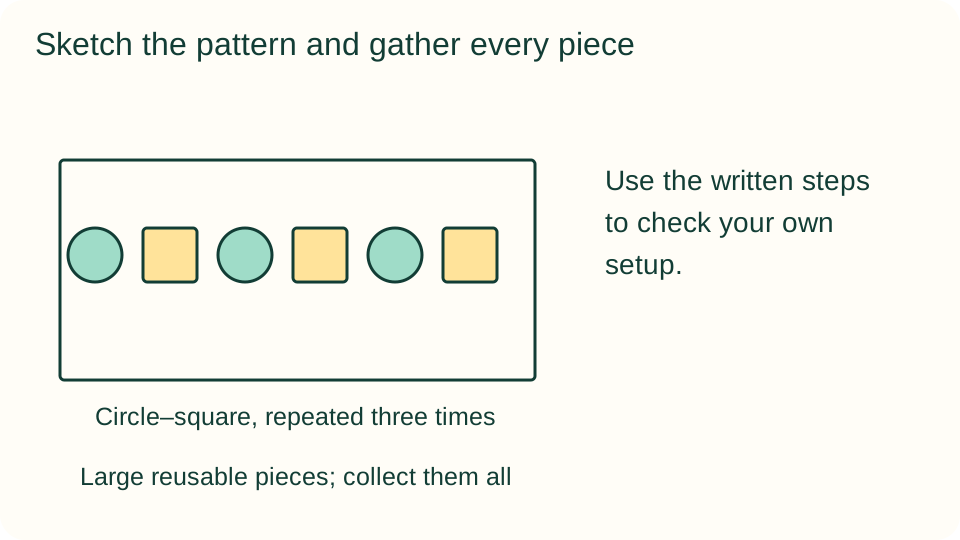
Sketch the unit and at least two repeats on paper. Use simple outlines or dictated labels rather than copying every surface detail. Compare the drawing with the tray before packing. Keep the record if wanted, then gather all reusable pieces and clear the table without leaving an outdoor installation.
What children can explore
Discuss the difference between a collection of attractive pieces and a sequence with a repeating unit. AB, AAB, and ABC are useful adult shorthand, but children can describe circle-square or two circles then a square. Ask whether the same unit could run in a curve without changing its order.
Make it work for your group
Offer four pieces and adult assistance for a shorter beginner version. Older children can hide one position with a large blank card and ask a partner which piece belongs there. A seated child can use the same tabletop setup. For a child who prefers exploration, keep the invitation open and avoid insisting on a pattern.
At home and in the classroom
At home, use a patio table or a permitted picnic area. In a classroom, give pairs a defined tray so arrangements do not merge accidentally. Rotate designing and explaining roles. If natural materials are permitted, let an adult choose large safe fallen examples and keep the same no-picking boundary for everyone.
Return to the observation
Keep the original record with any later notes so changes remain visible. Before returning outdoors, an adult checks permission, access, and current conditions again. Repeat only the parts that interest the child, and record what actually happens rather than recreating an expected result.
Helpful fixes and cleanup
If wind moves the pieces, move indoors rather than chase materials across a path. Count reusable shapes into their container and collect all paper. Return approved natural items only where local rules allow and without damaging habitat; bring brought-from-home supplies back home. Wash hands after outdoor material handling and before eating.