Arts & Crafts
Texture Rubbing Art for Kids: Discover Patterns With Crayons
 Facebook
 Pinterest
 X
X LinkedIn
 Reddit
 WhatsApp
 Telegram
 Bluesky
 Email
Email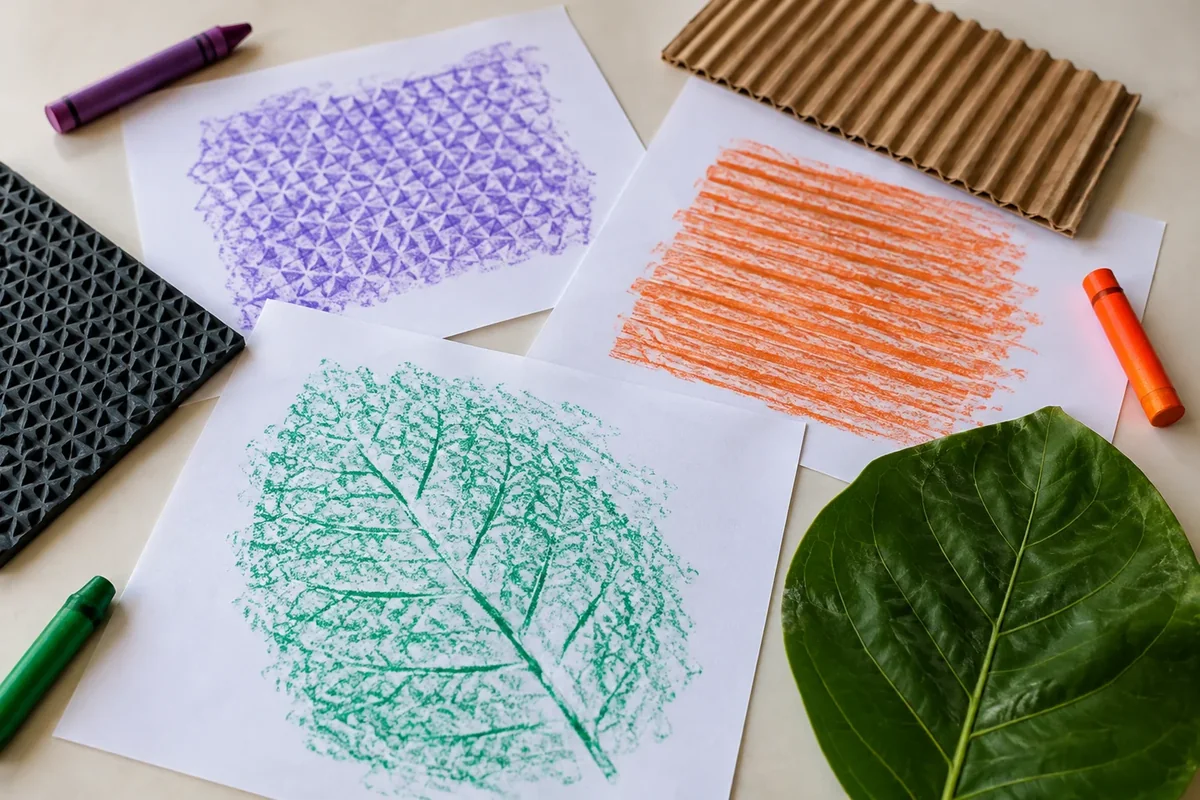
Hide a bumpy surface beneath paper, rub over it with a crayon, and watch a pattern appear. Texture rubbing turns ordinary materials into a little art discovery: ridges, dots, and leaf veins suddenly become visible marks.
Children can make a texture gallery, match rubbings to their surfaces, or turn the patterned paper into a collage. A few safe surfaces and some broad crayons are enough to get started.
At a glance
| Detail | Plan |
|---|---|
| Suggested ages | 4–8, with help holding paper if needed |
| Preparation | 5–10 minutes at home; 15–20 minutes for a class |
| Activity time | 20–30 minutes |
| Group size | One child, pairs, or classroom stations |
| Mess level | Low; moderate if adding collage |
What you need
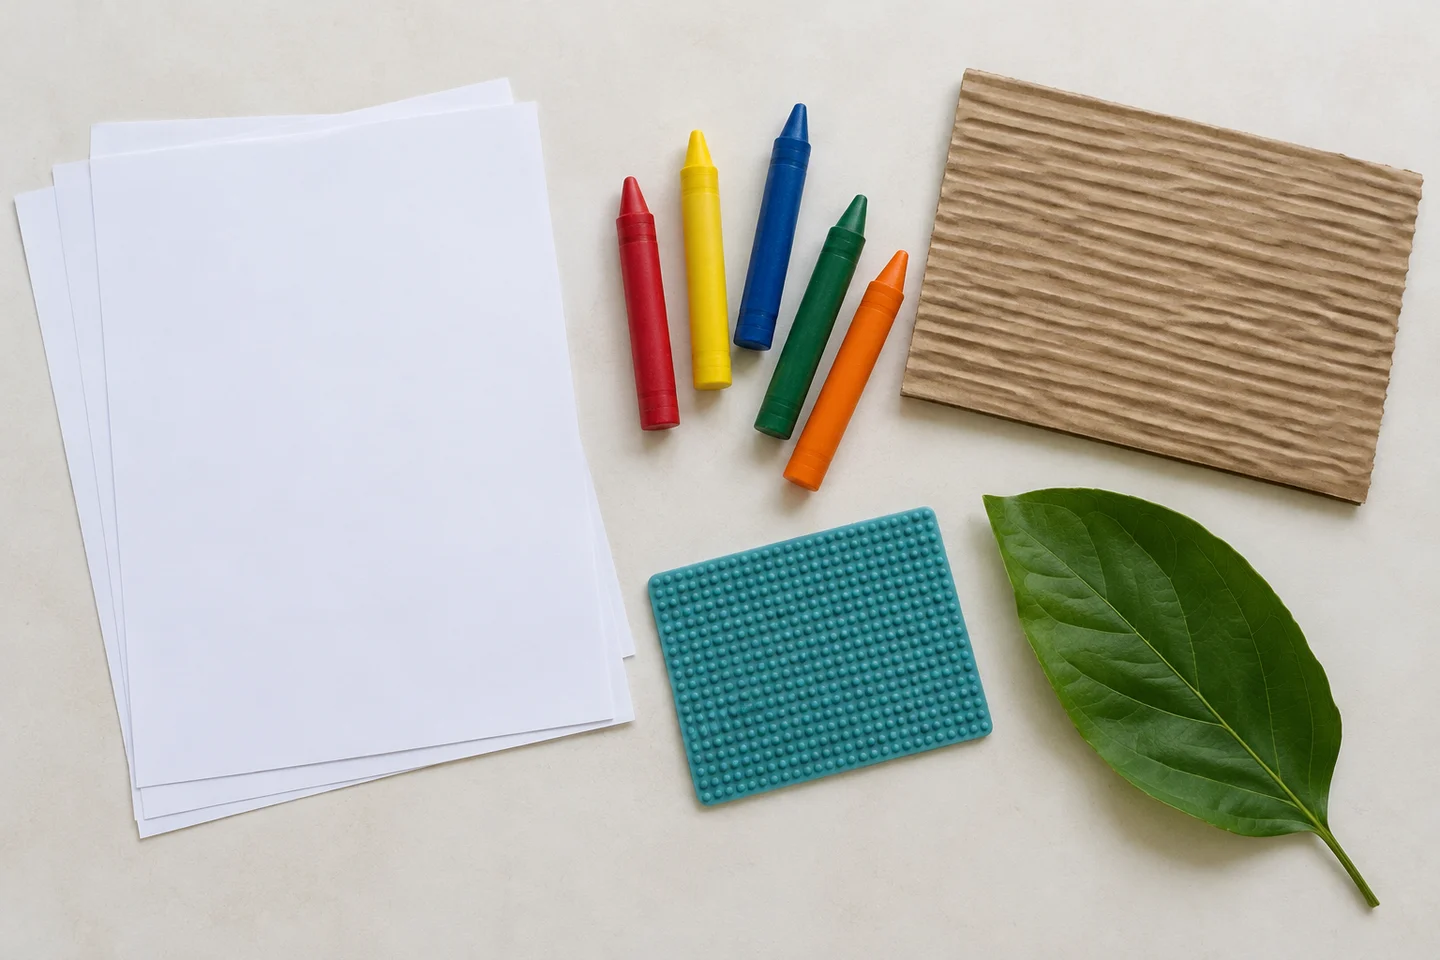
- Four to six sheets of lightweight plain paper per child.
- Wax crayons with some wrappers removed.
- Three or four safe textured surfaces, such as corrugated cardboard or a clean textured mat.
- A firm tabletop or drawing board.
- Optional backing paper, glue sticks, and child scissors for collage.
For 24 children, set up six tables with four surfaces and shared crayons at each. Start with about 120 sheets of paper and replenish as needed. An adult can select an intact leaf from a known safe source; avoid sharp, dirty, or crumbly surfaces.
Get ready
Lay the textures flat on a stable surface. Peel enough wrapper from a broad crayon to use its side. Make one small rubbing together to show how paper and pressure reveal the raised parts beneath.
Reveal a hidden pattern
1. Look at the surfaces
Compare two textures before covering them. Ask, “Can you see long ridges or little bumps?” Children can look without touching if that feels more comfortable.
2. Cover one texture
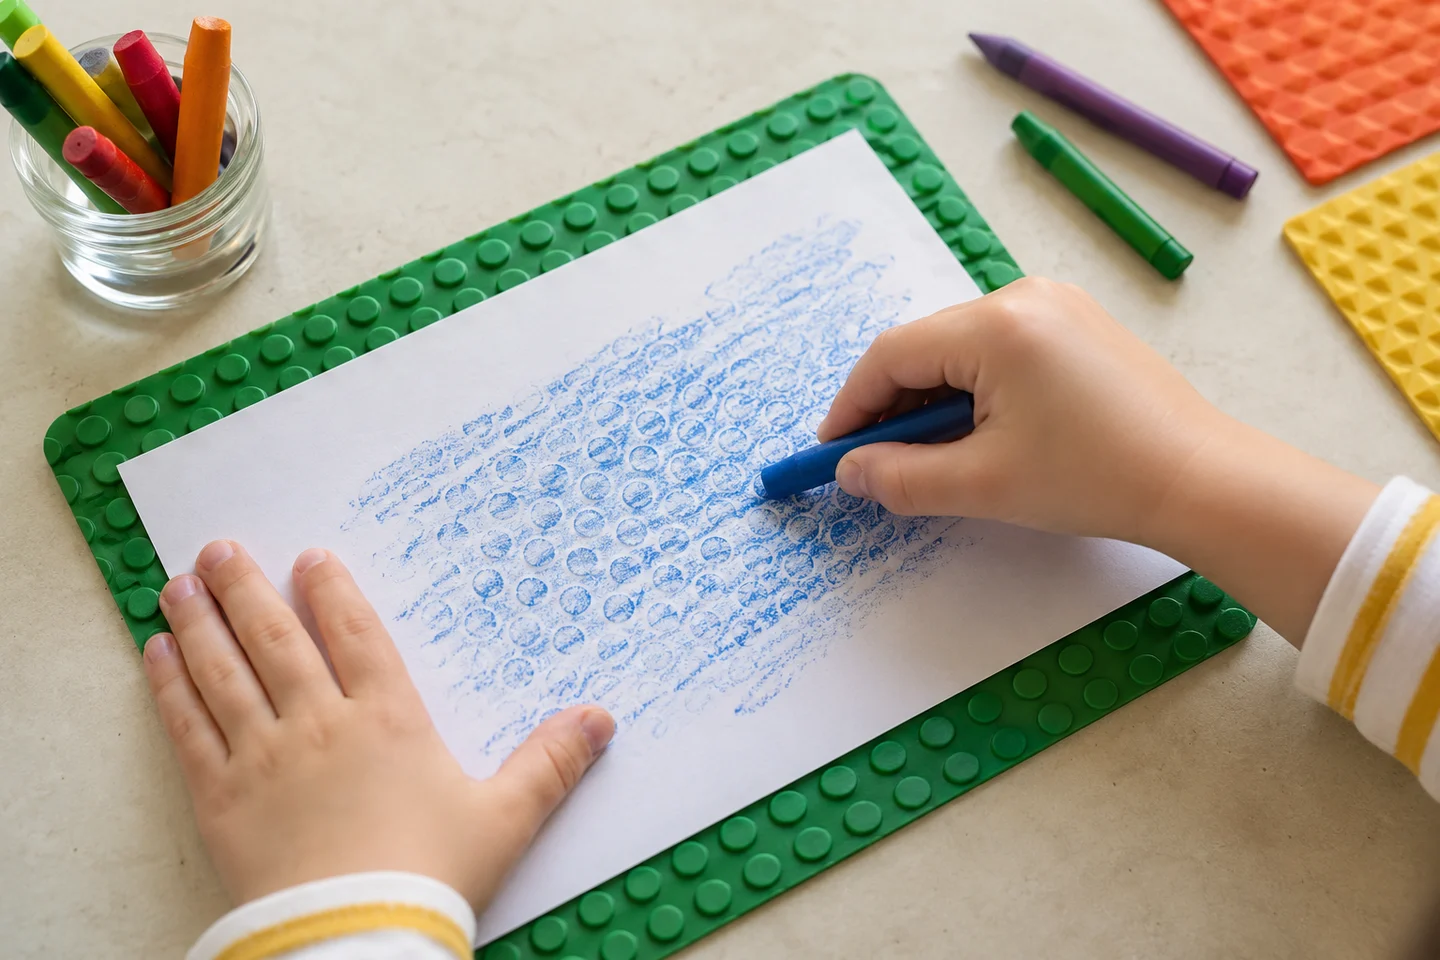
Place a sheet over the surface and hold an edge still. A partner can steady it, or tape the paper to the supporting board. Keeping the sheet in one place helps the pattern stay clear.
3. Rub with the crayon’s side
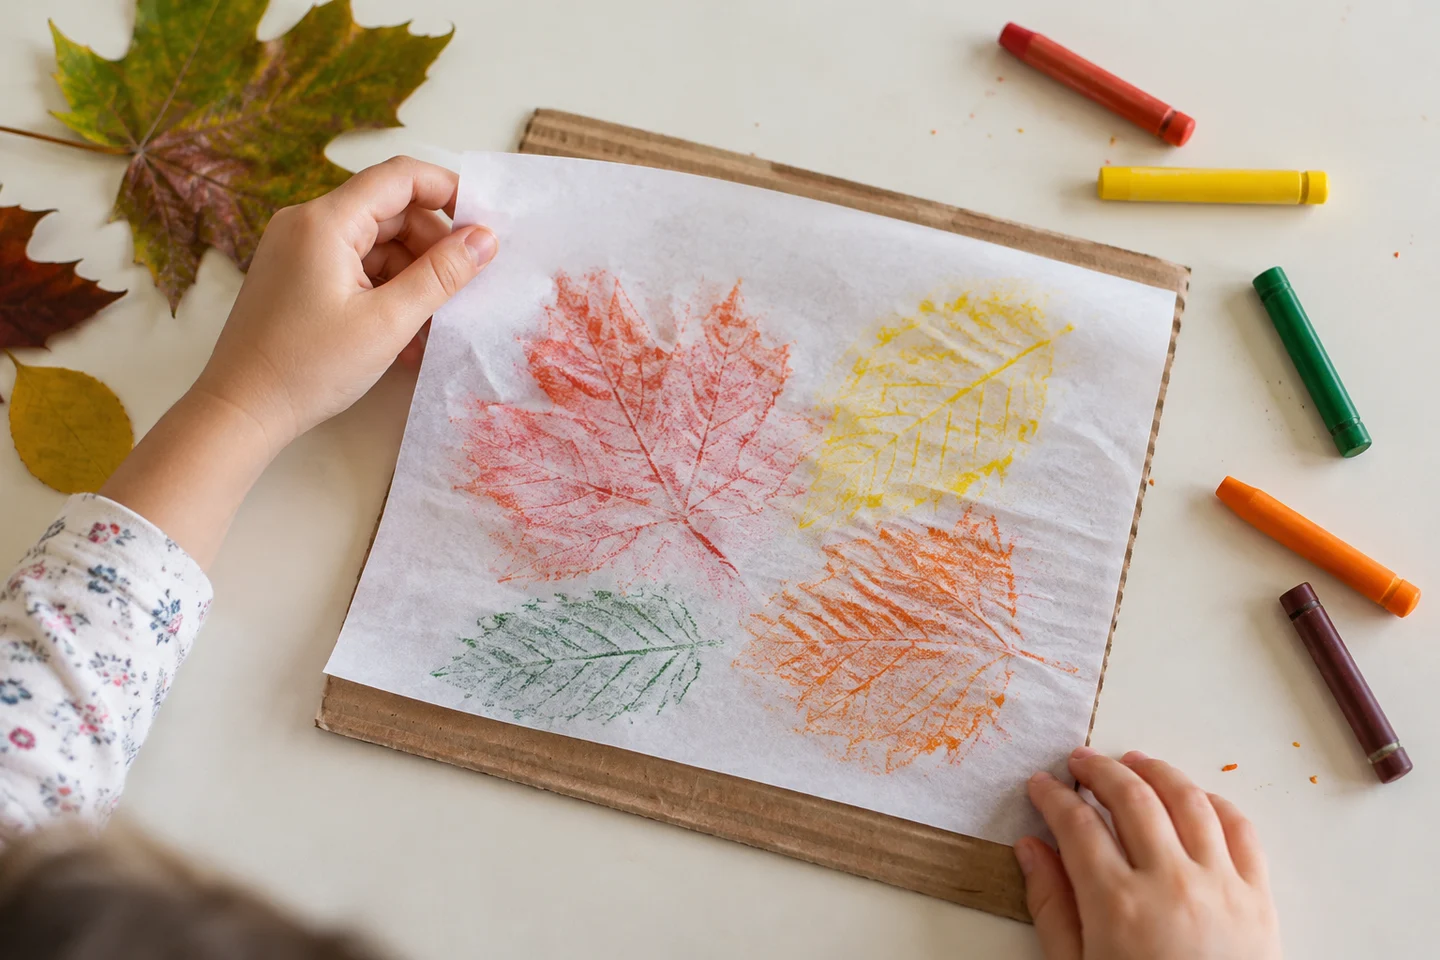
Hold the crayon sideways and sweep it gently across the paper. Add a little pressure if the marks are faint. Raised features usually catch more color, revealing the texture. For a leaf, try the underside to bring out its veins.
4. Try another surface
Use a fresh sheet or an empty area. Add a quick label on the back so you remember the source. Use the same crayon for the first comparisons, then experiment with different colors.
5. Play a matching game
Place two or three rubbings beside the surfaces. Can your child work out which made each pattern? Point to a clue such as a curved line or repeated ridge.
6. Make something with the paper
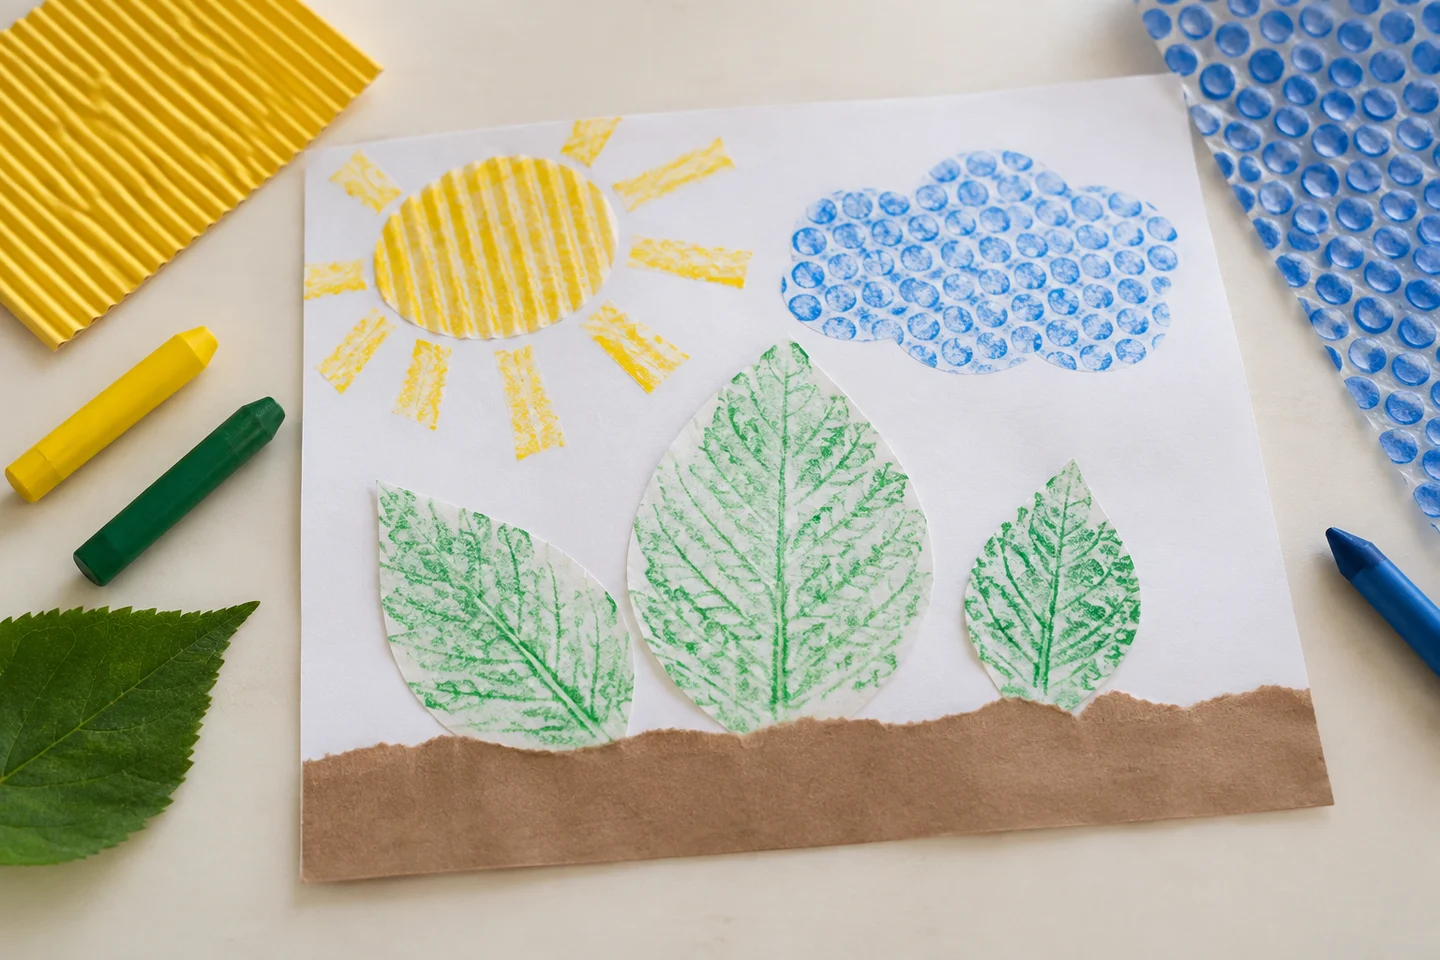
Keep the rubbings as a gallery, or tear and cut them into collage shapes. Arrange the pieces on backing paper before gluing. Patterned paper might become an animal, a landscape, or a design made entirely of shapes.
What children can explore
Rubbing connects a physical surface with its visual pattern. Children also experiment with pressure and direction. Try, “What changed when you rubbed more gently?” or “Where could this striped piece go in your picture?”
At home and in the classroom
At home, two textures and a matching game make a short version. In class, pairs can swap the roles of holding and rubbing. Collect finished sheets in trays so children have space to work and compare their discoveries.
Make it work for your group
Offer chunky crayons, prepared paper, and help stabilizing surfaces. Children who prefer not to touch can explore through the rubbings. Older artists can compare gentle and firmer pressure or use repeated pieces to design a border.
Helpful fixes and cleanup
- Faint marks: try lighter paper or a more pronounced texture.
- Solid color instead of a pattern: lighten the pressure.
- Slipping paper: hold or secure one edge.
- Tearing paper: check the surface and reduce pressure.
Save favorite rubbings, return reusable surfaces, and collect collage scraps. One successful pattern can inspire another round of discovery.