Arts & Crafts
Crayon Resist Watercolor Art: Draw Bold Marks and Add a Light Wash
 Facebook
 Pinterest
 X
X LinkedIn
 Reddit
 WhatsApp
 Telegram
 Bluesky
 Email
Email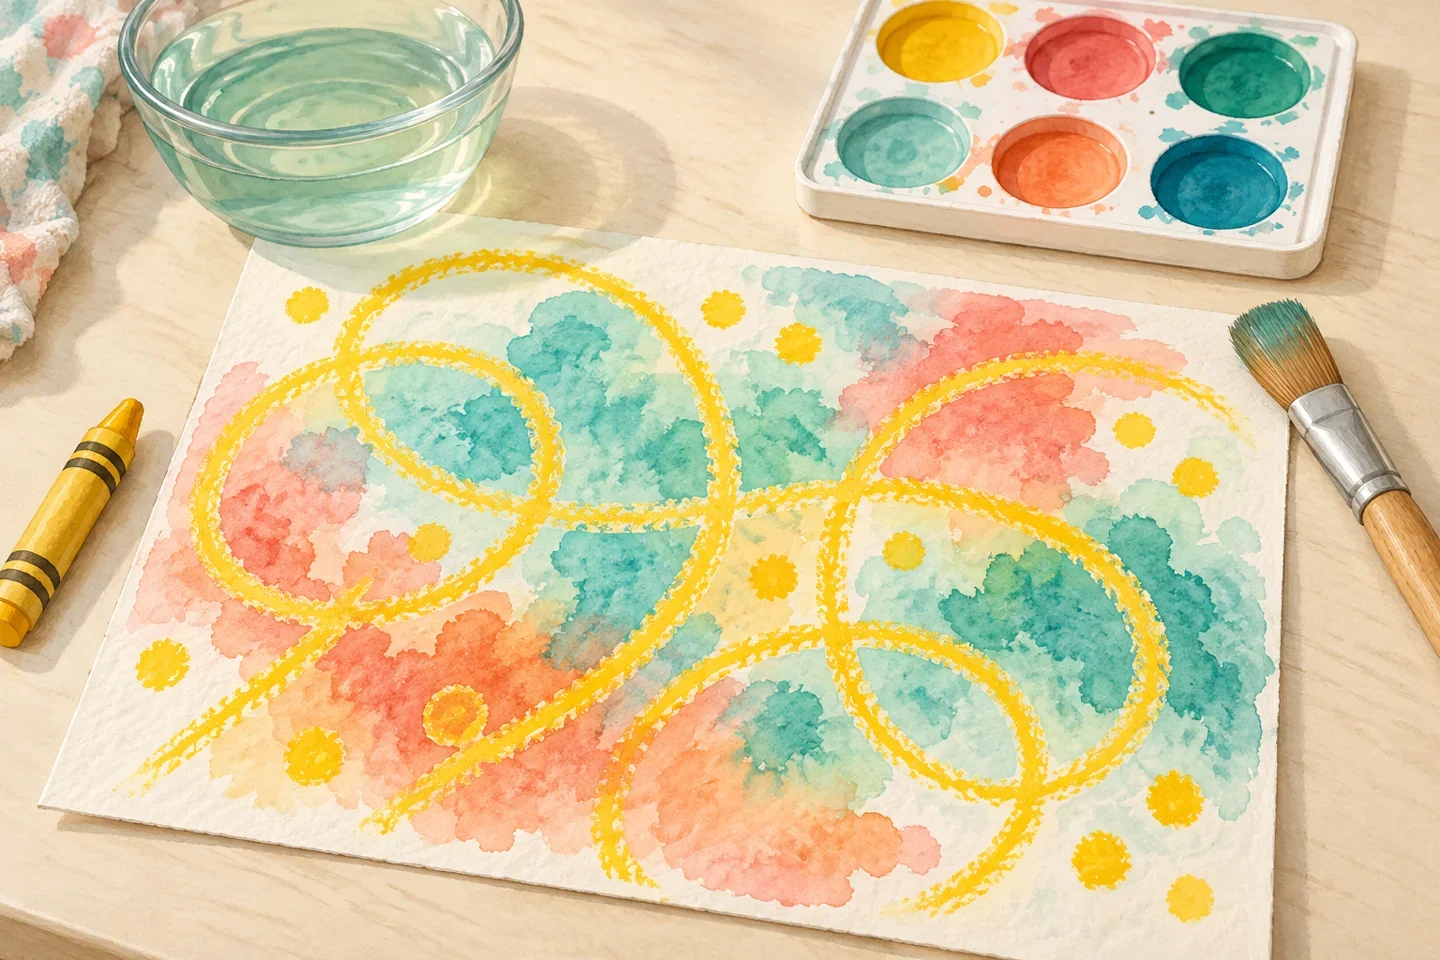
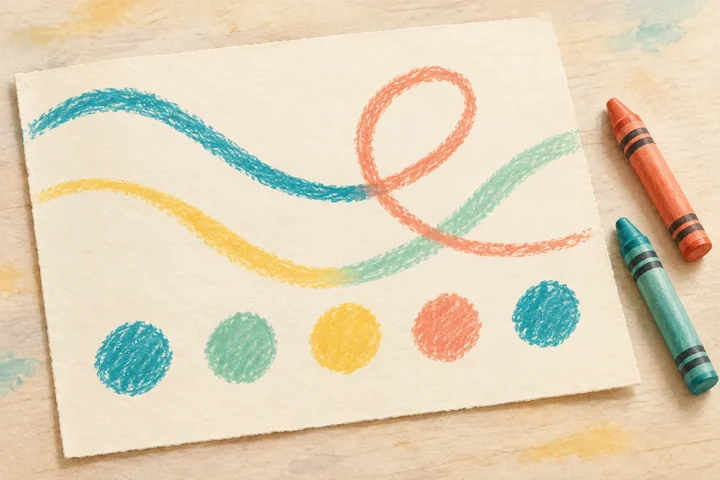
Firm wax-crayon marks can remain visible when a light watercolor wash is brushed across them. The effect varies with the crayon, paper, paint, and pressure, so start with a small test rather than promise a hidden-picture reveal. Children choose their own lines, shapes, or scene, then notice how the painted surface differs from the original drawing. A bold abstract design works as well as a recognizable picture.
At a glance
| Suggested ages | 4–10 |
|---|---|
| Activity time | 25–40 minutes, plus drying |
| Adult setup | 10 minutes |
| Participation | Individual or small group; watching, pointing, and partner assistance are welcome |
What you need
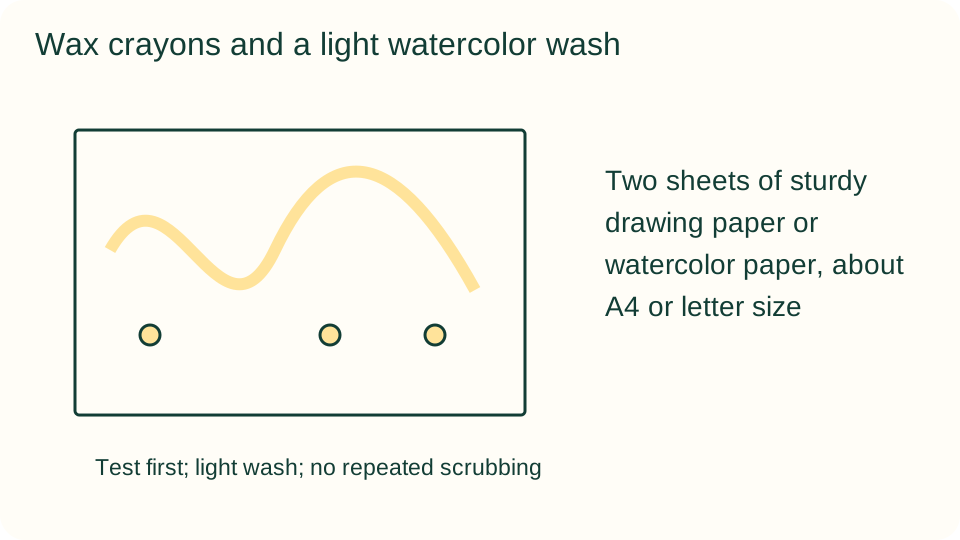
- Two sheets of sturdy drawing paper or watercolor paper, about A4 or letter size
- Wax crayons in two or three chosen colors
- A child-appropriate watercolor set and one broad soft brush
- A stable small water cup, protected table, and absorbent cloth
Get ready
An adult checks the art materials' age guidance and covers the work surface. Keep water in a stable cup away from the table edge and electrical items. Use art supplies as directed, never as food or body paint. Prepare a drying space and a spare test sheet. If wet media are unsuitable, use the drawing-only alternative instead of pressing for participation.
Try the activity
1. Test the chosen materials
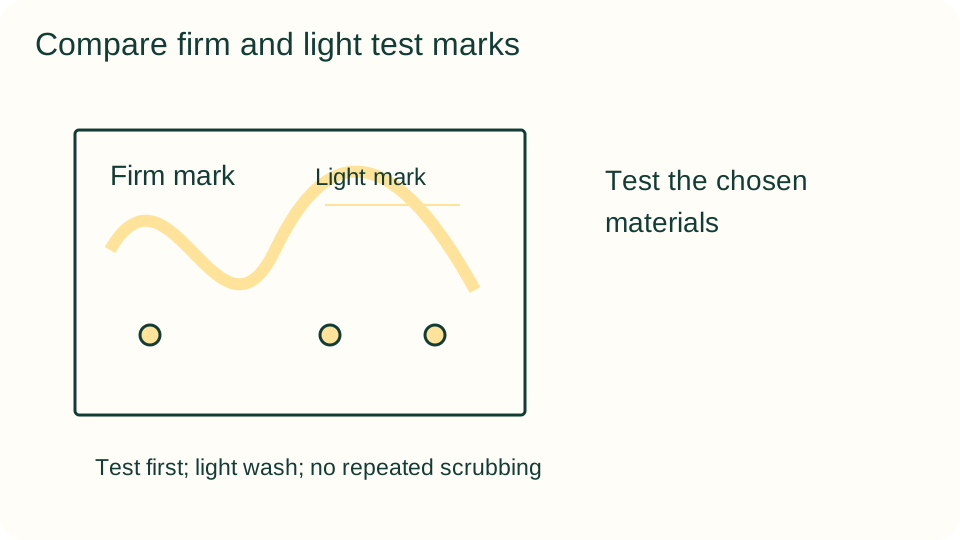
On spare paper, draw a few firm crayon marks and one lighter mark. Mix a light watercolor wash and brush across them once. Observe which marks stay visible and how the paper responds. If the wax effect is weak, adjust pressure or try another crayon before starting the main artwork.
2. Plan a broad design
Choose large loops, dots, shapes, or a simple scene for the main sheet. Leave open paper between some marks so the wash has room to show. Avoid tiny details that require repeated rubbing. The test result can guide the design, but there is no requirement to copy a sample or use white crayon.
3. Draw with deliberate pressure
Make the chosen marks with comfortable, firm pressure so the wax builds up on the paper. Go over a broad line again if needed without damaging the surface. An adult can help hold the sheet steady. Stop if pressure is uncomfortable and accept a lighter drawing as its own result.
4. Add one light wash
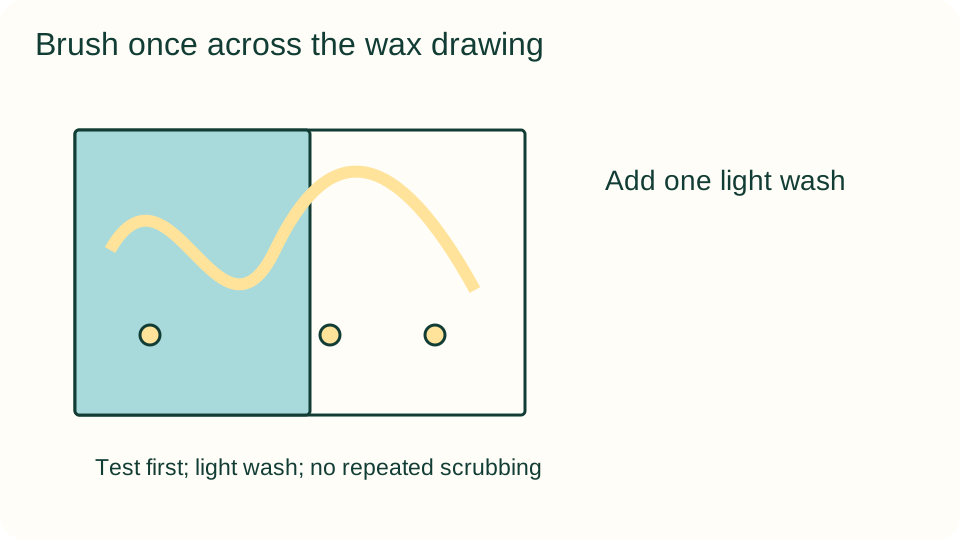
Load the broad brush with the tested light wash and move across a section of the drawing. Use enough color to see a difference without flooding the sheet. Notice the crayon marks as the paint passes over them. Leave another section unpainted for a direct comparison before covering the rest.
5. Compare before adding more
Look at the painted and unpainted areas together. Describe which colors changed in appearance and where wax marks remain visible. If desired, wash the remaining area or add a second chosen color to a separate section. Avoid repeated scrubbing, which can damage wet paper and blur the intended effect.
6. Dry and describe the result
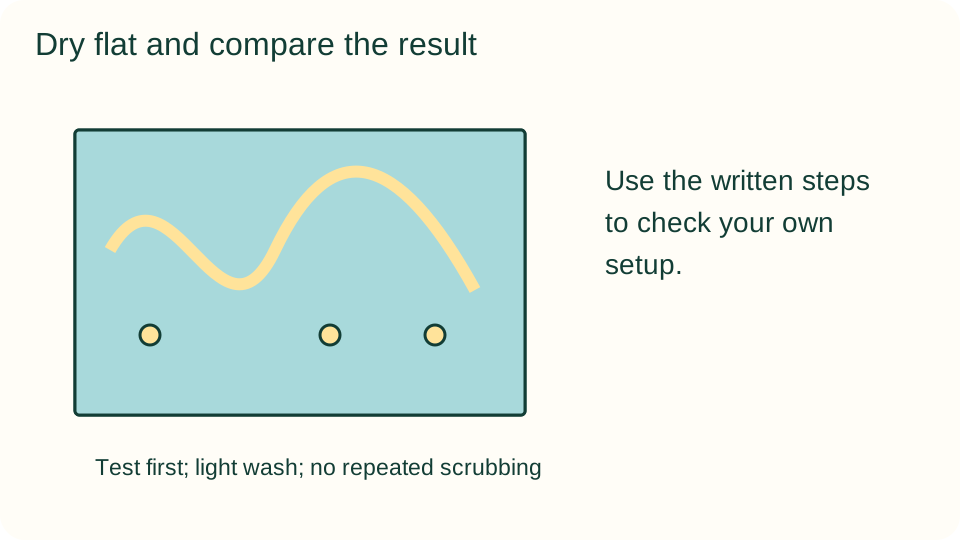
Place the sheet flat in the prepared drying area and let it dry before lifting or stacking. Return to the finished work and point out one observed effect. Describe the materials and choices rather than claiming every crayon resisted equally. Keep the small test beside the artwork if the child finds the comparison useful.
What children can explore
Compare firm and light wax marks from the test sheet. Ask what changed when paint covered the bare paper and what stayed visible on the waxed areas. Do not interpret an uneven wash as a failed artwork. It can help identify where the paper was wetter or where the crayon was applied differently.
Make it work for your group
Offer broad adult-drawn outlines for a shorter version while leaving color choices to the child. Older participants can compare two crayon pressures on the same paper using one wash. A drawing-only activity with contrasting crayons provides a dry option. Pointing, choosing colors, or directing an adult's brush are valid ways to participate.
At home and in the classroom
At home, one water cup and one test sheet are enough. In a classroom, use small painting groups with a shared drying area labeled privately by an adult if necessary. Keep the demonstration short and let each maker choose a different design. Place cups in stable trays and allow a dry-art station nearby.
Keep your creative choices
Save a sketch, a small test, or a short dictated note about one choice the maker wants to remember. A later version can use different colors, shapes, or decoration without matching the example. Let the maker decide whether to continue, share the work, or keep it private.
Helpful fixes and cleanup
If paper begins to pill or tear, stop brushing and let it dry. A heavy paint layer can be reduced on the next test rather than scraped off the current artwork. Rinse brushes according to the material instructions, wipe spills promptly, and close paints. Wash hands after painting and store artwork only when completely dry.