Arts & Crafts
Cut-Paper Self-Portrait: Build a Face With Large Shapes and Drawn Details
 Facebook
 Pinterest
 X
X LinkedIn
 Reddit
 WhatsApp
 Telegram
 Bluesky
 Email
Email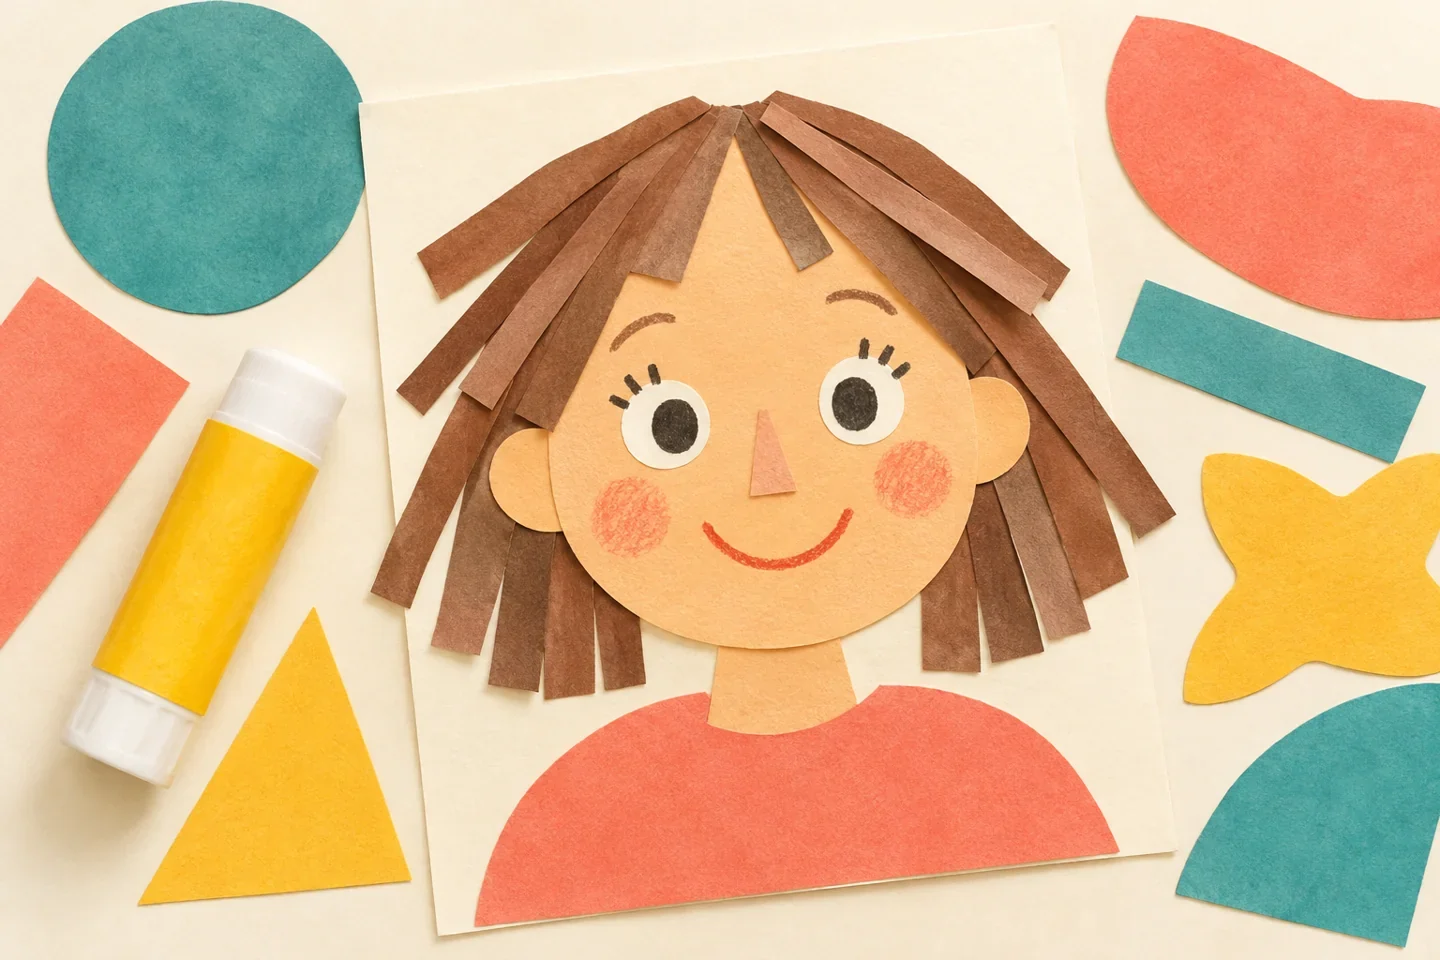
A paper self-portrait is a chance to choose how to represent yourself. Children arrange a broad face shape, hair, and clothing on cardstock, then draw features or details they want to include. The result can be realistic, simplified, or imaginative. There is no prescribed skin color, hairstyle, expression, or level of resemblance, and children may make an invented character instead if they prefer.
At a glance
| Suggested ages | 4–10 |
|---|---|
| Activity time | 30–45 minutes |
| Adult setup | 10 minutes |
| Participation | Individual or small group; watching, pointing, and partner assistance are welcome |
What you need
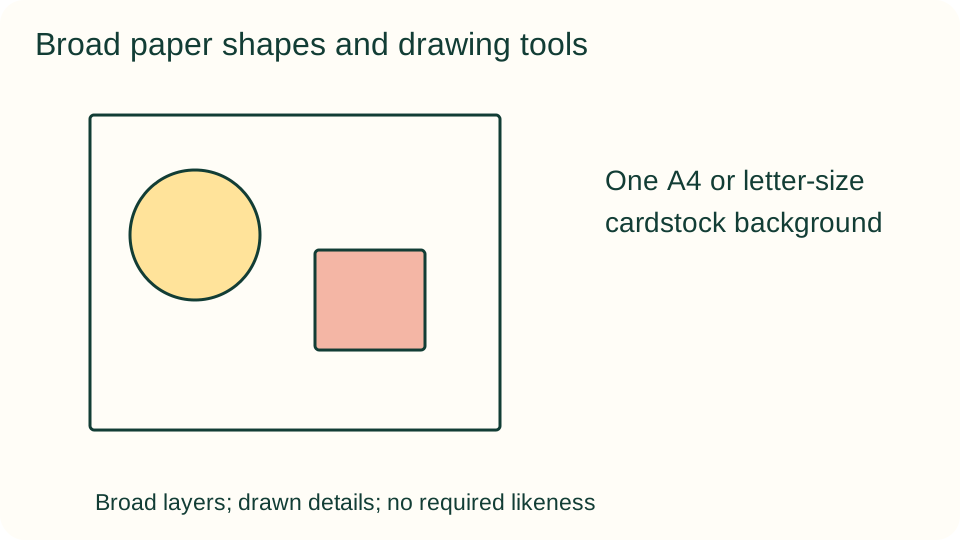
- One A4 or letter-size cardstock background
- Two or three sheets of colored paper selected by the child
- Crayons or pencils and a glue stick
- Child-appropriate scissors with adult supervision; adult-precut broad shapes are an alternative
- An optional child-safe mirror, used only if the child wants it
Get ready
Provide a varied selection of paper colors without assigning them to particular people. An adult prepares large ovals, strips, and shoulder shapes if needed. Avoid small beads, loose eye decorations, and rigid accessories. Keep the mirror optional and discuss personal artwork privately; a public display or photograph should not be assumed as part of participation.
Try the activity
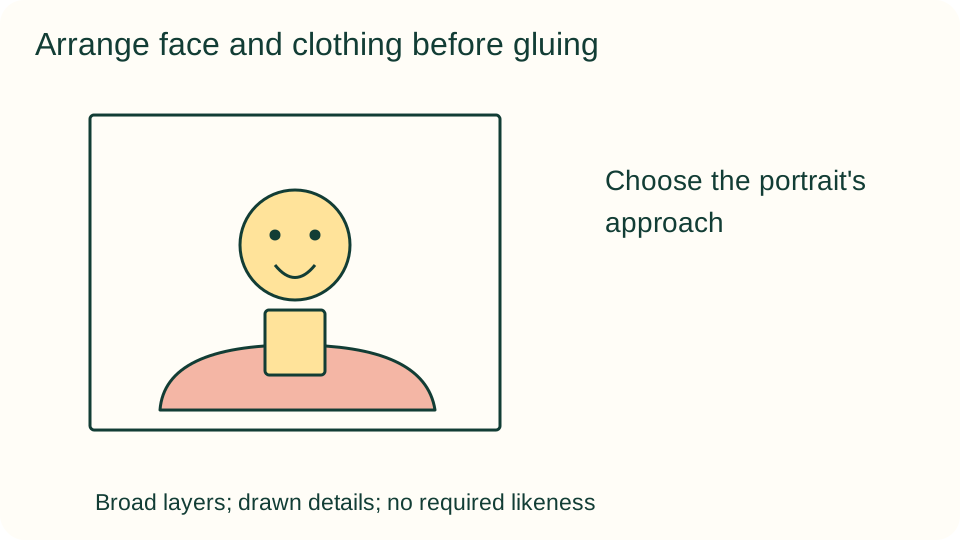
1. Choose the portrait's approach
Decide whether to make a self-portrait or an invented character. Choose a few details that matter to the maker, such as broad hair shape, favorite shirt color, or a chosen expression. Looking in a mirror is optional. An adult can write dictated choices on spare paper without evaluating their accuracy.
2. Place the largest shapes
Arrange a large face oval and a broad shoulder or shirt shape on the background without glue. Leave room around the head for hair or other chosen details. Move the pieces until the layout feels comfortable. A neck can be drawn or made from another broad piece if desired.
3. Explore hair and clothing shapes
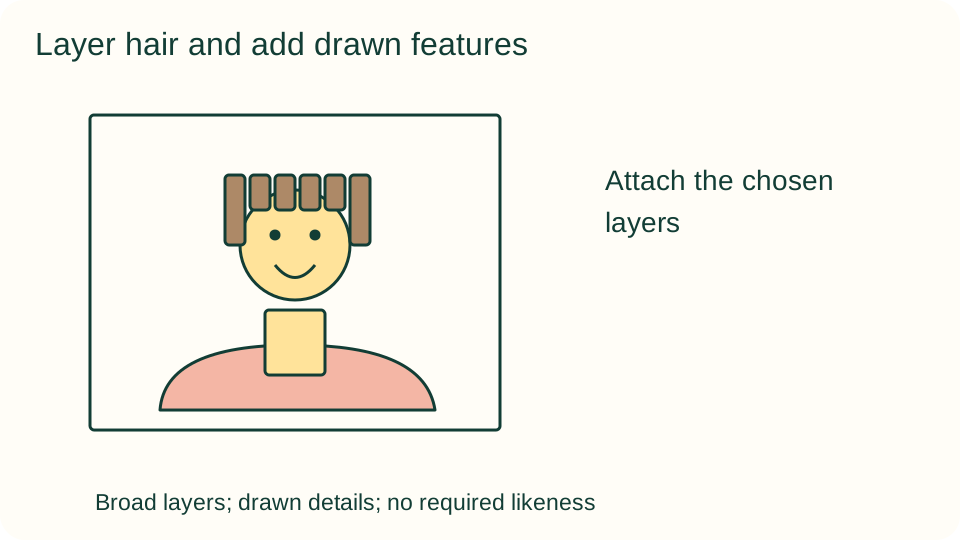
Add wide paper strips or a larger silhouette for hair. Try a collar, sleeve, or broad clothing pattern using manageable pieces. These choices can be stylized rather than exact. Keep unneeded scraps aside so the table does not become crowded and no one feels obliged to use every offered piece.
4. Attach the chosen layers
When the child approves the layout, glue the broad lower shapes first, then the face and selected overlapping pieces. Use a thin adhesive layer and press gently. Avoid moving a piece repeatedly after gluing. An adult can steady the background while the child directs where each part belongs.
5. Draw personal details
Add eyes, nose, mouth, and other chosen details with crayons or pencil. Broad marks are sufficient; features need not match a template. Invite the maker to include something meaningful, such as a patterned shirt or a favorite color. Do not infer feelings or personality from the expression they draw.
6. Describe a choice in the artwork
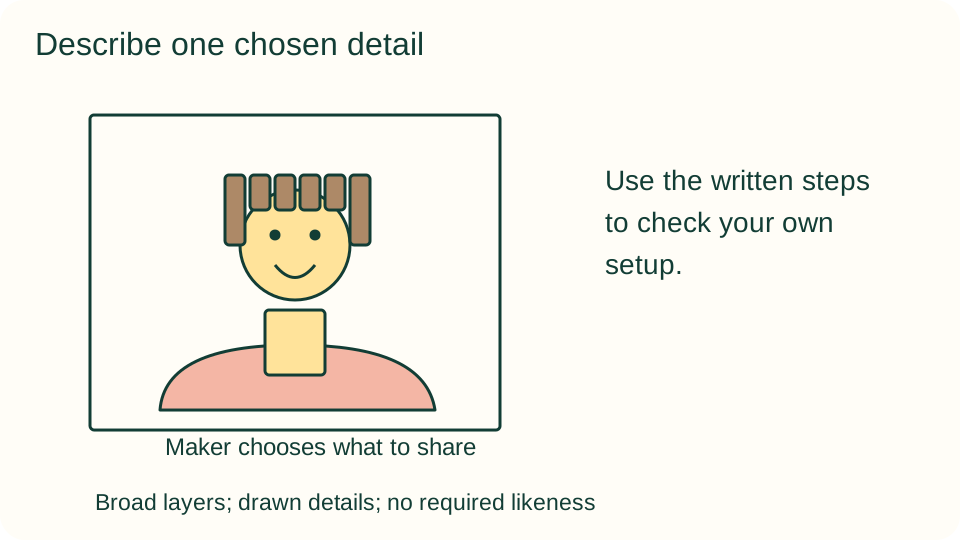
Ask the maker to point out one decision they want to explain. They might discuss color, shape, a drawn feature, or an invented detail. Dictate a short caption only if wanted. Let the child choose whether to show the portrait to others, keep it private, or continue another day.
What children can explore
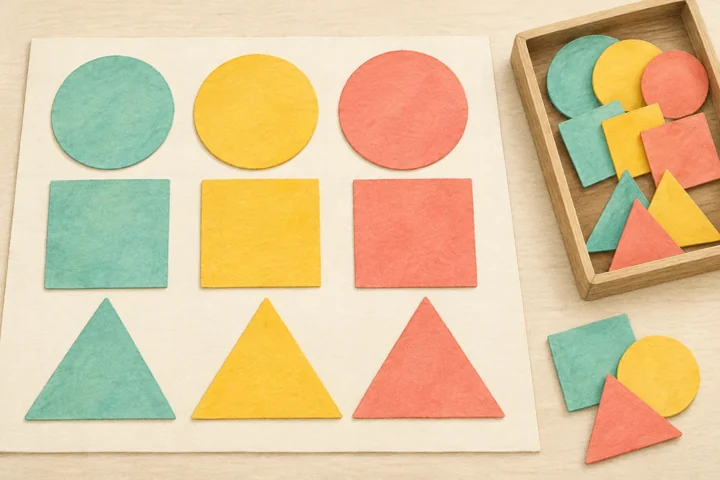
Compare the flat paper pieces with the layered result. Ask how overlapping shapes suggest hair in front of a face or clothing below it. Keep questions about artistic choices rather than whether the portrait looks sufficiently like the child. Two very different portraits can both be purposeful representations.
Make it work for your group
Offer a few broad precut pieces for beginners and draw small features instead of cutting them. Older children can plan a contrasting background or try two layouts before gluing. A participant can direct a partner's cutting and placement. An invented character or a portrait of a familiar toy provides an alternative to self-representation.
At home and in the classroom
At home, allow time to try colors and move pieces before attaching them. In a classroom, keep choices open and avoid comparing children's bodies or assigning appearance categories. Use voluntary sharing rather than a required explanation of personal features. An adult can label finished work discreetly for returning it to its maker.
Keep your creative choices
Save a sketch, a small test, or a short dictated note about one choice the maker wants to remember. A later version can use different colors, shapes, or decoration without matching the example. Let the maker decide whether to continue, share the work, or keep it private.
Helpful fixes and cleanup
If the background becomes crowded, remove unglued extras or save them for another portrait. Replace a damaged paper feature with a broad piece rather than add tiny repairs. Close glue, gather cuttings, and let attached layers dry flat. Store or display the portrait according to the maker's wishes and applicable family or classroom permissions.