Arts & Crafts
Fourth of July Paper Pinwheels: A Patriotic Craft for Kids
 Facebook
 Pinterest
 X
X LinkedIn
 Reddit
 WhatsApp
 Telegram
 Bluesky
 Email
Email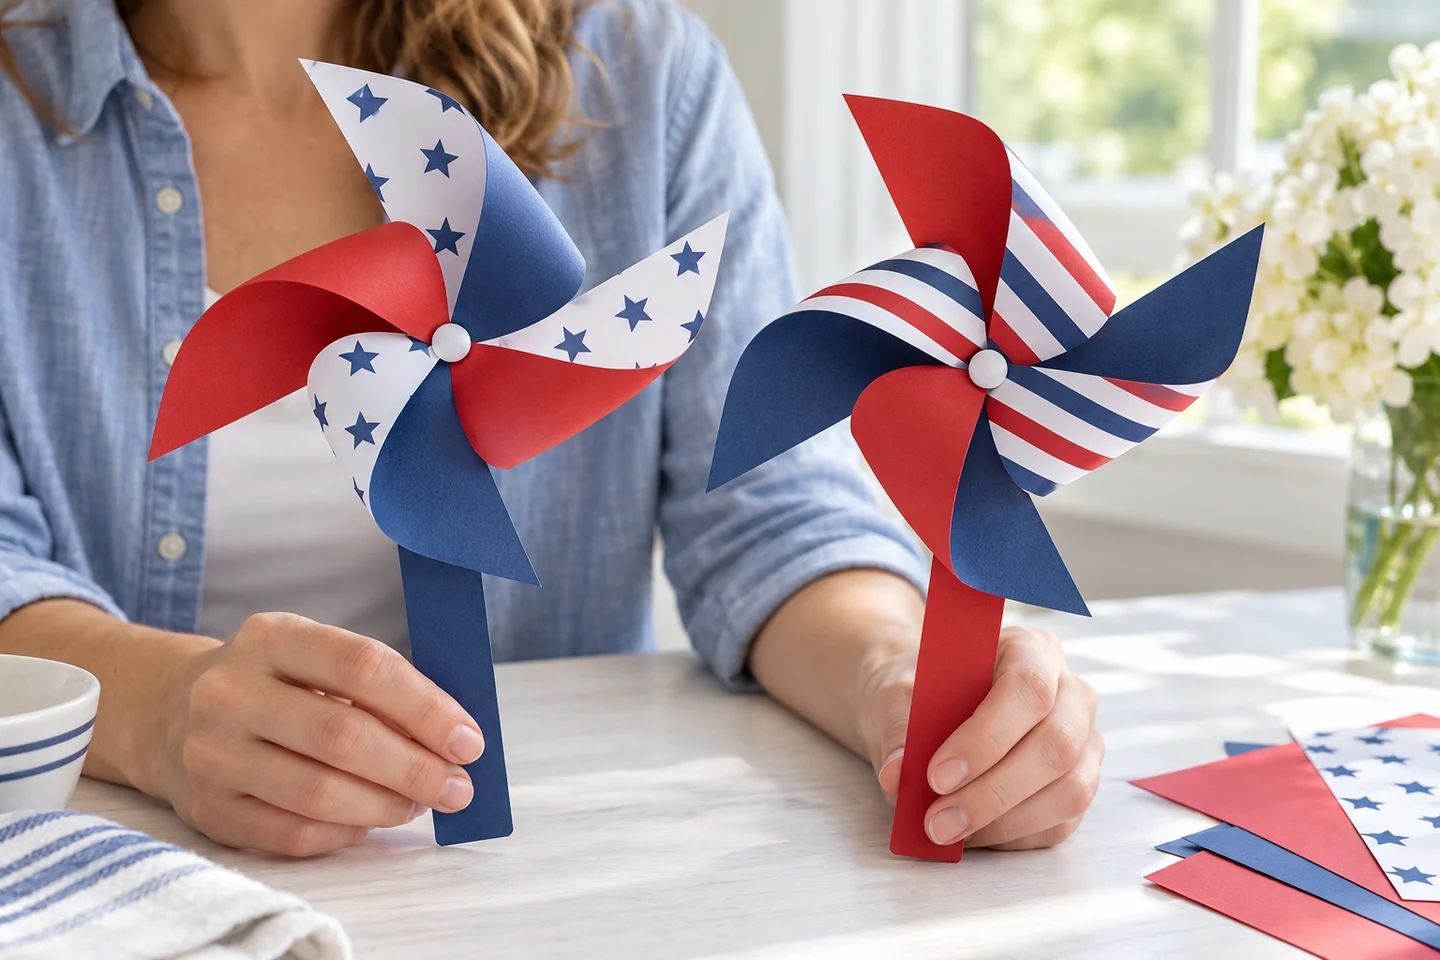
Red, white, and blue paper can become a cheerful Fourth of July pinwheel—or a colorful fixed decoration. Children decorate the paper and shape the blades, while an adult handles the small fastener used for the turning version.
A light breeze may set the pinwheel moving, but the building process is enjoyable even when the wind is quiet. The same design works with any colors for another celebration.
At a glance
| Detail | Plan |
|---|---|
| Suggested ages | 5–10, with adult assembly |
| Preparation | About 10–15 minutes; longer for a class |
| Activity time | 25–35 minutes |
| Group size | Individuals with an adult assembly station |
| Mess level | Low |
What you need
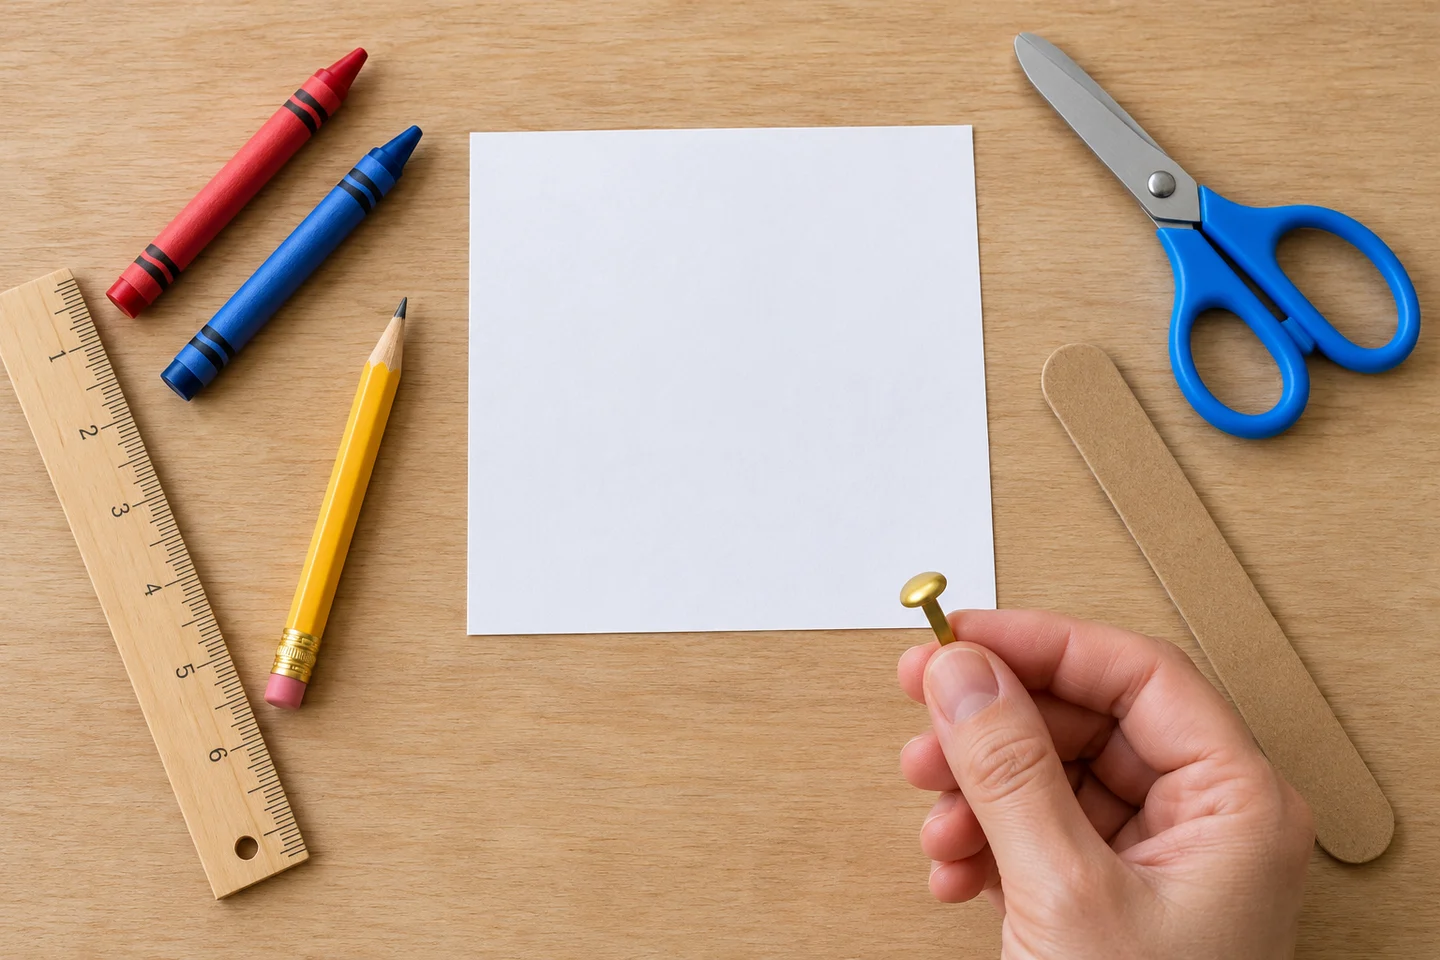
- One lightweight 6 × 6-inch paper square.
- Crayons, including red and blue if wanted.
- A ruler, pencil, and child scissors.
- One stiff cardboard handle, about 1 × 8 inches.
- One blunt split-pin paper fastener, handled by an adult.
- An optional short straw spacer, also adult-handled.
For 24 children, prepare 24 squares and handles plus spares. Keep fasteners and spacers at the adult assembly station. Use the fixed decoration version for children who mouth materials. Straight pins are not part of this activity.
Mark the square
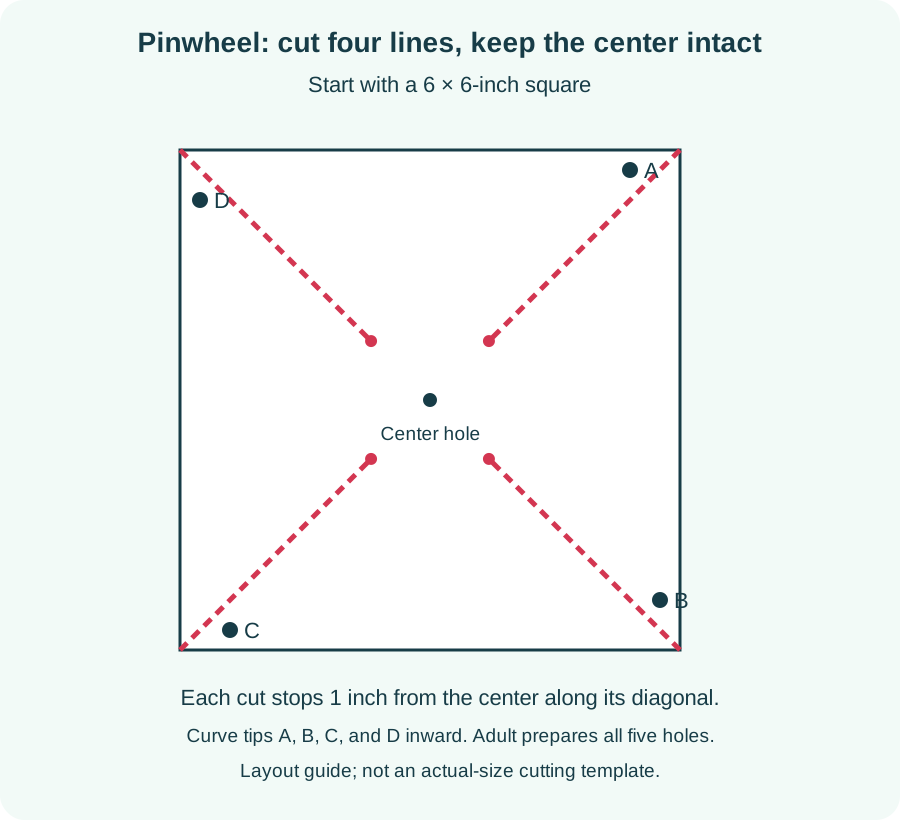
Decorate both sides lightly with crayons. Draw diagonals from corner to corner to find the center. On each diagonal, mark a stopping point one inch before the center. In each of the four sections, mark one tip consistently as you move around the square: these four alternate tips will curve inward.
Shape your pinwheel
1. Cut the four lines
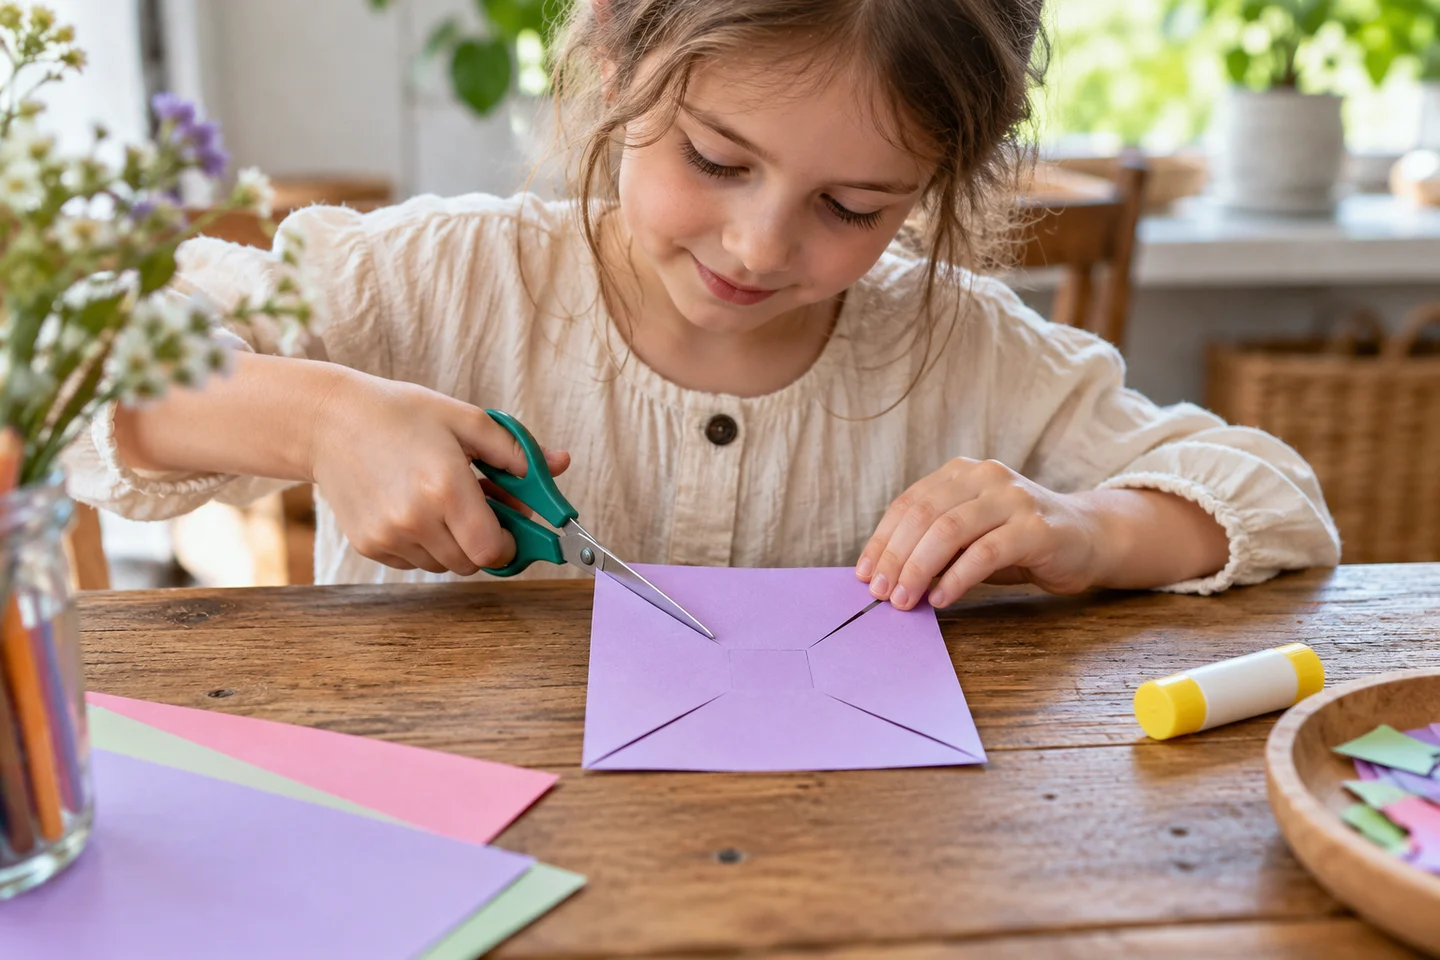
Cut from each corner toward its stopping mark. Leave the center intact so the four sections remain connected. An adult can prepare these cuts for younger children.
2. Curve the marked tips inward
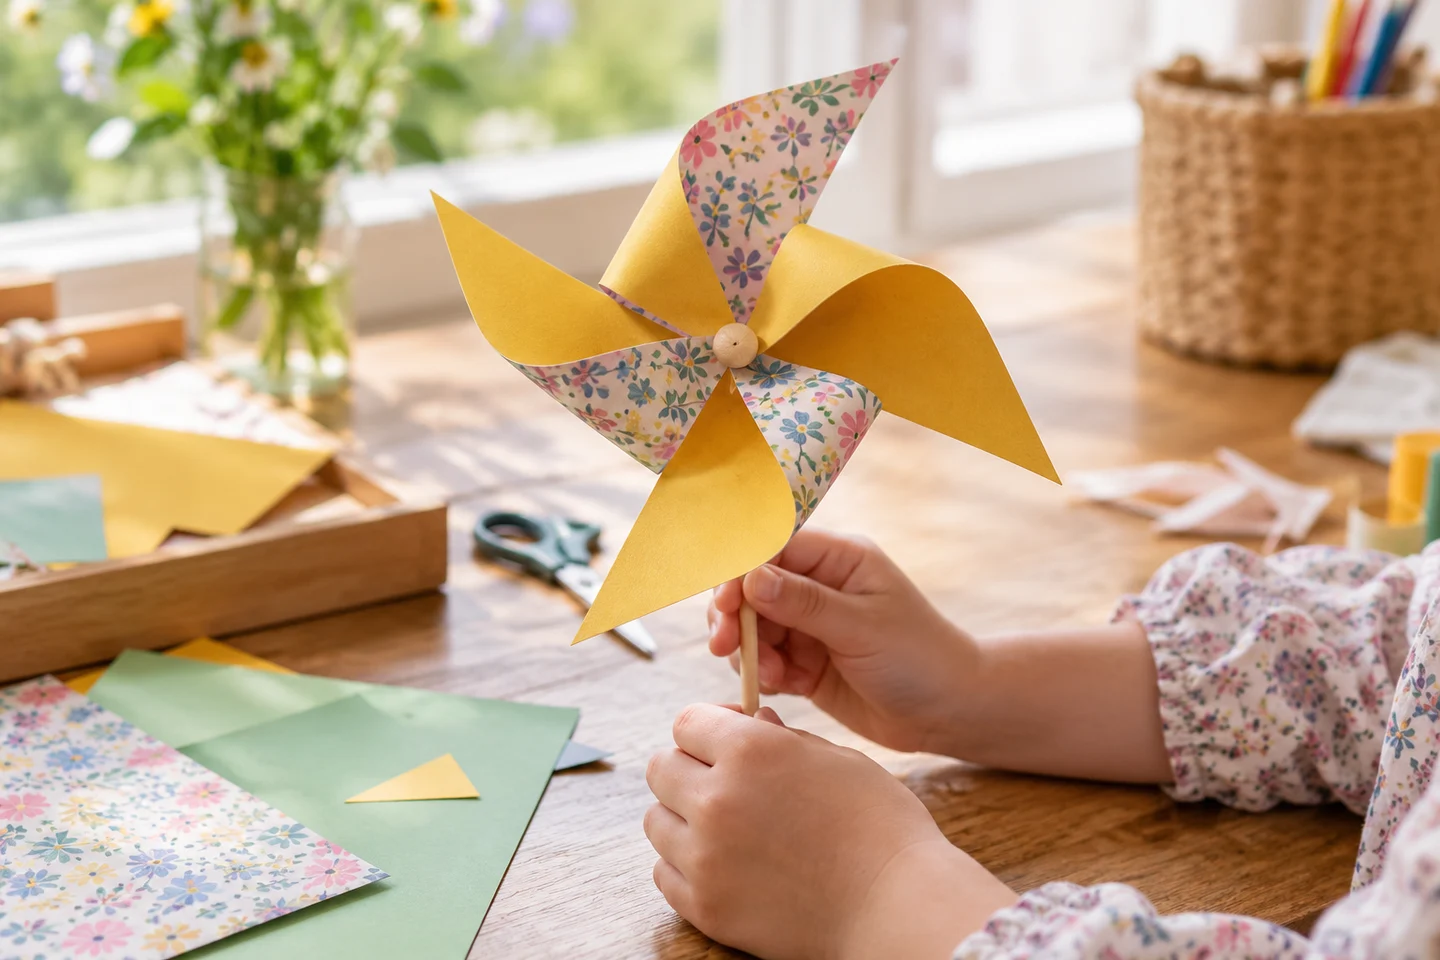
Bring only the four selected tips toward the center. Keep the blades rounded instead of flattening them with sharp creases. The other tips stay outside.
3. Let an adult prepare the holes
The adult makes a hole near each selected tip, about half an inch from its edges, plus a center hole and a hole near the handle’s top. Align the four tip holes above the center.
4. Secure the center
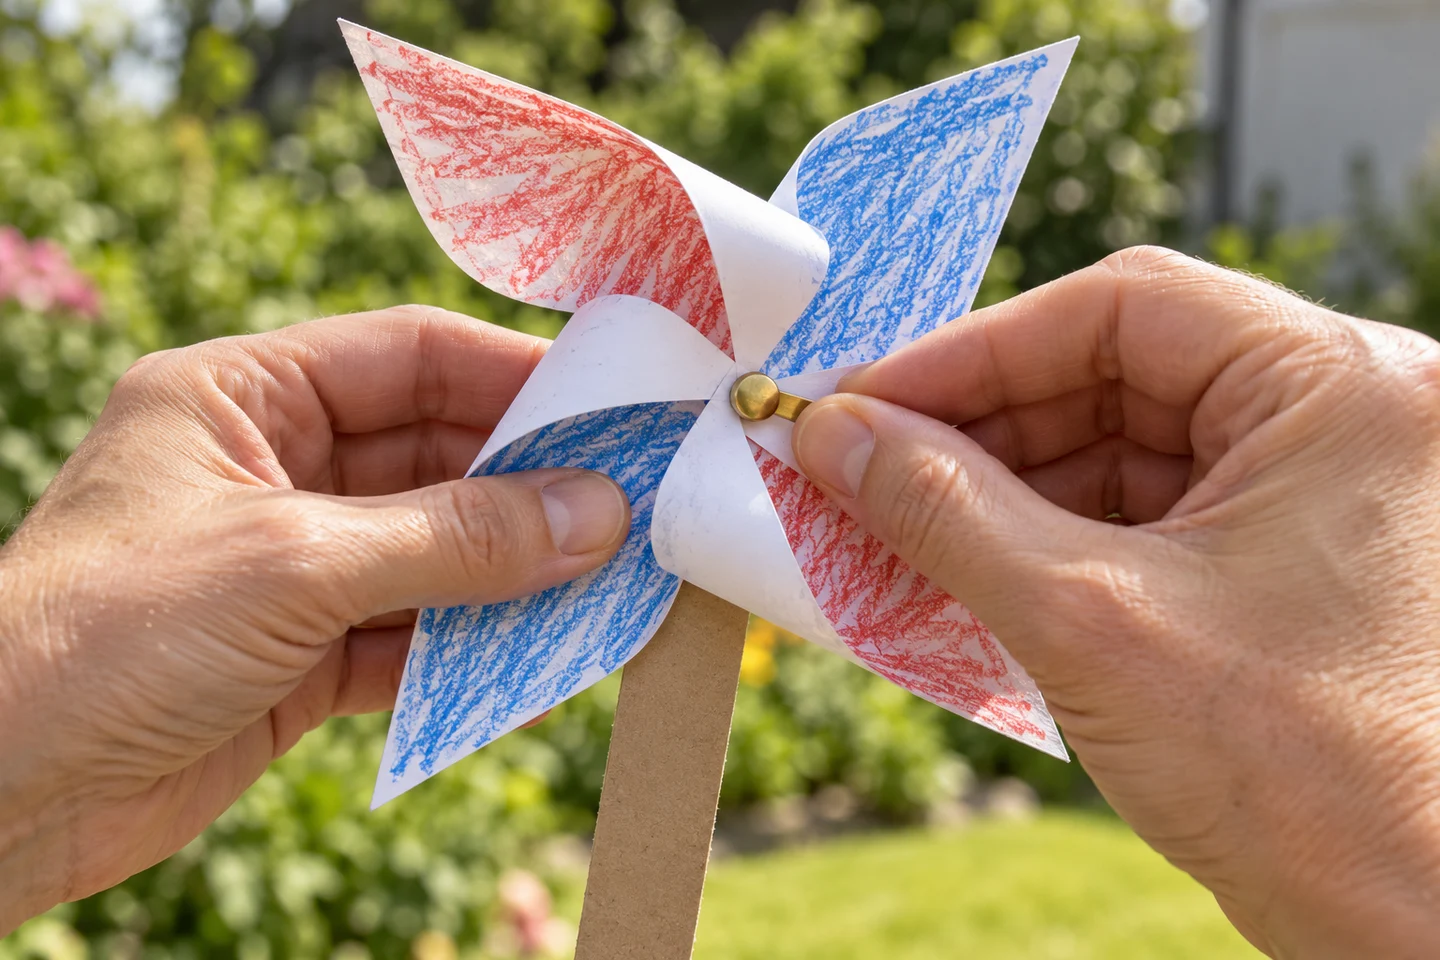
The adult passes the blunt fastener through the tips, center, and handle, then opens its legs securely behind the handle. Leave enough clearance for the paper to turn. The optional short spacer can help keep the blades from rubbing against the handle.
5. Check and try the breeze
An adult gently checks that the paper turns without catching. Hold the handle steady in a safe outdoor spot, away from faces, and try facing different directions. Notice a small turn, a wobble, or a still pinwheel—each describes the conditions you have today.
A fixed decoration option
Glue the selected tips to the center and attach the whole shape to backing paper. Draw a handle or glue a broad paper strip beneath it. This version keeps the pinwheel look without small fasteners, though it does not rotate.
What children can explore
The craft introduces symmetry, curved forms, and movement. Ask, “Which tips stayed outside?” or “What happens when you turn the pinwheel toward the breeze?” Keep the emphasis on exploring rather than expecting continuous spinning.
At home and in the classroom
At home, make one decoration together. In class, children can decorate while adults prepare handles and assemble turning versions individually. Display fixed versions beside rotating ones so both choices are part of the celebration.
Helpful fixes and cleanup
Paper catching on the handle? Ask an adult to check clearance. Heavy blades? Try lighter paper without bulky decorations. No wind? Save the outdoor test for later. Count and store every unused fastener, collect scraps, and check the assembled center before each use.