Arts & Crafts
Make a Paper Friendship Garden: A Cooperative Classroom Craft
 Facebook
 Pinterest
 X
X LinkedIn
 Reddit
 WhatsApp
 Telegram
 Bluesky
 Email
Email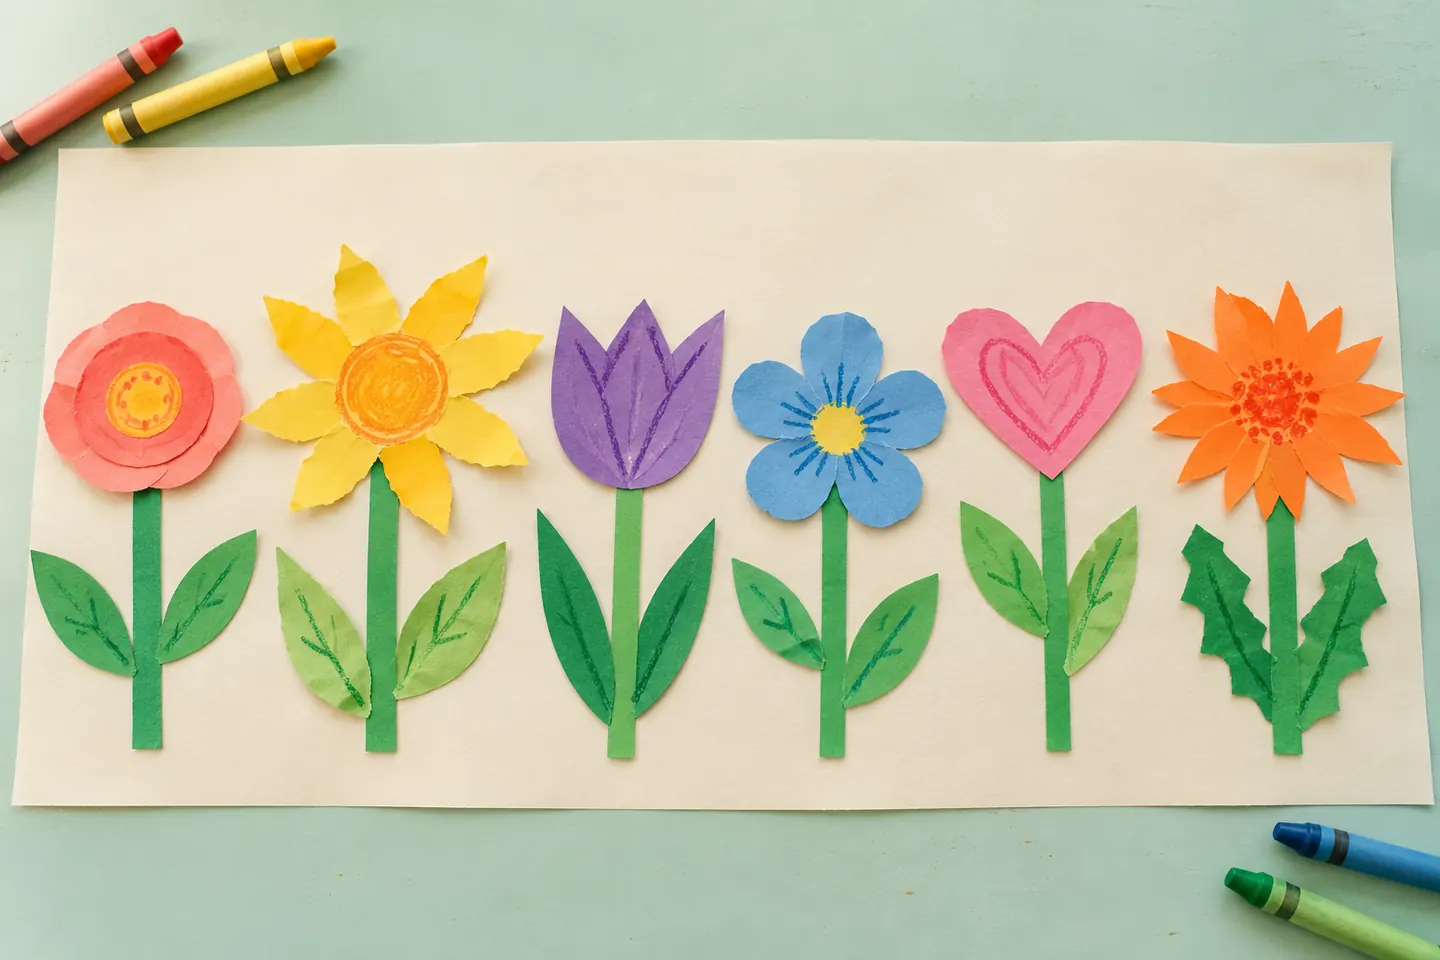
A paper garden can grow a whole classroom’s ideas. Each child makes a flower, tree, or invented plant, then the group finds room for every contribution on a shared background.
This cooperative craft is about creating together as well as making individual artwork. Different sizes, colors, and plant shapes give the display its character.
At a glance
- Suggested ages: 4–9.
- Preparation: About 15 minutes; allow 25–40 minutes to create and arrange, plus drying.
- Group size: Siblings, a small group, or a classroom.
What you need
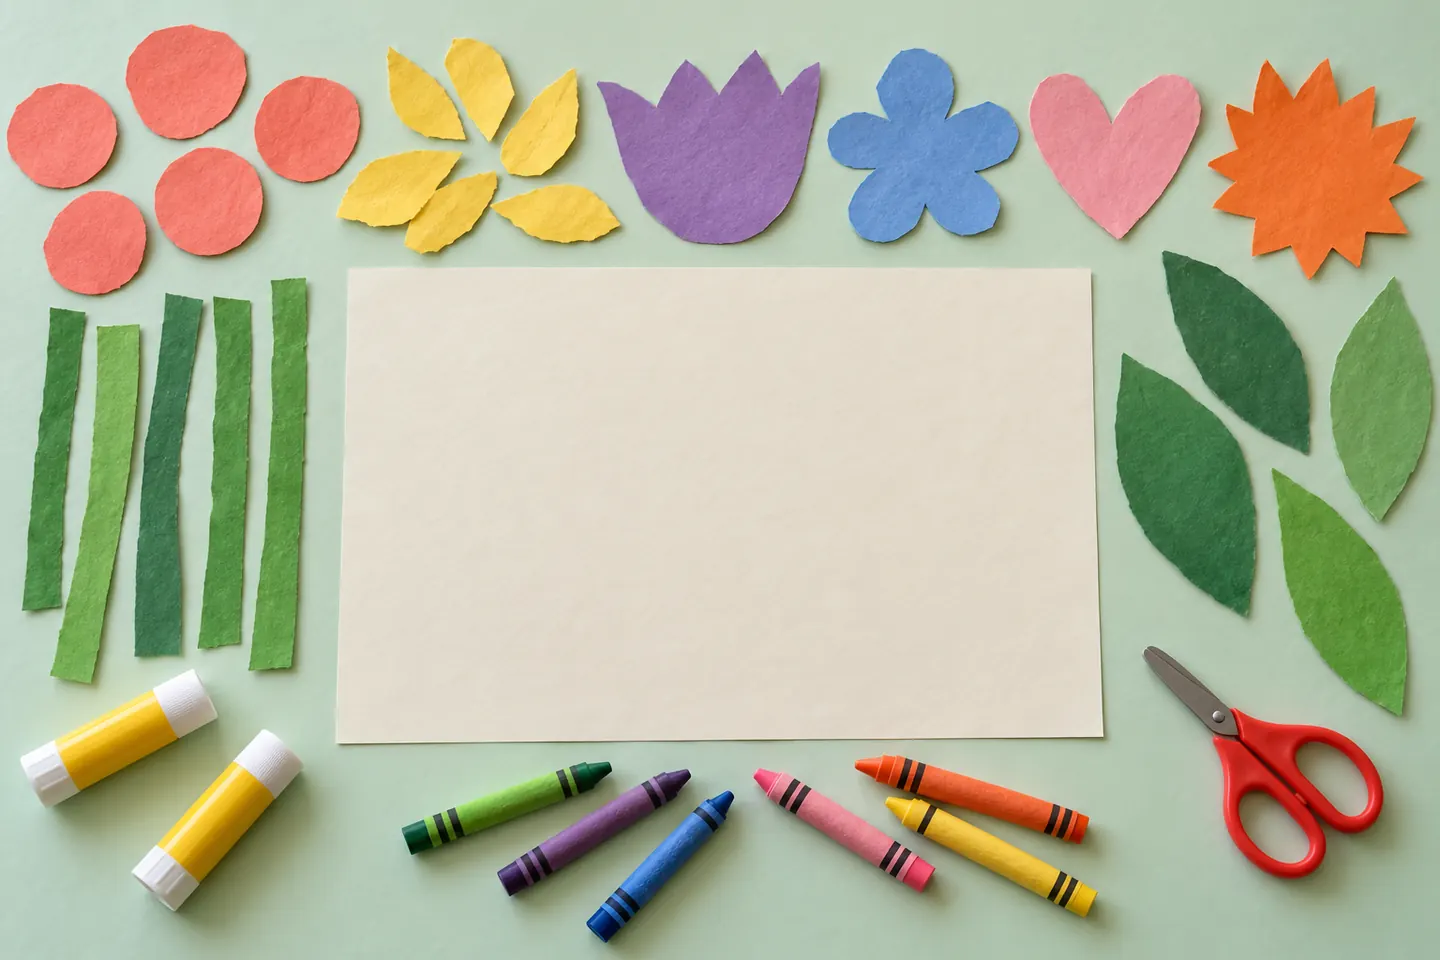
- One sheet of colored paper per child for a main plant shape.
- One stem strip about 1 × 6 inches and two large leaf pieces per child.
- Crayons, glue, and child scissors.
- Large background paper and extra scraps.
For 24 children, prepare 24 stems, 48 leaves, and paper for 24 main shapes. Four backgrounds about 18 × 24 inches give six plants a space on each. Keep an extra background available if the plants need more room.
Get ready
Set out broad shapes and several colors. Explain that each person makes a plant, then a small group arranges the garden. A child can draw a whole plant on a rectangle if assembling separate pieces is not their preferred way to work.
Grow the shared garden
1. Choose a plant
Ask what your child would like to make: a flower, tree, leafy plant, or something imaginary. Begin with a simple shape or quick sketch. An adult can trace a requested outline.
2. Shape the top
Cut or tear a flower head or leafy canopy. Decorate it while flat. The plant can have any number of petals, and everyone’s version can look different.
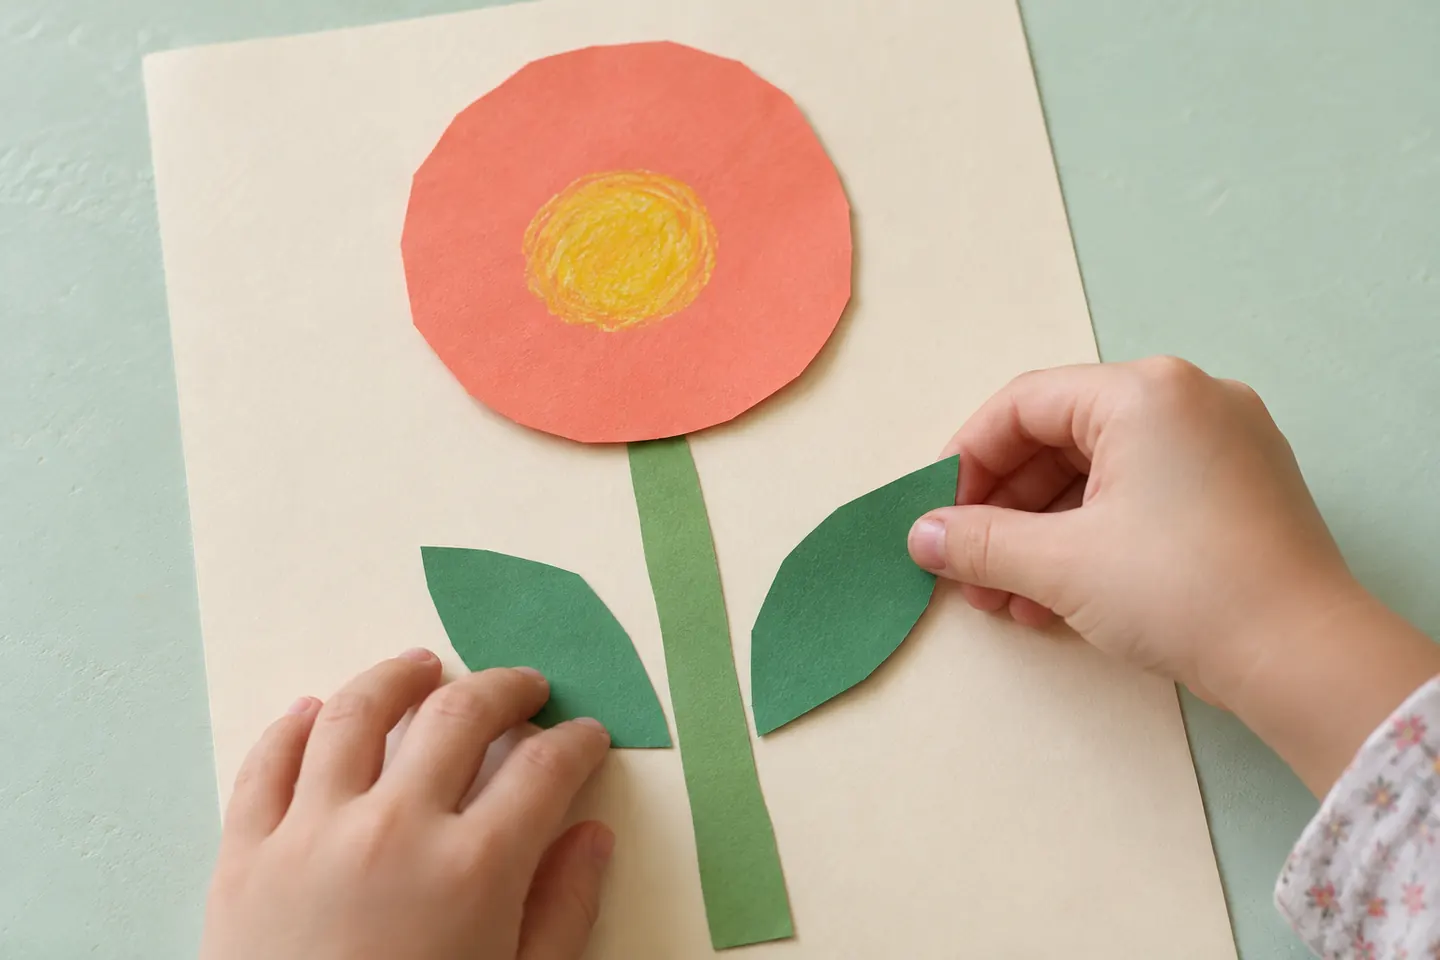
3. Add the stem and leaves
Try the positions before attaching them. Glue the pieces together on a scrap working sheet, or keep them loose for help transferring them to the final background.
4. Try a group arrangement
Place six plants on a background without glue. Ask where each could go so it remains visible. Move someone’s work with their agreement and try more than one layout.
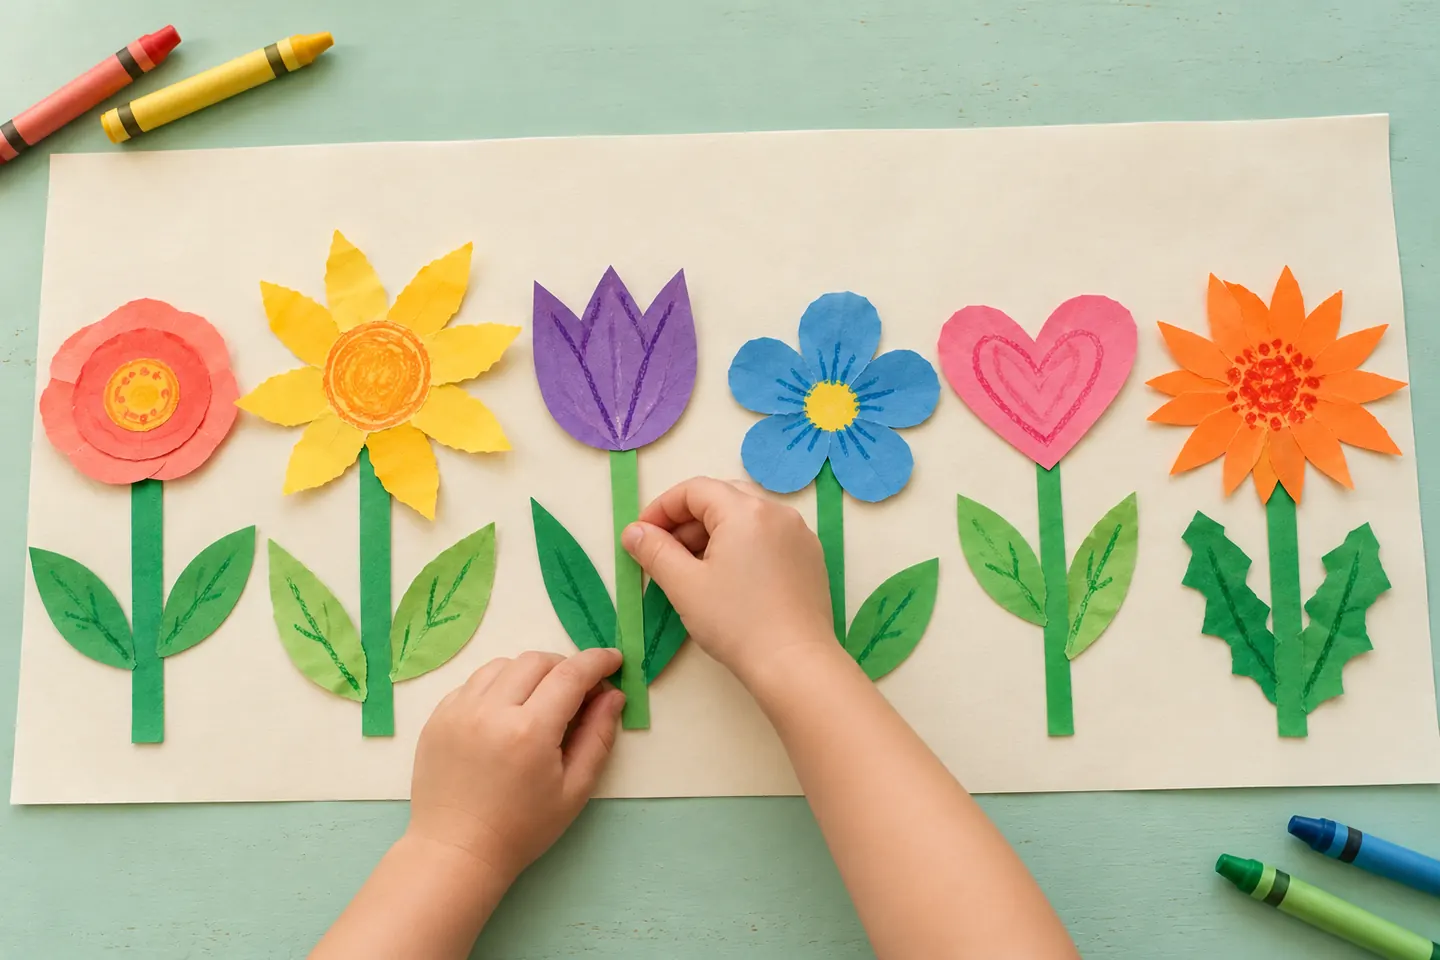
5. Make more room if needed
If the garden feels crowded, add another background or widen the display. Ask, “Where could this plant have space?” Offering two positions can make the decision easier for a small group.
6. Attach the plants
Glue one contribution at a time while a partner or adult steadies the background. Press the edges gently and let the display dry flat. Add a soil line or sky if the group wants one.
7. Give the garden a voice
Invite a title or an optional caption about a helpful action: “Share the crayons” or “Make room.” Write it on a separate label. Children can contribute artwork without speaking about personal relationships.
What children can explore
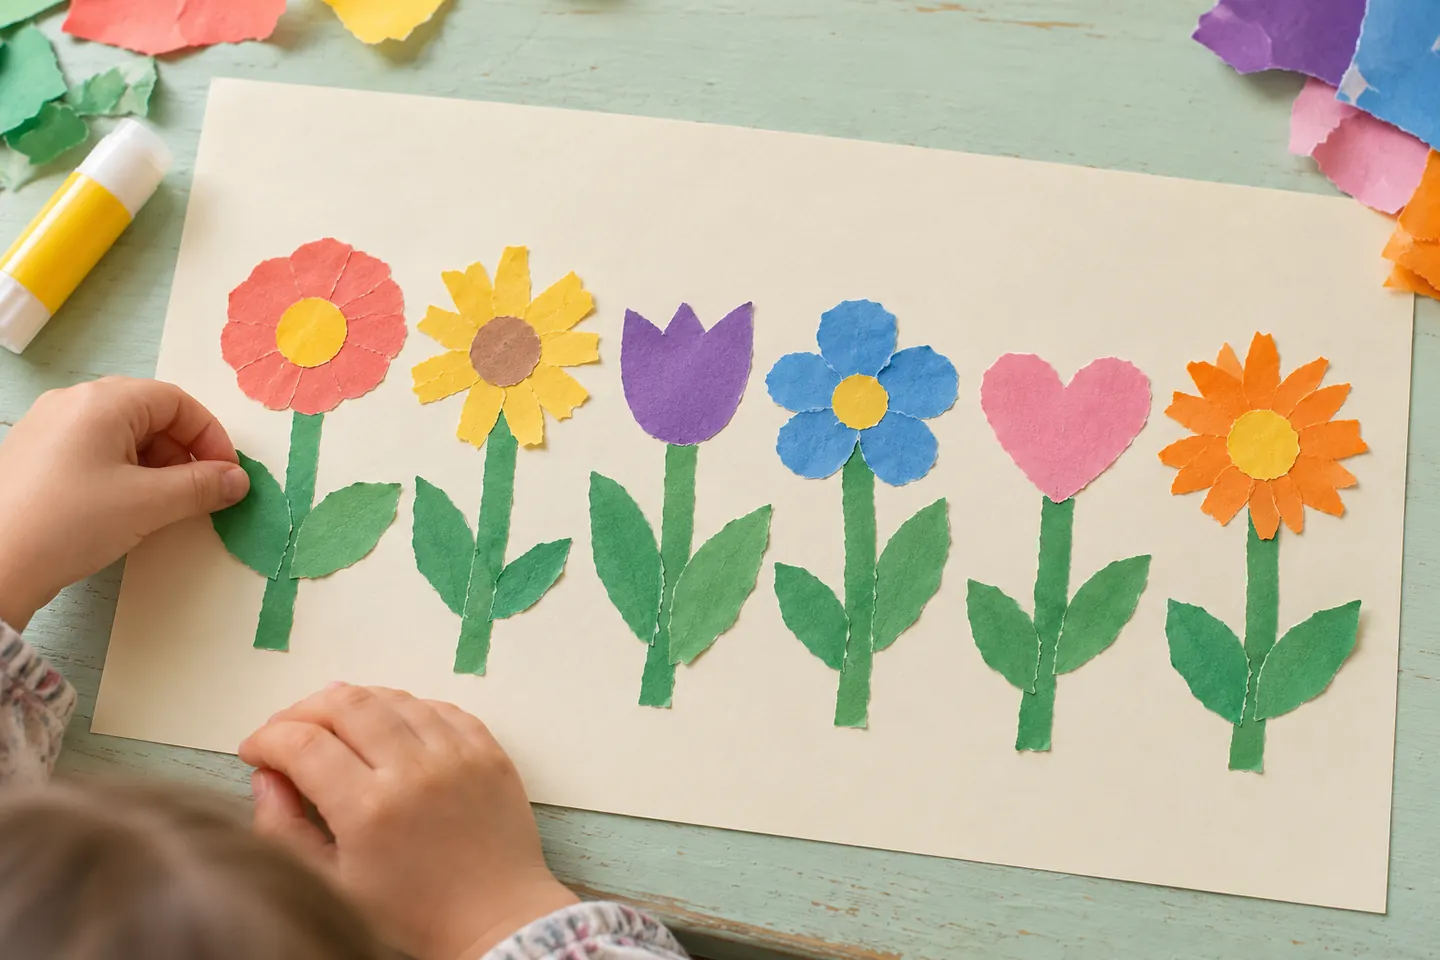
The garden gives a real reason to discuss space, position, and shared decisions. Ask, “How can we keep both plants visible?” or “What changed when we spread these apart?” Making room for everyone is part of the design process.
At home and in the classroom
At home, siblings or adults can contribute plants to one large sheet. In class, groups of six can make separate garden panels, then display them together. Short stages—make, arrange, attach—keep waiting time manageable.
Make it work for your group
Offer tearing, drawing, prepared shapes, or help with glue. A child can point to a chosen position while a partner attaches the plant. Older children might add a patterned border after the garden layout is settled.
Helpful fixes and cleanup
Loose leaves need a little more glue and drying time. A crowded panel can become two panels. Heavy glue can curl thin paper, so start lightly. Save scraps, close glue sticks, and enjoy revisiting the individual plants in the finished garden.