Arts & Crafts
Make a Paper Backpack: A Back-to-School Craft for Kids
 Facebook
 Pinterest
 X
X LinkedIn
 Reddit
 WhatsApp
 Telegram
 Bluesky
 Email
Email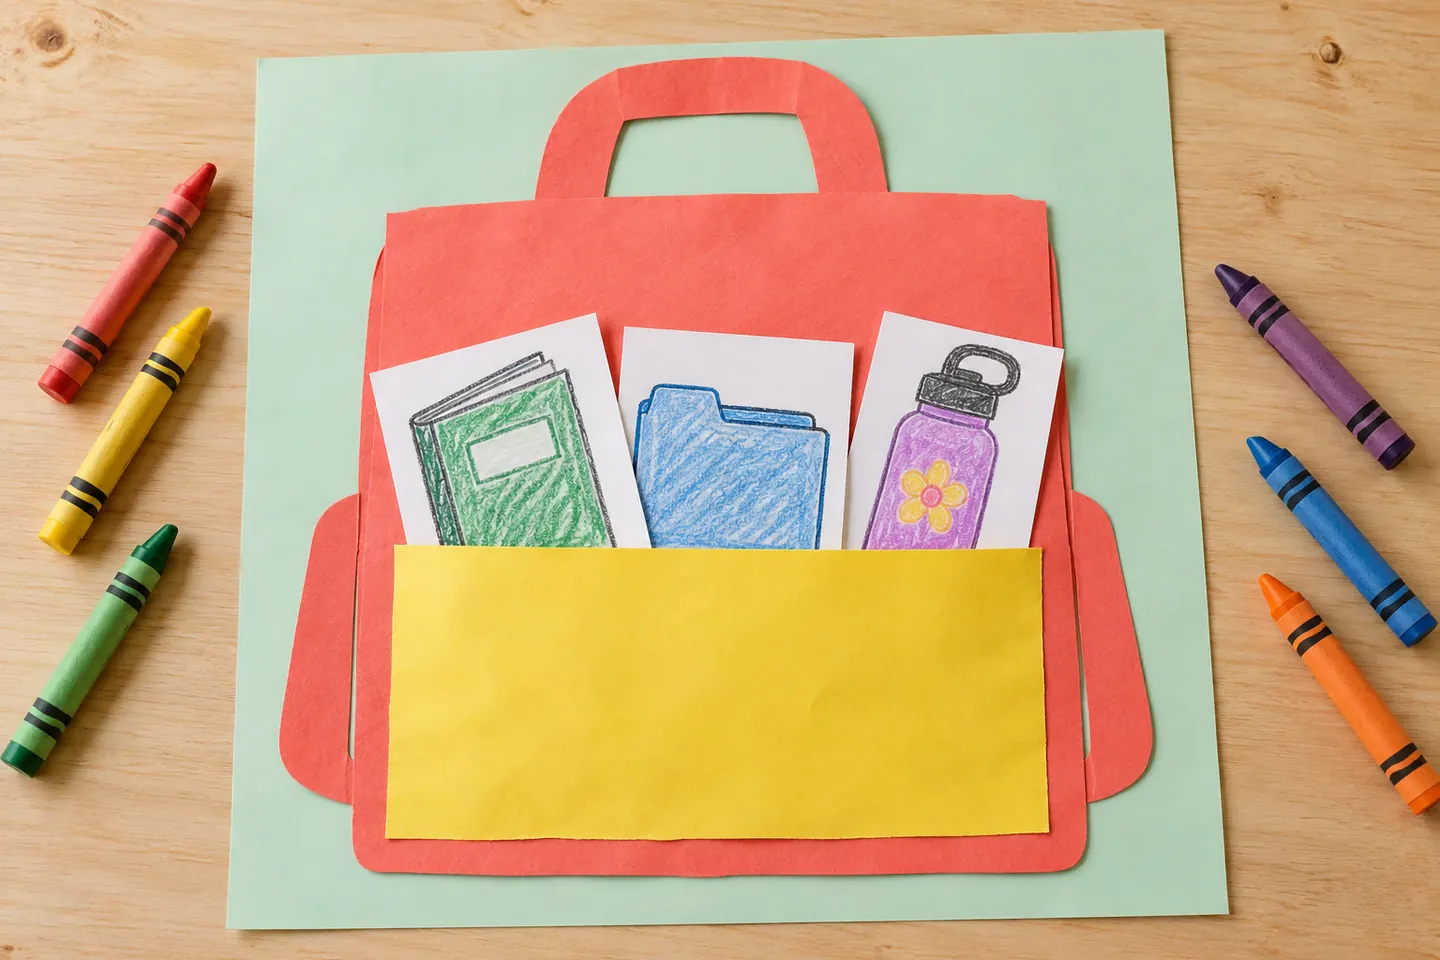
This paper backpack has a pocket that really opens—for pretend supplies, of course. Children decorate a backpack picture, make the pocket, and draw a few things they might carry on a school day.
It is a friendly craft for back-to-school conversations. The supplies can reflect a child’s actual routine, or the backpack can belong to an imaginary character with an adventure ahead.
At a glance
- Suggested ages: 4–8, with adult help for cutting and gluing.
- Preparation: About 10 minutes; allow 20–35 minutes for creating, plus glue drying.
- Group size: One child or a classroom working individually.
What you need
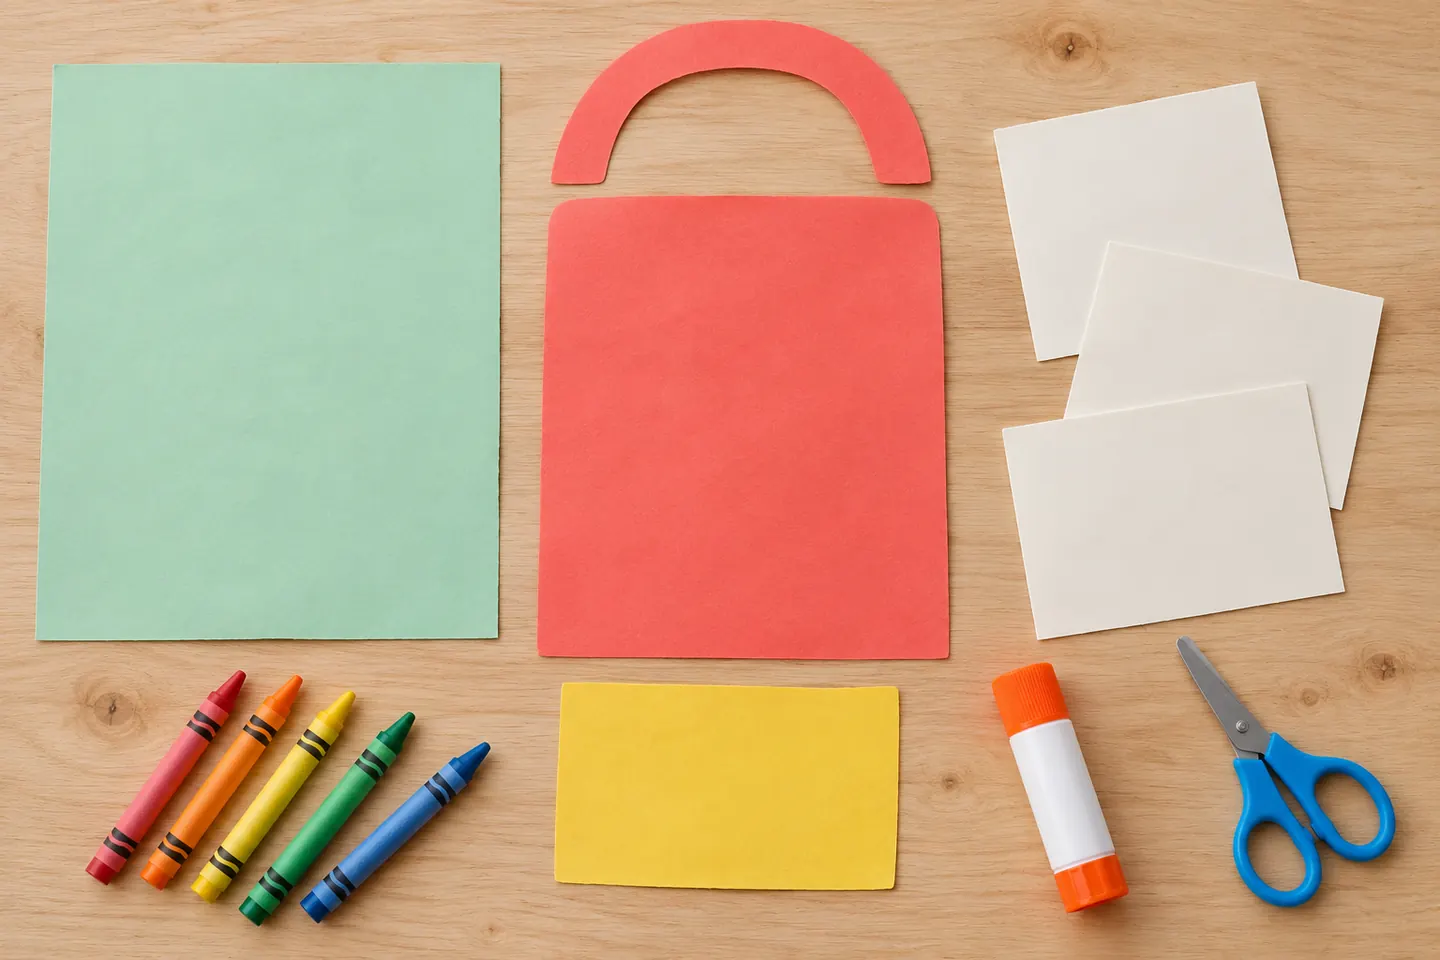
- One sturdy background sheet.
- One colored rectangle about 6 × 8 inches for the backpack body.
- One rectangle about 4 × 3 inches for the pocket.
- Three paper inserts about 2 × 4 inches.
- Crayons, a glue stick, child scissors, and scraps for a handle.
For 24 children, prepare 24 backgrounds, bodies, and pockets, plus 72 inserts. Share crayons and glue at tables. Keep each child’s loose pieces on a tray while the glue sets.
Get ready
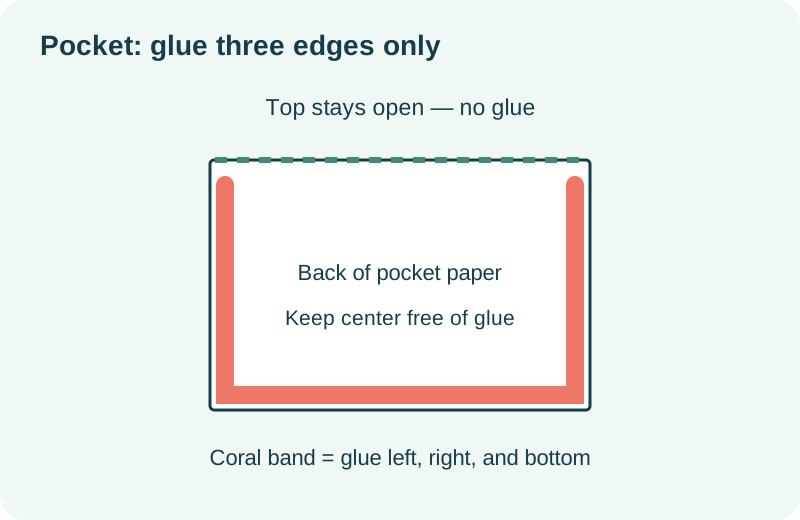
Check that each insert is narrower than the pocket. The three-inch pocket depth leaves the top of a four-inch insert visible. Show the pocket piece and explain that only its sides and bottom will be glued; the dry top becomes the opening.
Make your backpack
1. Decorate the body
Place the large rectangle vertically. Round the top corners if wanted, or leave them square. Draw a zipper line, pattern, or imaginary badge while the piece lies flat.
2. Add a flat handle
Cut a broad upside-down U from a scrap or draw a handle on the background. Glue it near the body’s top, then attach the body to the background. The handle is part of the picture, rather than a carrying loop.
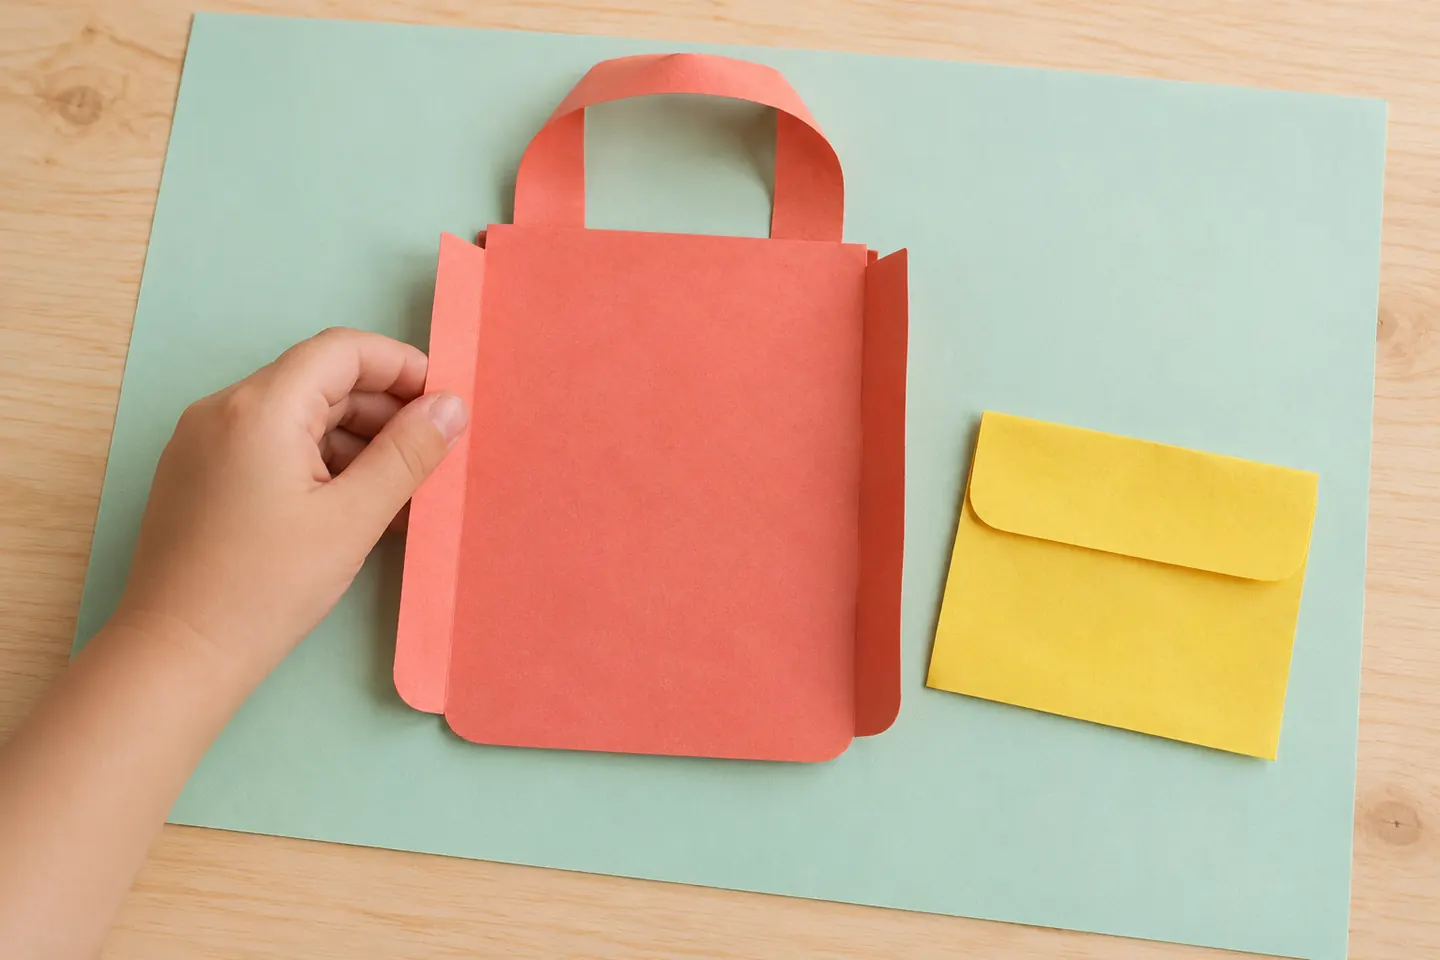
3. Glue three pocket edges
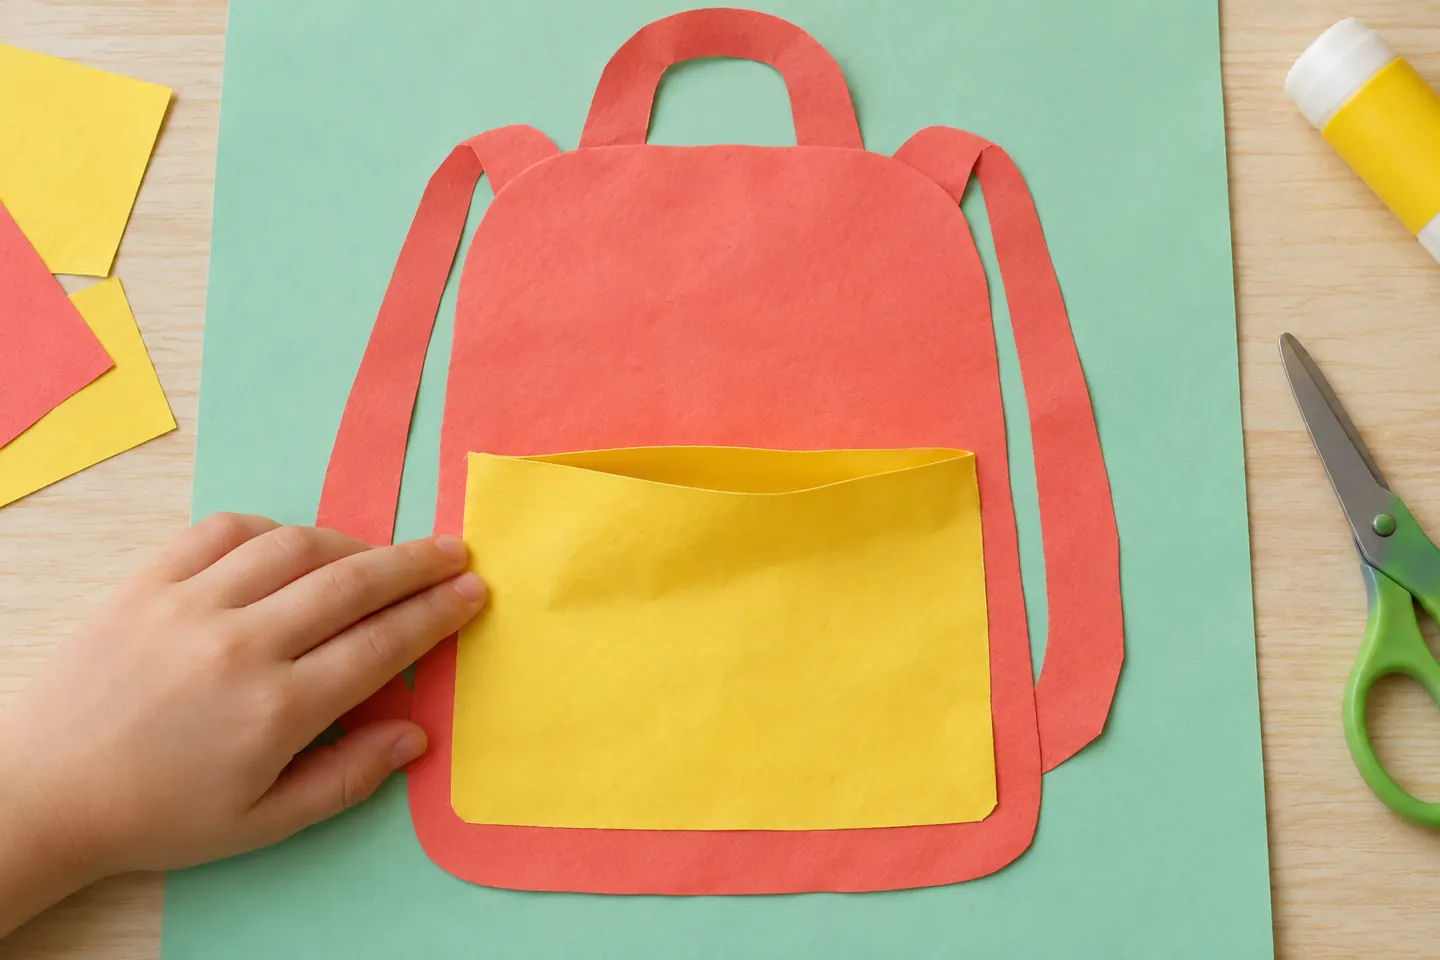
Turn the pocket rectangle face down. Put a narrow band of glue along the left side, right side, and bottom. Leave the whole top edge dry. Turn it over and press those three edges onto the backpack’s lower front.
4. Let the pocket set
Leave the center slightly free so the inserts can slide behind it. Give the glue time to hold before trying the pocket. A partner can check that the top remains open.
5. Draw your supplies
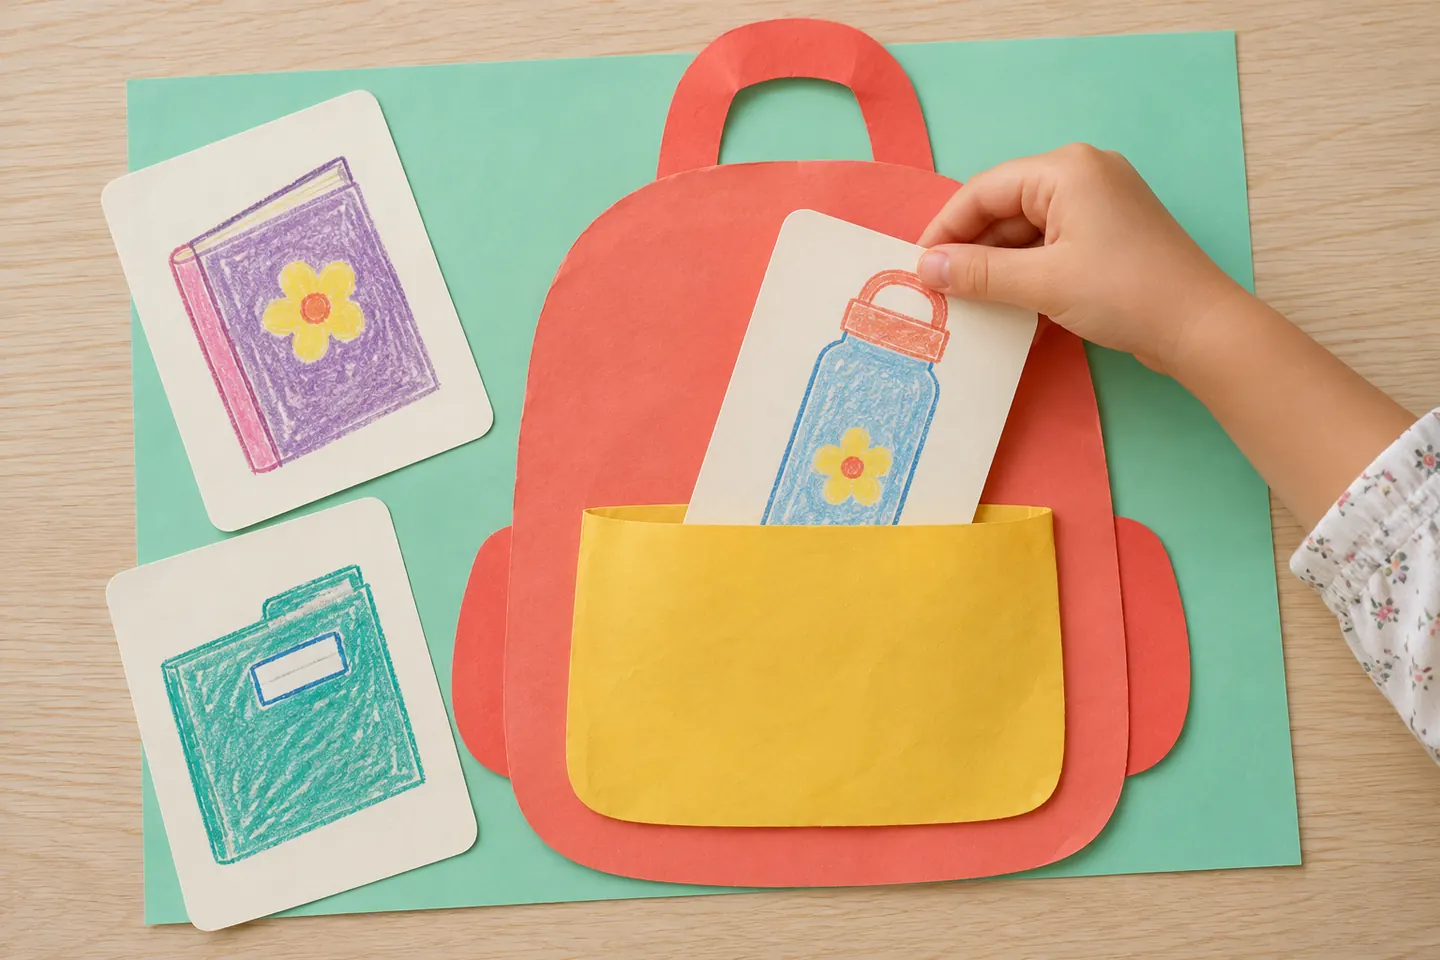
Draw a book, water bottle, folder, or three items meaningful to your child. Keep the inserts as large rectangles instead of cutting tiny detailed shapes. Add labels if wanted.
6. Pack and tell a story
Slide an insert into the opening gently. Try one first, then add more if they fit. Ask when that item might be used: “When would you take out your book?” Remove and replace the cards as the story unfolds.
What children can explore
Making a pocket shows how joining only some edges changes what paper can do. Packing the cards also invites vocabulary and school-day sequencing. Ask, “Which edge needs to stay open?” or “What might you use first?”
At home and in the classroom
At home, talk about a known routine and check any school questions together. In class, create inserts for materials children actually use. A pretend character’s backpack is another option when children prefer to invent a story.
Make it work for your group
Prepare the main shapes, offer a single larger insert, or let children dictate labels. Older children can add another working pocket, checking its size before gluing. Keep identifying details off publicly shared displays.
Helpful fixes and cleanup
Pocket sealed? Let it dry and carefully loosen the top, or attach a fresh pocket. Insert stuck? Check width and glue placement rather than forcing it. Save loose cards in an envelope and store the backpack flat until fully dry.