Arts & Crafts
Make a Paper Friendship Quilt: A Collaborative Art Activity for Kids
 Facebook
 Pinterest
 X
X LinkedIn
 Reddit
 WhatsApp
 Telegram
 Bluesky
 Email
Email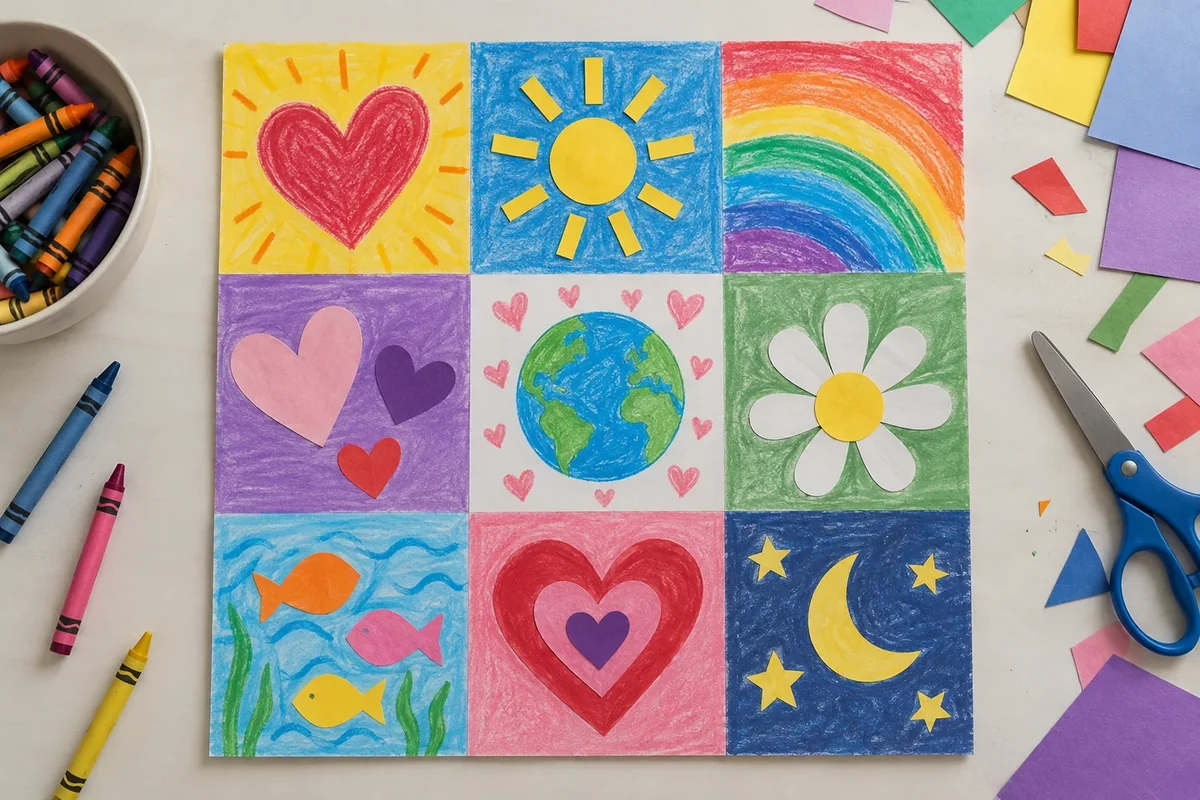
A sunshine, a striped pattern, a favorite animal—every square brings something different to this paper friendship quilt. Children decorate their own pieces, then join them into a colorful display that everyone helped make.
This is a lovely project for a classroom community or a family afternoon. There is no sewing, and nobody needs to copy a sample. Drawing, paper collage, and simple color patterns all belong in the same quilt.
At a glance
| Detail | Plan |
|---|---|
| Suggested ages | 4–8, with adult preparation and assembly |
| Preparation | About 10 minutes at home; 20–30 minutes for a class |
| Creating time | 20–30 minutes, with another 10–15 minutes for assembly |
| Group size | One child, a family, or a classroom |
| Mess level | Low with crayons; moderate with collage |
What you need
- Nine 6 × 6-inch paper squares for a home quilt, plus two spares.
- Crayons or washable markers.
- Optional colored paper scraps and one or two glue sticks.
- Tape for joining the squares on the back.
- A ruler, pencil, and scissors for adult preparation.
For a class of 24, prepare 30 squares: one for each child and six spares. Fifteen sheets of 9 × 12-inch paper provide those 30 squares. Share drawing supplies at each table and offer collage materials at an optional station.
Get ready
An adult can cut two squares from each 9 × 12-inch sheet. Choose an inviting theme such as “Things that make us smile” or “Our favorite colors.” Show children a blank square and explain that their artwork will become one part of a larger paper quilt.
Make your friendship quilt
1. Choose an idea
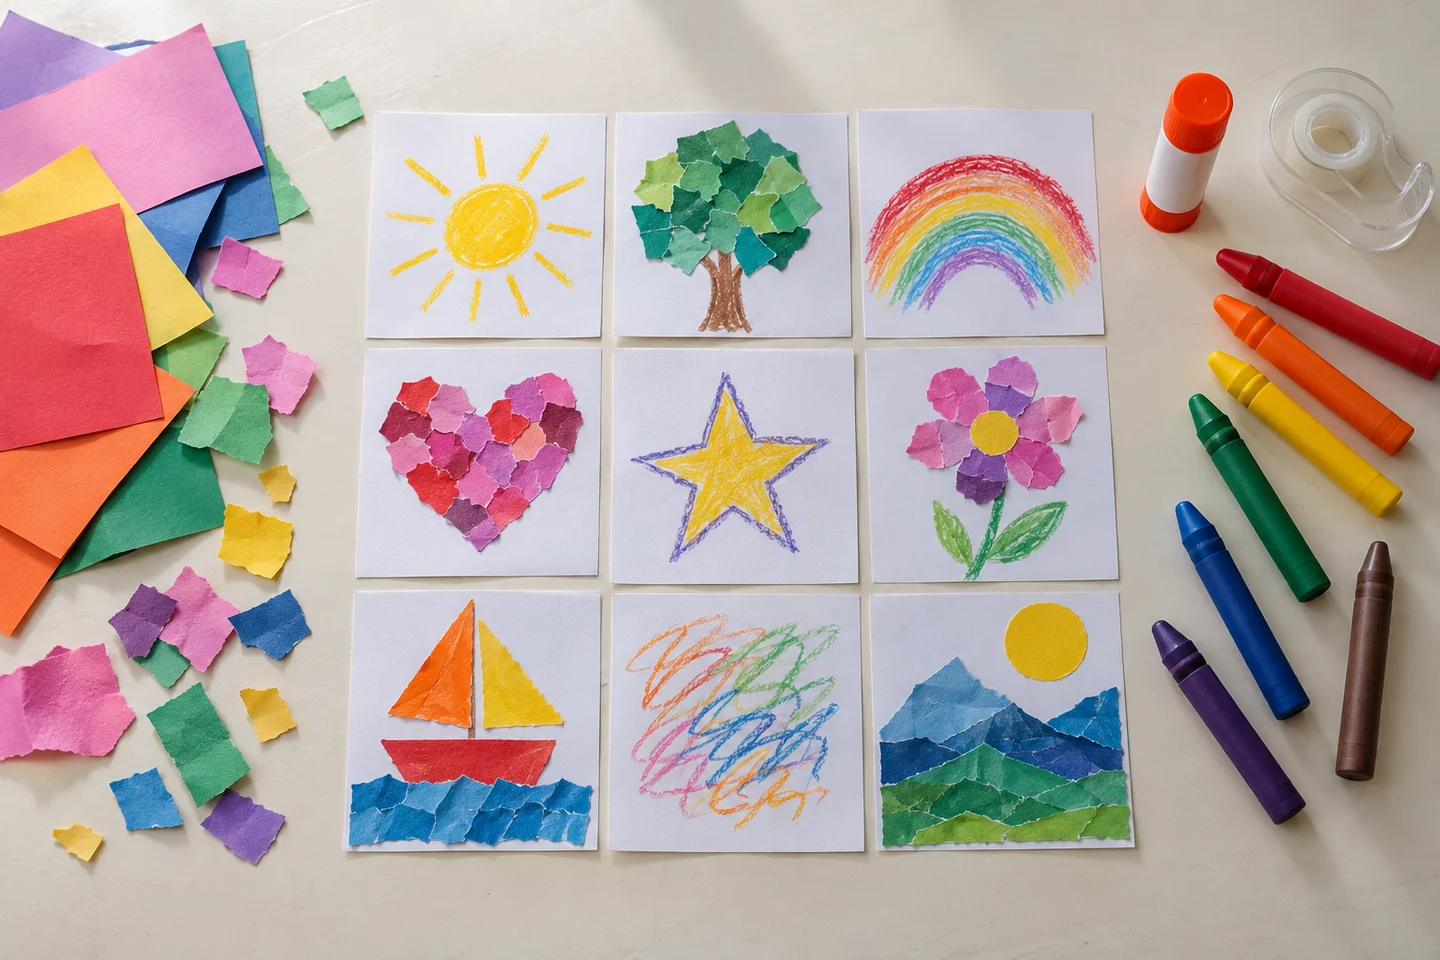
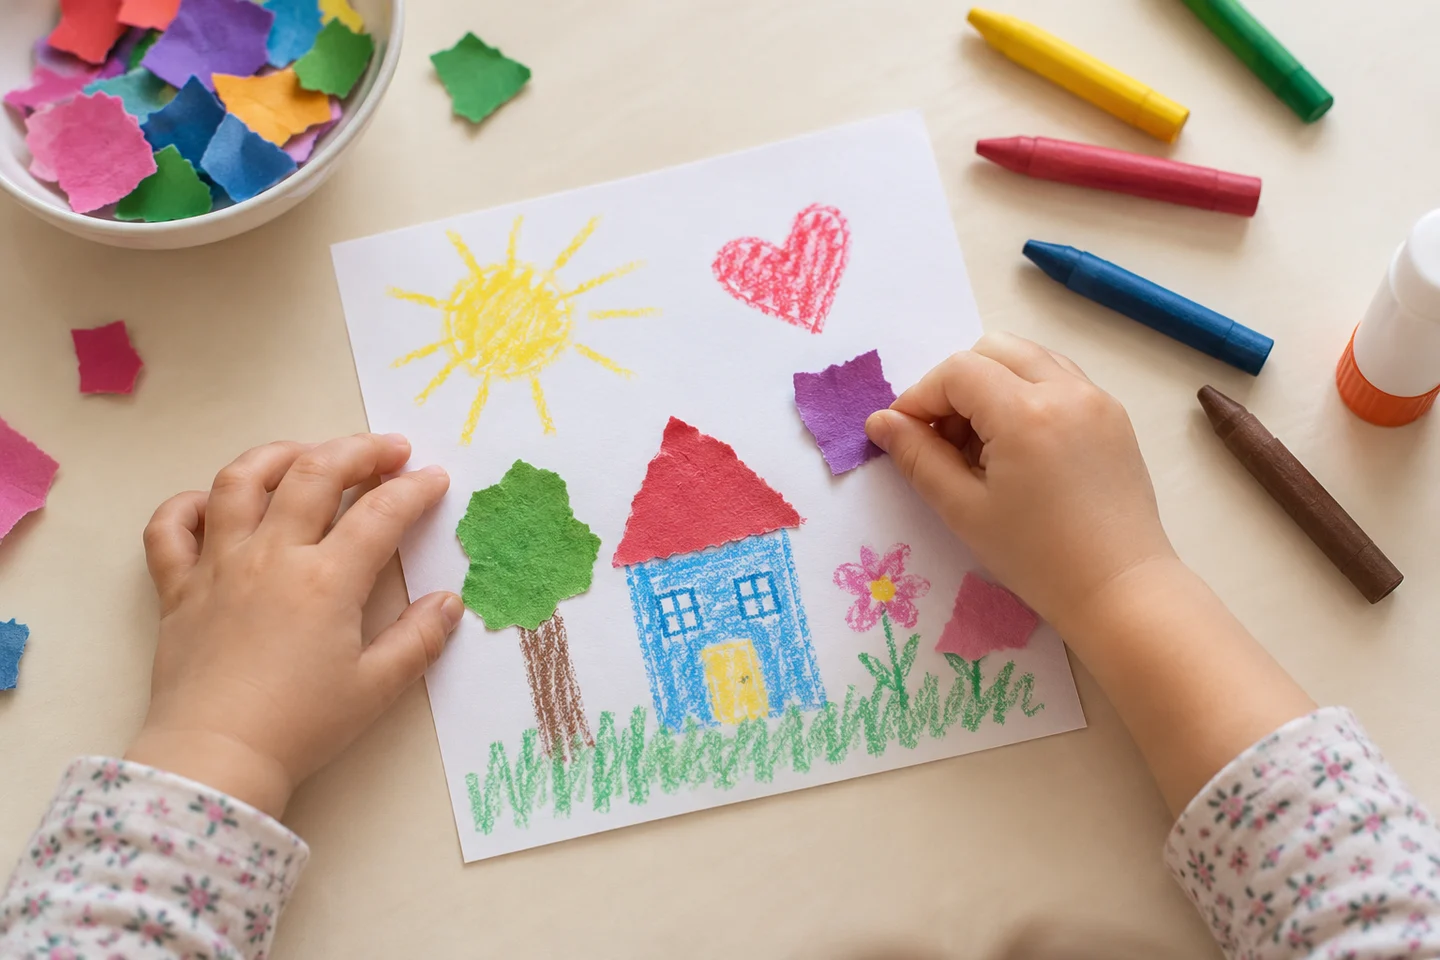
Invite children to draw something they enjoy, make a pattern, or arrange paper shapes. If choosing feels difficult, offer two possibilities: “Would you like to draw an animal or try stripes?” A square of one favorite color works beautifully, too.
2. Decorate the square
Keep the artwork inside the edges so it is easy to join later. For collage, spread a little glue on the back of each piece and press it down. Let the square dry flat before assembling the quilt.
3. Share a detail
Ask, “What would you like us to notice?” Children can explain, point, or simply show their square. Write an optional caption on a separate label so the artwork stays clear.
4. Try the layout
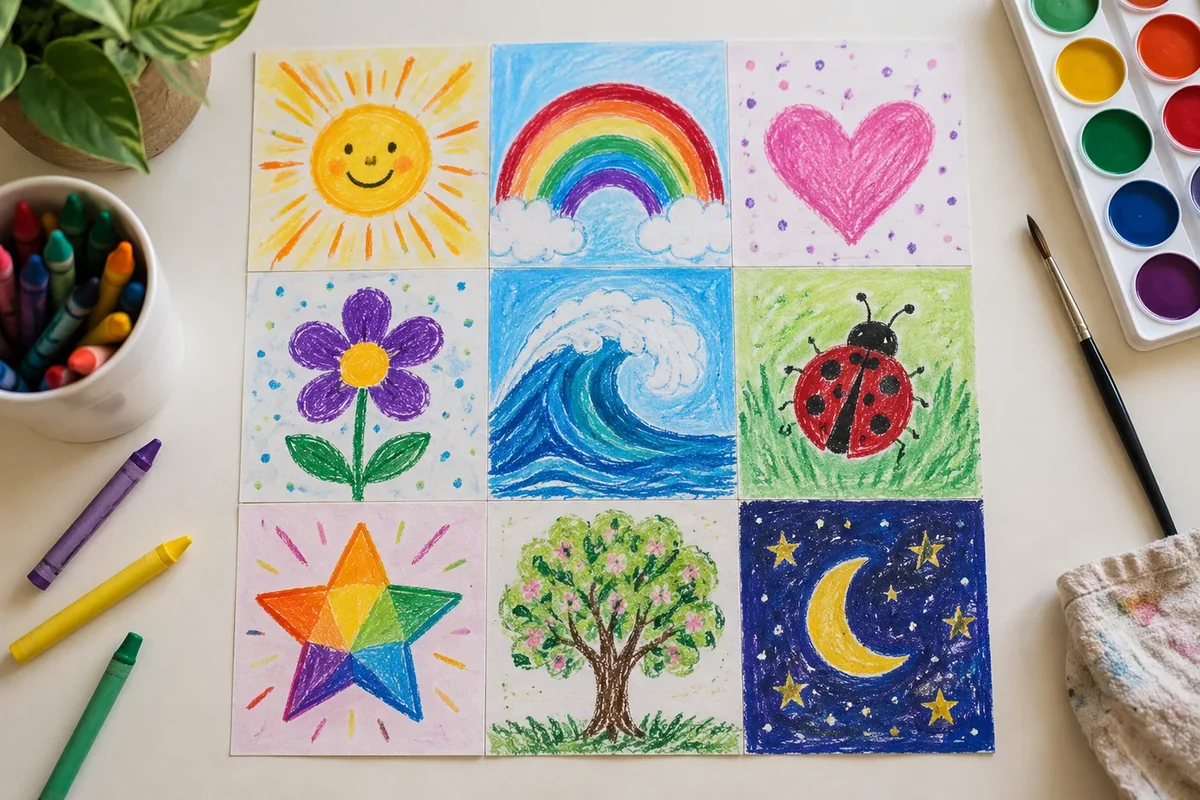
Arrange nine squares in three rows of three. For 24 squares, try four rows of six. Place the edges together and move pieces around until the group likes the arrangement. Ask before moving another child’s square.
5. Tape the back
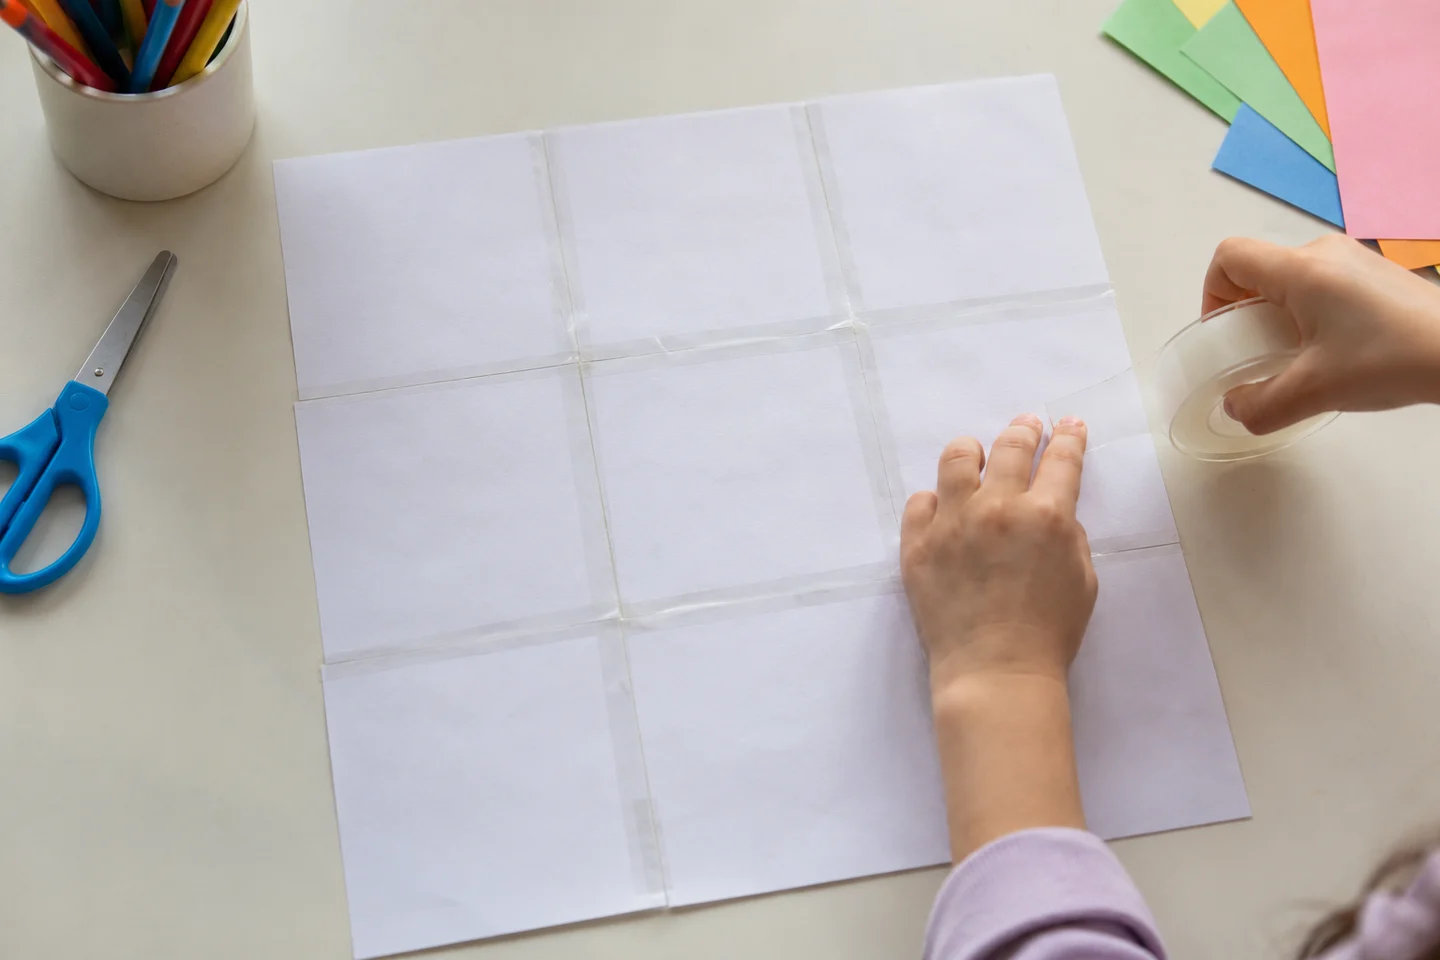
Turn the first two squares face down, keeping their shared edges together. Tape across that seam, then add the next square. Check each finished row before joining the rows. An adult can support the larger display while turning it.
6. Name your quilt
Choose a title together and display it. The nine-square version is 18 × 18 inches; four rows of six make a display 36 inches wide and 24 inches tall. A large paper backing can help support a classroom quilt.
What children can explore
Arranging squares is a practical introduction to rows, columns, and repeated colors. Describing their artwork also gives children a reason to put their ideas into words. Ask, “Which colors appear in more than one square?” or “How does it look when we swap these two?”
At home and in the classroom
At home, try four squares for a smaller family version or add squares over several days. In class, separate creating from assembly so children can finish at their own pace. Leave room for anyone who is absent to add their contribution later.
Make it work for your group
Offer large prepared shapes, broad crayons, or help with gluing. Older children might design a repeating border. A child can also direct a partner where to place a piece.
Helpful fixes and cleanup
- Loose collage? Add a little glue beneath the lifting edge and let it dry.
- Fragile joins? Add tape on the reverse or attach a backing.
- Uneven sizes? Check blank squares before decorating so later trimming does not remove artwork.
Save reusable scraps, cap supplies, and support the quilt from underneath when moving it. Your finished display can become a cheerful conversation piece for days to come.