Birthdays & Special Events
Make Your Own Birthday Crown
 Facebook
 Pinterest
 X
X LinkedIn
 Reddit
 WhatsApp
 Telegram
 Bluesky
 Email
Email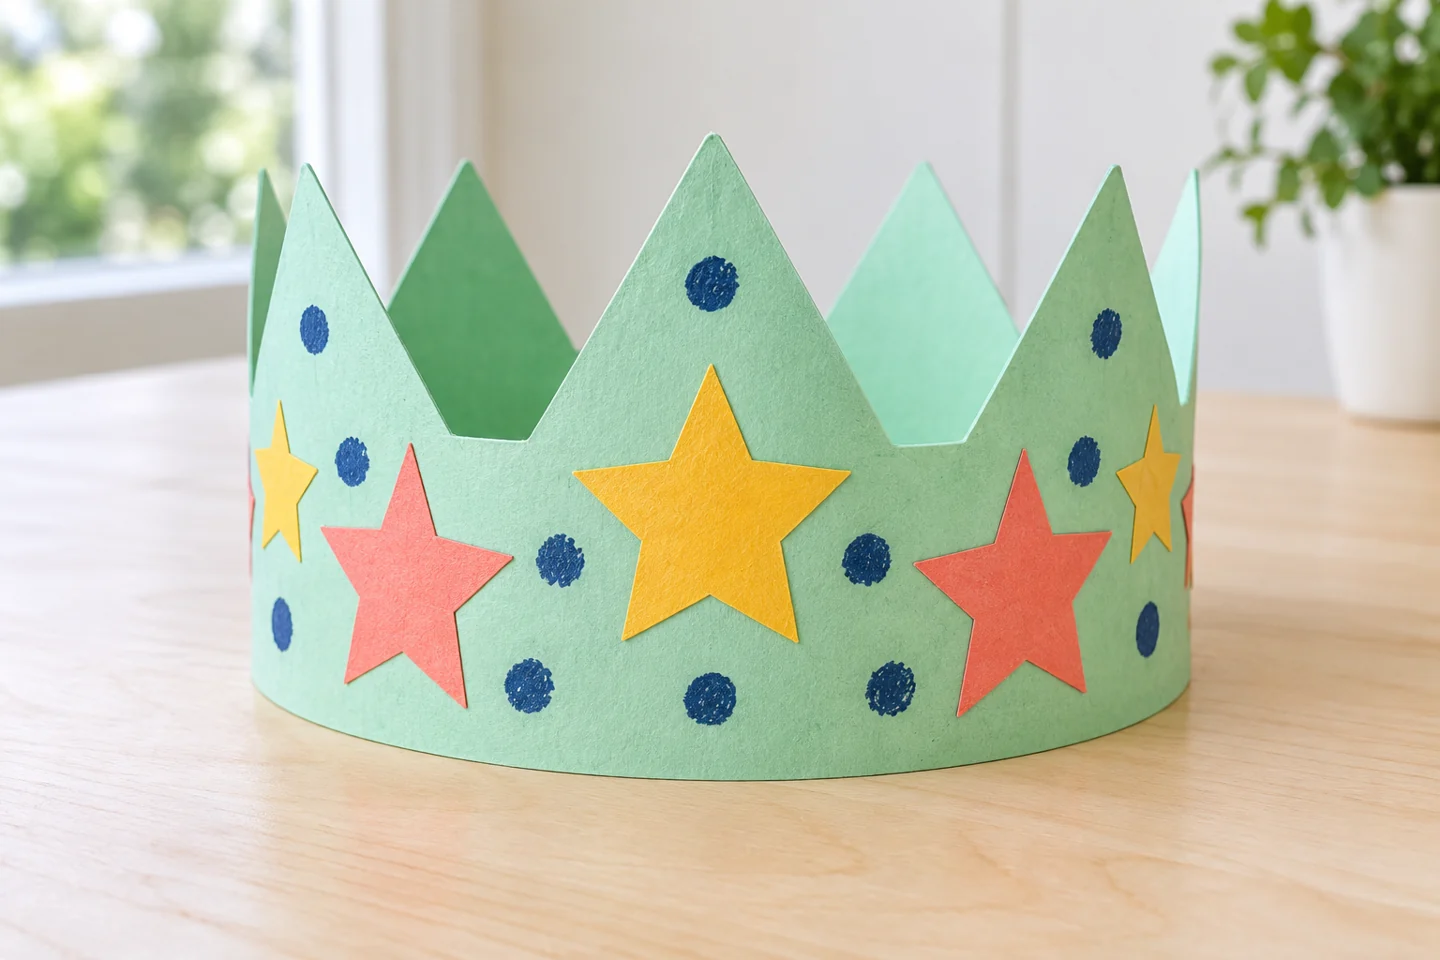
Your activity at a glance
| Suggested ages | 4–8 |
|---|---|
| Activity time | 25–35 minutes |
What you need
- Two sheets of construction paper per child
- One ruler and pencil
- Child scissors, glue stick, and clear tape
- Crayons or washable markers
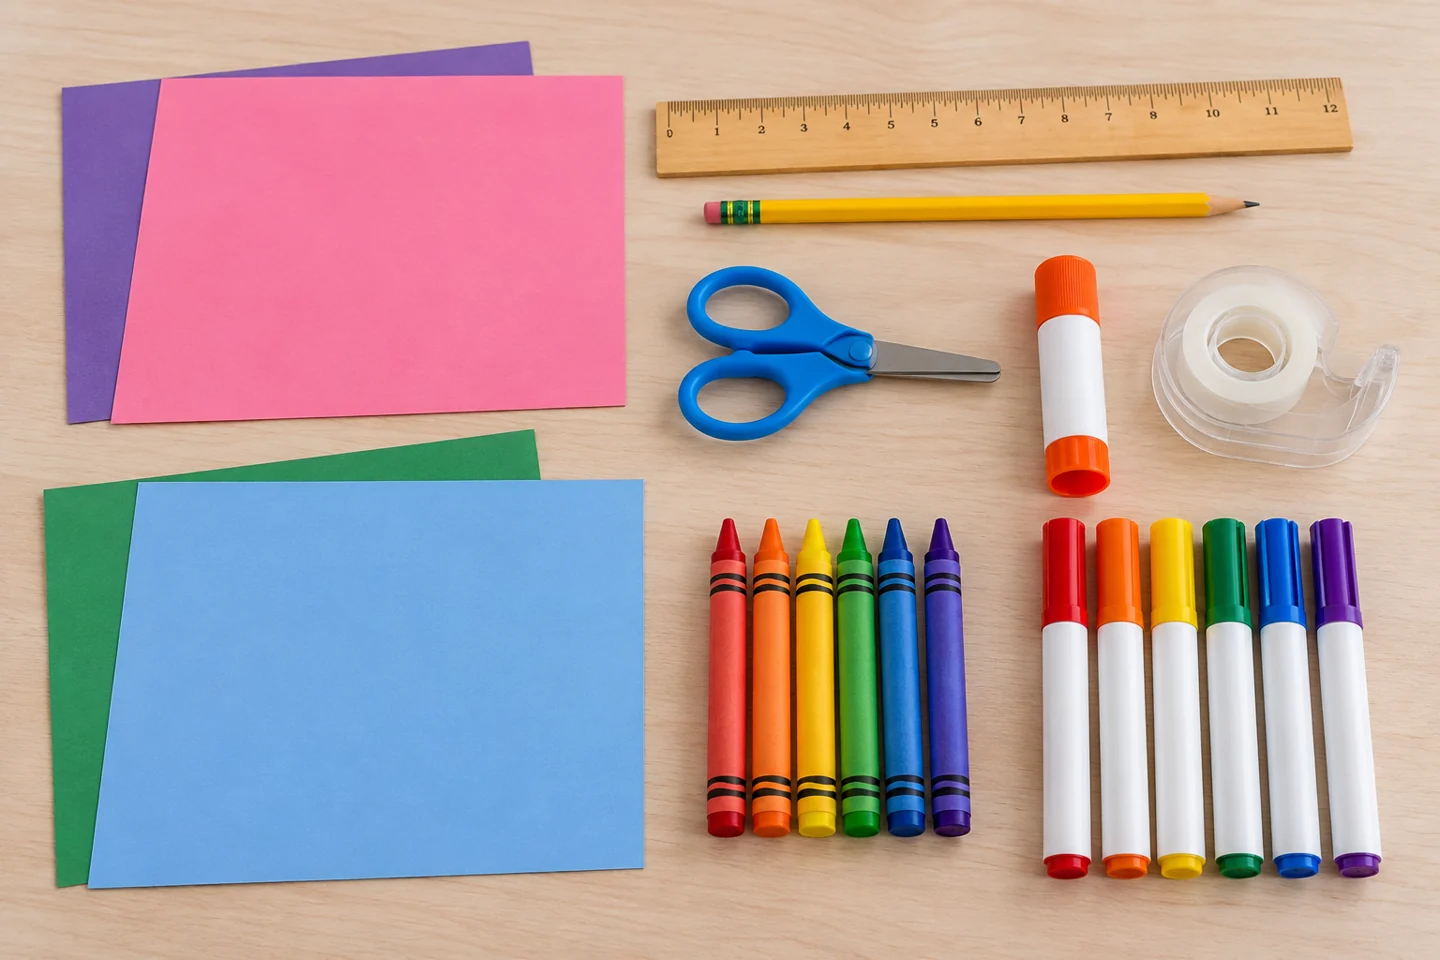
A celebration made by children
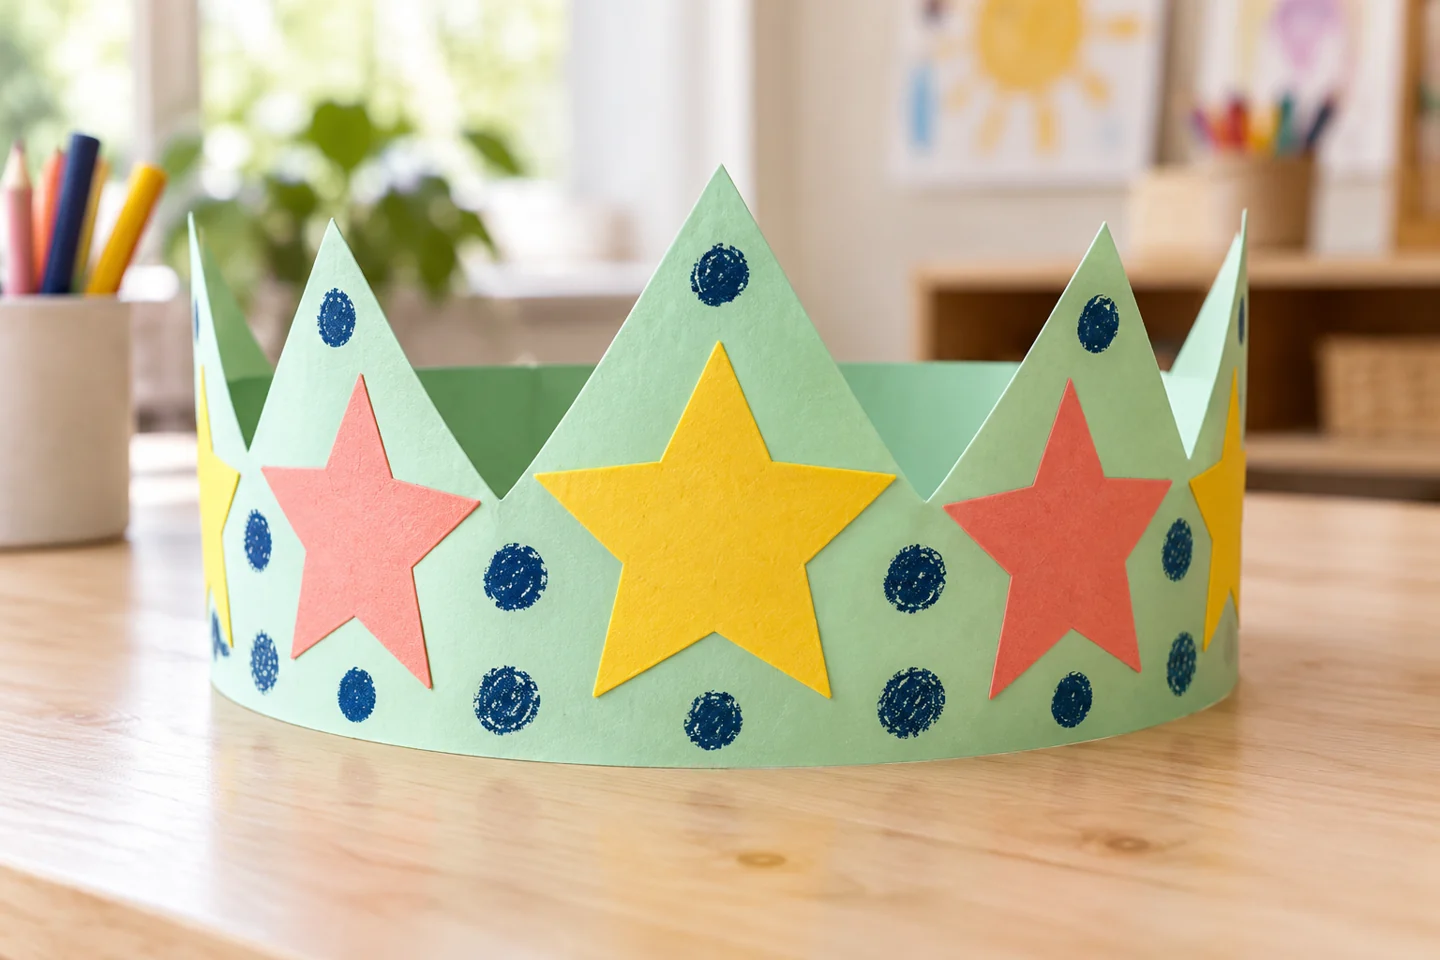
Turn a plain paper band into a crown full of favorite colors, shapes, and little drawings. Children choose the design, while a grown-up helps make a comfortable fit. The finished crown can join a birthday celebration or become part of an afternoon of pretend play.
The band is the useful starting point: it needs to sit comfortably before any decorations are added. A child who prefers a smooth headband can skip the pointed top completely. The crown can show favorite animals, favorite colors, or a pattern that has no birthday symbols at all.
Before you begin
Put the two paper sheets, ruler, scissors, and tape on a clear table. Choose ordinary construction paper rather than heavy cardboard, which can press against the forehead. Keep crayons within reach and place glue on a small protective mat. Draw the first strip boundaries lightly so the lines do not become part of the decoration.
For six children, prepare twelve sheets of paper and twelve blank strips, with three shared glue sticks and three pairs of scissors. Keep a spare sheet for extension pieces. Precut the bands for children who want to begin with decorating; older makers can measure their own. Wait to close the bands until every child has had an individual fit check.
Make it step by step
- Make a long band: Cut two strips about 3 inches wide from the long edges of construction paper. Overlap their ends by about an inch and tape them together. Keep the band flat while decorating; a wide strip gives room for drawings without needing tall, floppy points.
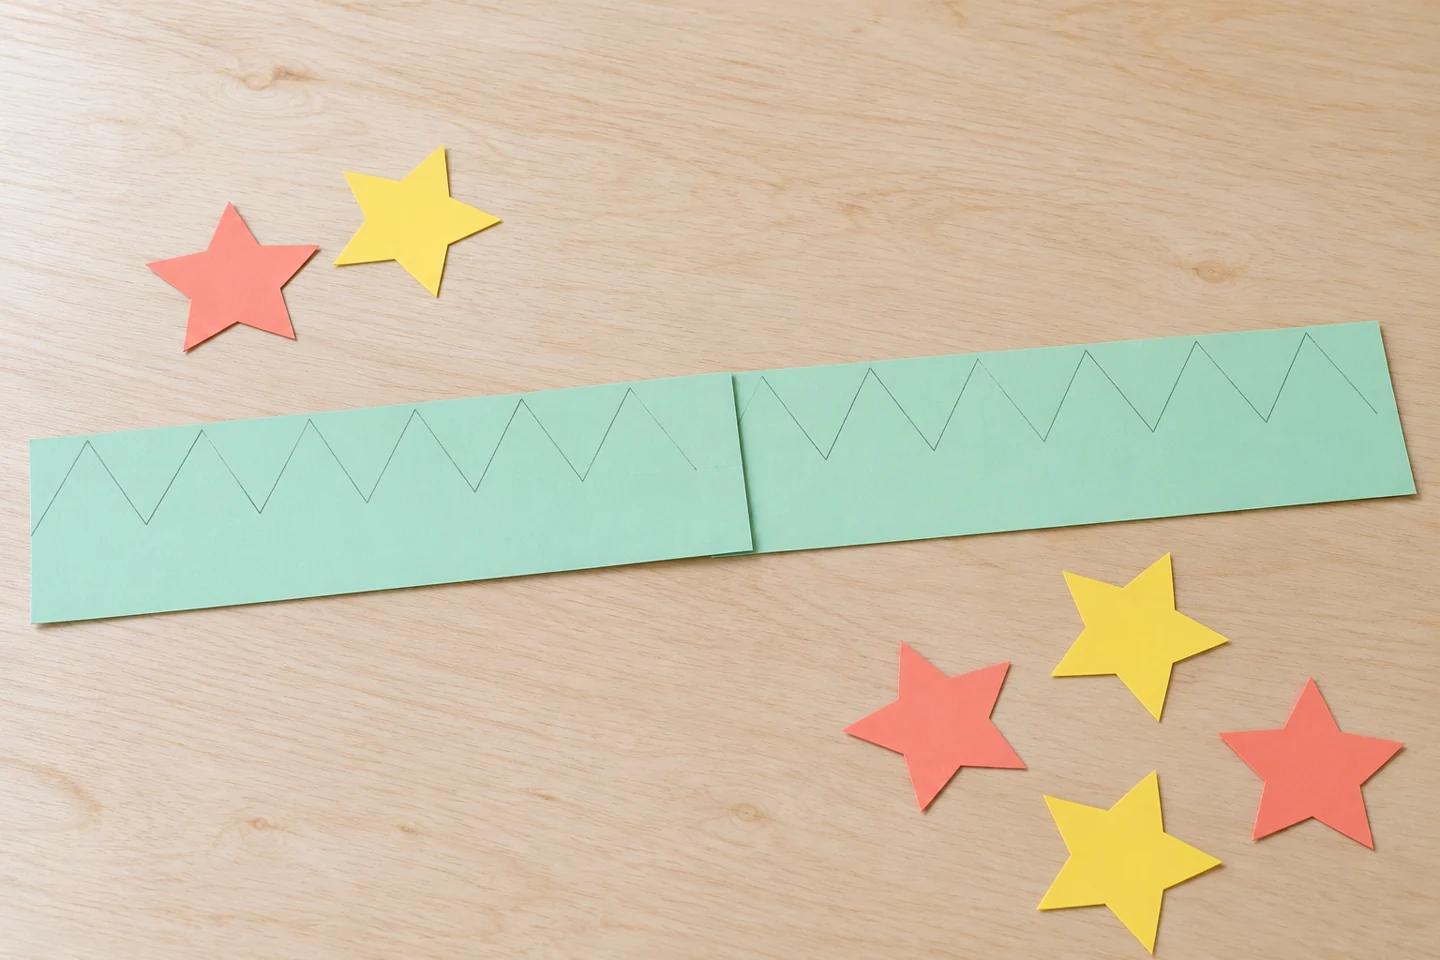
Cut and join the flat band before fitting it. - Choose the shape: Draw a row of gentle triangles along the top edge if you want pointed tips. Keep a straight lower edge and at least 2 inches of uncut band beneath the points. Cut along the top line, or leave the edge straight for an equally festive headband.
- Decorate the crown: Draw favorite animals, stars, dots, or birthday treats directly on the band. Cut large paper shapes for extra decoration and glue them flat. Avoid heavy pieces that pull the paper down; the crown should feel light and comfortable.
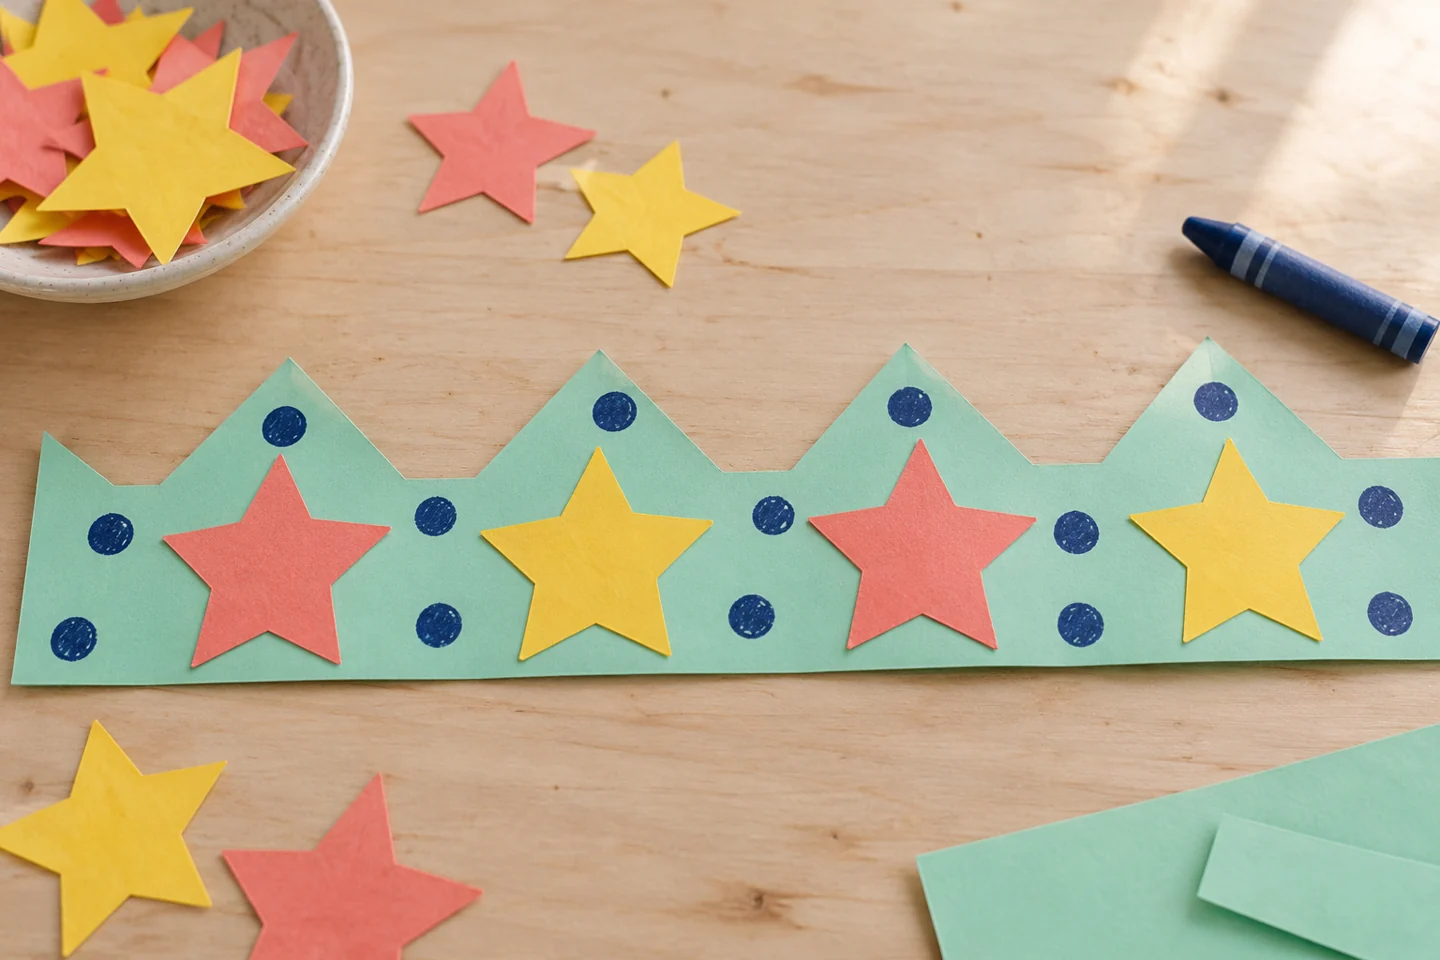
Arrange paper stars on the flat decorated band. - Check the fit: Let the glue dry, then hold the band loosely around the child’s forehead. Leave enough room to slide a finger comfortably underneath. Mark the overlap, remove the band, and tape it closed away from the child’s hair.
- Try it on: Invite the child to check the fit and decide whether any decorations need changing. If it feels tight, open the seam and add a short extension strip. A crown is ready when its maker likes wearing it, not when it matches a sample.
Talk, notice, and try another idea
Ask, “What repeats around your crown?” Invite the child to point to a sequence of colors or shapes. A pattern might repeat star-circle-star-circle, while another crown might have a different drawing in every space. Both designs give children something specific to explain.
Try asking, “What makes this comfortable to wear?” Compare the flexible paper band with a stiff scrap of cardboard. Children can notice weight, bending, and the effect of a loose or tight fit. They can also test whether a tall point stands better after it is shortened.
At home and with a group
At home, invite the birthday child to design a second crown for a toy or family member. A toy crown gives a useful reason to measure a much smaller band. Do not assume another person wants to wear one; offer it as a handmade gift they can display.
For a party or classroom, set out the flat bands first and let children decorate while one adult manages fitting. Number the backs discreetly to keep each child’s work together. Dry completed bands on a table rather than stacking wet glued pieces. A crown parade can be a seated show-and-tell if that suits the group better.
Helpful adjustments and cleanup
If the band tears at the seam, cover the back with a fresh paper patch and tape across it. If a star keeps falling off, trim it smaller or draw the star directly on the band. A child who finds cutting difficult can choose precut large shapes and still control the entire design.
Keep spare extension strips with the finished crowns in case a fit needs changing. Store each crown upright on a shelf or open the taped seam to store it flat. Collect usable paper scraps for another collage, close the glue sticks, and check that the crown has no exposed staples or stiff protruding decorations before it is worn.