Birthdays & Special Events
A Classroom Milestone Memory Wall
 Facebook
 Pinterest
 X
X LinkedIn
 Reddit
 WhatsApp
 Telegram
 Bluesky
 Email
Email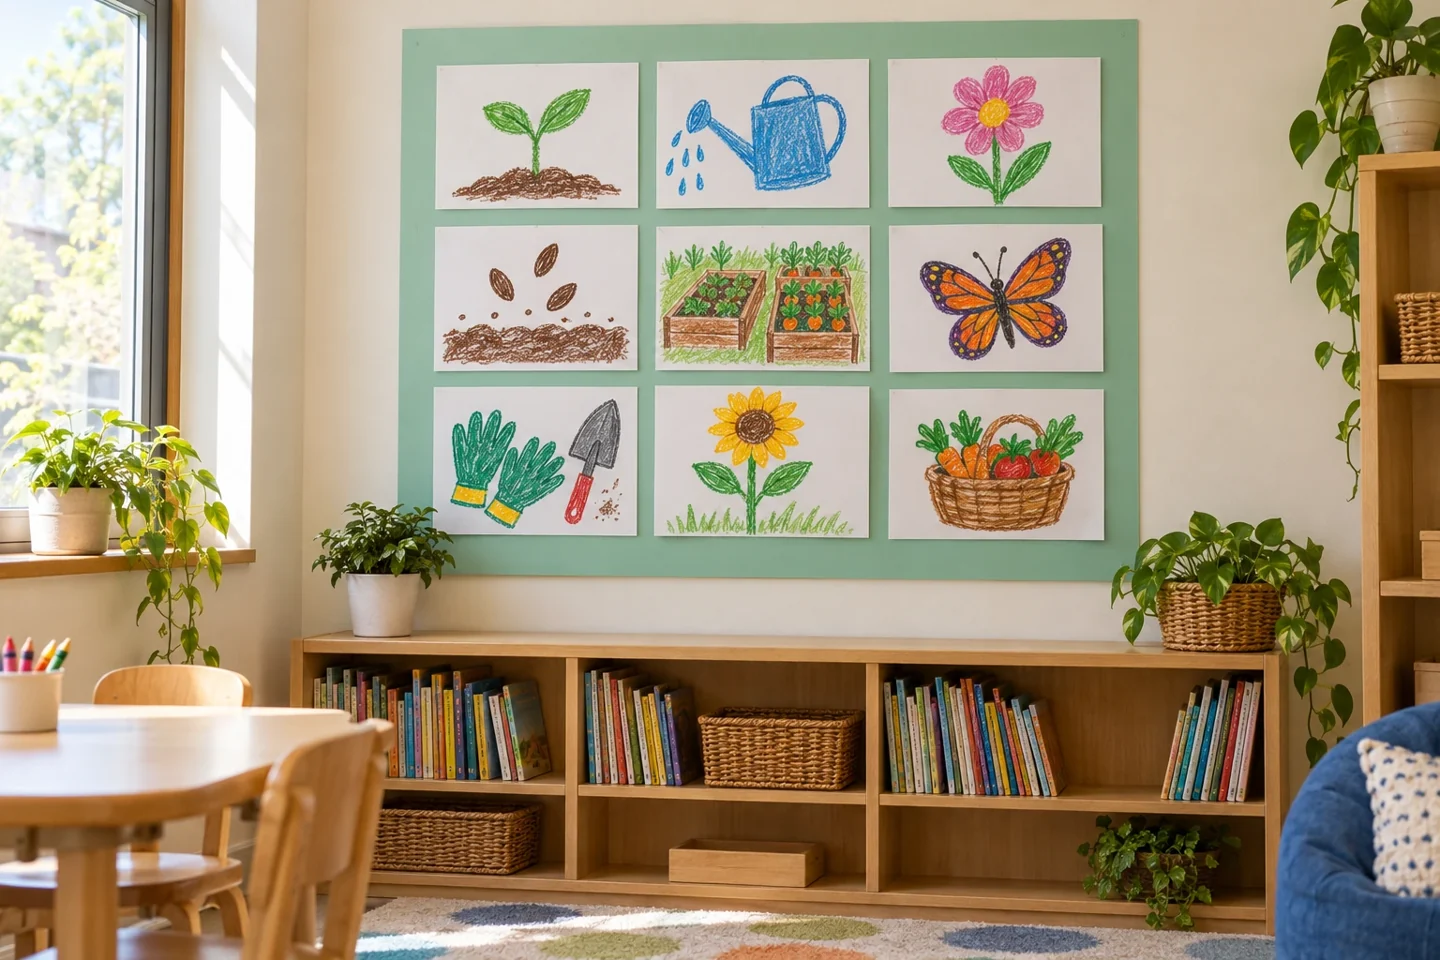
Your activity at a glance
| Suggested ages | 5–11 |
|---|---|
| Activity time | 40–55 minutes |
What you need
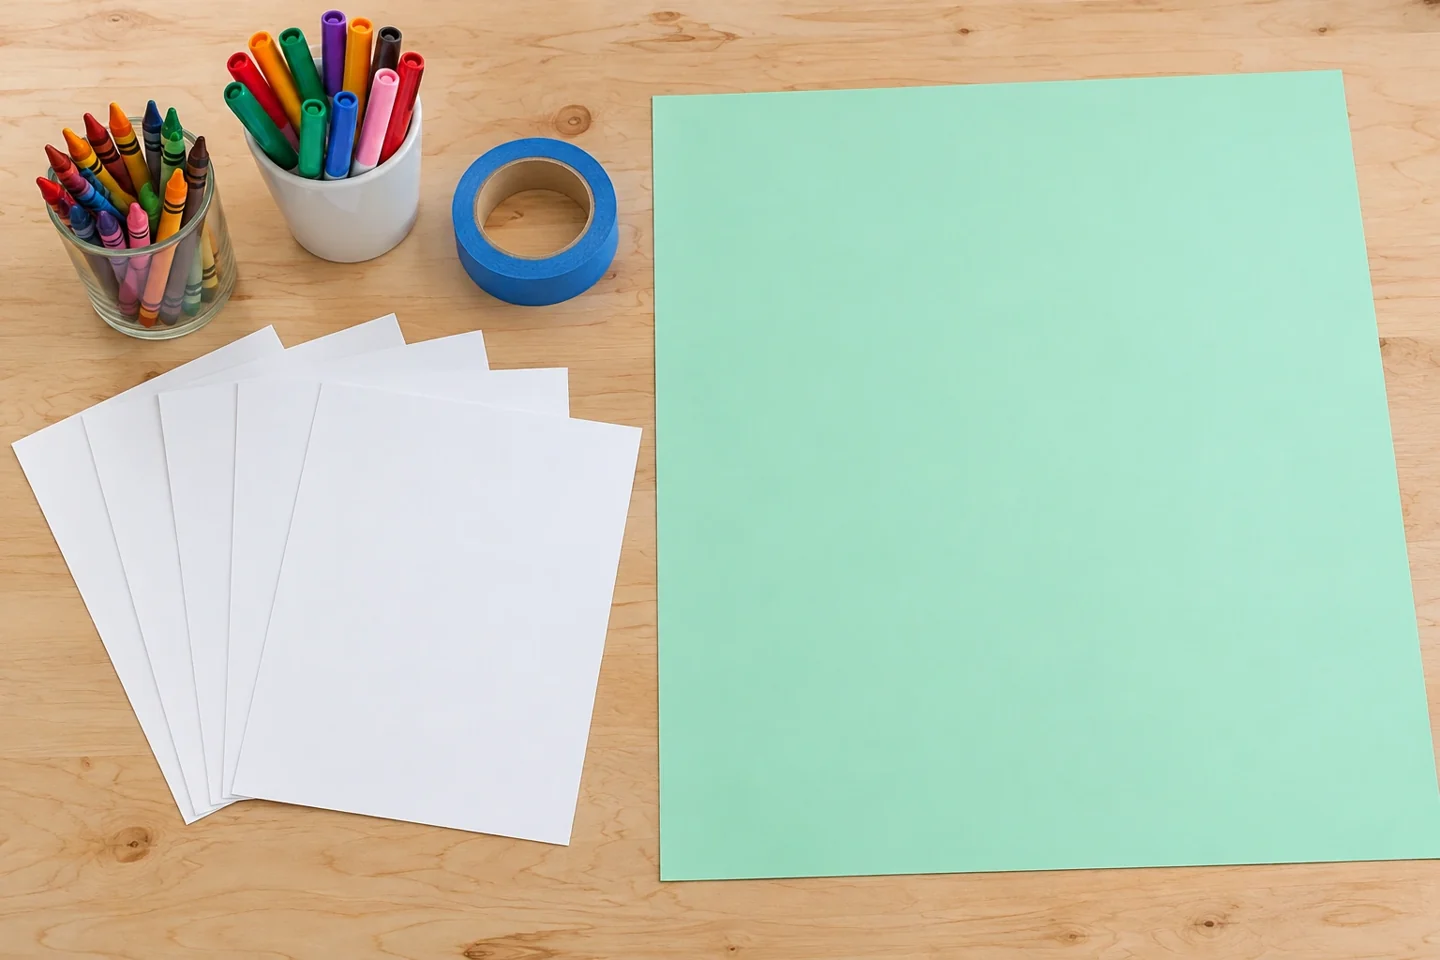
- One half-sheet of cardstock per child
- Crayons or markers
- A large backing sheet or display board
- Painter’s tape; optional adult-prepared heading
A celebration made by children
Celebrate a finished project or shared milestone with a wall of individual memories. Each card records one concrete moment: something learned, a problem solved, or a part children enjoyed. Together the cards tell a richer story than a single group caption could.
The display is most meaningful when cards describe actual moments rather than general praise. A child might record finding the first seedling, solving a costume problem, or enjoying a particular story. These small observations help the class remember how a larger project unfolded.
Before you begin
Choose a wall or board children can view from the floor, then check the available space. Cut equal cards and prepare a backing sheet if the wall cannot take tape. Gather a few photographs or objects from the shared project to refresh memories, but let children choose their own moment.
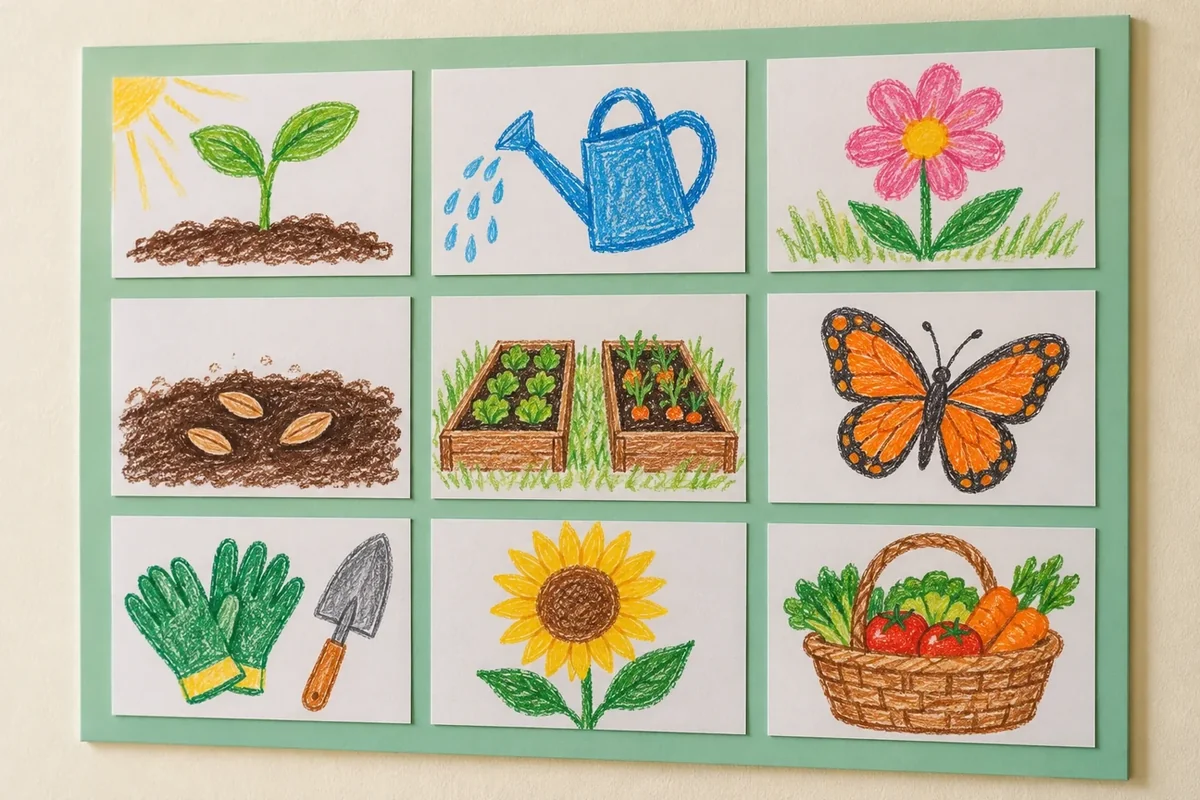
For twenty-four children, prepare twenty-six half-sheets, including two spares, from thirteen letter-size cardstock sheets. Set out six table kits with crayons. With cards landscape, a six-column, four-row layout with one-inch gaps and margins needs a backing about 58 inches wide and 27 inches high. Measure the available space before choosing that layout, or use two smaller boards. A family-sized nine-card display can use a three-by-three arrangement on a backing about 30 inches wide and 36 inches high.
Make it step by step
- Name the milestone: Choose one shared event such as finishing a class garden, presenting a play, or completing a reading project. Briefly recall what happened. Keep the focus on experiences children can describe rather than comparing who did the most.
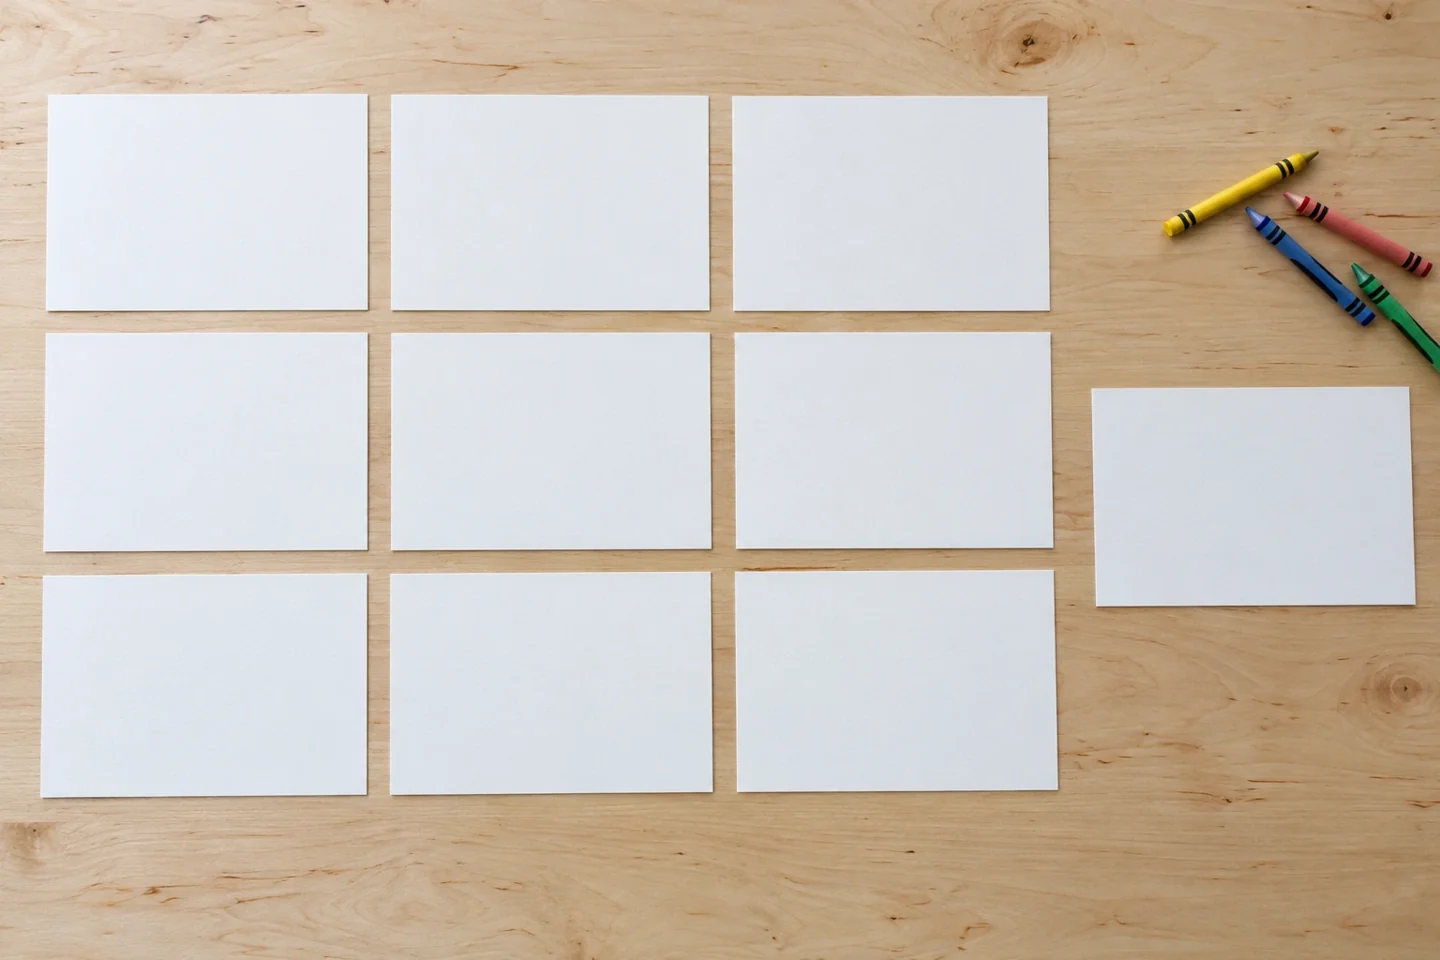
This nine-card family-sized layout leaves a visible gap around every card. - Offer three prompts: Invite children to choose something I tried, something I noticed, or something I enjoyed. Give a concrete example from the event without drawing a model to copy. Children may draw, write, or dictate their response.
- Make the memory cards: Give each child equal space on one card. Encourage a clear drawing and a short explanation if they want one. Leave a small edge clear for attaching the card. Names can go on the back if the display will be photographed.
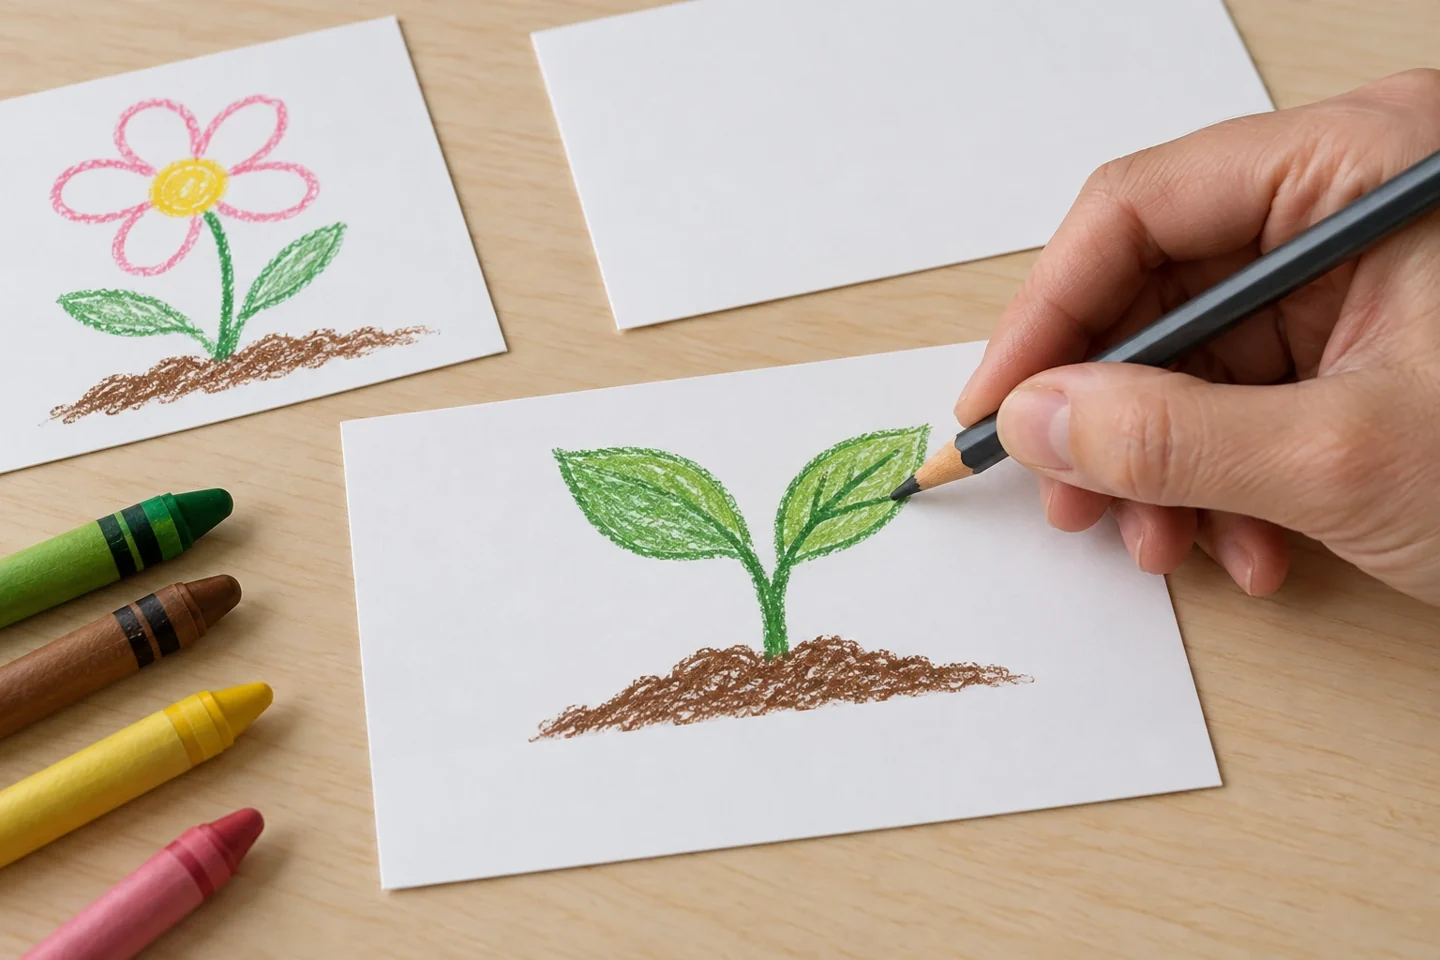
Choose one specific garden memory for a card. - Build the wall: Arrange cards on a table first, with even gaps and no overlaps. Group by moment, theme, or colors only if that helps tell the story. An adult mounts them where children can see the details without climbing.
- Visit and reflect: Invite a few children at a time to point out discoveries. Ask what they might try next time. After the display period, return each card to its maker or place the cards in a class folder with permission.
Talk, notice, and try another idea
Ask, “What were you doing when this happened?” and “What changed after that?” A concrete question can bring out a sequence or a detail the drawing does not show. Record the child’s own phrasing if they ask for a caption instead of replacing it with a polished adult statement.
When several cards show the same moment, compare the perspectives. One child may remember the materials while another remembers a conversation. Ask what each picture adds to the shared story. Avoid choosing a best memory or implying that a detailed drawing is more important than a simple one.
At home and with a group
At home, adapt the idea to a family project by giving each person a card about a shared outing or something built together. Arrange them on a small backing sheet. The cards can later become pages in a keepsake folder, keeping the individual explanations beside the drawings.
In a classroom, invite children to view the wall in small groups rather than crowding it at once. A child can point to a card without reading it aloud. Ask permission before photographing cards with names or personal comments, and keep public displays limited to information appropriate for that setting.
Helpful adjustments and cleanup
If a child cannot choose a moment, offer two specific memories from the project and let them select or reject both. If a card is crowded, add the explanation on a separate strip beneath it. Children who need more room can draw on a larger sheet and have the adult mount it without trimming important details.
Plan when the wall will come down and tell children what will happen to their cards. Return them individually or save them in a class folder according to your setting’s practice. Remove tape carefully, flatten cards before storage, and keep a few blank cards for a later reflection on what the class wants to try next.
Keep the creativity going
When the display comes down, invite each child to choose one detail they want to remember. The Busy Animal Town Search and Find Book offers another chance to notice small details and describe what is happening in a picture. Our book catalog and series can help you choose a reading, coloring or activity follow-up for the next quiet table session.