Birthdays & Special Events
Make a Birthday Memory Book
 Facebook
 Pinterest
 X
X LinkedIn
 Reddit
 WhatsApp
 Telegram
 Bluesky
 Email
Email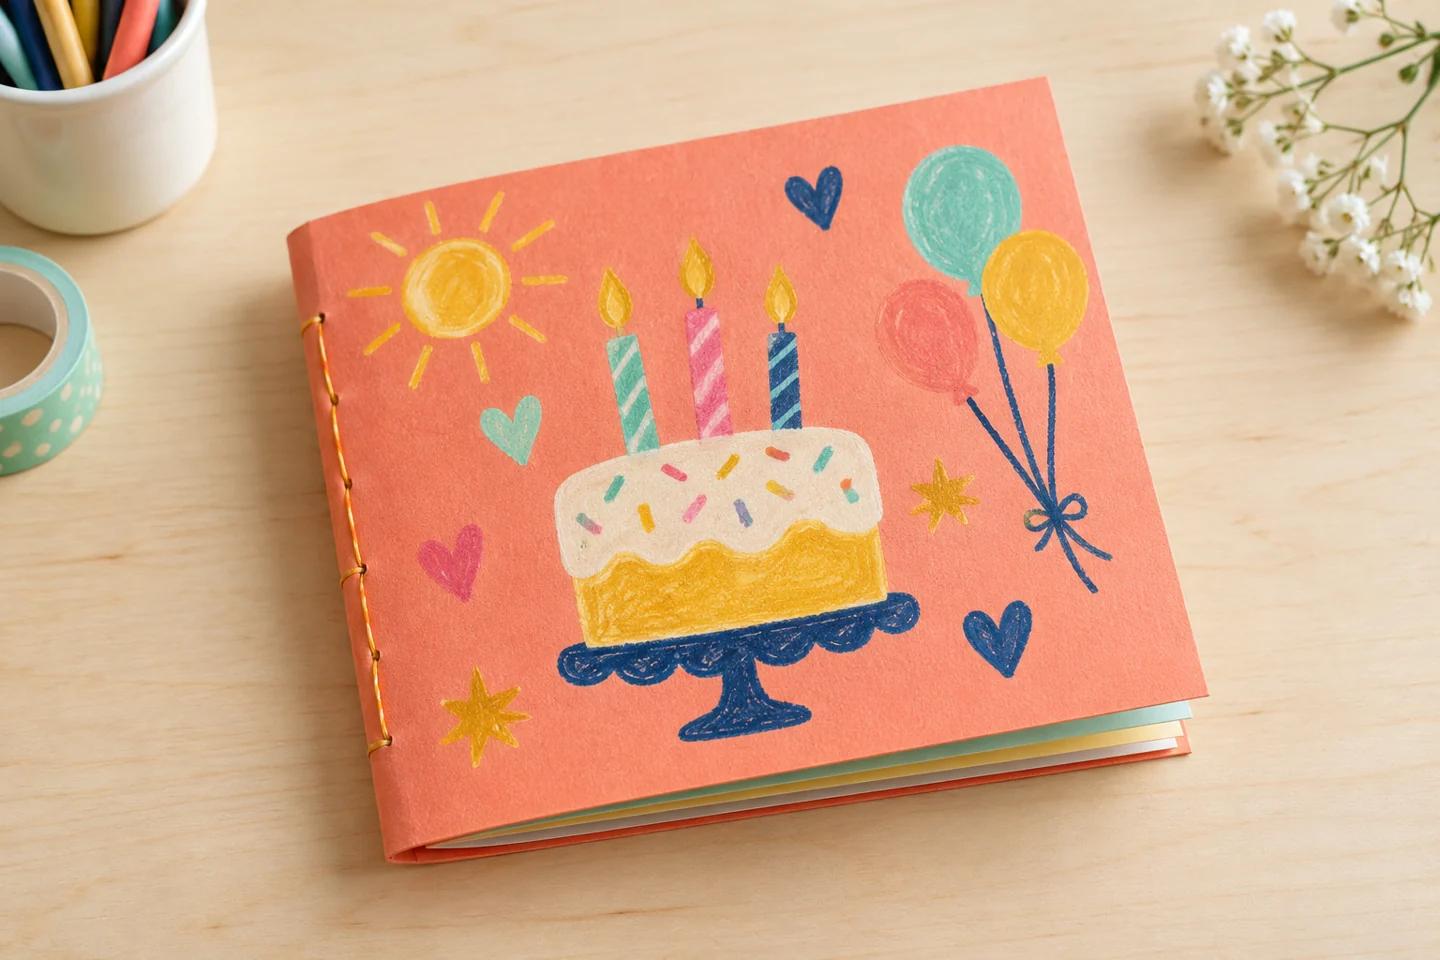
Your activity at a glance
| Suggested ages | 5–10 |
|---|---|
| Activity time | 35–50 minutes |
What you need
- Four sheets of letter-size paper and one cardstock sheet
- Crayons or markers
- Hole punch for adult use
- Two short paper-fastener tabs or split pins for adult assembly
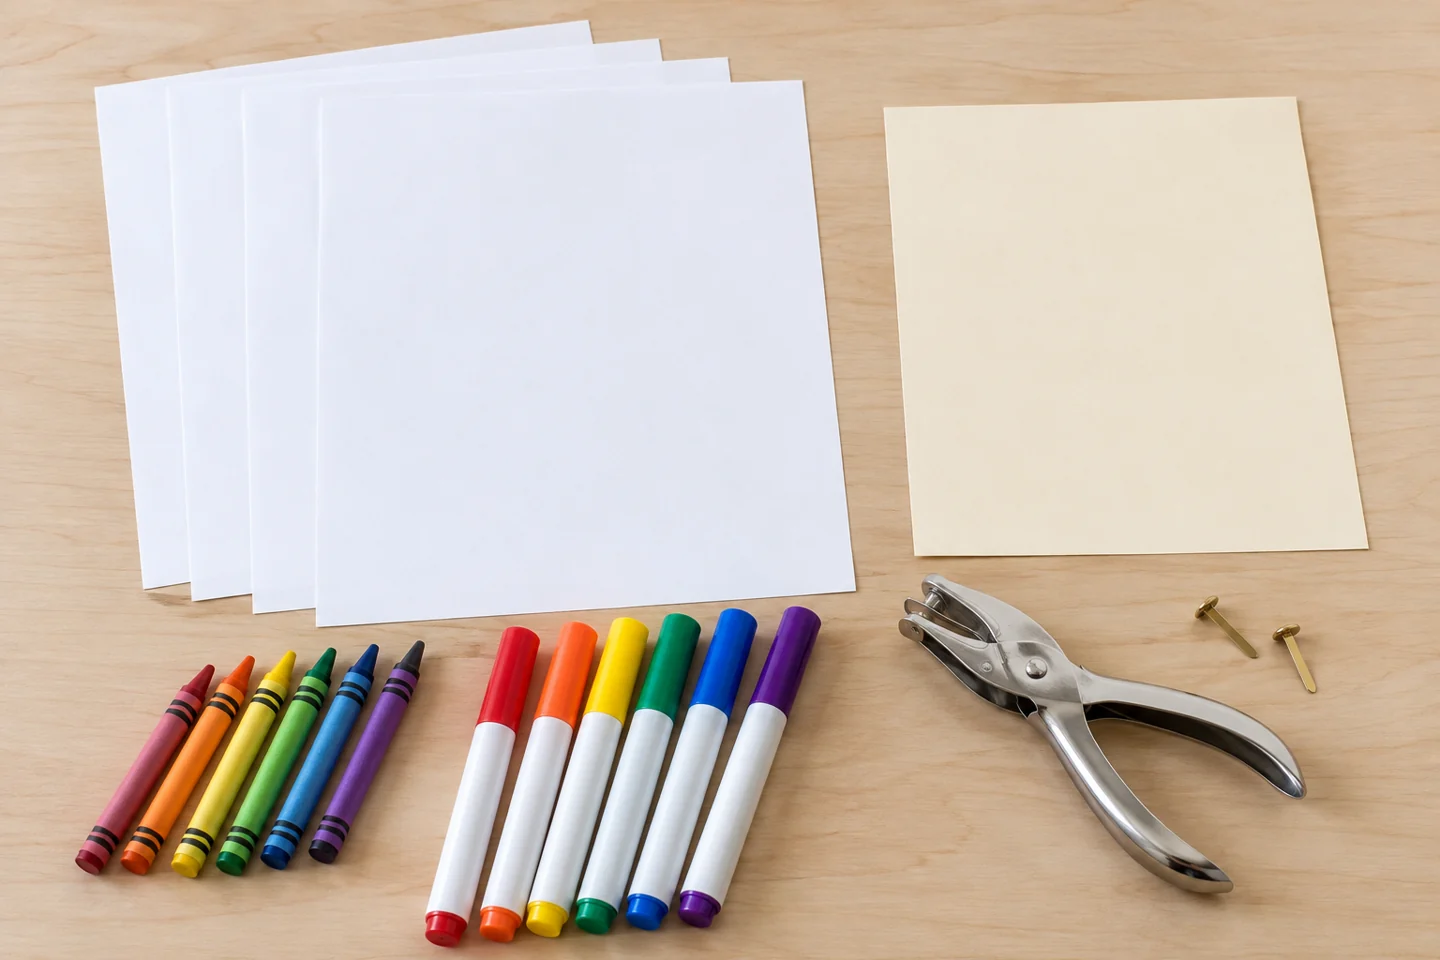
A celebration made by children
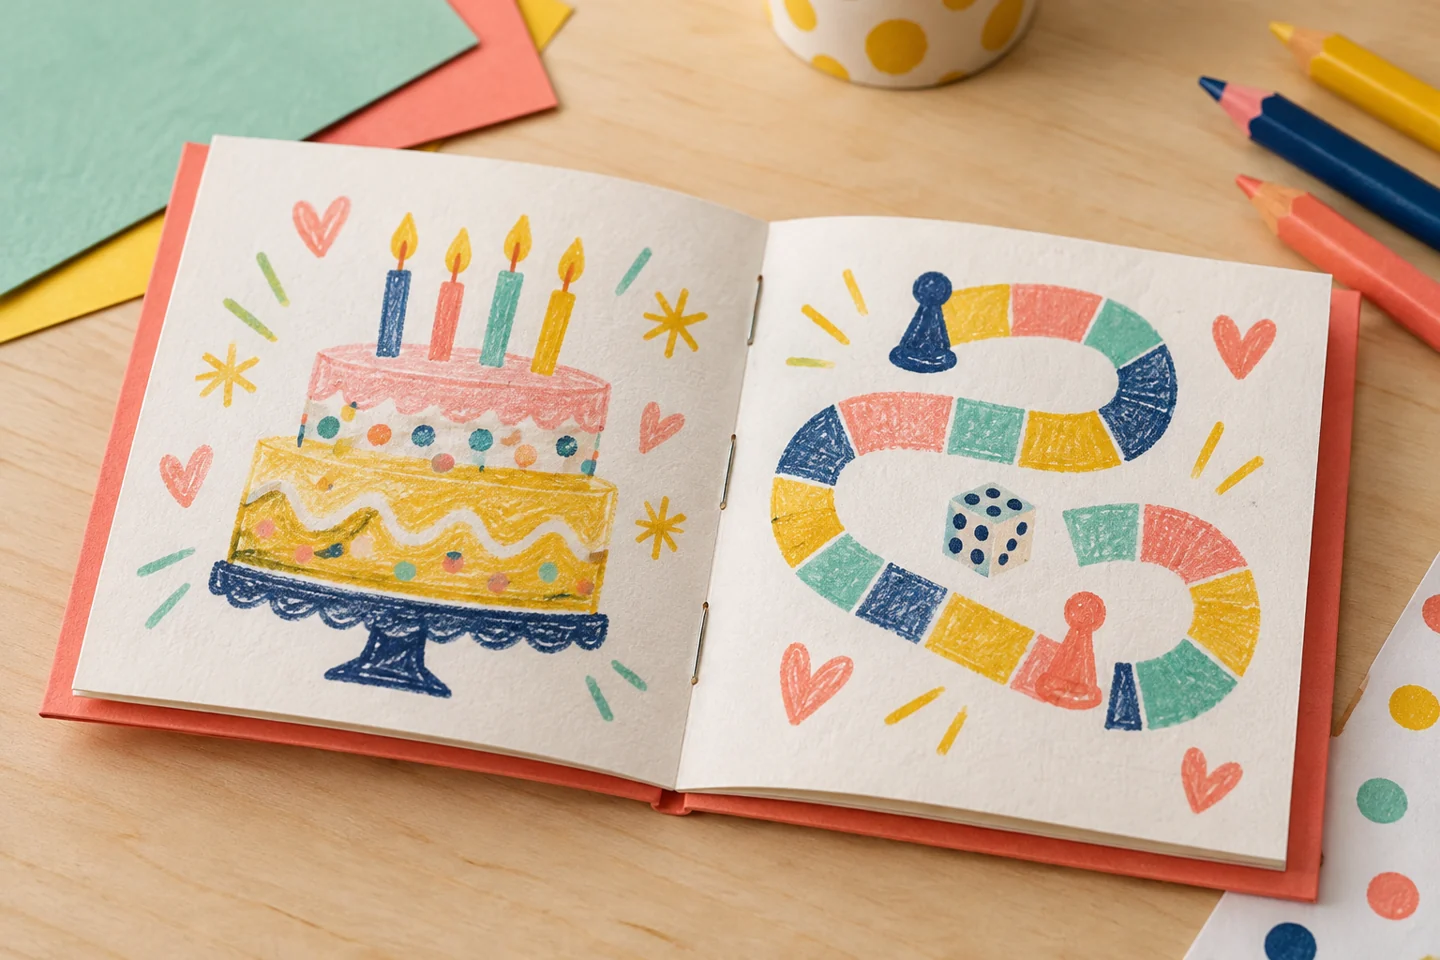
Gather small drawings and messages into a birthday keepsake that feels like the celebration itself. Guests can record a favorite moment, invent a birthday wish, or sketch something that made them smile. Adults can write down younger children’s exact words.
A memory page does not need polished handwriting or a perfectly recognizable drawing. A quick sketch of a game can become meaningful when an adult adds the child’s explanation below it. Keep contributions short and personal so the book feels pleasant to reread rather than like an assignment.
Before you begin
Fold and reopen one sample sheet to show the page boundaries. Mark a small inner margin where binding holes will go so important drawings stay clear. Keep the hole punch and fasteners with the adult. Use drawing supplies that do not soak through the paper, and leave all pages loose until everyone has finished.
For eight guests, four folded sheets provide sixteen page faces, enough for one contribution each with room for the birthday child’s own memories. If the group is larger, add paper rather than putting several unrelated drawings on one page. Set up two drawing tables and an adult dictation spot for anyone who wants help with words.
Make it step by step
- Fold the pages: Fold the four paper sheets and cardstock sheet in half to make a booklet about 5½ by 8½ inches. Use the cardstock outside as a cover. Keep pages separate during decorating so several people can work at once.
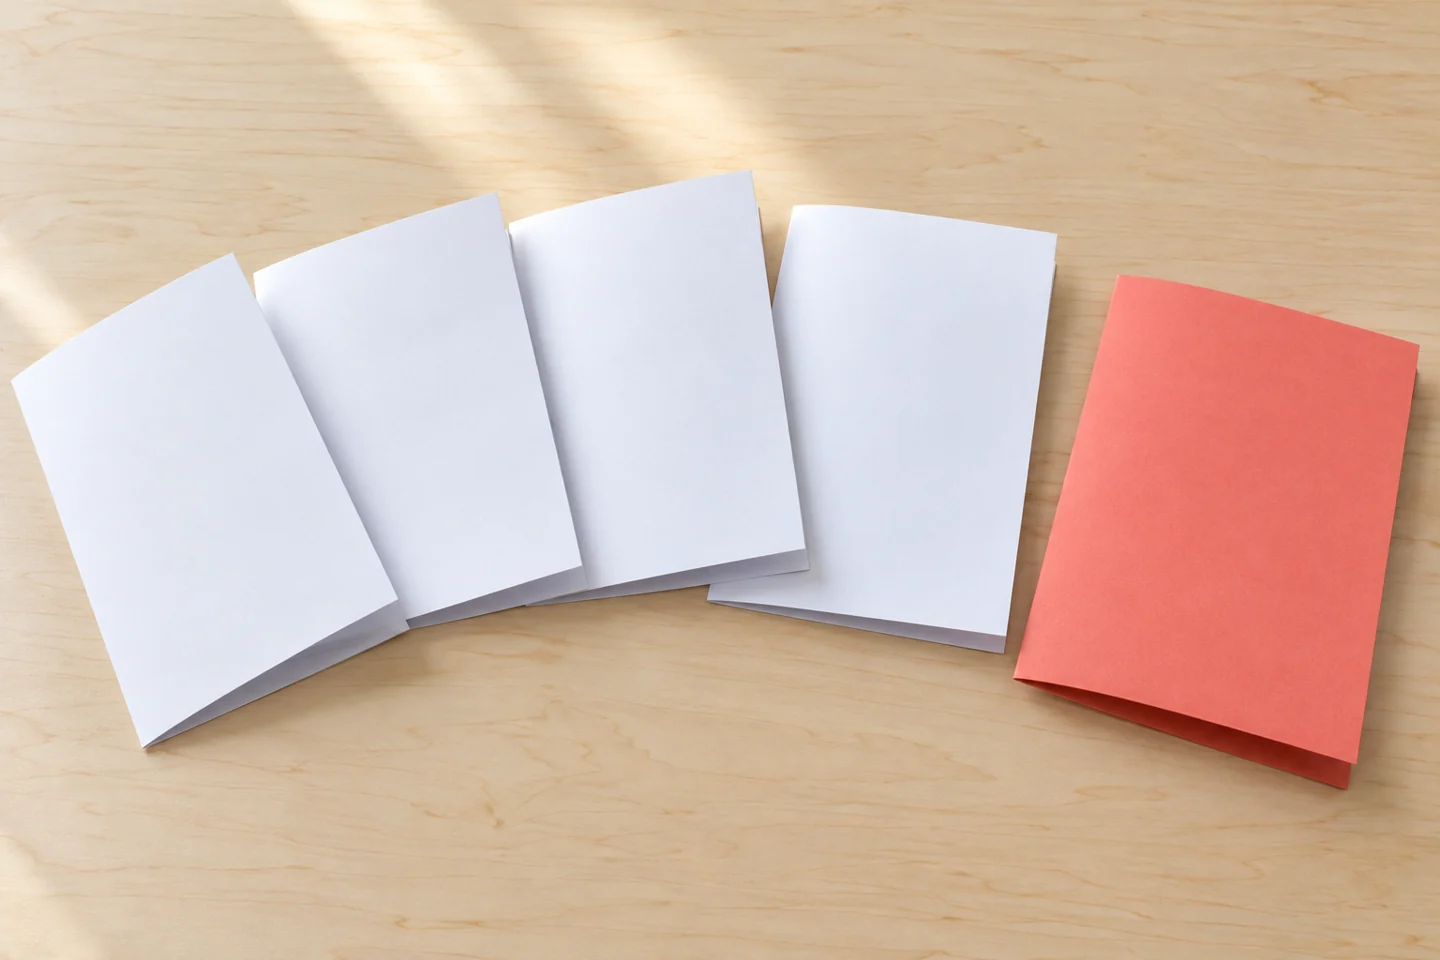
Fold the blank pages and cover before adding memories. - Offer a useful prompt: Choose a few invitations: draw a moment from today, draw something you hope we do together, or draw a favorite thing about the birthday person. Guests select one prompt; nobody needs to fill an entire page with writing.
- Add drawings and words: Invite contributors to draw first. Add a name or short message if they want. An adult can take dictation beneath a drawing without replacing the child’s wording. Keep the folded inner edge clear for binding.
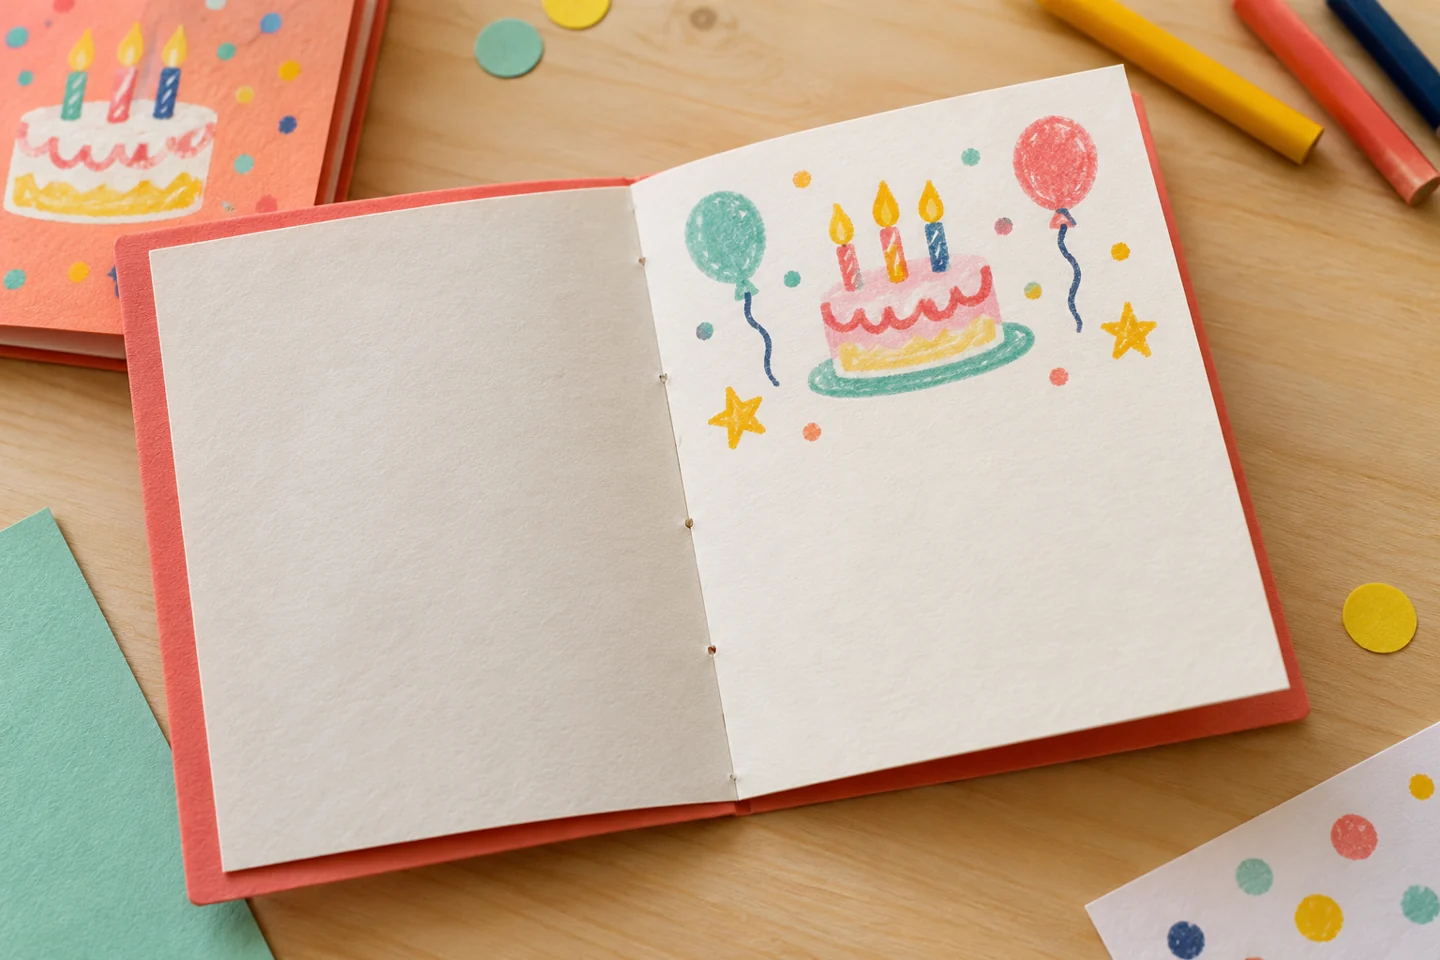
Leave room beneath a drawing for a dictated memory. - Put the book in order: Stack pages inside the cover and check that drawings face the right way. Place contributions in any order the birthday child enjoys. The adult punches two holes near the folded edge and joins the pages with fasteners, covering sharp ends securely.
- Read it together: Turn the pages slowly and ask contributors what they would like to explain. Record a favorite party moment on the last page. Keep the book on a shelf or in a keepsake box where it can be opened again.
Talk, notice, and try another idea
Ask, “What happened just before this moment?” or “Who was with you?” A short conversation may reveal details the drawing alone does not show. Ask permission before adding those words to the page; the contributor can choose which part of the memory belongs in the book.
Compare a drawing with its dictated sentence and notice how the two parts work together. Invite the birthday child to choose a page order that tells a story of the celebration. Pages can also be grouped by games, food, or messages without pretending the events happened in that order.
At home and with a group
At home, make the book gradually before and after the birthday. A page can record preparations, another the celebration, and another what the child hopes to try next. Leave a blank page for a later memory rather than requiring the whole booklet to be finished in one sitting.
For a party, offer the memory table as an optional quieter station. Give each guest a page position before they begin so the finished pictures can be assembled without cutting them apart. An adult handles binding after the gathering. For a classroom version, use a shared celebration or completed project rather than private family details.
Helpful adjustments and cleanup
If a contributor is unsure what to draw, offer two concrete choices from the event. If a page is upside down when folded, rotate or replace it before binding. Younger children can use one large drawing with adult dictation. Older children may add a caption, a short interview, or a comic-style sequence.
Check the fasteners on the back of the booklet and cover any rough ends with tape. Store the book flat until glue or ink has dried. Put unused pages in the drawing supply tray, keep the hole punch out of children’s reach, and let the birthday child choose a shelf or keepsake box for the completed book.