Birthdays & Special Events
Birthday Number Art
 Facebook
 Pinterest
 X
X LinkedIn
 Reddit
 WhatsApp
 Telegram
 Bluesky
 Email
Email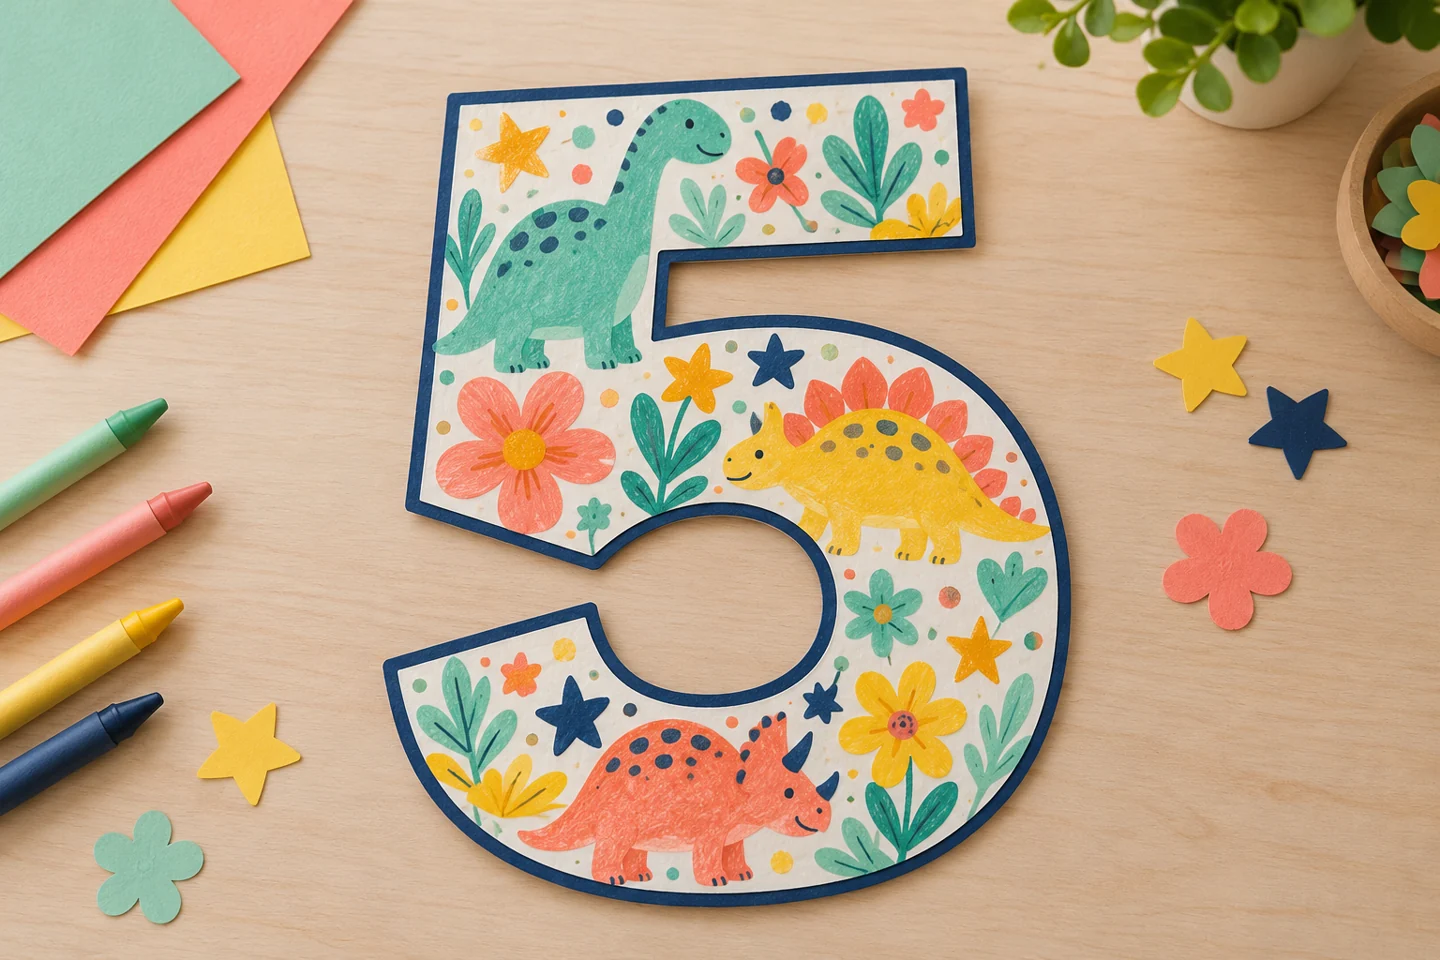
Your activity at a glance
| Suggested ages | 4–9 |
|---|---|
| Activity time | 25–40 minutes |
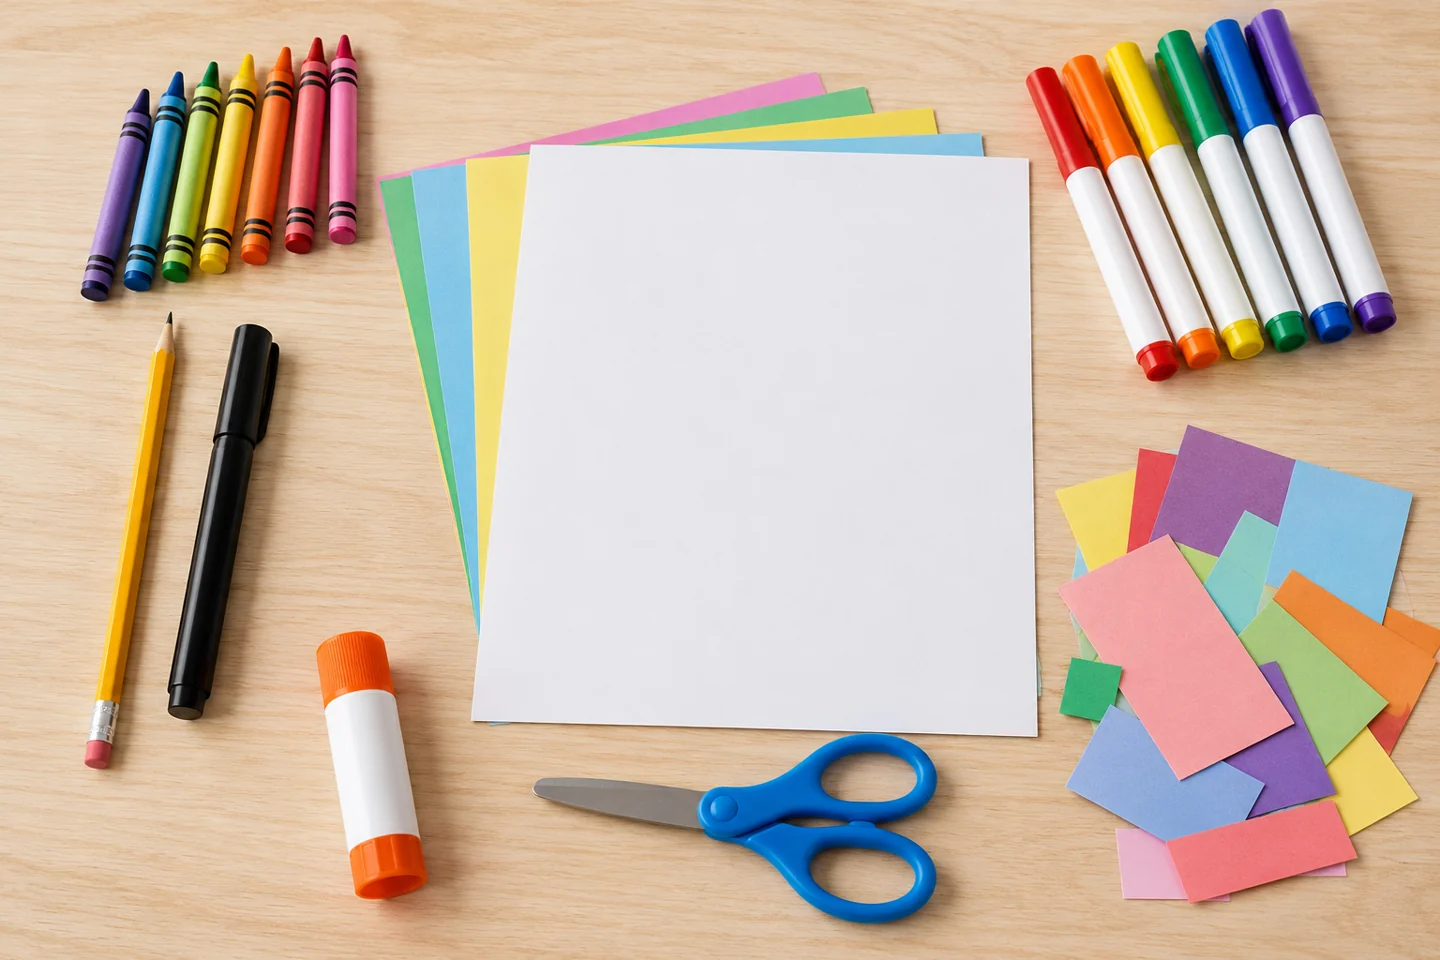
What you need
- One sheet of cardstock per child
- Pencil and thick marker
- Crayons, washable markers, and paper scraps
- Glue stick and child scissors
A celebration made by children
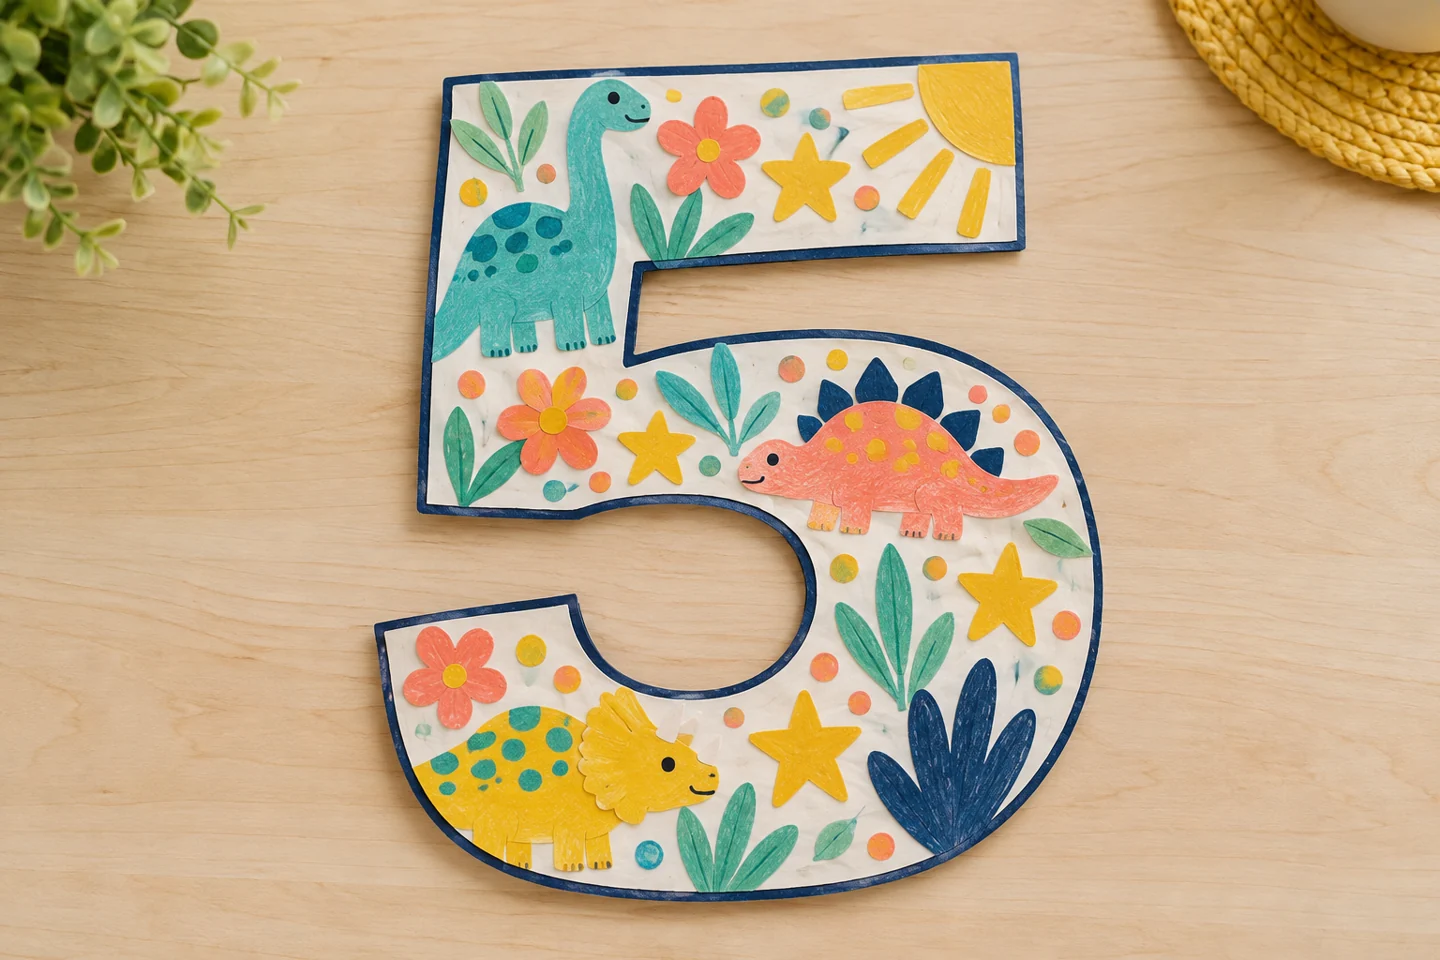
Fill a large birthday numeral with patterns and favorite things to make a personal piece of celebration art. Children can draw inside the shape, collage paper pieces, or use a combination. The number gives the page a starting structure while the details remain entirely their choice.
The outlined numeral is a drawing space, not a worksheet to complete correctly. Children can fill it with tiny pictures, huge color patches, or torn-paper texture. Keeping the outline wide gives their ideas room to develop and helps the age remain visible without controlling every mark.
Before you begin
Draw the numeral before inviting a younger child to begin, or let an older child sketch their own. Use one bold outline with broad strokes rather than a narrow printed character. Set paper scraps in a shallow tray and choose glue that will not soak the cardstock. Leave a clear drying space nearby.
For six children, prepare six outlined sheets and three trays of scraps, with crayons and a glue stick at each tray. If celebrating one person’s birthday, everyone can decorate the same age while choosing individual designs. For a general milestone activity, let each child choose a meaningful number and explain it if they wish.
Make it step by step
- Draw a roomy numeral: An adult draws the birthday age as a large outline, about 8 inches tall. Keep the strokes wide enough to hold several small drawings. For a two-digit age, use landscape paper or one sheet per numeral. Leave the numeral on its sheet, or have an adult cut around the outside outline before decorating for a shaped version like the example. Keep the inside opening uncut unless an adult can prepare it safely.

Begin with a large open numeral outline. - Choose some favorites: Invite the child to name a few favorite animals, foods, games, colors, or places. Use these as drawing ideas rather than a checklist. Leave room for spontaneous marks and patterns as the page develops.
- Fill one area: Begin with a small section of the numeral. Draw a favorite object or glue in a torn paper patch. Try stripes or dots in another section to see how different textures sit together.
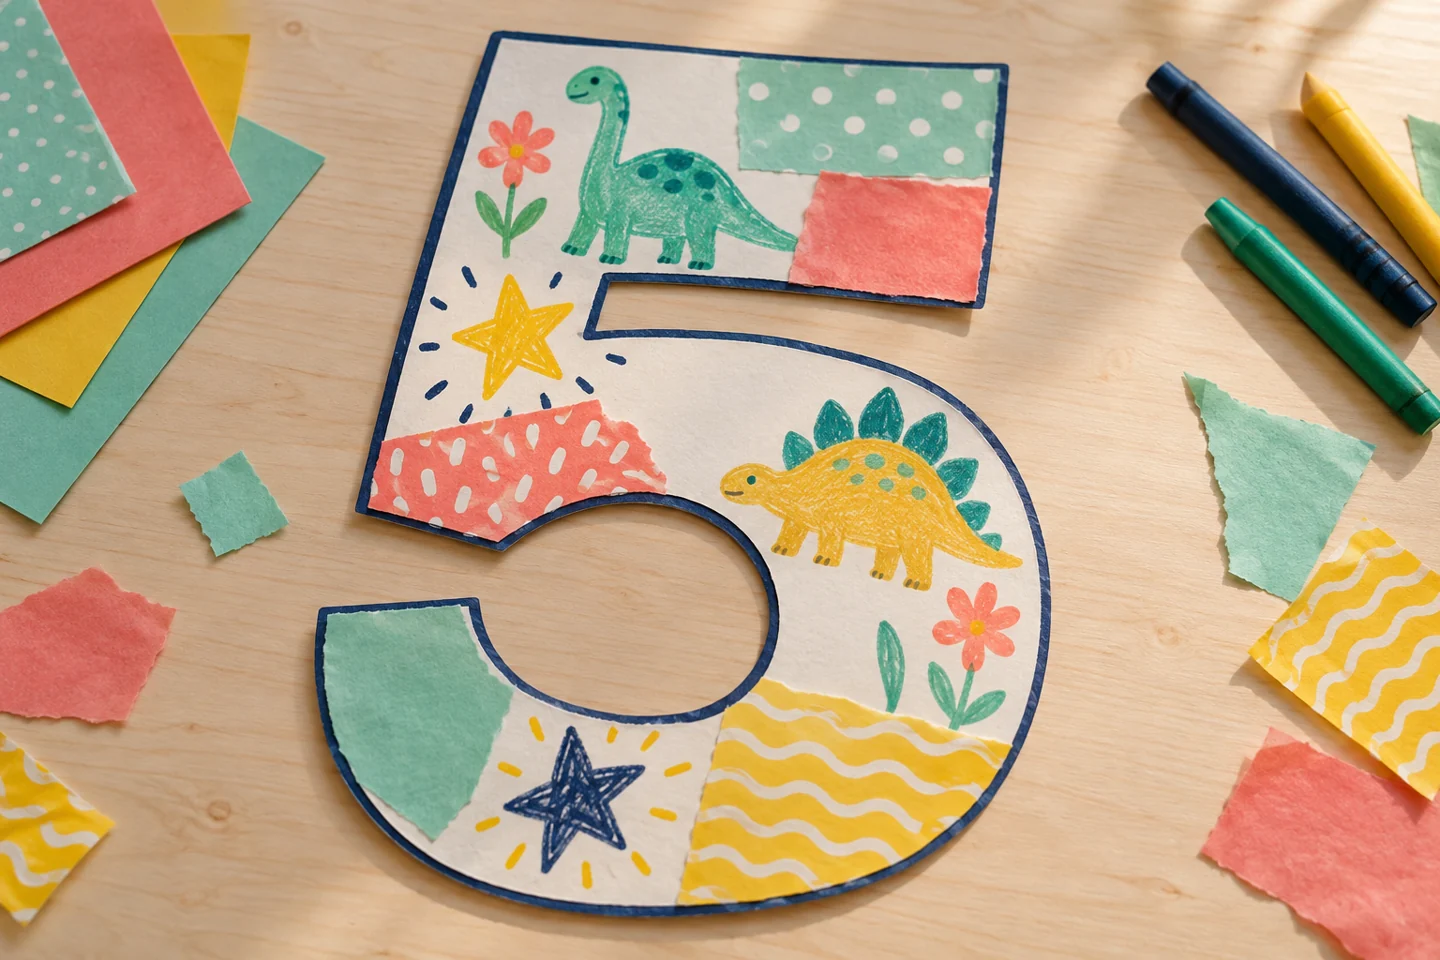
Add drawings and patches inside the broad numeral. - Connect the design: Continue around the numeral without worrying about perfectly staying inside the outline. If collage covers part of the border, an adult can redraw that small section after drying. The shape should remain readable while the artwork stays personal.
- Add a background: Choose whether to leave the background plain or add a few floating drawings around the number. Let the glue dry flat. Display the page at the child’s eye level and invite them to explain two favorite details. If you chose the cutout version, mount it on a plain sheet after decorating or display the sturdy shape by itself.
Talk, notice, and try another idea
Ask, “Which of your favorite things could fit in this space?” Help the child notice a broad section suitable for a drawing and a narrow section that might suit stripes. There is no need to make every area equally detailed. Empty space can be part of the design.
Count a repeated motif together, such as five stars inside a numeral five, only if the child wants that connection. Compare how different marks fill the same space. A large crayon patch and many tiny dots can cover similar areas while taking different kinds of movement.
At home and with a group
At home, use the finished page as a birthday display or a cover for a small memory folder. Invite the child to add one favorite thing they discovered during the year. They can keep that detail private or explain it to visitors; the artwork belongs to its maker.
For a classroom or party, let children work on separate pages so nobody has to compete for the same drawing space. Create a display with clear gaps between sheets. If the group makes one shared numeral instead, give each participant a separate area and agree on the arrangement before gluing.
Helpful adjustments and cleanup
If the numeral becomes hard to see, wait for the collage to dry and strengthen only the outside outline. If paper patches lift, use smaller pieces and press them briefly with a clean scrap. Younger children can tear large shapes, while older children can plan a patterned border or include tiny illustrated memories.
Let the page dry flat before hanging it. Keep large leftover scraps sorted by color and recycle pieces too small to use comfortably. Write an optional name on the back rather than covering the picture. Store the artwork in a folder after the birthday so the textured paper patches are protected.