Birthdays & Special Events
Create a Collaborative Birthday Banner
 Facebook
 Pinterest
 X
X LinkedIn
 Reddit
 WhatsApp
 Telegram
 Bluesky
 Email
Email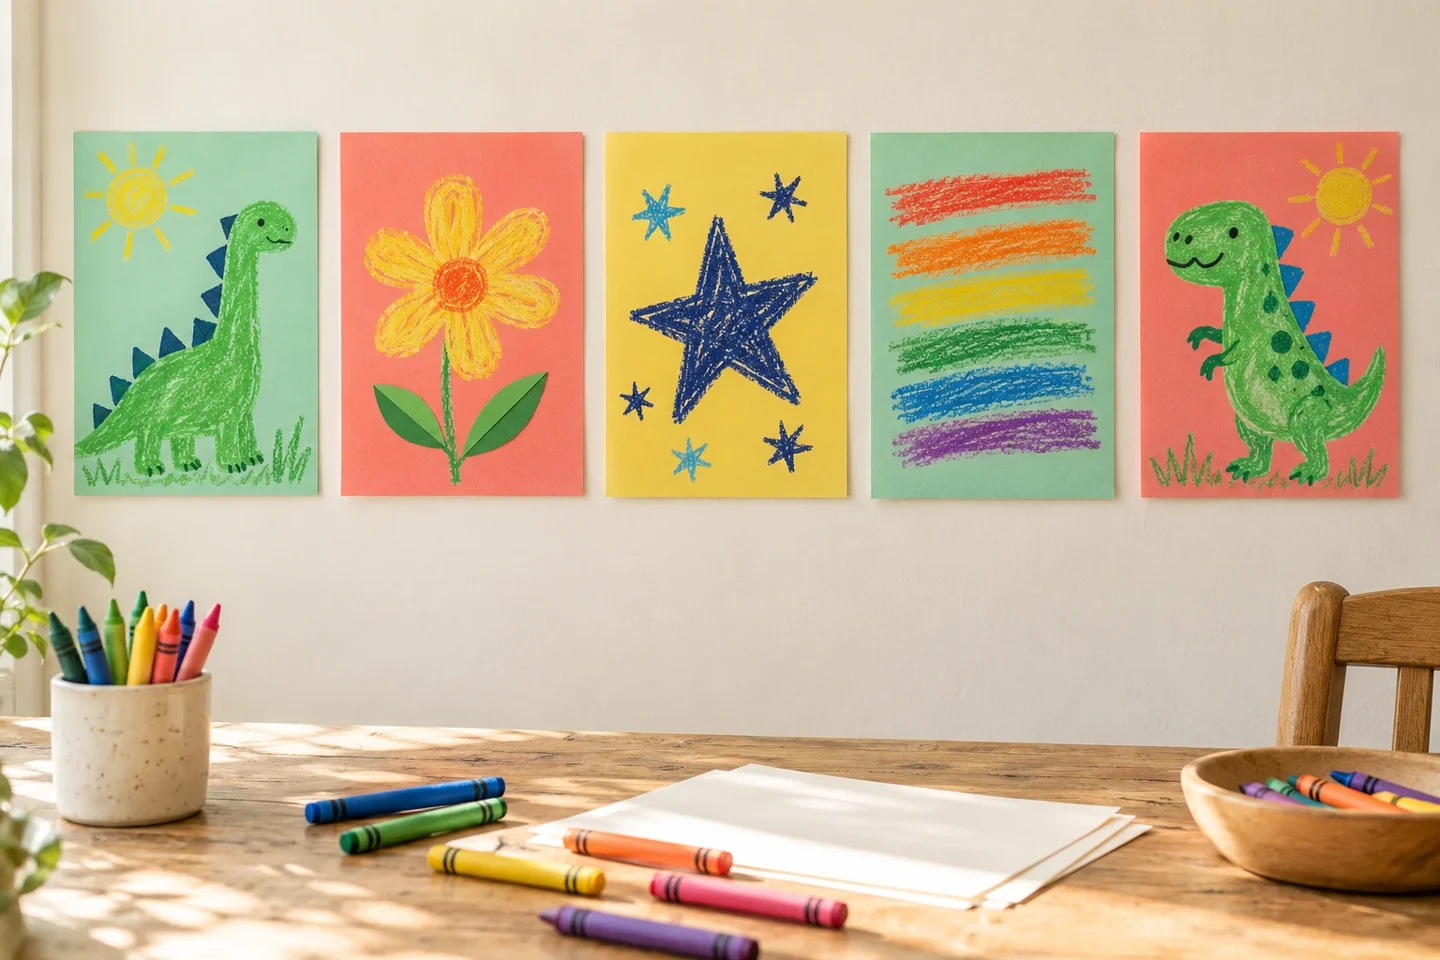
Your activity at a glance
| Suggested ages | 4–10 |
|---|---|
| Activity time | 30–45 minutes |
What you need
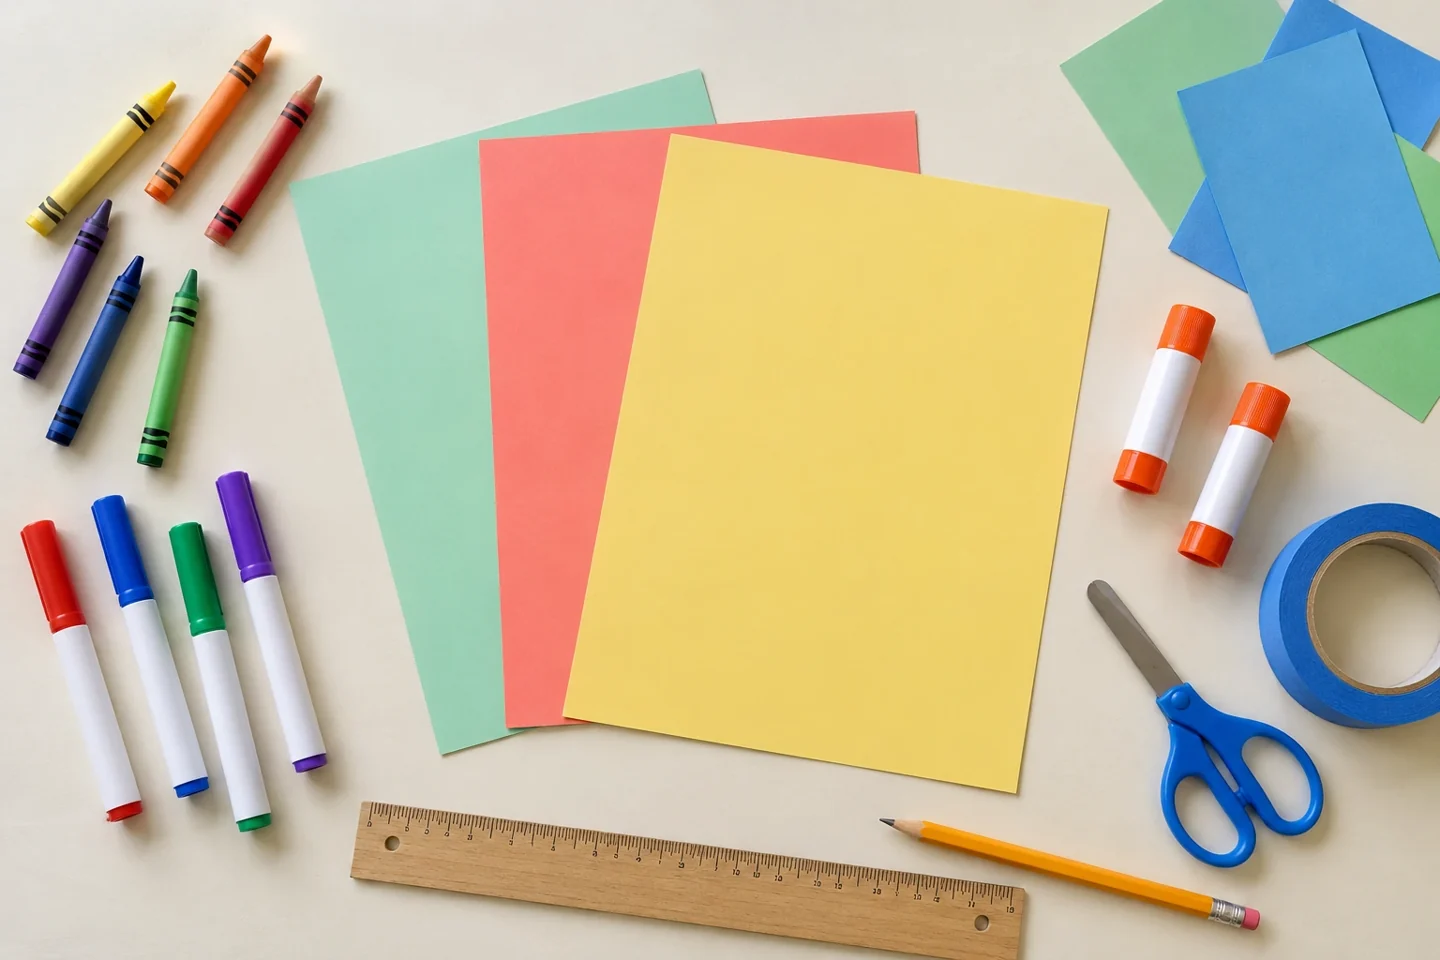
- One 5 by 7 inch cardstock panel per participant, plus one spare; cut two panels from each letter-size sheet
- Crayons, markers, and large paper scraps
- Glue sticks and child scissors
- Painter’s tape and a display surface
- Ruler and pencil for marking matching panels
A celebration made by children
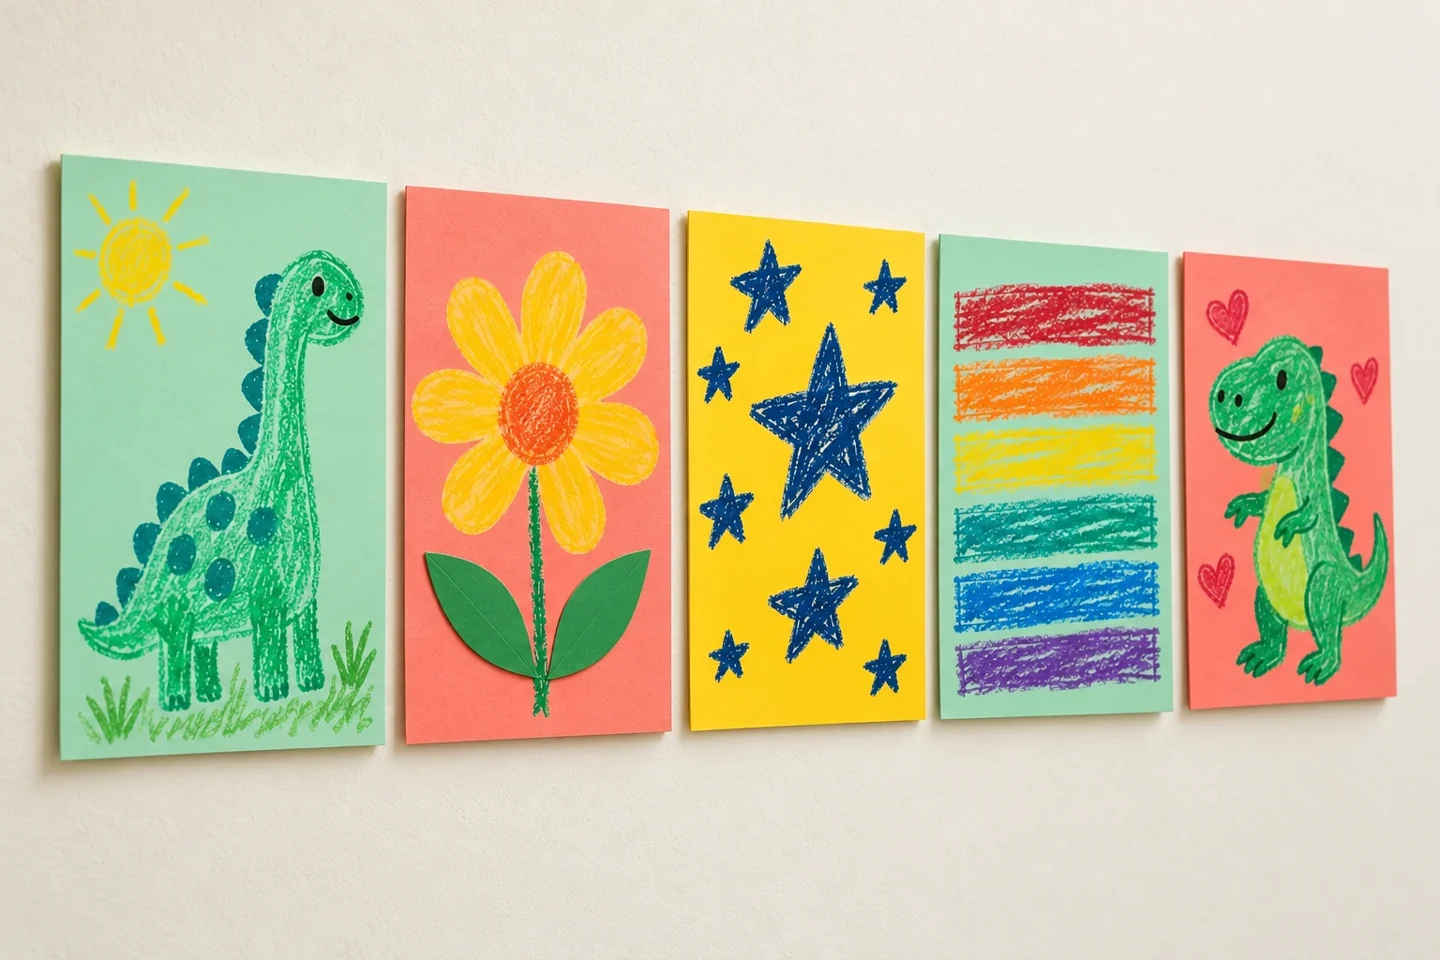
A shared banner lets every guest contribute something personal to the celebration. Each person decorates one panel; the panels become a colorful display of drawings, patterns, and good wishes. The birthday child can choose the theme without deciding how everyone else should draw.
Equal-sized panels help the finished banner feel connected without making everyone use the same design. One child may draw a huge dinosaur while another chooses tiny repeating dots. Leave those differences visible: they are what makes the banner a record of the people who created it.
Before you begin
Choose the display space first and measure roughly how many panels will fit with an inch between them. Use cardstock if the banner will be moved later; ordinary paper works for a one-day wall display. Test painter’s tape in an inconspicuous spot and avoid surfaces where tape could pull off paint.
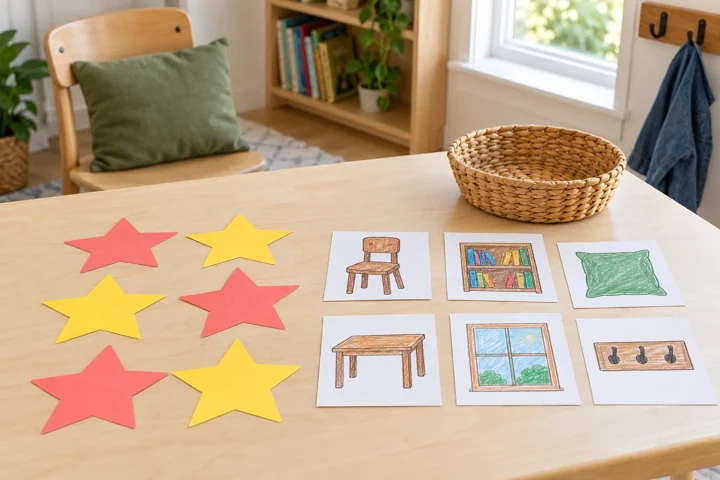
For twelve participants, prepare thirteen 5 by 7 inch panels, including one spare. Seven letter-size cardstock sheets provide enough blanks. Set out four trays with three participant panels, a glue stick, crayons and large paper scraps on each; keep the spare at the adult station. Reserve a separate drying area. For a smaller family banner, five panels plus a spare fit on three sheets. Add another blank if you want a separate heading.
Make it step by step
- Prepare matching panels: Cut cardstock into rectangles about 5 by 7 inches. Keep the top edge straight. Use drawings alone, or prepare one additional panel if the group wants a heading. Keep every participant’s panel available for their own artwork. Lay out enough panels that late arrivals can still join.
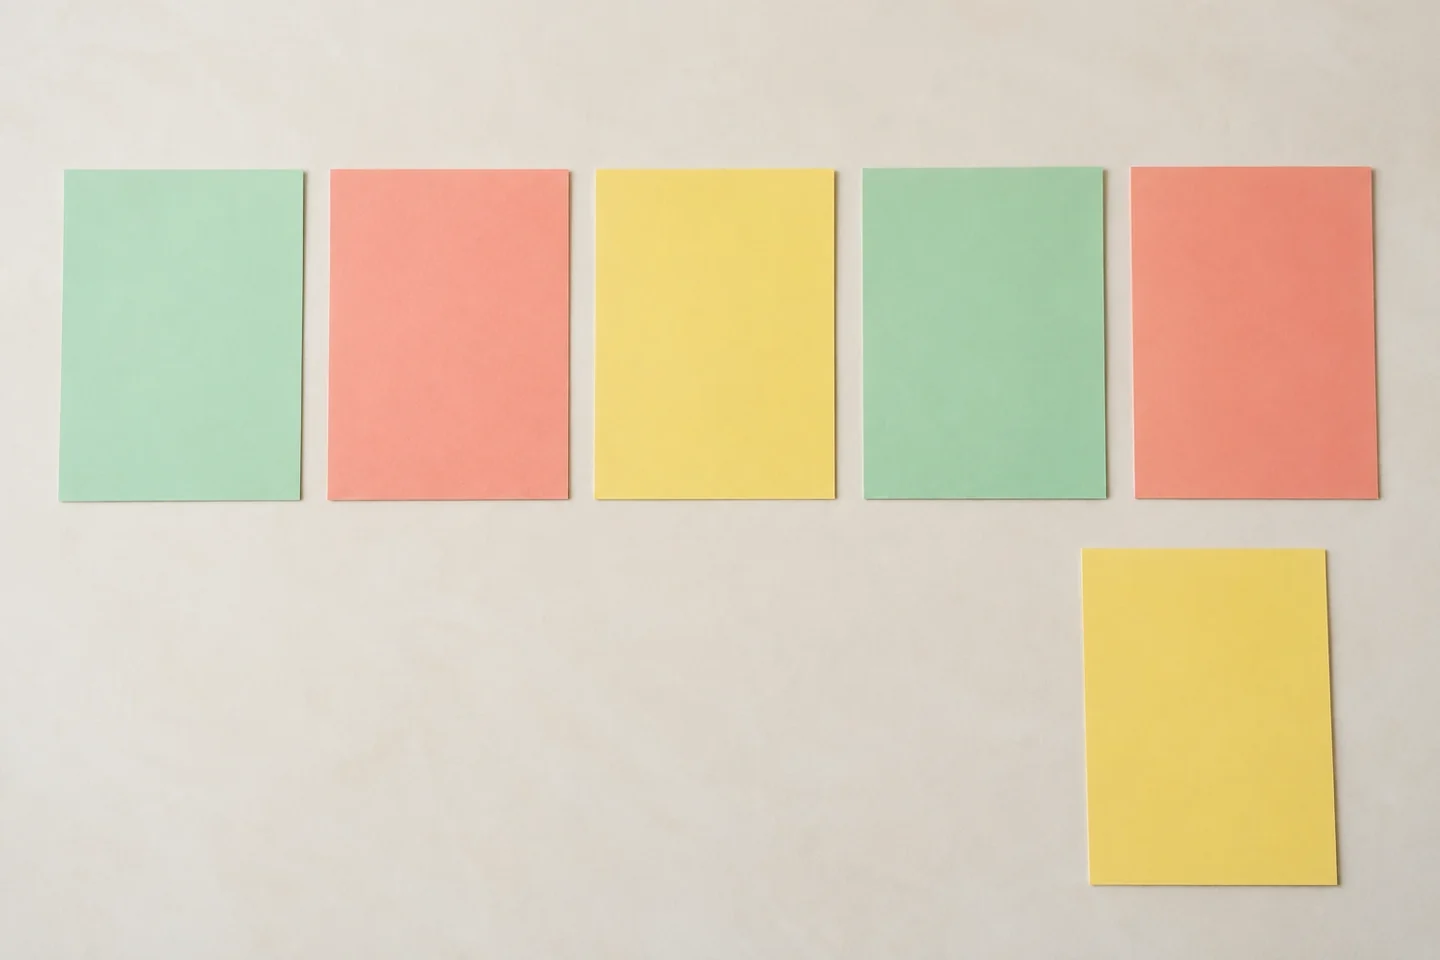
Equal-sized blank panels give every maker their own space. - Choose a loose theme: Ask the birthday child for two or three favorites, such as dinosaurs, gardens, or space. Offer these as starting points rather than required designs. A guest may draw a memory, an imagined creature, or a pattern instead.
- Create individual panels: Give each person one panel and room to work. Draw first, then add a few flat paper pieces with glue. Leave a narrow margin at the top for attaching the panel. Names are optional on the front.
- Arrange the display: Place the dry panels on a table and try two or three orders. Children can group colors, alternate drawings and patterns, or place related pictures together. Ask whether every contribution is easy to see.
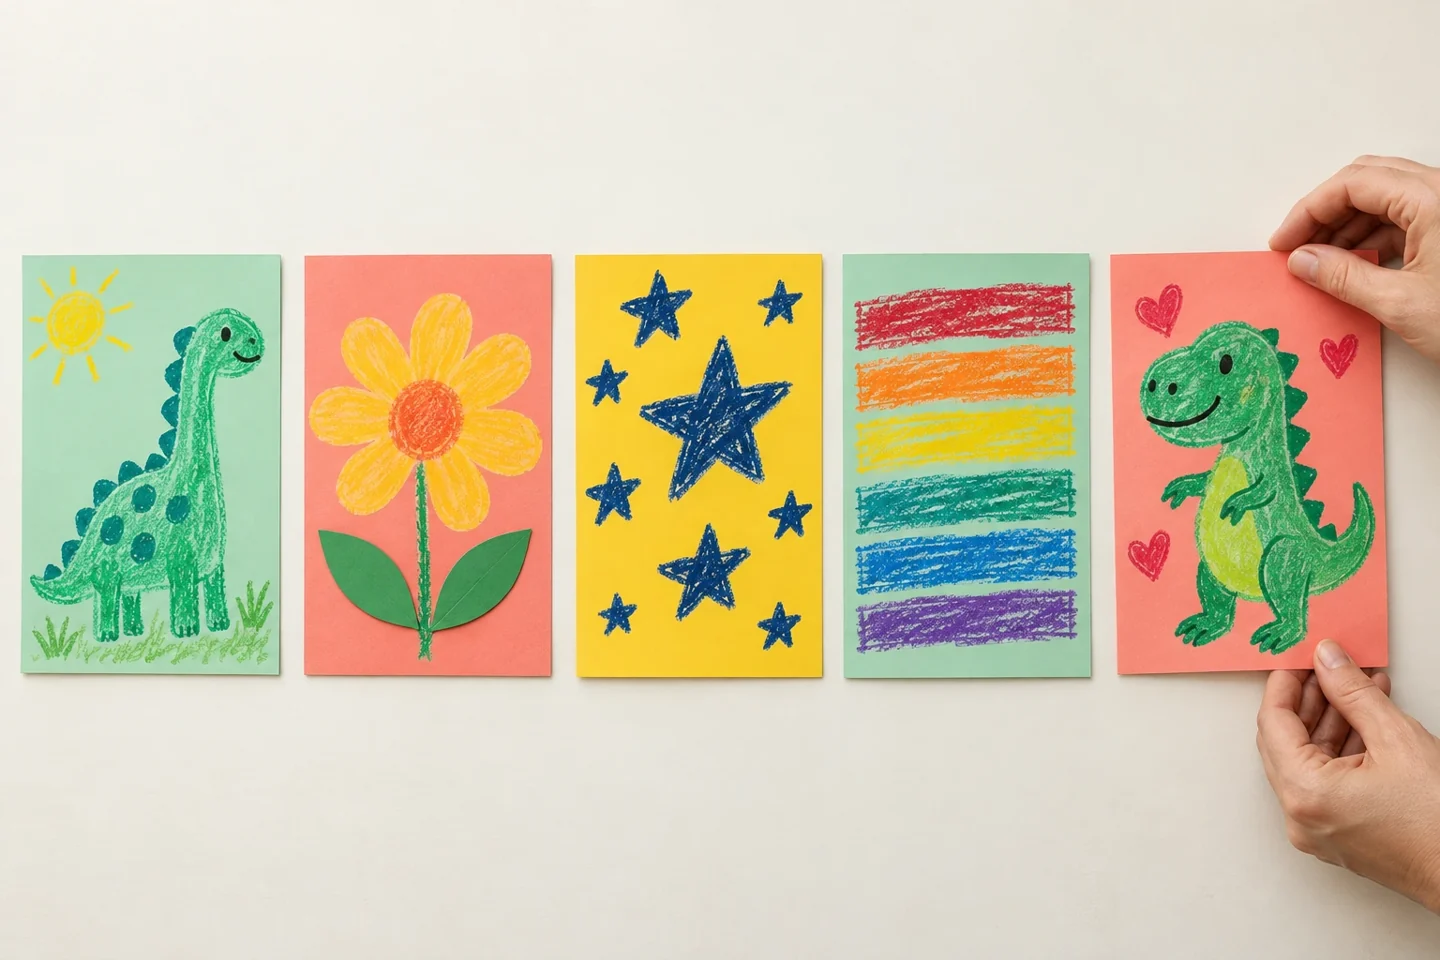
Try the order on a table before mounting the dry panels. - Hang and admire: An adult attaches the panels with painter’s tape after testing it on the display surface. Leave a small gap between panels. Invite each artist to share one detail, and keep the banner up long enough for everyone to enjoy it.
Talk, notice, and try another idea
Ask, “Where would you like your panel to sit?” Let children compare two arrangements on the table. They may notice that alternating light and dark panels makes details easier to see, or that related pictures tell a small story when placed next to each other.
Invite each maker to explain one choice in the panel. Try, “Tell me about this corner,” rather than guessing what a drawing represents. If children want to plan a sequence, ask which panel could begin it and what should follow. Keep every finished contribution in the display.
At home and with a group
At home, several family members can each contribute a panel over a few days. The birthday child can design the heading or arrange the completed pieces. Photograph the flat panels together if you want a keepsake without keeping a very long banner, then return each original to its maker.
For a classroom or party, keep panels at the table until everyone is ready to assemble them. Let a small volunteer group suggest the order while the rest begin another quiet activity. An adult hangs the banner; children can guide spacing from the floor. Share contributions without requiring each person to speak publicly.
Helpful adjustments and cleanup
If a panel curls, let it dry under a clean sheet of paper with a light book on top. Replace heavy decorations with drawings or flat paper. If the display space is short, arrange two rows with visible gaps instead of squeezing or overlapping the panels.
Take the banner down one panel at a time and peel tape slowly from the back. Store panels flat in a folder or give them back to their creators. Save large unused scraps, return crayons to their trays, and check the display surface for tape residue before the next project.
Keep the creativity going
A dinosaur panel can start a whole new story: where is that dinosaur going, and what might it find? The Big Dinosaur Activity Book gives curious dinosaur fans another activity to explore after the banner is hung. Browse our book catalog or series for a follow-up that matches the children’s favorite drawings.