Christmas
Build a Cardboard Christmas Village
 Facebook
 Pinterest
 X
X LinkedIn
 Reddit
 WhatsApp
 Telegram
 Bluesky
 Email
Email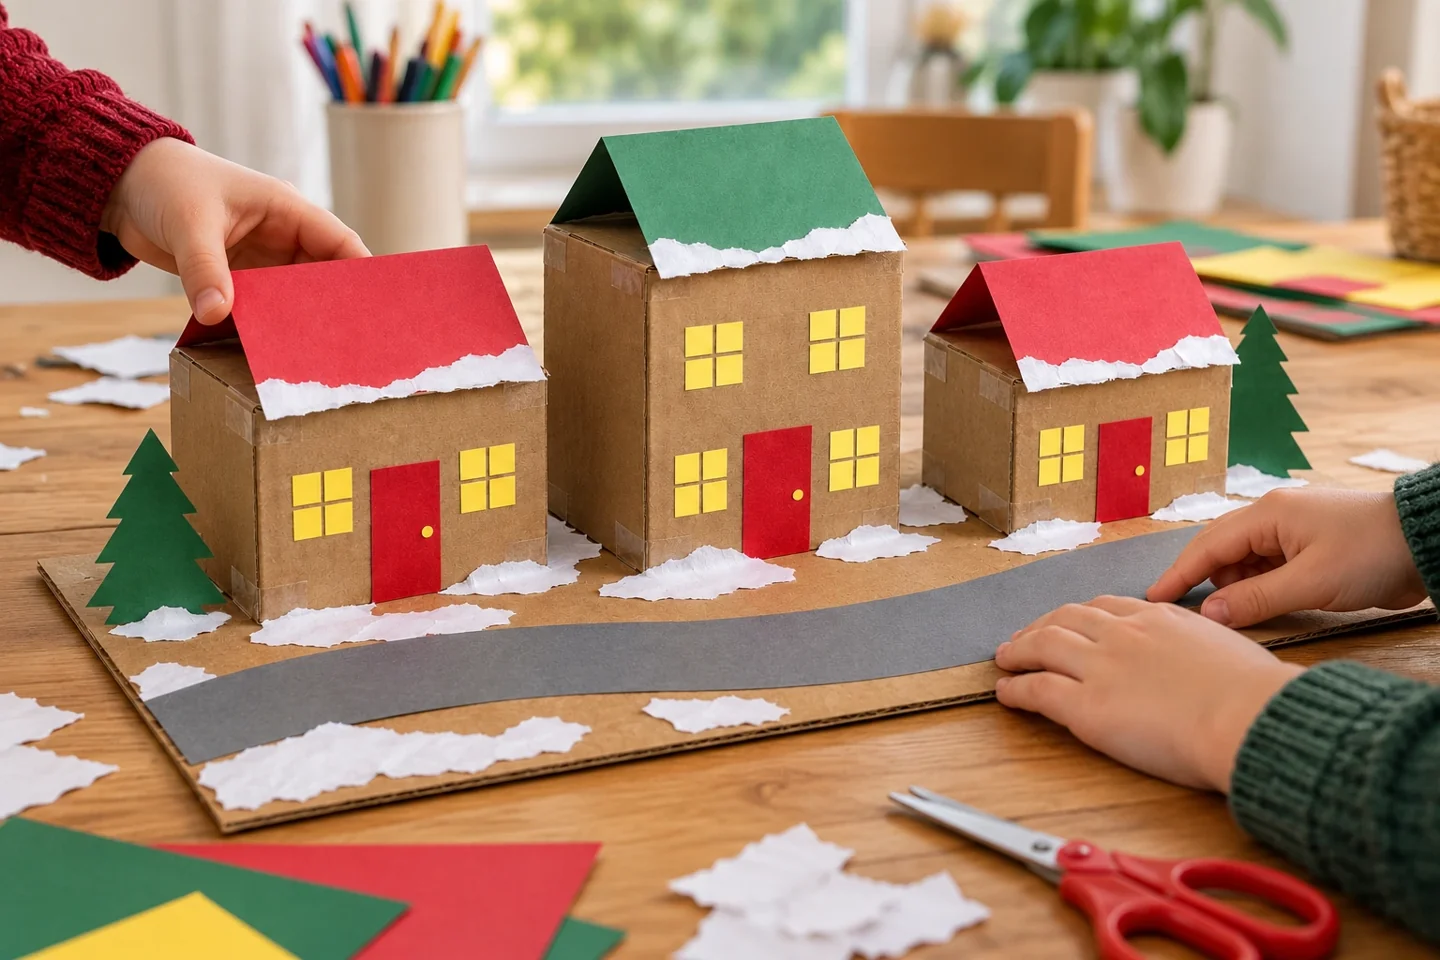
Your activity at a glance
| Suggested ages | 5–10 |
|---|---|
| Activity time | 45–60 minutes |
What you need
- 3 clean small cardboard boxes, approximately 3–6 inches tall
- 3 cardstock roof rectangles, starting around 6 × 4 inches; allow larger sheets for wider boxes
- Colored paper scraps and white paper
- Masking tape, glue stick, ruler, and scissors
- 1 cardboard base approximately 12 × 18 inches
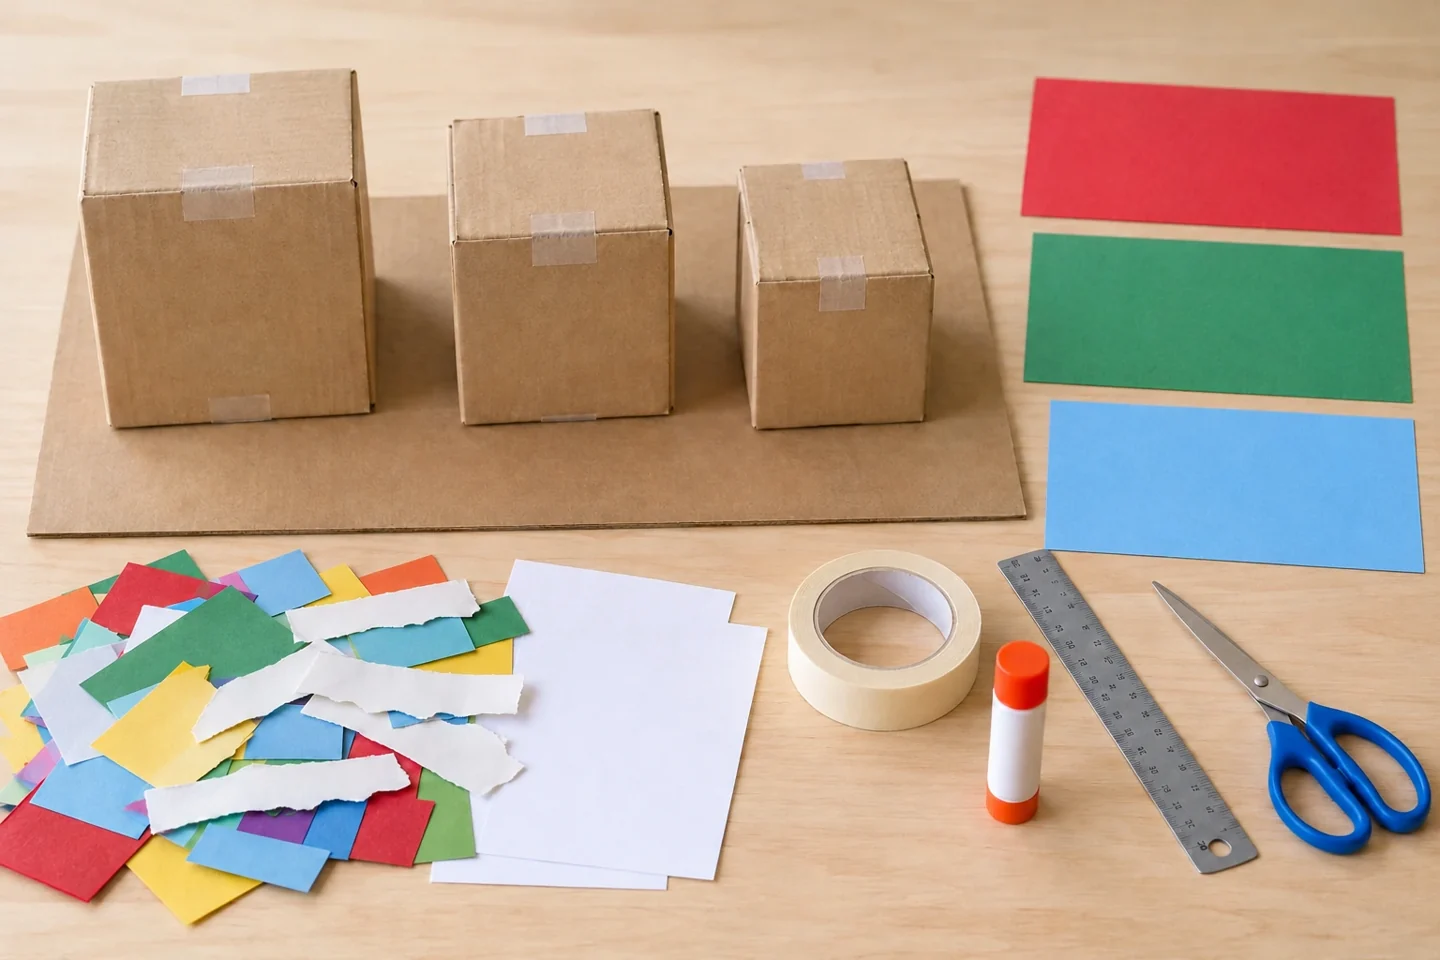
Give three boxes roofs, roads and stories
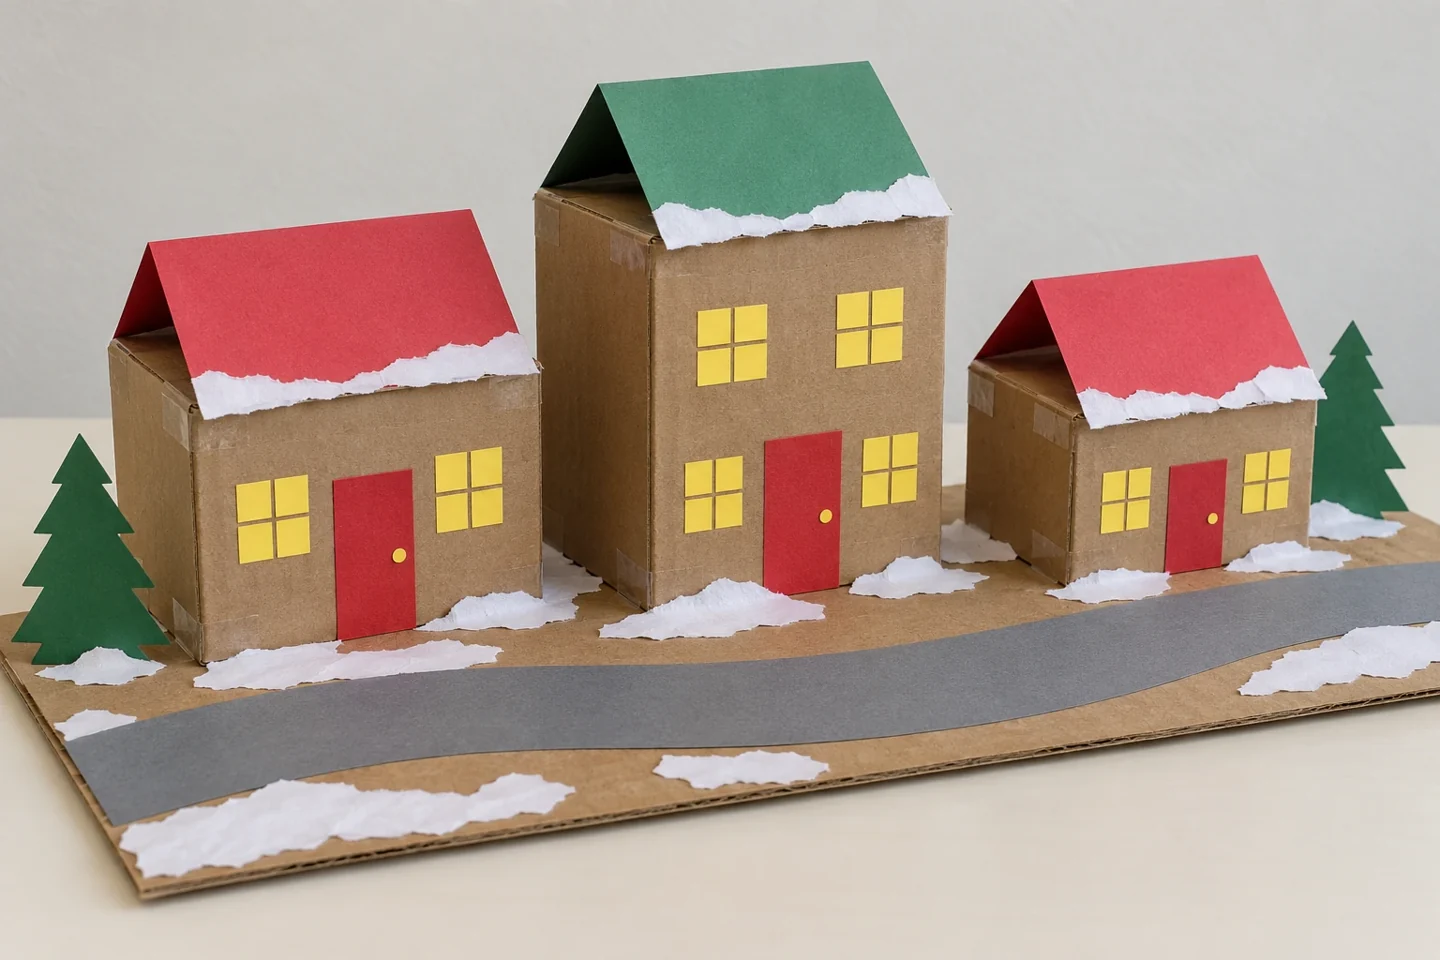
Three small boxes can become a Christmas village with roofs, doors, windows, and a winding paper road. This project blends construction with pretend play: children decide where people would enter, how the buildings sit together, and what belongs between them. The houses are decorations and play scenery, not illuminated lanterns. Paper snow and drawn wreaths add a seasonal setting without needing glitter or a large collection of craft supplies.
Before you begin
Measure each box across its top before choosing a roof. A roof needs to span that width and still leave an overhang on both sides; the sample pieces may need enlarging for a wider box. Set out the base, three boxes and loose road strips first. Children can plan a street while an adult helps tape the boxes shut.
Let’s make it, step by step
1. Choose clean boxes
Select three empty, dry boxes with sturdy sides. Close their flaps with tape. An adult should remove staples or sharp packaging edges. Set the boxes on the base and compare their heights before deciding which will be a house, shop, or other village building.
2. Plan the street
Draw or place a paper road across the base. Arrange the boxes beside it with space between them. Leave enough room to reach the doors during pretend play. Take a quick sketch of the arrangement if the buildings need to move while they are decorated.
3. Fold the roofs
Fold each cardstock roof rectangle in half to make a ridge. Set it over a box and check that its two slopes reach past the sides. Trim or enlarge the roof for the particular box rather than assuming every building has identical proportions.
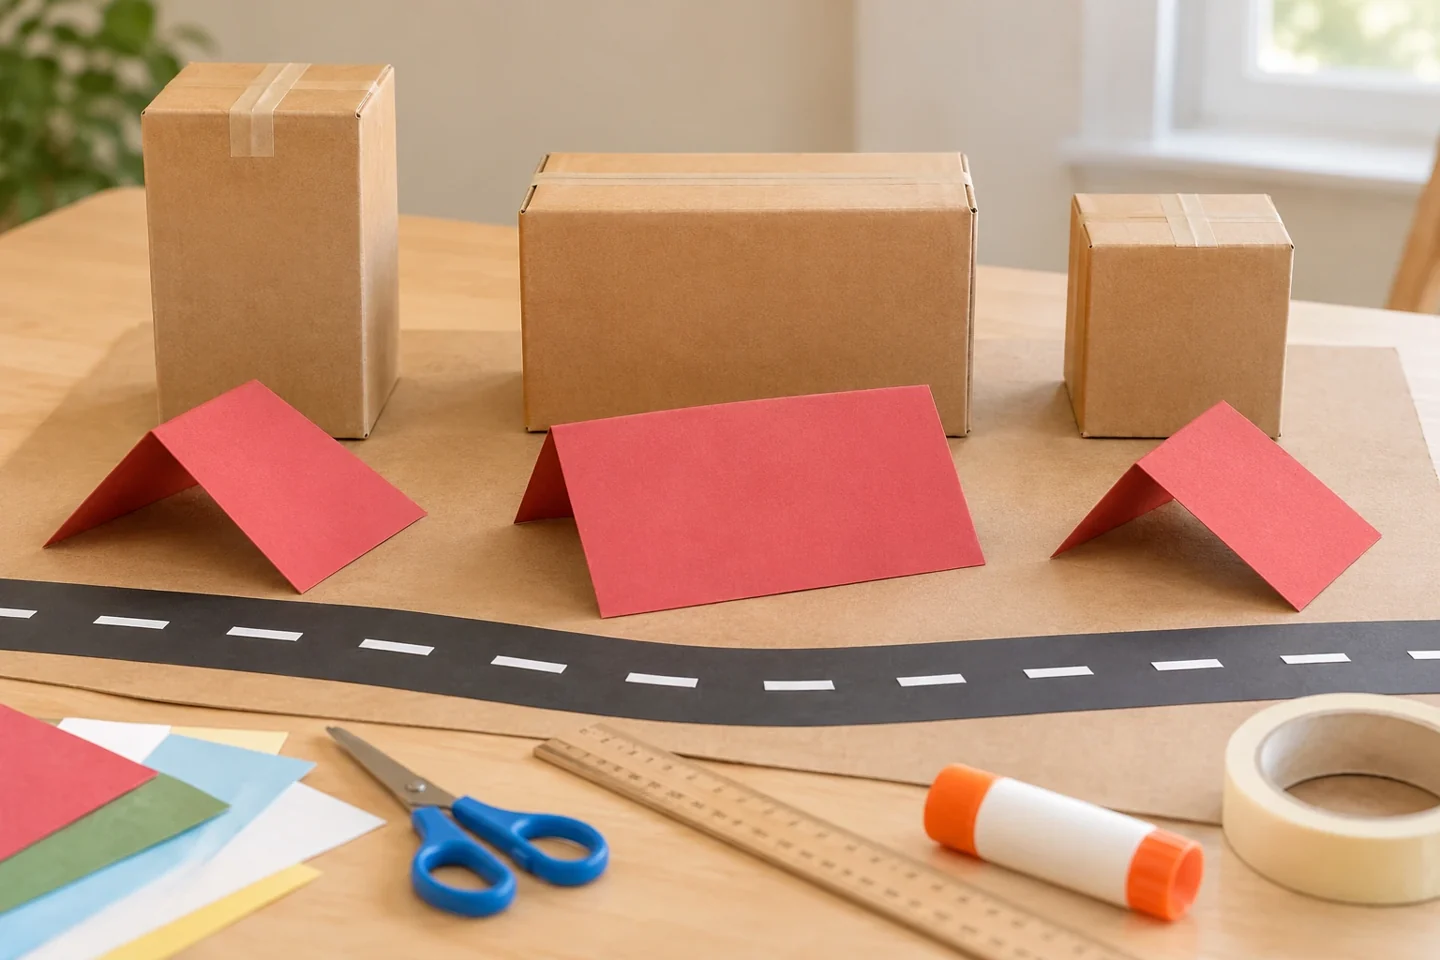
4. Attach one roof
Tape the roof’s two lower edges to opposite box sides. Add a small tape loop under the ridge if it slides. The folded cardstock should bridge the top of the box without collapsing into it. Repeat with the other buildings, checking that each can stand independently.
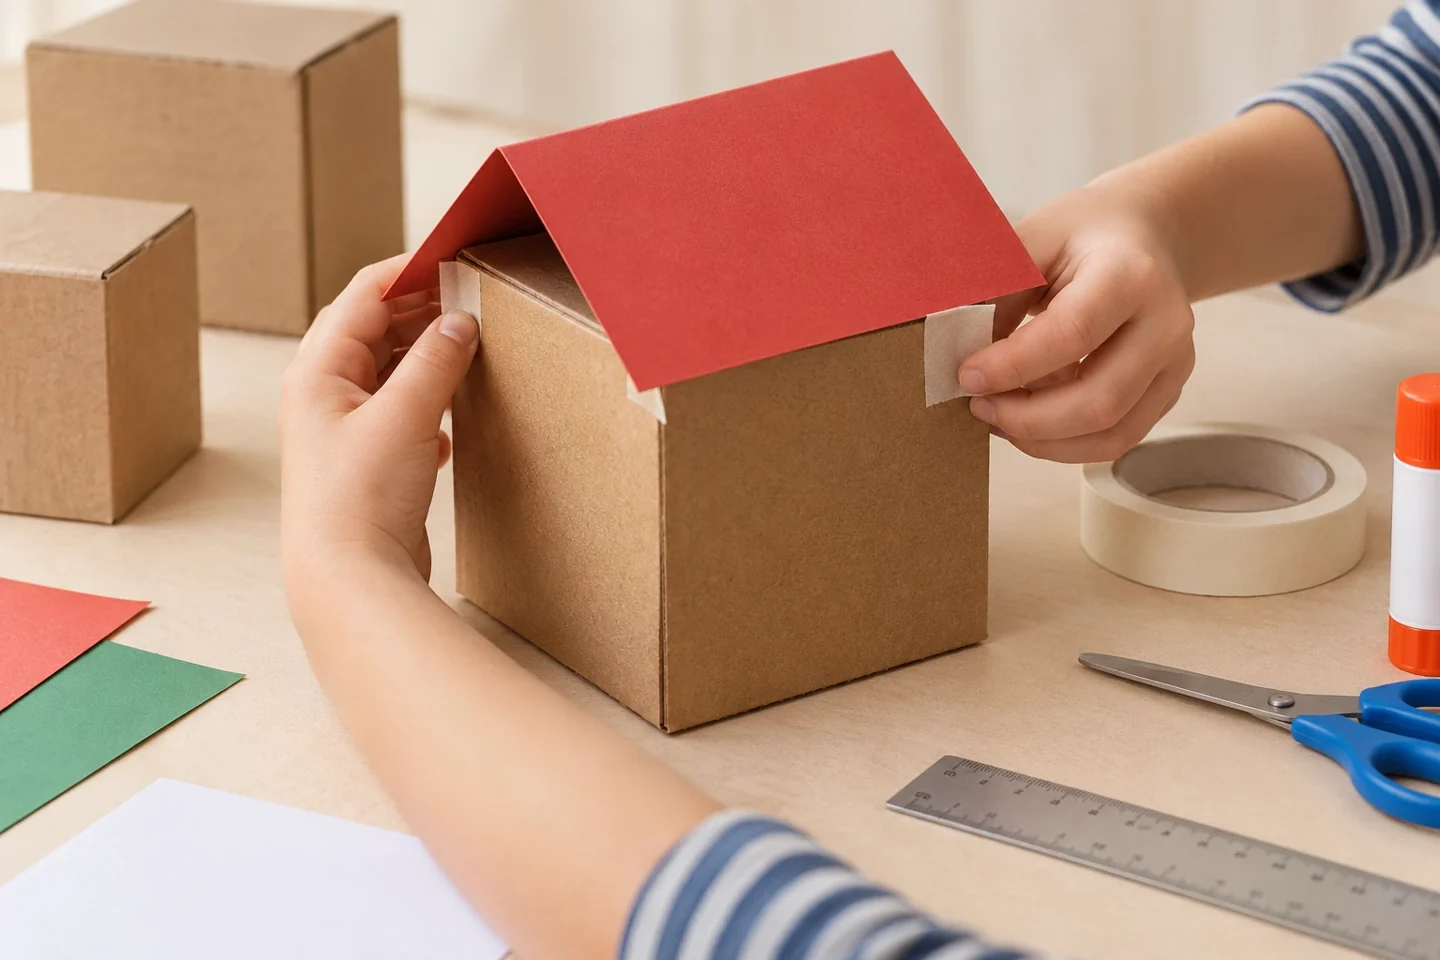
5. Add doors and windows
Cut paper rectangles for doors and small squares for windows. Arrange them before gluing. Draw frames with a crayon. Keep doors and windows flat on the box; there is no need to cut openings into the cardboard for this version.
6. Create winter details
Tear white paper into narrow roof-edge strips or small snow patches and glue them onto the scenery. Add paper trees or drawn wreaths if desired. Leave window shapes clear so the children’s building designs remain easy to see.
7. Build the village
Return the houses to the base and use tape loops beneath them if a fixed display is wanted. Leave them loose for rearrangeable play. Add a paper path between buildings, then check whether a small pretend visitor could reach each door from the street.
8. Tell a village story
Choose a building and imagine who visits it. Children can draw a shop sign or describe an errand. Ask them to rearrange the village for a new story, or keep it on a shelf as a decoration. Use no candles or lights inside cardboard houses.
Talk, notice, and learn together
Talk about roofs as folded surfaces and compare building heights. Ask why a path needs room between houses and how a wider base changes the village. Planning a usable street introduces spatial reasoning, while naming buildings and describing visits opens a natural storytelling conversation.
Make it work at home or in a classroom
Younger children can decorate one preassembled house. Older children can measure roof pieces or plan a simple map before construction. In a classroom, each small group can contribute one building; connect them with a shared paper road and allow time for children to explain the purpose of their building.
Helpful fixes and cleanup
If a roof slips, reinforce the hidden joins with short tape pieces. If a tall box tips, choose a wider base or attach it to the village platform. Keep glue on lightweight paper decorations. Store the houses in a shallow box and save the base flat.
A useful way to extend the activity
Add removable road pieces rather than drawing every path permanently. Children can create a crossroads, a curved street, or a short path to one house, then change the arrangement during play. If the village will be a display, mark each building’s place lightly on the base before moving it for repairs. Those position marks make the layout easier to rebuild.