Christmas
Christmas Picture Bingo for Kids
 Facebook
 Pinterest
 X
X LinkedIn
 Reddit
 WhatsApp
 Telegram
 Bluesky
 Email
Email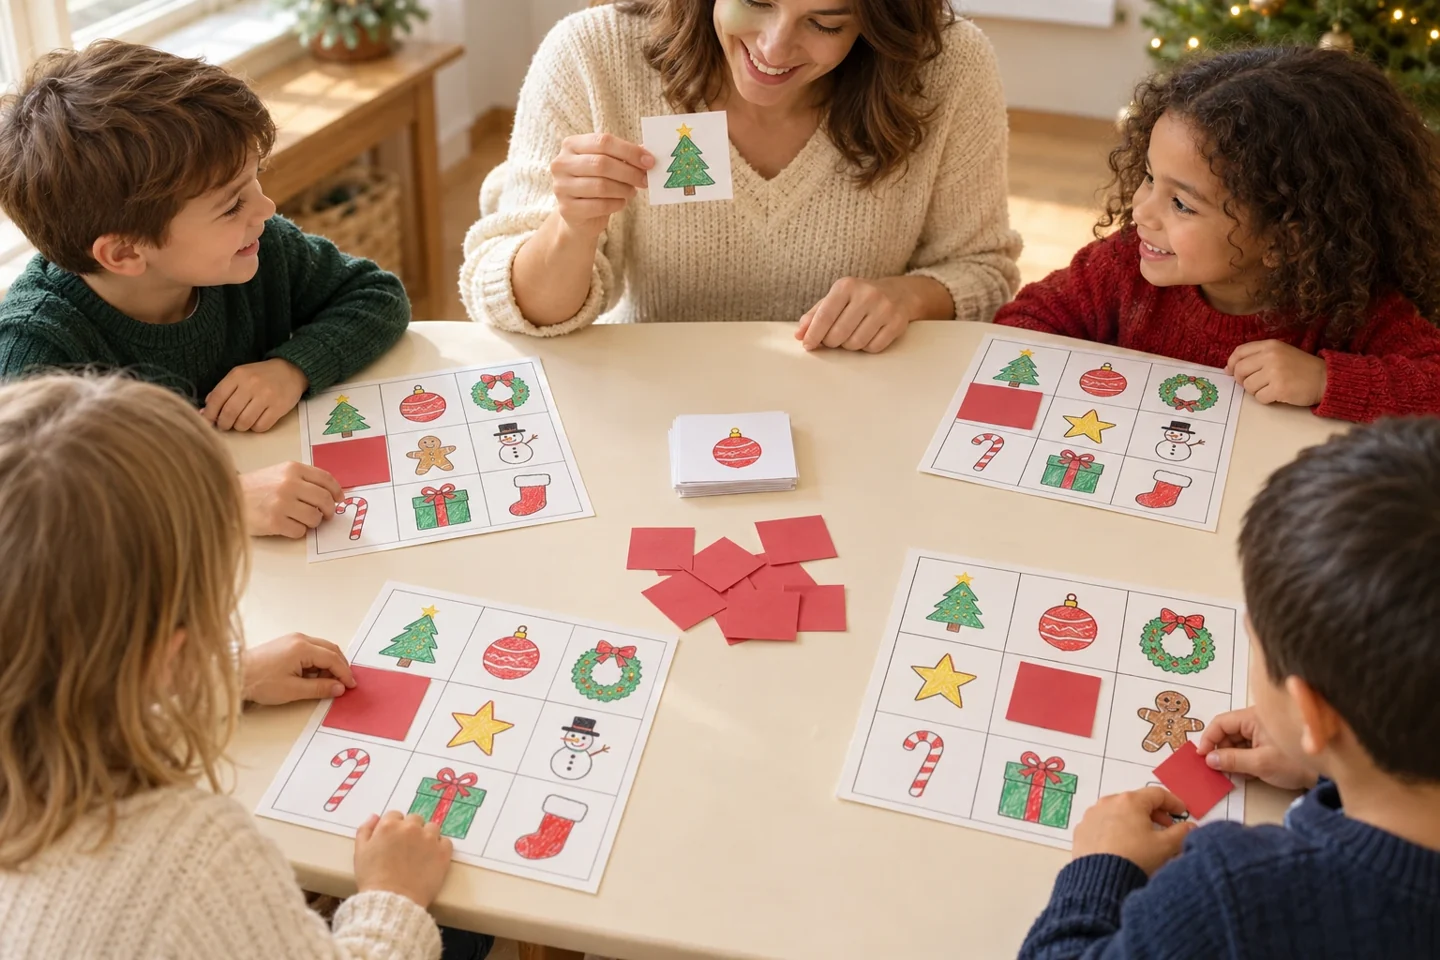
Your activity at a glance
| Suggested ages | 4–9 |
|---|---|
| Activity time | 25 minutes to make; 10–15 minutes to play |
What you need
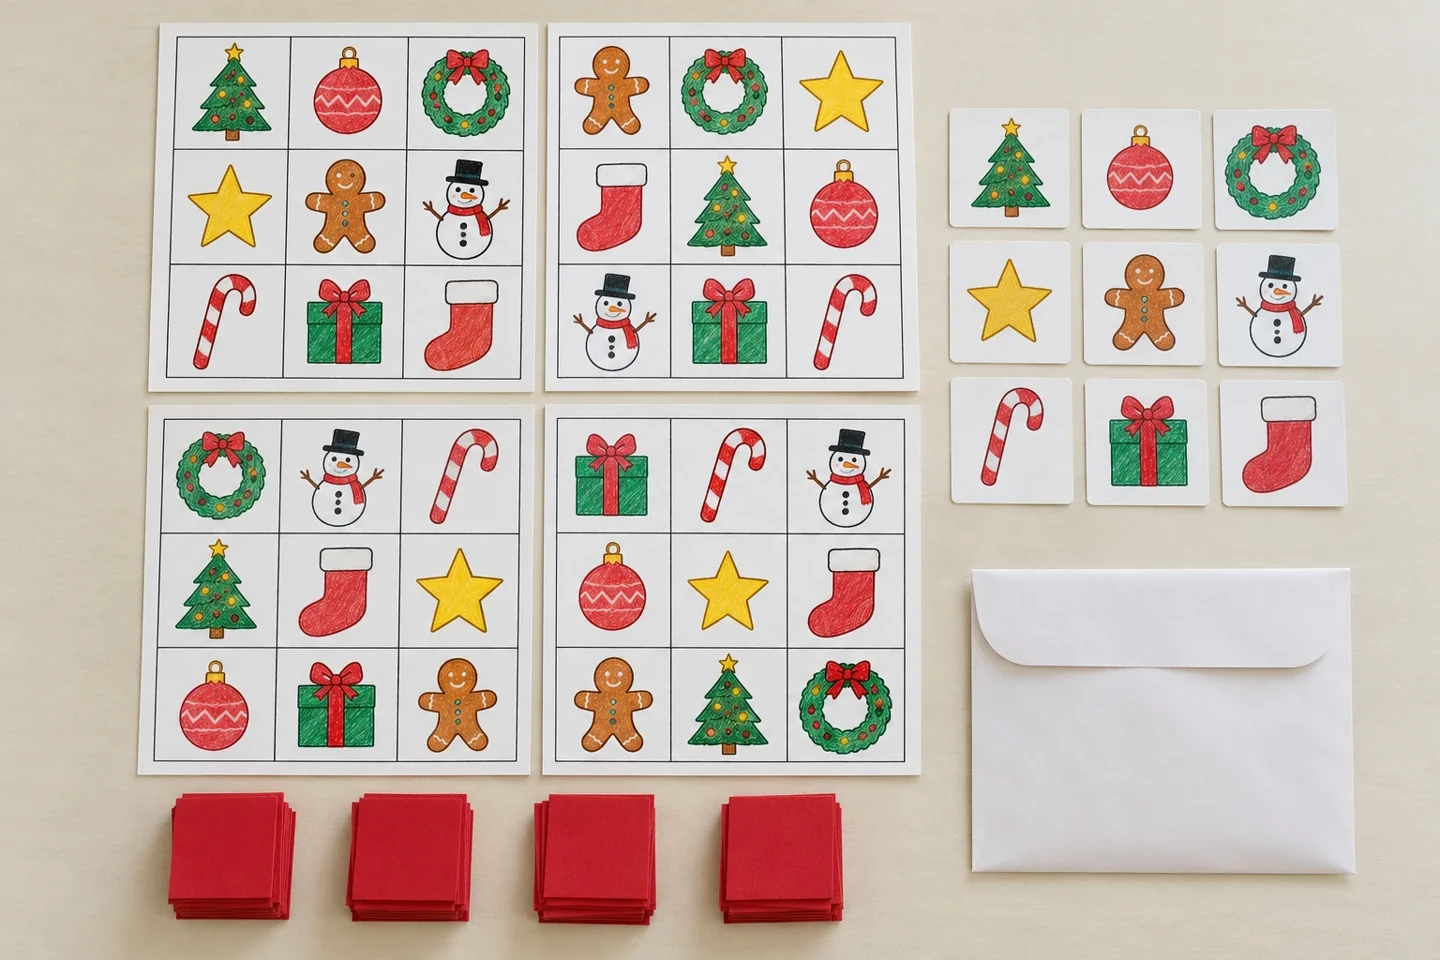
- 4 sheets of cardstock for boards
- 1 extra cardstock sheet for calling cards
- Crayons or colored pencils and a ruler
- Scissors and 36 large paper marker squares
- 1 envelope or small box for storage
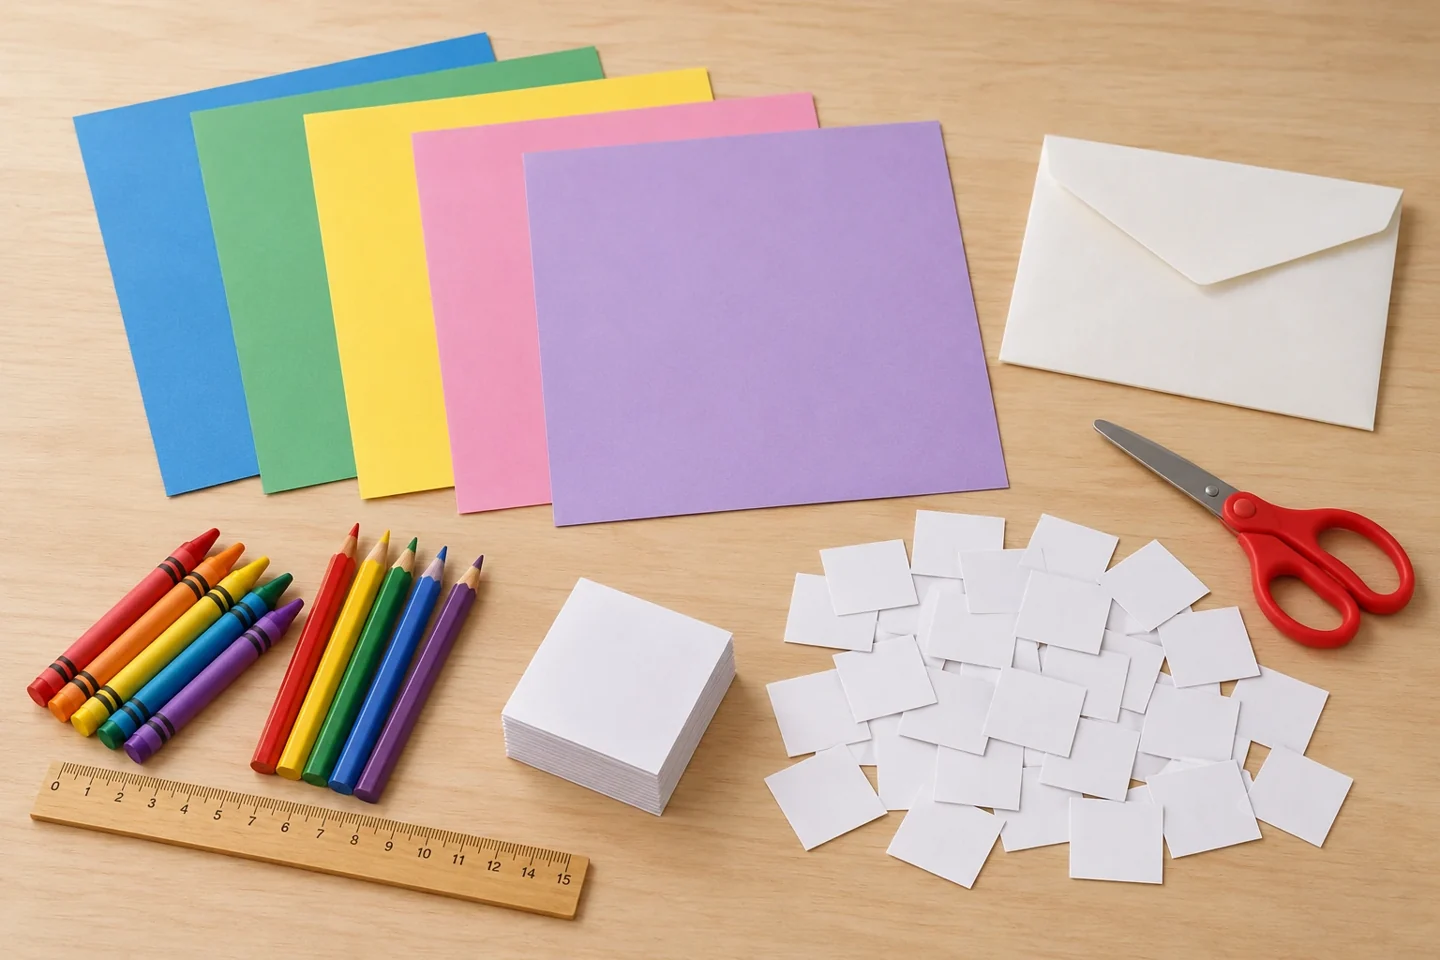
Draw, match and call nine Christmas pictures
Handmade picture bingo turns a few holiday drawings into a reusable game. A nine-square board is manageable for younger players, and children can help choose the pictures before the game starts. Use familiar Christmas objects such as a tree, ornament, gift, stocking, star, wreath, gingerbread person, snowman, and candy cane. Every board includes the same nine pictures, but their positions change so players search their own arrangement.
Before you begin
Four players need four boards, nine calling cards and thirty-six large paper markers. Choose the nine pictures first, then use the same set on every board in a different order. A tree and star are easy to distinguish; give the ornament a hanging cap and the wreath a leafy ring. Check all four boards before starting the first round.
Let’s make it, step by step
1. Choose nine pictures
Agree on nine objects and draw a quick example of each on scrap paper. Use simple, clearly different shapes. A round ornament and a wreath need distinct details so players can tell them apart. Invite children to suggest a replacement if one picture is unfamiliar.
2. Draw the grids
Use a ruler to divide each board into a 3 × 3 grid with generous squares. Leave a small border around the outside. An adult can prepare grids in advance. This version has no free center square: every space shows one of the chosen pictures.
3. Vary the picture order
Put all nine drawings on every board, changing their positions. Sketch lightly before coloring so repeated pictures are easy to spot. Children can make their own board; compare the finished boards to check that each picture appears once and none are missing.
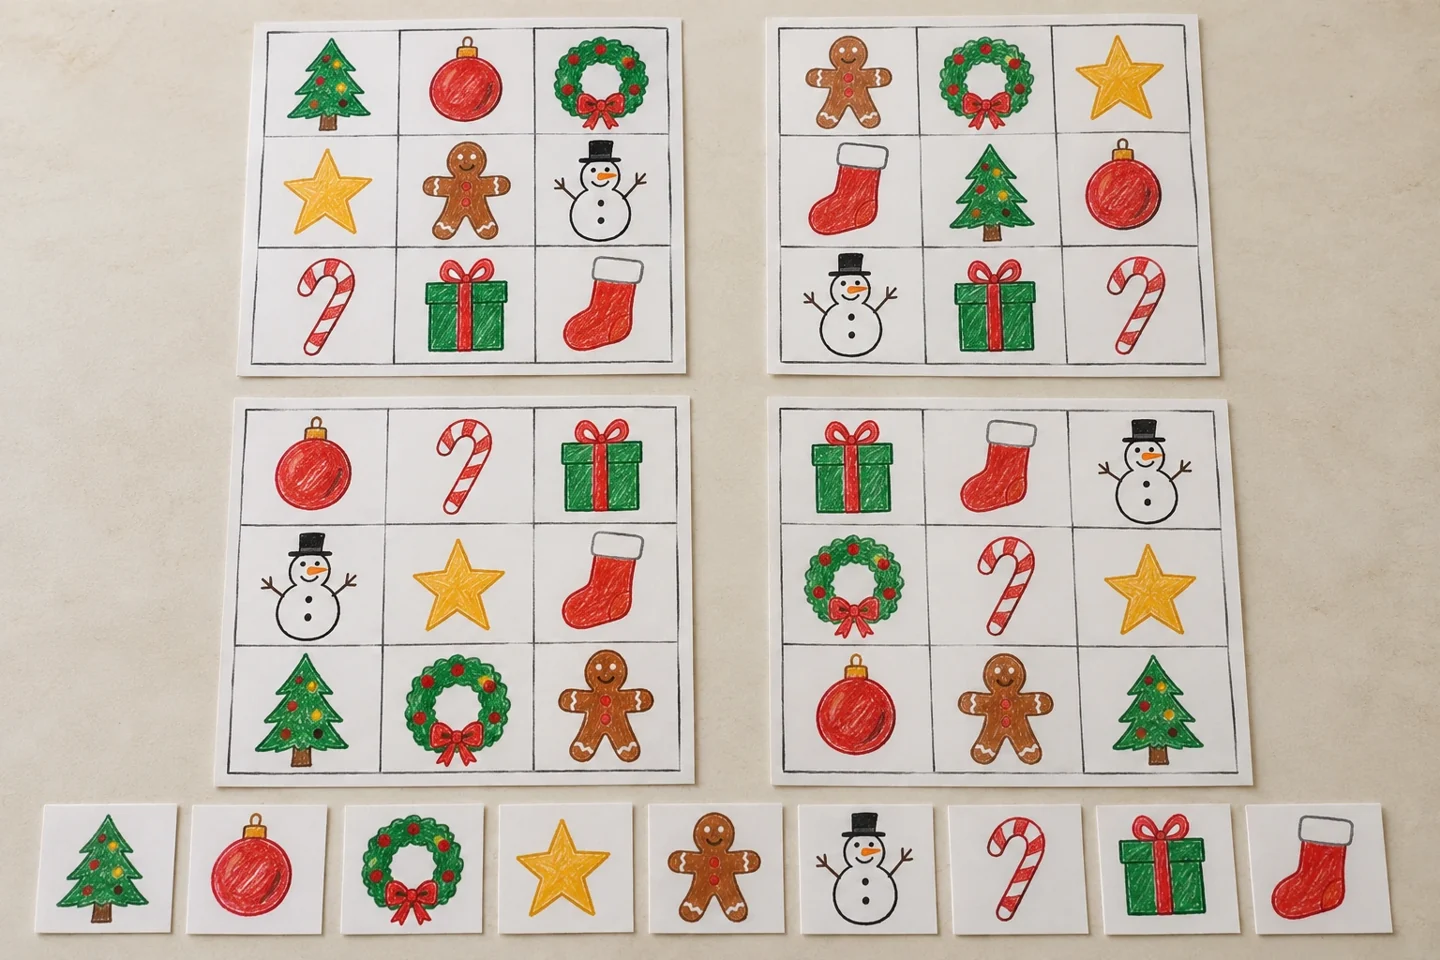
4. Make calling cards
Draw each picture once more on a separate small card. Cut the cards apart and place them in a stack. Add a plain back to any see-through cards if needed. These nine cards are the full calling set, not extra game-board pictures.
5. Prepare markers
Cut large paper squares slightly smaller than the board cells. Give each player nine. Avoid tiny loose markers when young children are present. Explain that a marker covers a picture only after it has been called, not because it looks like a favorite object.
6. Explain the winning line
Demonstrate three markers in a row across, down, or diagonally. Point to the different directions. For the first game, say the picture name and show the calling card so children can connect the spoken word with the drawing.
7. Play one round
Shuffle the calling cards, turn over one at a time, and let everyone find the matching picture. Pause before the next call. When someone completes a line, check the three pictures against the called cards. More than one player can finish on the same turn.
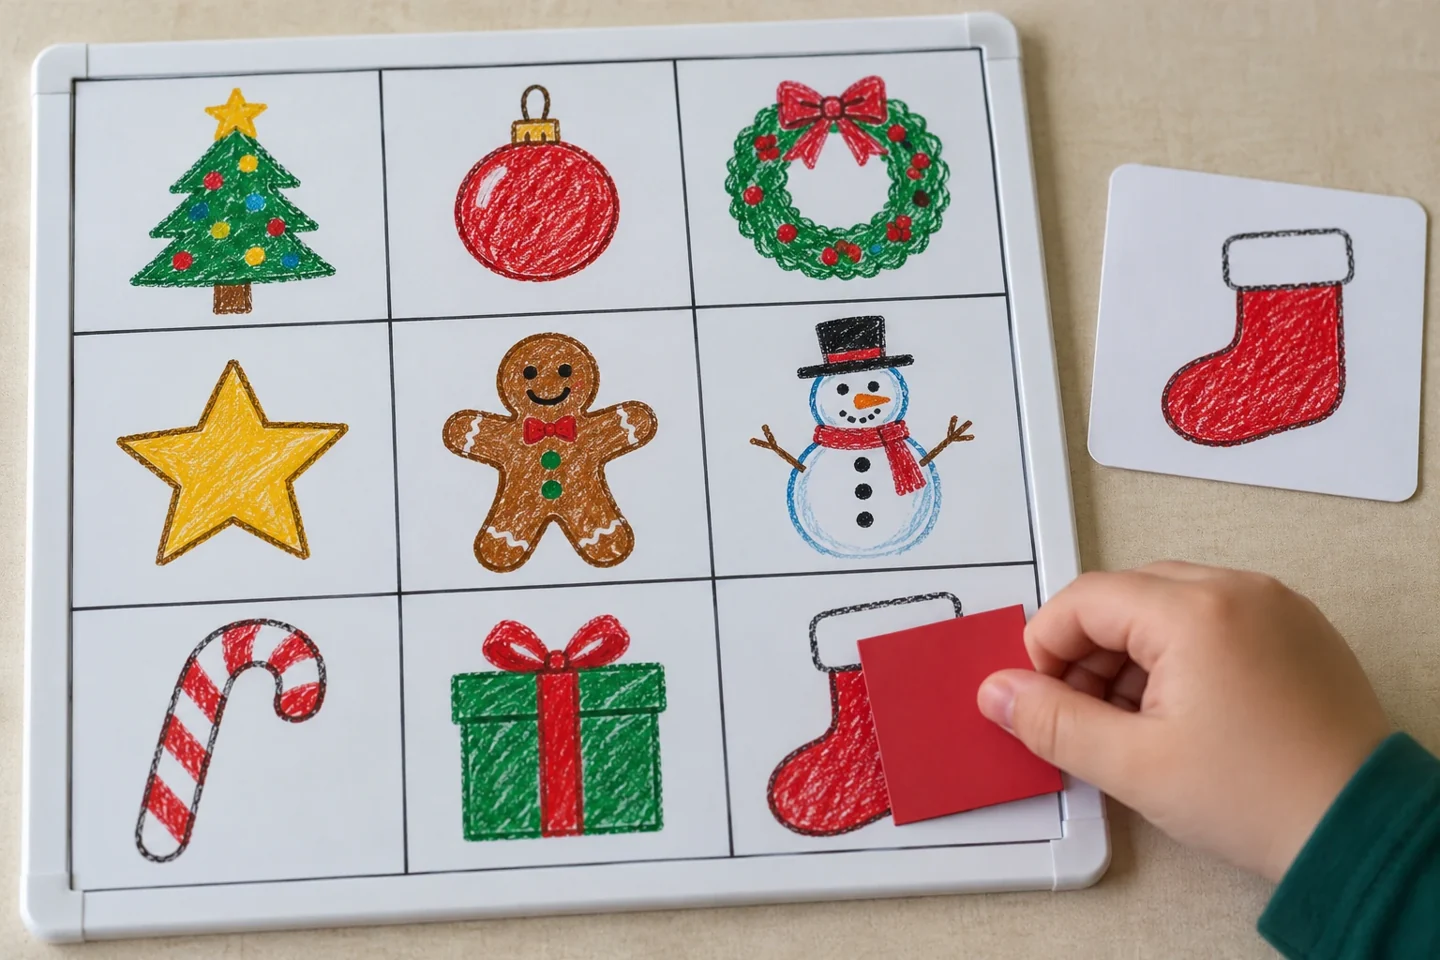
8. Reset and try again
Remove markers and shuffle the calling deck. Let a child become the caller if they would like. Try a full-board round later, explaining the new goal before starting. Store boards, cards, and markers together so the next game needs little preparation.
Talk, notice, and learn together
Ask how two boards can contain the same pictures but have different winning lines. Naming, visual matching, turn-taking, and noticing rows all matter here. Let players point instead of speaking if they prefer, and celebrate finding a match as well as completing a line.
Make it work at home or in a classroom
For preschoolers, start with a 2 × 2 grid and four pictures. Older children can create a 4 × 4 version with sixteen distinct symbols. In a classroom, play in small groups with one caller per table; use larger shared calling cards when everyone plays together.
Helpful fixes and cleanup
If pictures are hard to distinguish, add one clear identifying detail before the game. If markers slide, place boards on a flat surface away from drafts. Keep a list of the chosen nine images in the storage envelope so a lost calling card can be replaced accurately.
A useful way to extend the activity
Children can help test the boards before the first group game. Lay out the nine calling cards and check each board one picture at a time. This catches a missing or repeated image while also giving players a preview of the set. Keep the calling pictures large enough to show across the table, especially when the board drawings are small.