Christmas
Christmas Shape Trees for Kids
 Facebook
 Pinterest
 X
X LinkedIn
 Reddit
 WhatsApp
 Telegram
 Bluesky
 Email
Email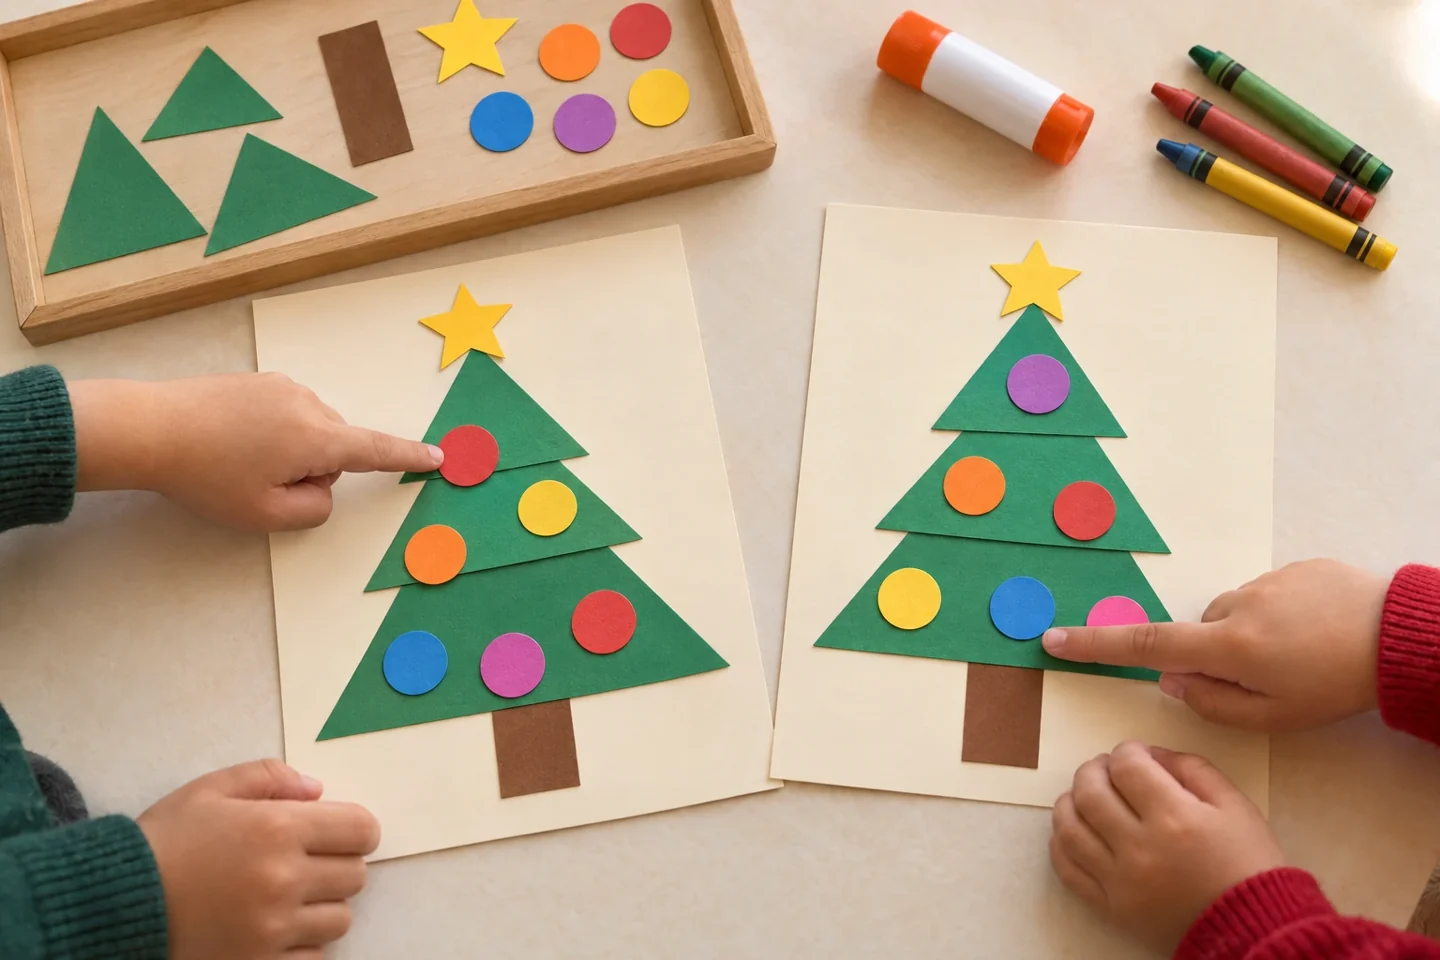
Your activity at a glance
| Suggested ages | 3–7 |
|---|---|
| Activity time | 25–35 minutes |
What you need
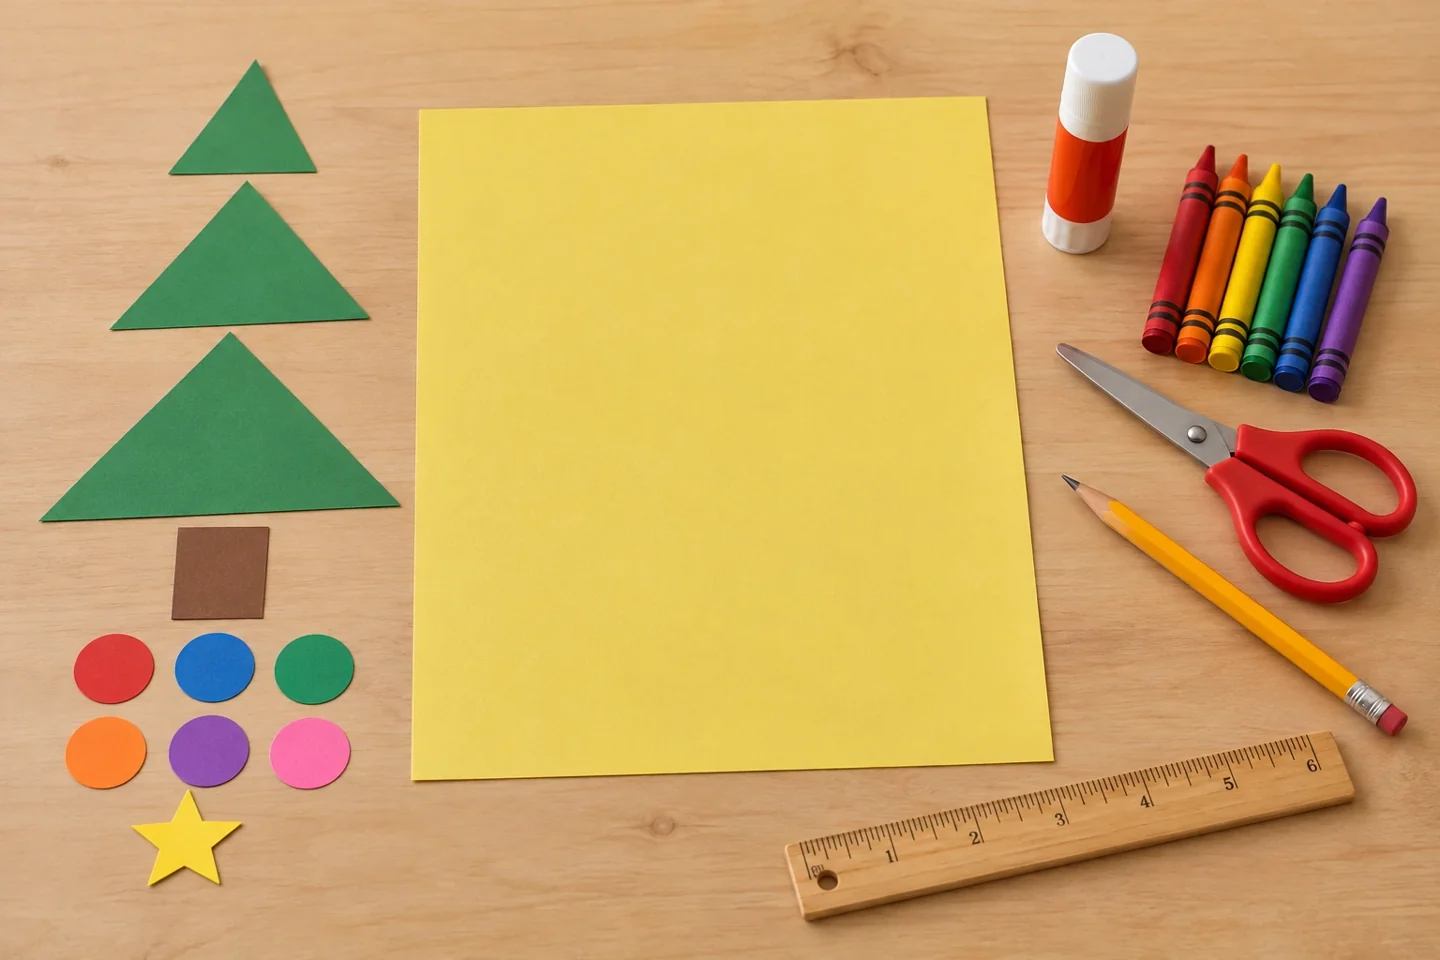
- 1 sheet of background cardstock
- 3 green triangles of different sizes per tree
- 1 brown rectangle, 6 colored paper circles, and 1 star
- Glue stick and crayons
- Adult-prepared paper shapes or scissors and pencil
Arrange shapes before making them stick
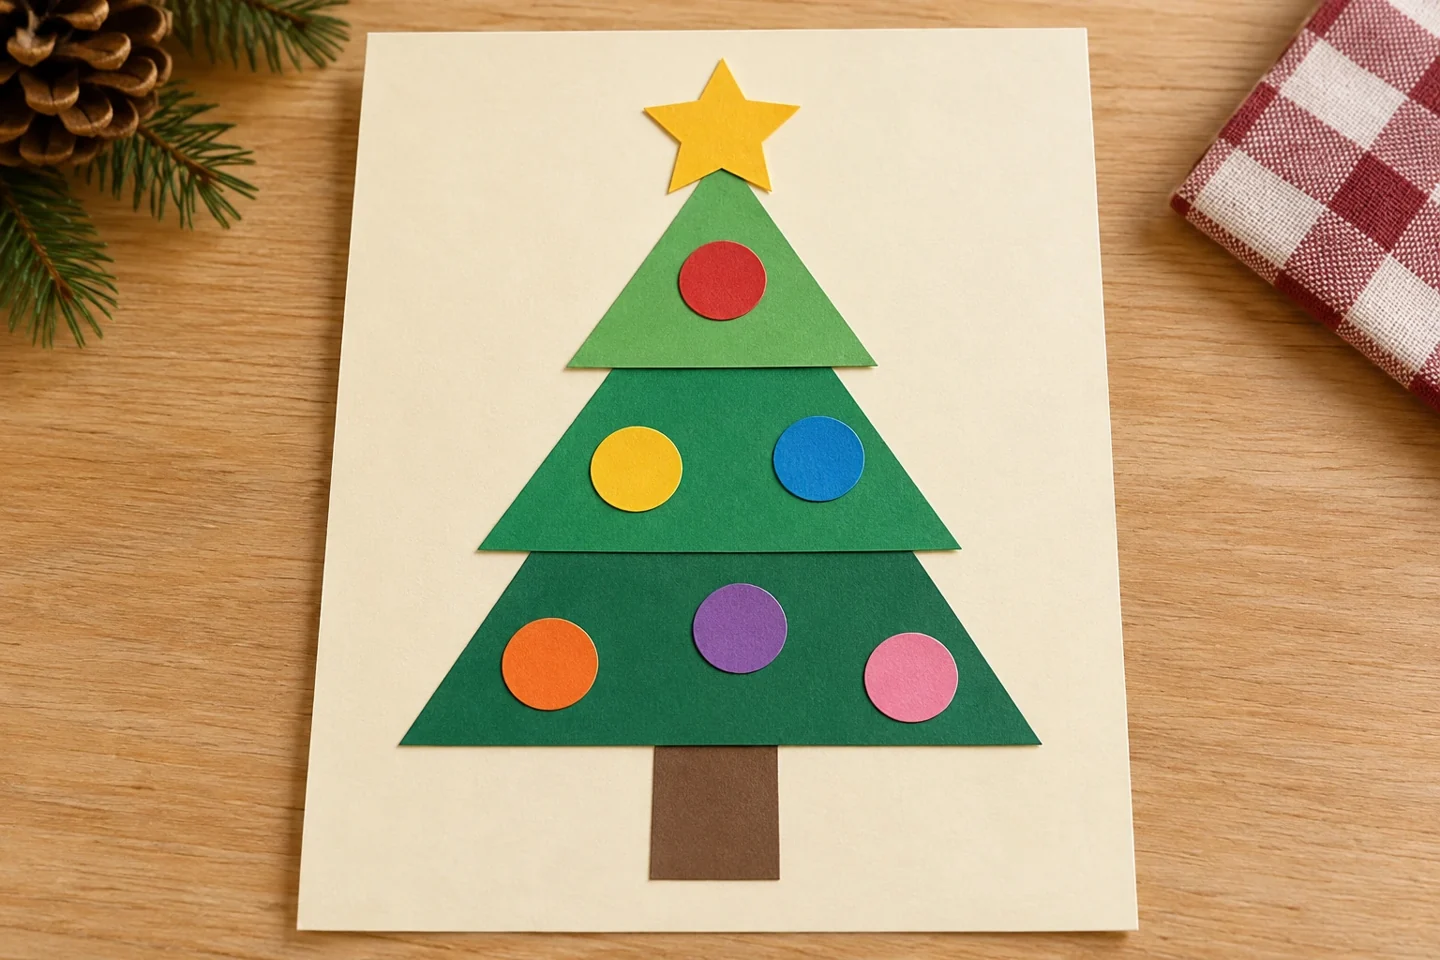
A Christmas tree can begin with just three triangles and a rectangle. Children arrange the pieces, compare the sizes, and decide how their branches overlap before adding circles and a star. Because the pieces stay loose until the final stage, this collage leaves room for experimenting. One child might build a tall narrow tree, while another makes a broad tree with a tiny trunk. Both designs give shape words a useful purpose.
Before you begin
Prepare a tray with three different-sized triangles, a trunk, six circles and a star. Before showing a tree, let the child compare the triangle sizes and feel how each edge differs from a circle. Use a landscape sheet if the largest triangle spreads wide. Keep glue aside during the first two arrangements.
Let’s make it, step by step
1. Prepare a shape tray
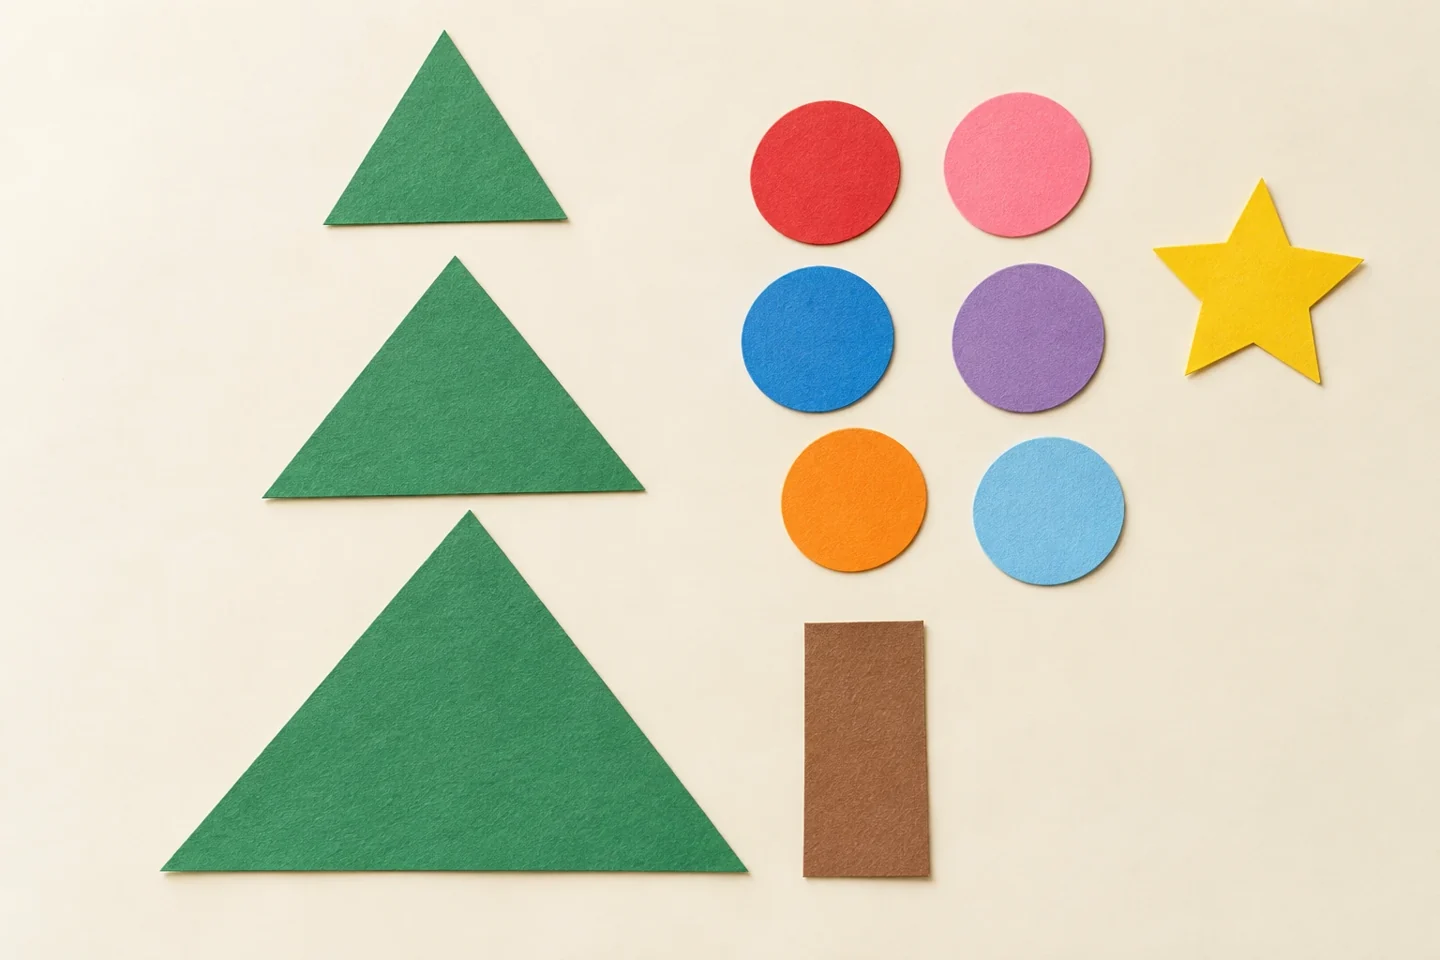
Cut three triangles with bases approximately 3, 4, and 5 inches wide, keeping their heights proportional. Add a 1 × 2-inch trunk rectangle, six circles, and one star. Put each child’s set in a shallow tray so pieces stay visible and separate.
2. Name and compare
Explore the loose shapes together. Count a triangle’s three straight sides and point to the curved edge of a circle. Place the triangles side by side and ask which is largest. Let children show their answer by moving the pieces instead of requiring spoken labels.
3. Build without glue
Place the background sheet upright. Arrange the largest triangle near the bottom, then overlap it with the middle and smallest triangles. Slide the rectangle partly underneath the bottom triangle. Keep all pieces loose while children decide how tall or wide their tree should look.
4. Try a second arrangement
Before fixing the first design, move one triangle or rotate it. Ask whether it still looks like a tree and what changed. Put the preferred arrangement back. This brief comparison makes planning part of the activity rather than treating the first placement as the only correct one.
5. Glue from the bottom up
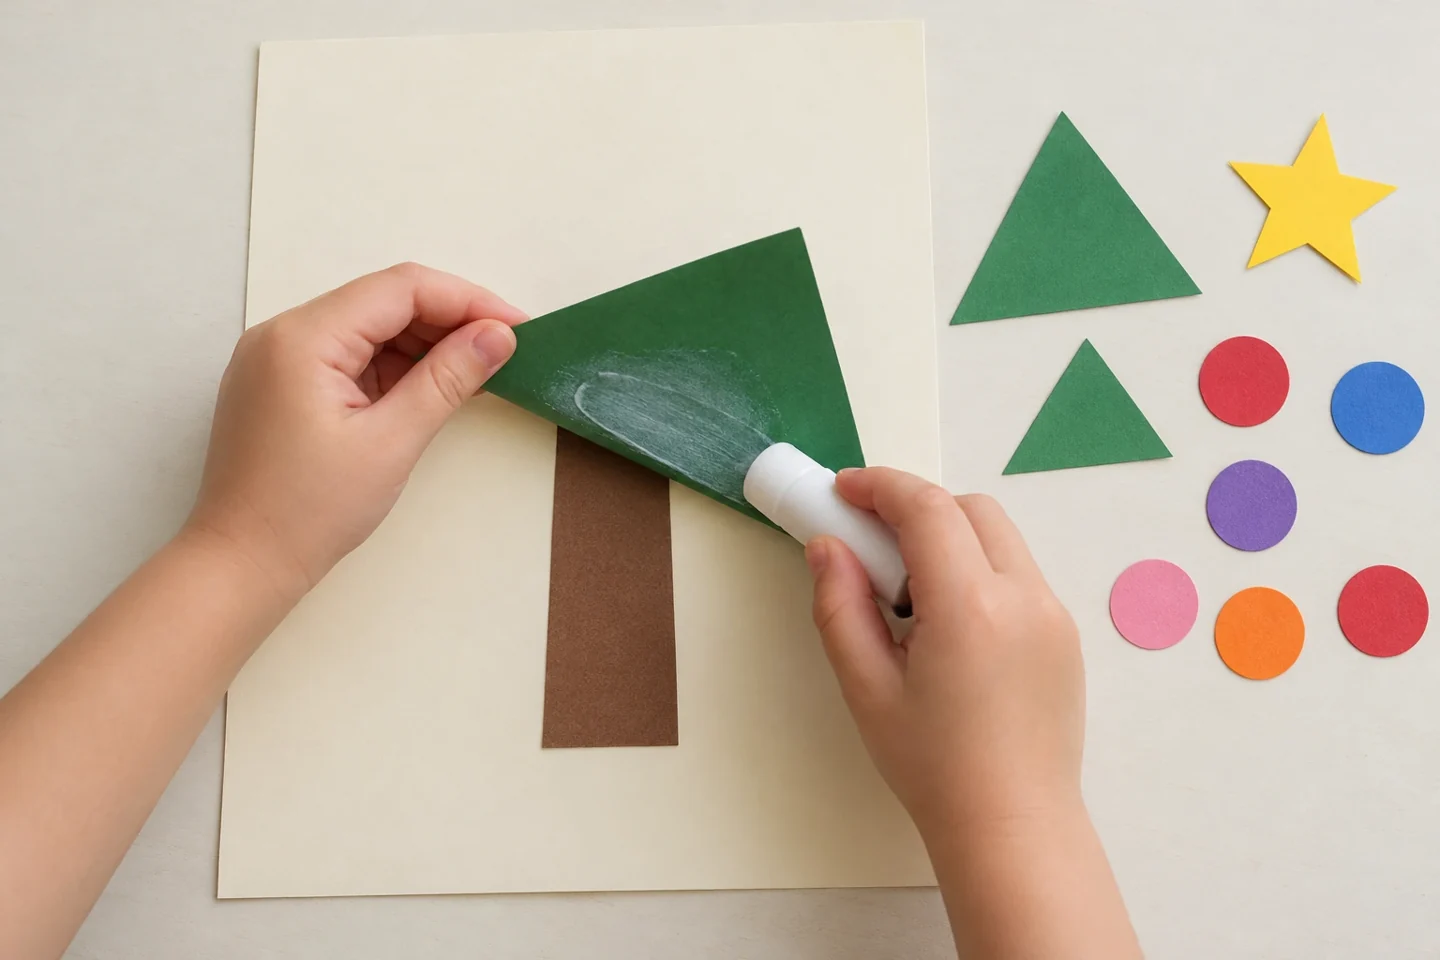
Lift the trunk first, add glue to its back, and return it to the page. Glue the largest triangle, then the middle, then the smallest. Press the pieces gently with a flat hand. This order keeps the intended overlaps visible.
6. Add ornaments
Place the six circles around the tree before gluing. Children can spread them evenly, group colors, or create a simple repeating path. Put the star above the highest triangle. Count the circles together without turning their positions into a test.
7. Complete the setting
Draw a floor line, presents, snow outside a window, or a simple room around the tree. Leave room for the main collage to stand out. Children who prefer fewer details can stop after the shapes; a completed tree does not need a crowded background.
8. Share a design choice
Invite each child to point out one part they arranged deliberately. Display the pictures at viewing height or place them in a folder after the glue dries. Take a moment to compare how the same set of shapes produced different finished trees.
Talk, notice, and learn together
Ask, “Which triangle is behind the next one?” or “What would happen if the smallest triangle went at the bottom?” Children explore position, overlap, and size ordering. The six ornament circles can also become a small counting collection or an opportunity to compare two color groups.
Make it work at home or in a classroom
For younger children, offer two large triangles and three circles. Older children can cut their own shapes or make a tree using unexpected shapes. In a classroom, prepare several color options and show the assembly order without presenting one finished picture as a required pattern.
Helpful fixes and cleanup
If thin paper curls under glue, use smaller glue strokes and press it beneath clean scrap paper. If pieces shift, let the trunk and first triangle grip before adding more layers. Save unglued circles and triangles in labeled envelopes for another shape-building session.
A useful way to extend the activity
Make a second tree with the same three triangle sizes on a wider background. Children can place the branches farther apart or overlap them more deeply and compare the apparent height. Ask which parts of the triangles disappeared underneath another piece. Seeing hidden edges helps explain why overlapping flat shapes can suggest layers even though the finished picture stays flat.