Christmas
Folded-Paper Christmas Tree Cards
 Facebook
 Pinterest
 X
X LinkedIn
 Reddit
 WhatsApp
 Telegram
 Bluesky
 Email
Email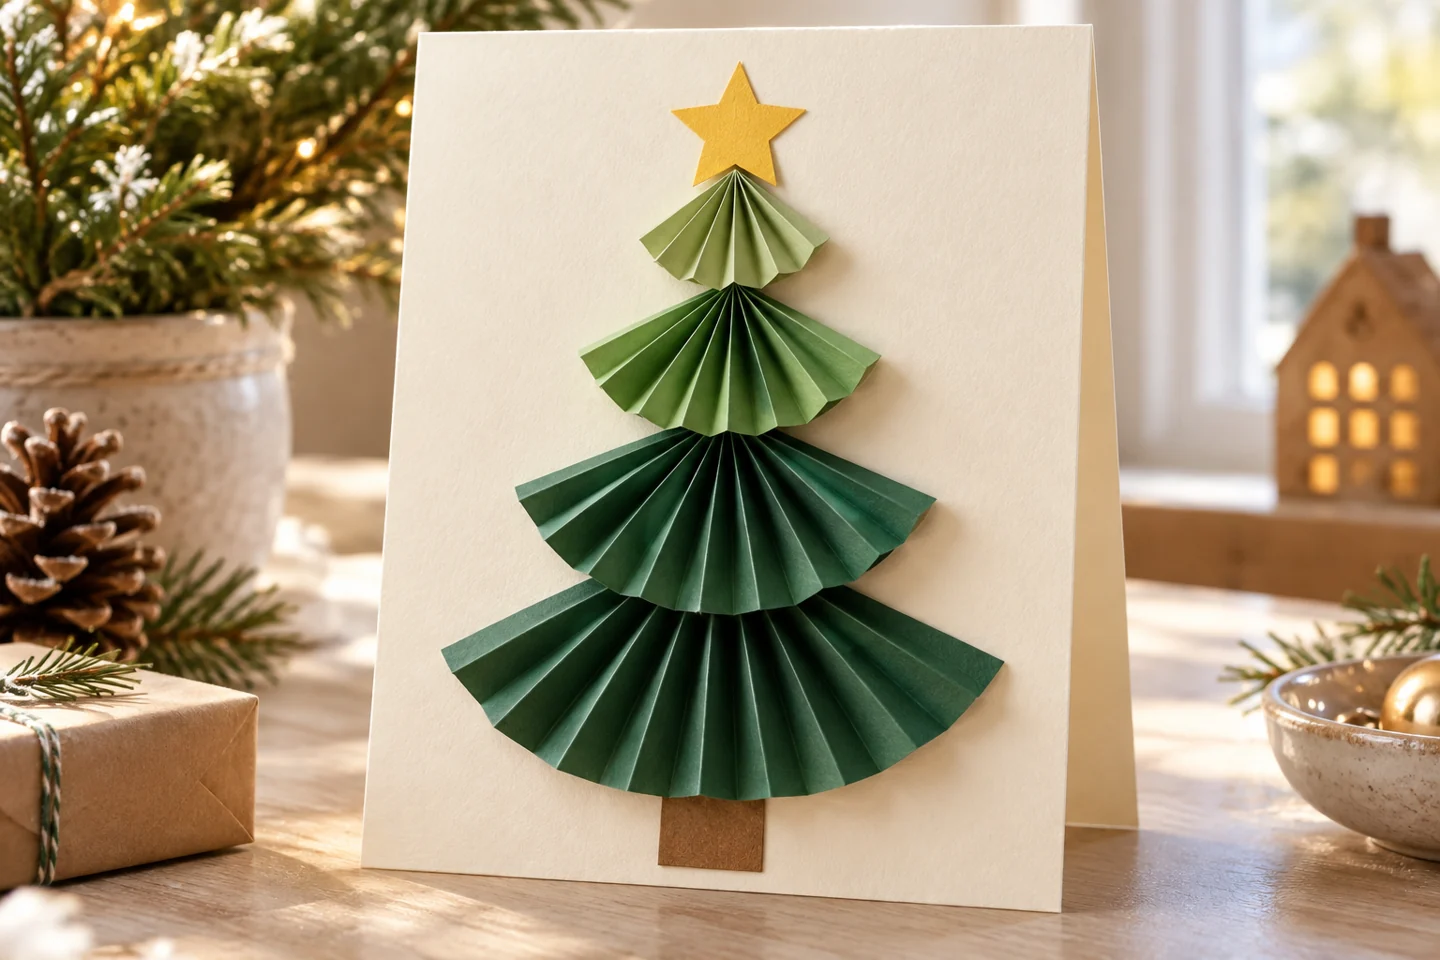
Your activity at a glance
| Suggested ages | 6–10 |
|---|---|
| Activity time | 35–45 minutes |
What you need
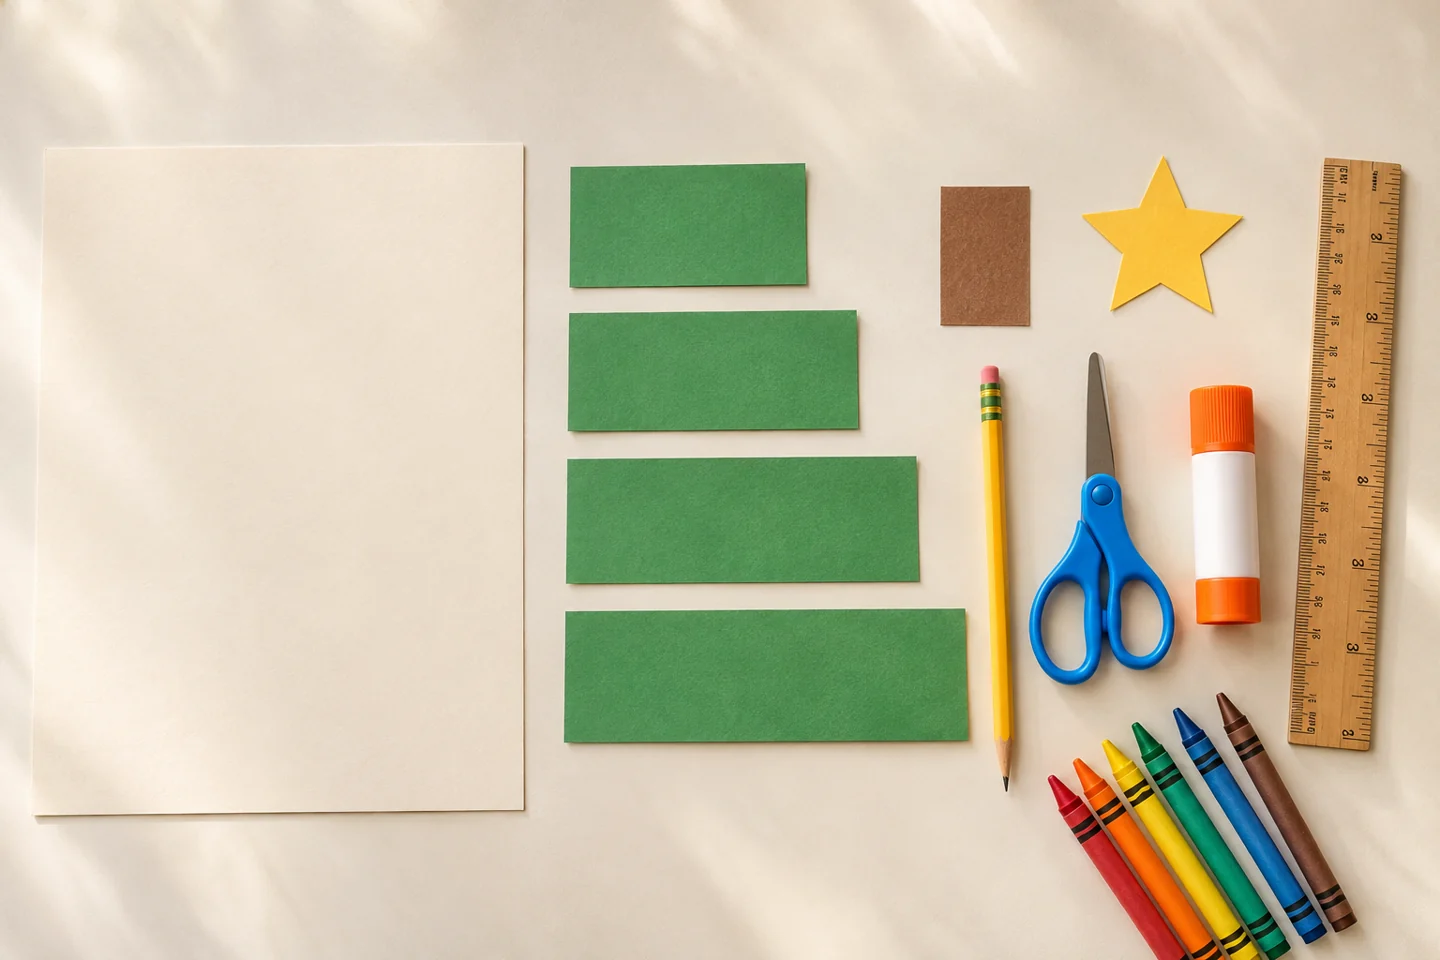
- 1 sheet of cardstock, approximately 8½ × 11 inches
- Green paper: four rectangles, 2 × 3, 2 × 4, 2 × 5, and 2 × 6 inches
- 1 small brown paper rectangle and 1 paper star
- Ruler, pencil, child-friendly scissors, and glue stick
- Crayons or colored pencils
A cheerful project with a clear purpose
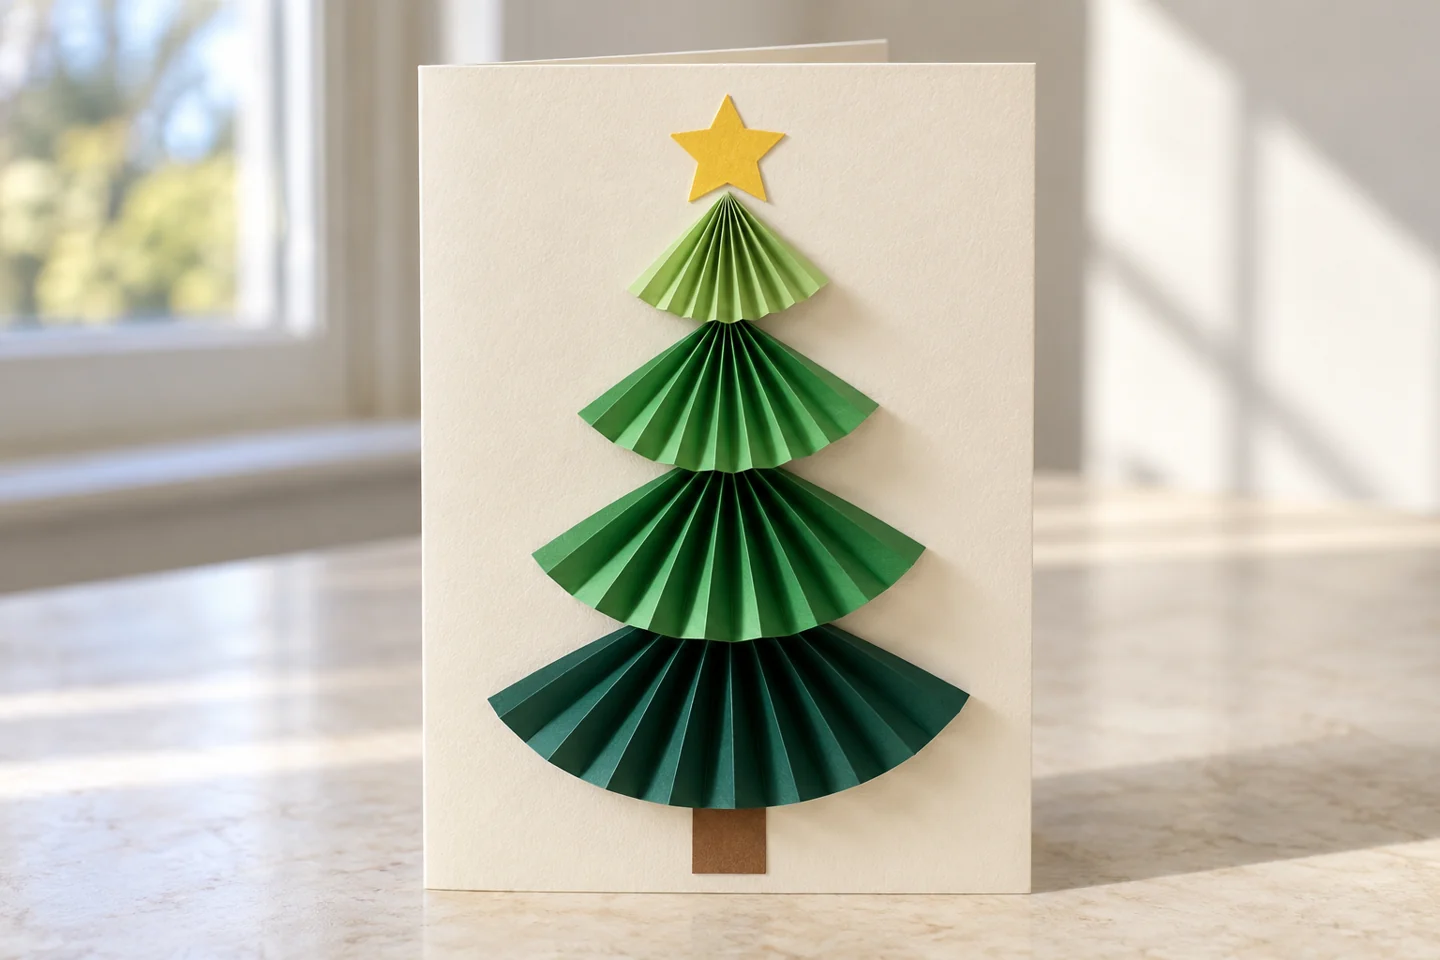
A little folding turns ordinary green paper into a Christmas tree that stands away from the front of a handmade card. Four accordion-folded sections create the branches; a small trunk and star finish the picture. This project gives children a satisfying reason to measure, compare lengths, and practice making the same fold several times. The tree stays on the outside of the card, leaving plenty of space inside for a personal drawing or message.
Before you begin
Set aside 35–45 minutes and clear a space large enough for the materials to stay visible. Read the steps before inviting children to start, and prepare any pieces that need adult cutting. The suggested ages, 6–10, are a starting point: choose the amount of assistance from the child’s actual experience with the tools. Put a tray beside the work area for loose pieces and keep an uncluttered place ready for the finished project.
Let’s make it, step by step
1. Make the card
Fold the cardstock in half across its short dimension to make a card approximately 5½ × 8½ inches. Press the fold with your fingertips. Place it upright with the fold on the left, and lightly mark where the top and bottom of the tree will sit.
2. Prepare four tree sections
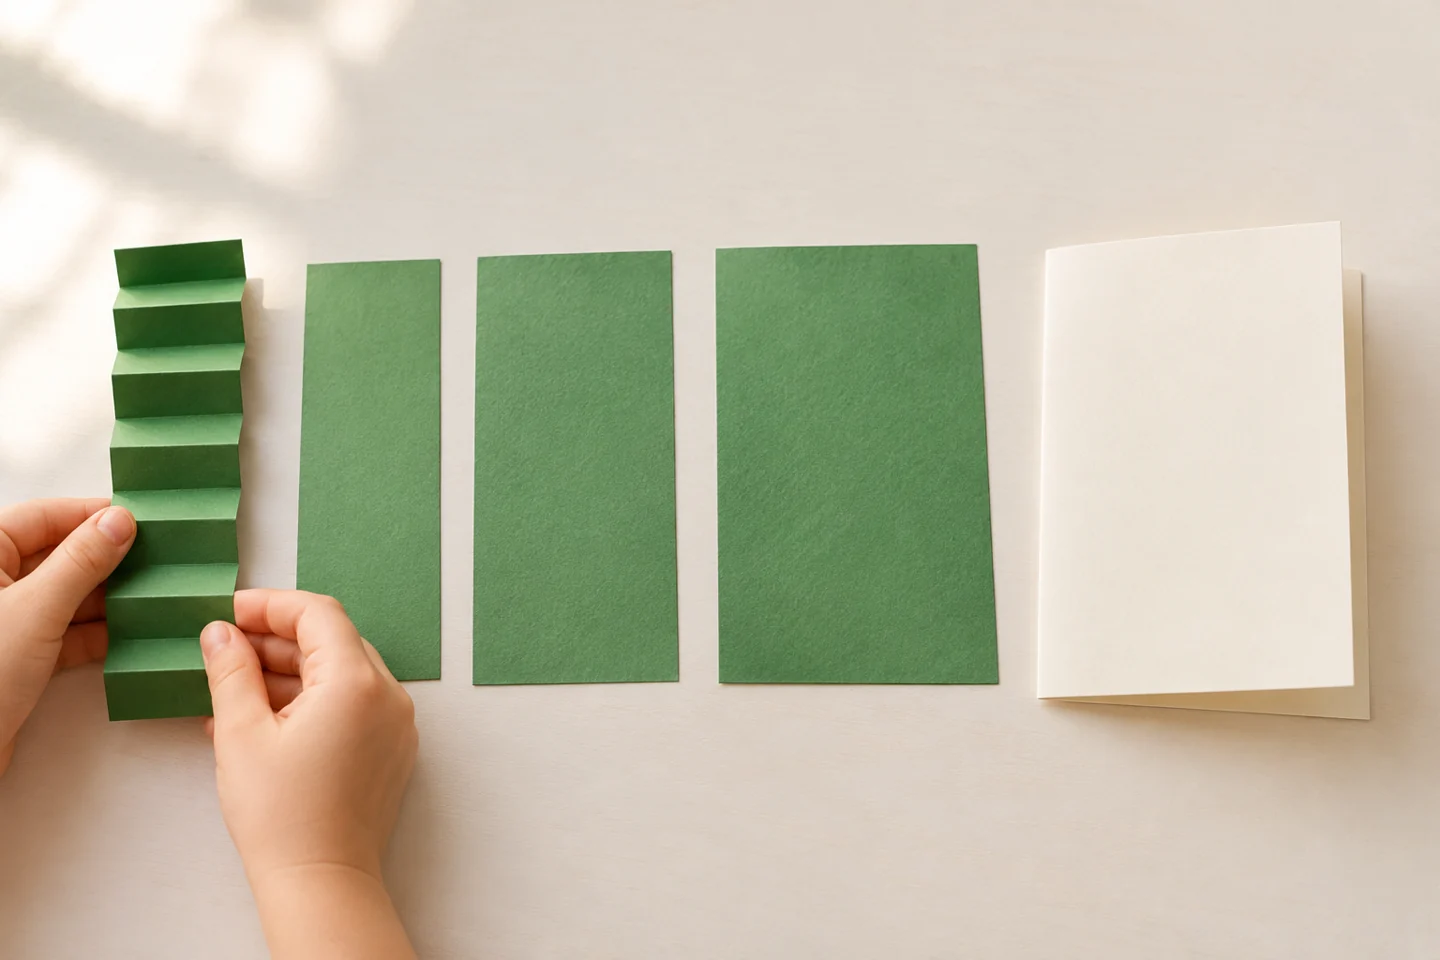
Measure and cut the four green rectangles. Each is 2 inches high, but their widths increase from 3 to 6 inches. Lay them in order from shortest to longest. Explain that their different widths will make a tree that grows wider toward its base.
3. Fold a paper accordion
Starting along a short edge, fold one rectangle back and forth in approximately ½-inch pleats. Keep the fold direction alternating. Repeat with the other rectangles, pressing each crease. Exact pleat widths are less important than using roughly the same width within each section.
4. Turn each accordion into a fan
Pinch one end of each accordion and glue its pleats together at that end. Leave the opposite end free to spread into a small fan. Hold the glued end until it grips; set the sections aside for a few minutes before arranging them.
5. Arrange the tree
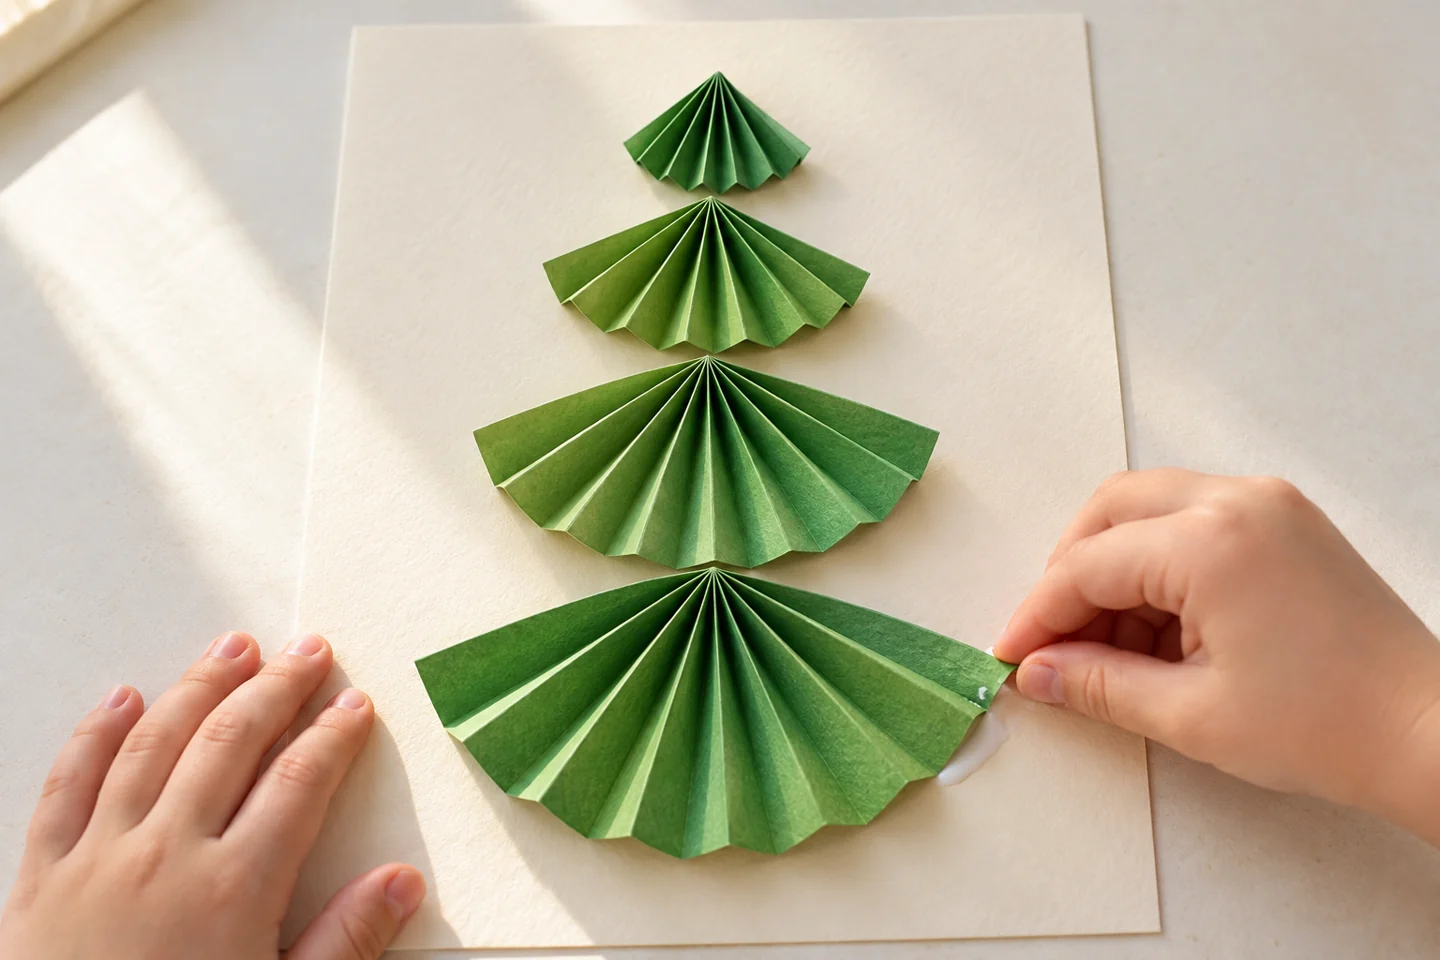
Place the smallest fan at the top and the largest at the bottom, with pinched ends pointing upward. Overlap the sections slightly so the pinched end of a lower fan sits behind the free edge above it. Try the whole arrangement before adding glue.
6. Attach the branches
Glue the pinched ends and the two outside edges of each fan onto the card front. Press those contact points instead of flattening the whole fan. Add a brown paper trunk underneath and a paper star above. Let the tree keep its gentle raised shape.
7. Add a personal message
Draw decorations on the card around the tree or add a few flat paper circles. Open the card and write or dictate a greeting. Ask the child who the card is for and what they would like that person to know.
8. Deliver it gently
Leave the card open while the glue sets. Hand-deliver it, or use a roomy envelope that will not squash the folded branches. If the card needs to travel flat, make the fans with shallower folds and protect the front between two loose cardstock sheets.
Talk, notice, and learn together
Ask which rectangle made the widest branch and how the tree would change if all four rectangles were equal. Children can point to the repeated back-and-forth folds and compare their paper sizes. These observations connect measurement and ordering to a visible result, without turning a cheerful card-making session into a worksheet.
Make it work at home or in a classroom
Younger children can use adult-cut rectangles and practice folding just the largest section together. Older children can make a second card with five sections and choose their own size progression. In a classroom, put each child’s four pieces in a shallow tray; share a completed fan as a folding example, while leaving tree decorations and messages open to choice.
Helpful fixes and cleanup
If a fan springs open at the pinched end, add a small strip of tape on its hidden back. If branches cover the star space, move the entire arrangement lower before gluing. Avoid heavy decorations on the fans; lightweight paper circles keep the folded structure visible.
A useful way to extend the activity
For a second experiment, fold one spare rectangle with wider pleats and compare its fan with the first. Wider pleats produce fewer ridges across the same paper. Keep this experiment separate from the card until the child chooses which texture they prefer. A small handmade envelope tag can repeat the tree’s green and yellow colors without copying the dimensional construction.