Christmas
Design Your Own Christmas Wrapping Paper
 Facebook
 Pinterest
 X
X LinkedIn
 Reddit
 WhatsApp
 Telegram
 Bluesky
 Email
Email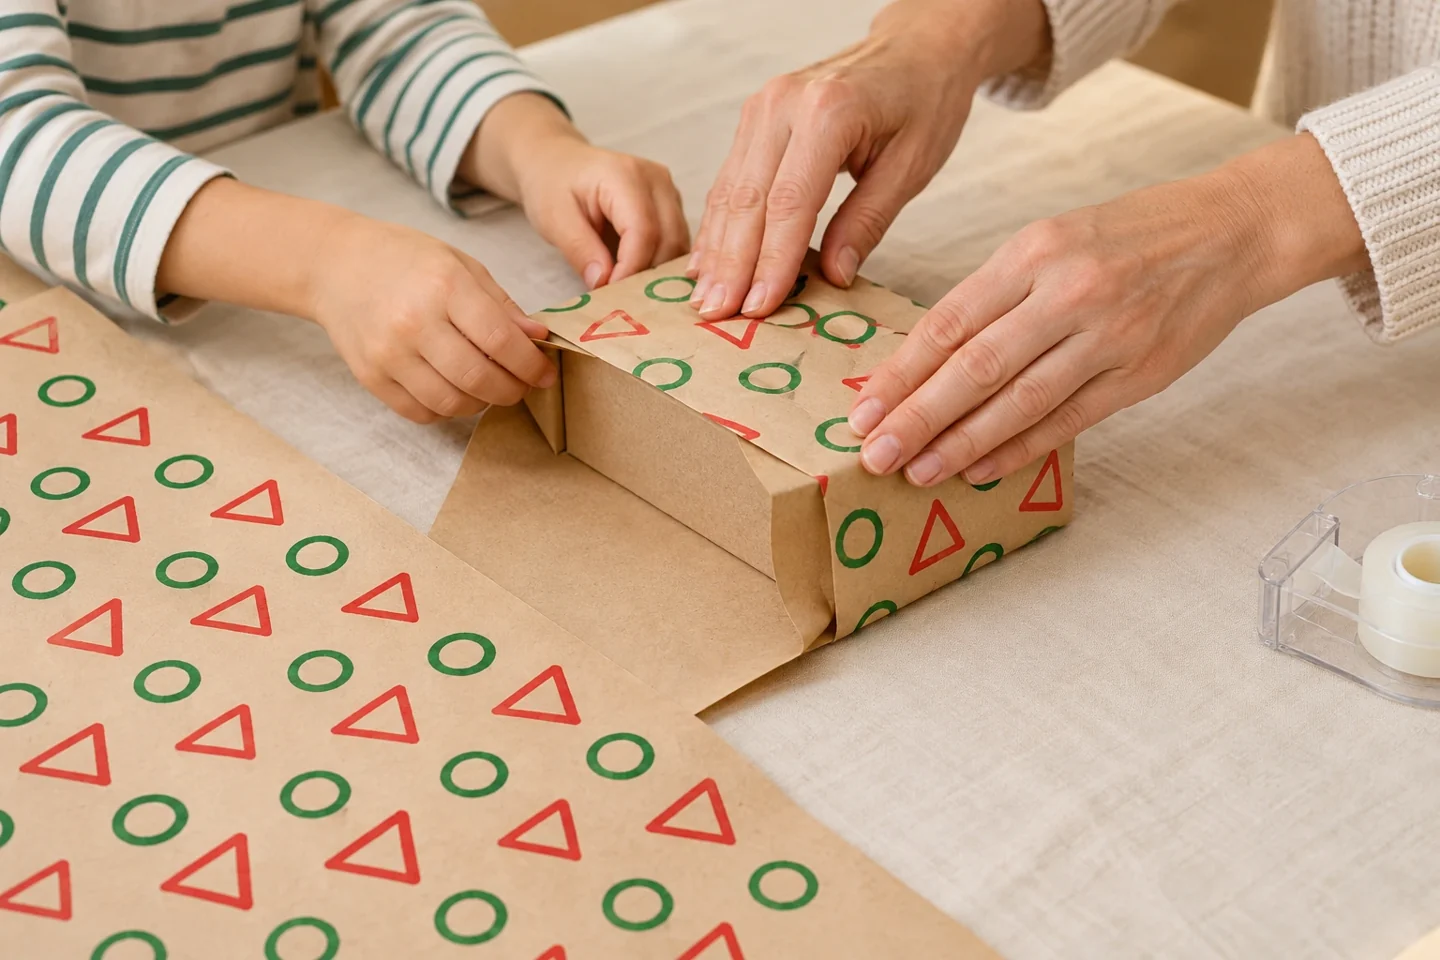
Your activity at a glance
| Suggested ages | 4–10 |
|---|---|
| Activity time | 30 minutes plus drying |
What you need
- 1 sheet of plain kraft paper approximately 18 × 24 inches
- Washable paint in red and green, or two other chosen colors
- 2 lightweight cardboard strips approximately 1 × 8 inches to fold into triangle and rounded-loop edge stamps
- Shallow paint dishes and scrap paper
- Small empty box, tape, and a protective table covering
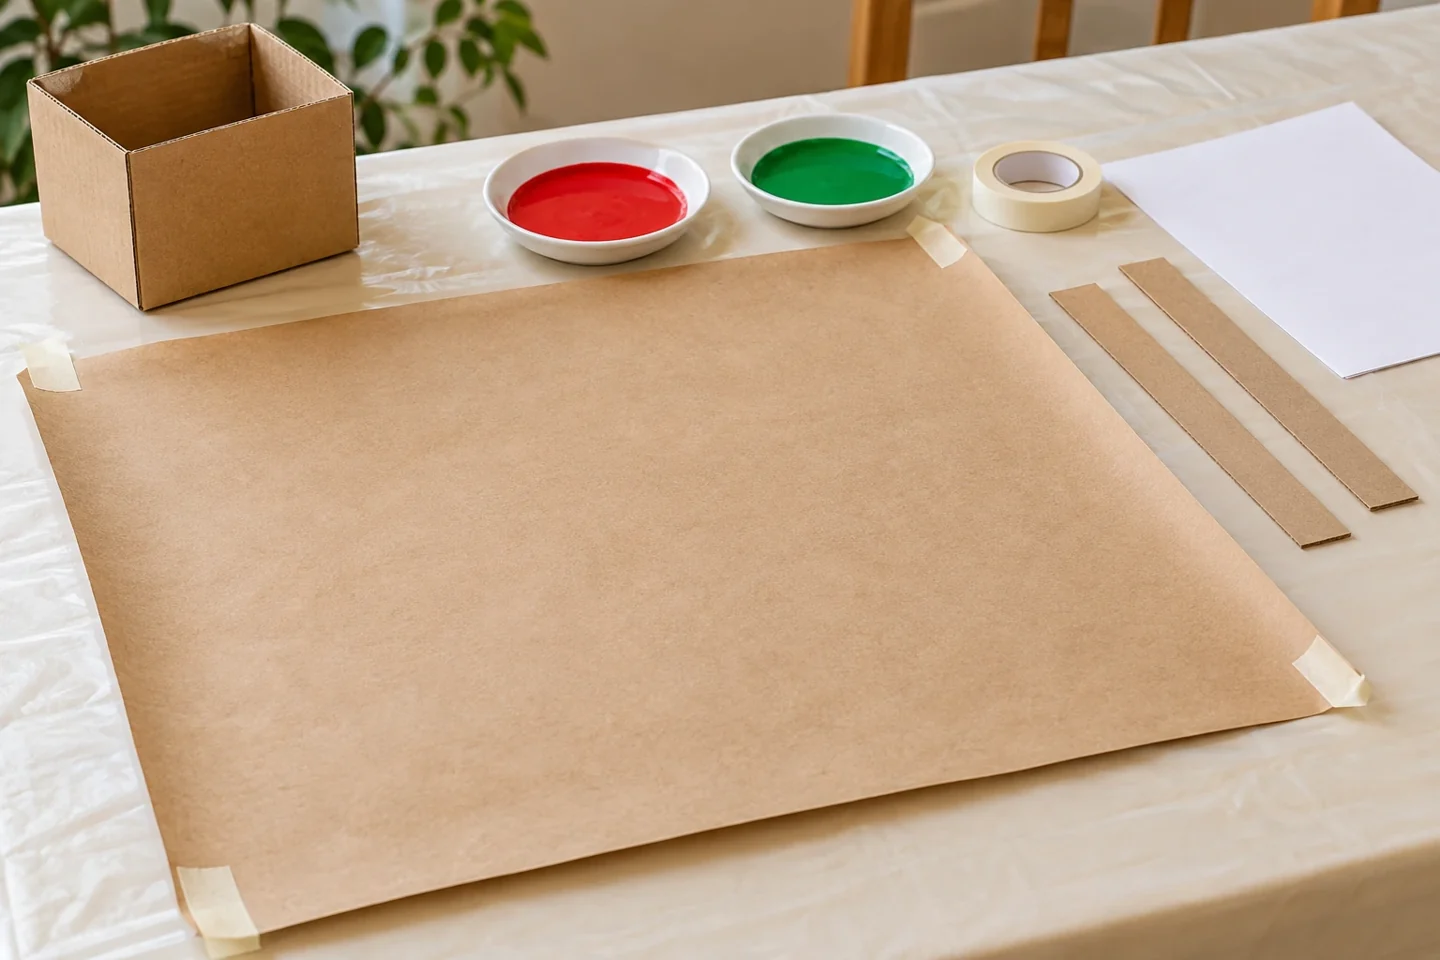
Print a repeating pattern for a small gift
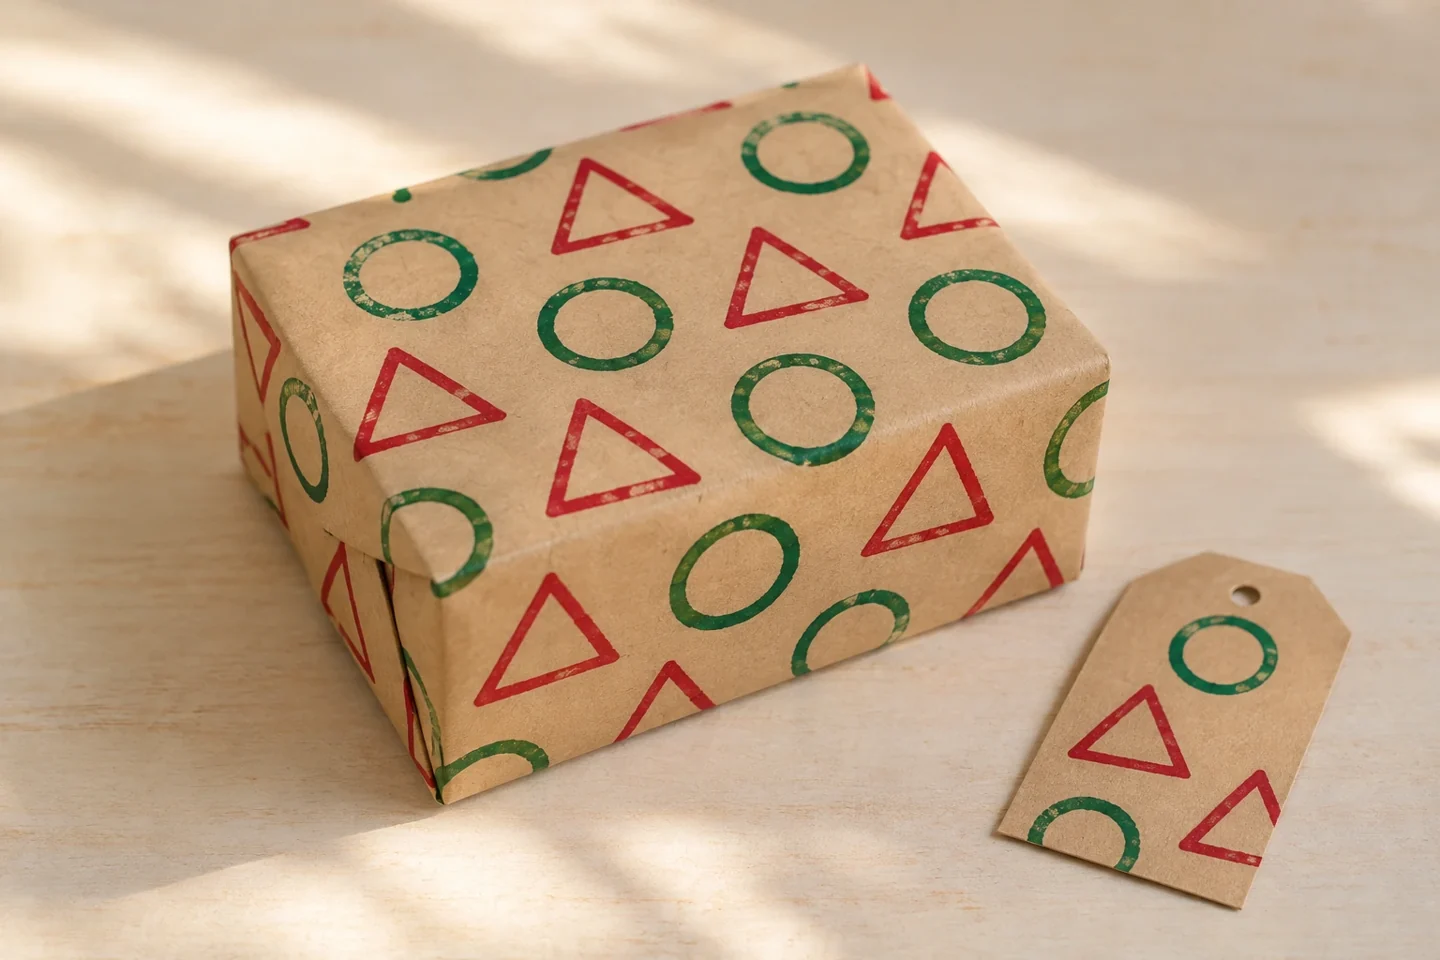
Plain kraft paper becomes a handmade gift wrap when children add their own repeating marks. Simple cardboard stamps make rows of triangles, circles, and clusters that can suggest trees, ornaments, or entirely original Christmas patterns. The painting session is small enough for an ordinary table, and the finished sheet has a useful destination: wrapping one modest box. Children get to plan spacing, test prints, and see how a flat design changes around a package.
Before you begin
Start with a box small enough for your eighteen-by-twenty-four-inch sheet. Wrap it loosely with plain paper first if you are unsure, then flatten that sheet for printing. Prepare one triangular cardboard edge stamp and one rounded loop stamp. Keep practice paper beside the paint dishes so children can test pressure before making their pattern.
Let’s make it, step by step
1. Protect the work area
Cover the table and unroll the kraft paper with its curled edges held down by removable tape. Keep a separate scrap sheet beside it for testing. Leave the empty box away from the paint until the printed paper is completely dry.
2. Prepare simple stamps
Fold one cardboard strip into a closed triangle and tape its ends. Curve another strip into a loop. An adult can prepare these shapes in advance. The thin cardboard edges make outlines rather than solid blocks, which keeps paint use light and drying manageable.
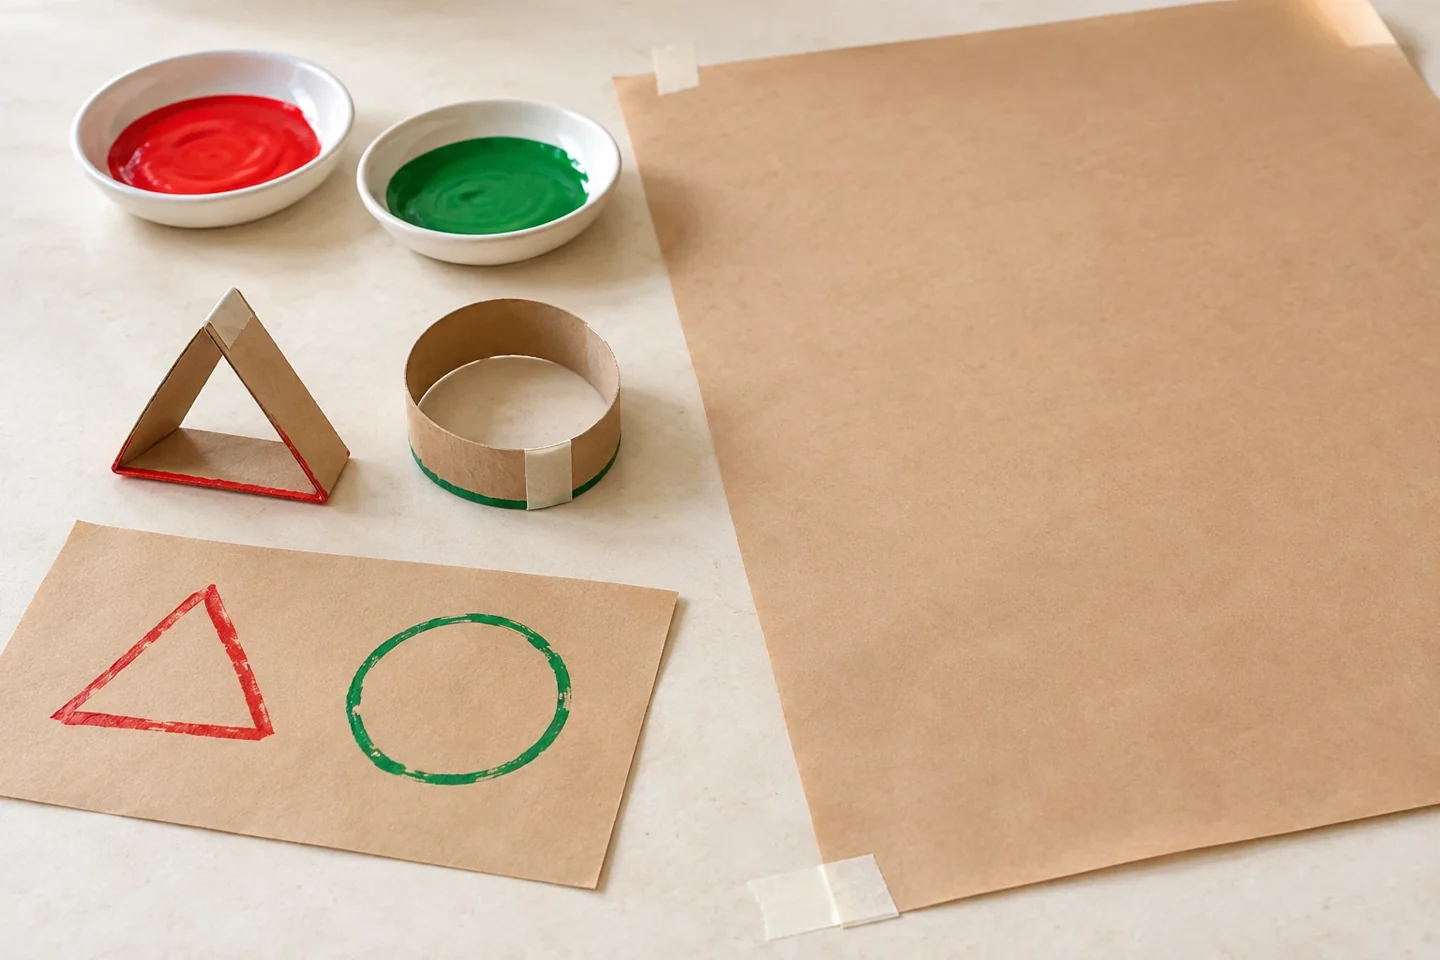
3. Test the paint amount
Pour a shallow layer of paint into each dish. Dip only the stamp’s printing edge, then make two practice prints on scrap paper. If the first print pools, use less paint. If the outline breaks, turn the stamp slightly and try more even pressure.
4. Choose a repeating unit
Plan a short sequence, such as triangle-circle-triangle-circle, or three triangles followed by a gap. Say the sequence aloud together. Children can also choose a looser scattering of shapes; it helps to decide whether the goal is a row, a cluster, or an open pattern.
5. Print the first row
Begin near one edge and press each stamp straight down, then lift without sliding. Leave approximately a thumb-width of space between marks. Keep one hand on a clean part of the paper so the sheet stays still as the other hand prints.
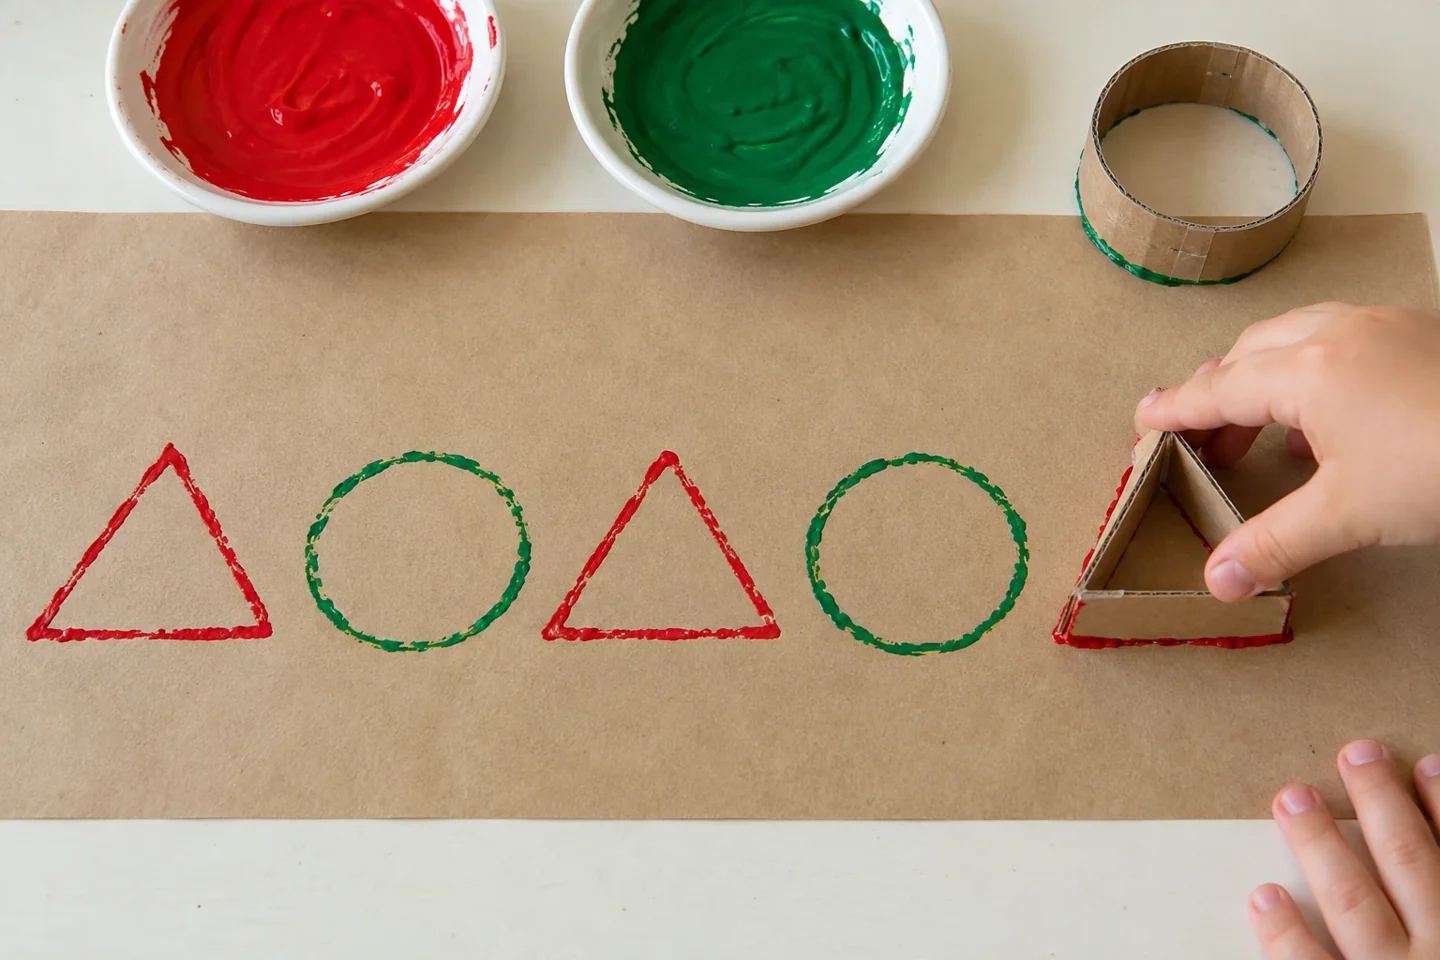
6. Build the design
Add another row with the same sequence, or shift each print into the spaces between the row above. Change colors after several marks. Encourage children to pause and look at the whole sheet so a small area does not become overloaded with wet paint.
7. Dry and add details
Lay the sheet flat until the paint no longer transfers to a clean fingertip. Add crayon dots or stems if desired. Do not fold damp paper: wet creases can stick together and leave paint on the box. Drying time depends on the amount of paint used.
8. Wrap a small box
Place the dry sheet printed-side down and position the box near the center. Fold paper around it, trim excess if needed, and tape the joins. Look at which prints appear on the top and sides. Save remaining paper for a matching gift tag.
Talk, notice, and learn together
Invite children to explain the repeating unit and predict the next mark before printing it. Compare a stamp held still with one that slides, using the practice sheet. The activity offers concrete experiences with repetition, spacing, pressure, and the difference between a flat surface and a wrapped object.
Make it work at home or in a classroom
Younger children can stamp freely while an adult manages paint dishes. Older children can measure row spacing or deliberately plan a design for the top face of the box. For classrooms, work on smaller individual sheets and set up a drying rack before starting; one print station can serve a few children at a time.
Helpful fixes and cleanup
If the paper wrinkles, use less paint and let it dry flat. A faint print can be part of the handmade pattern; avoid trying to line up repeated wet impressions exactly. Rinse reusable dishes and flatten spare cardboard for recycling. Keep finished paper rolled loosely rather than creased.
A useful way to extend the activity
For a less messy alternative, trace around the cardboard stamps with crayons instead of using paint. The pattern-planning steps remain the same, but there is no drying wait. Compare a traced outline and a printed one on scrap paper. A child who prefers drawing can fill only selected shapes, leaving the others open so the kraft background remains part of the design.