Christmas
Make a Paper Ornament Garland
 Facebook
 Pinterest
 X
X LinkedIn
 Reddit
 WhatsApp
 Telegram
 Bluesky
 Email
Email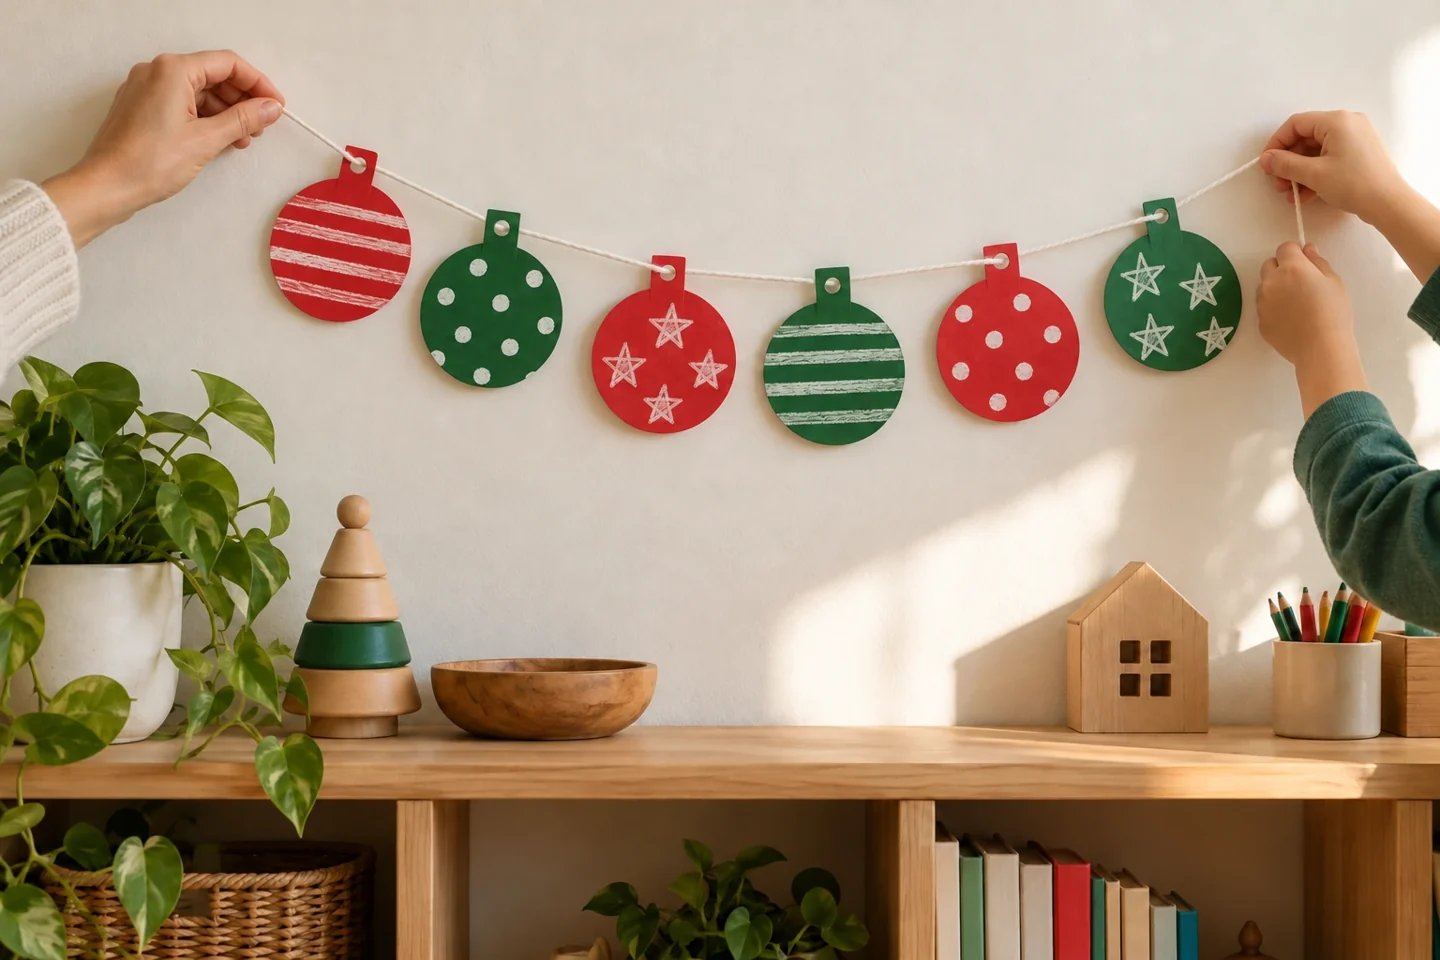
Your activity at a glance
| Suggested ages | 4–9 |
|---|---|
| Activity time | 30–40 minutes |
What you need
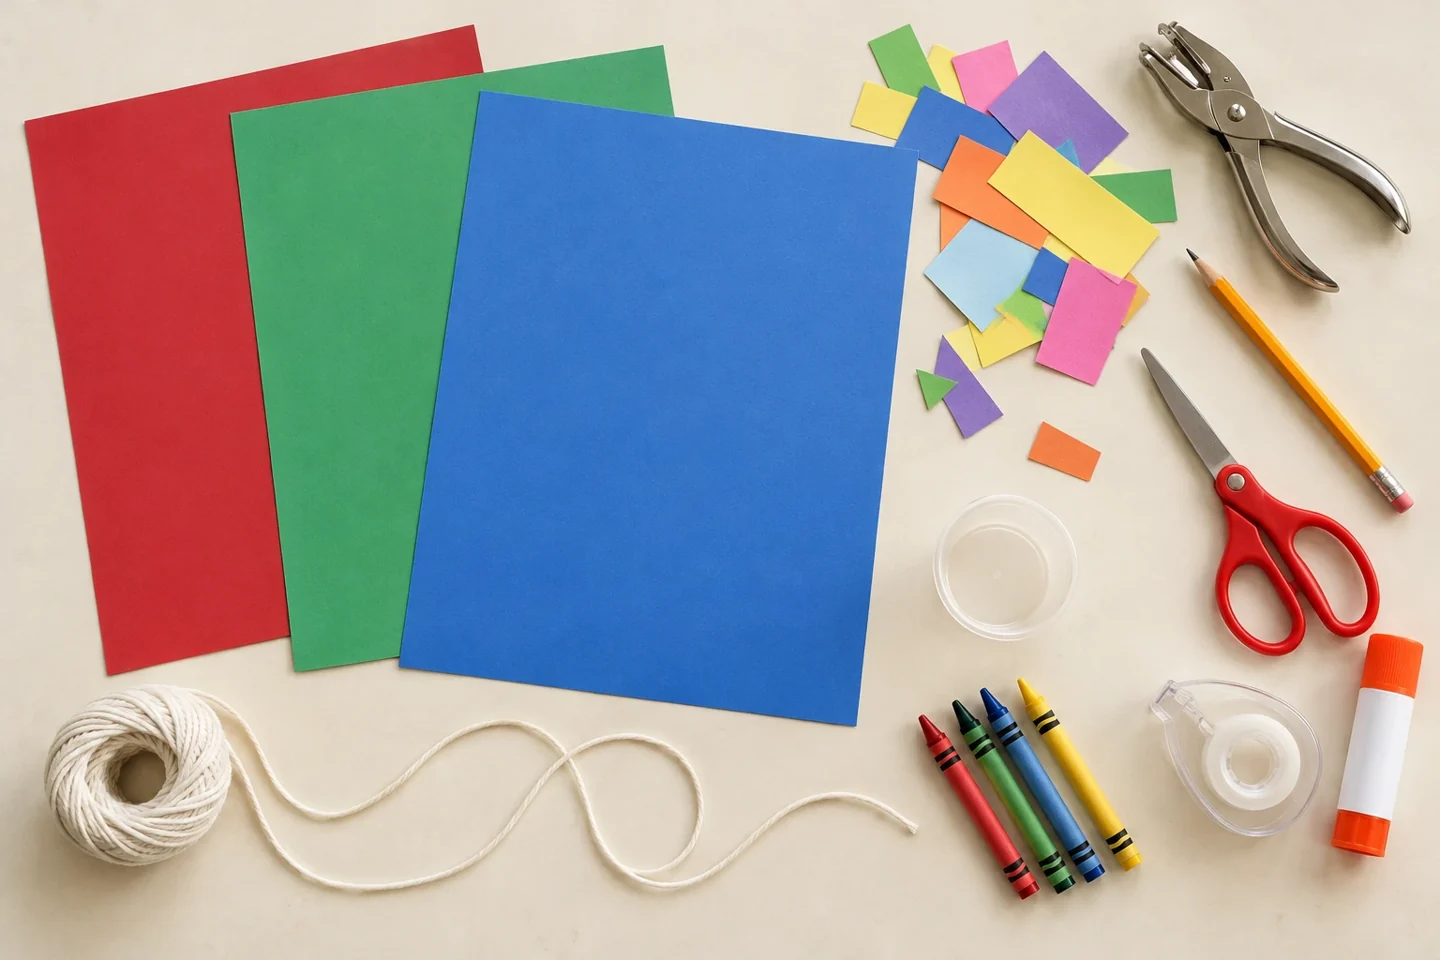
- 3 sheets of colored cardstock
- Paper scraps in contrasting colors
- 1 length of cotton string, approximately 4 feet
- Hole punch, pencil, scissors, and glue stick
- Crayons and a small bowl or cup for tracing
- Clear tape for reinforcing holes and holding the string positions
Decorate six circles and choose their order
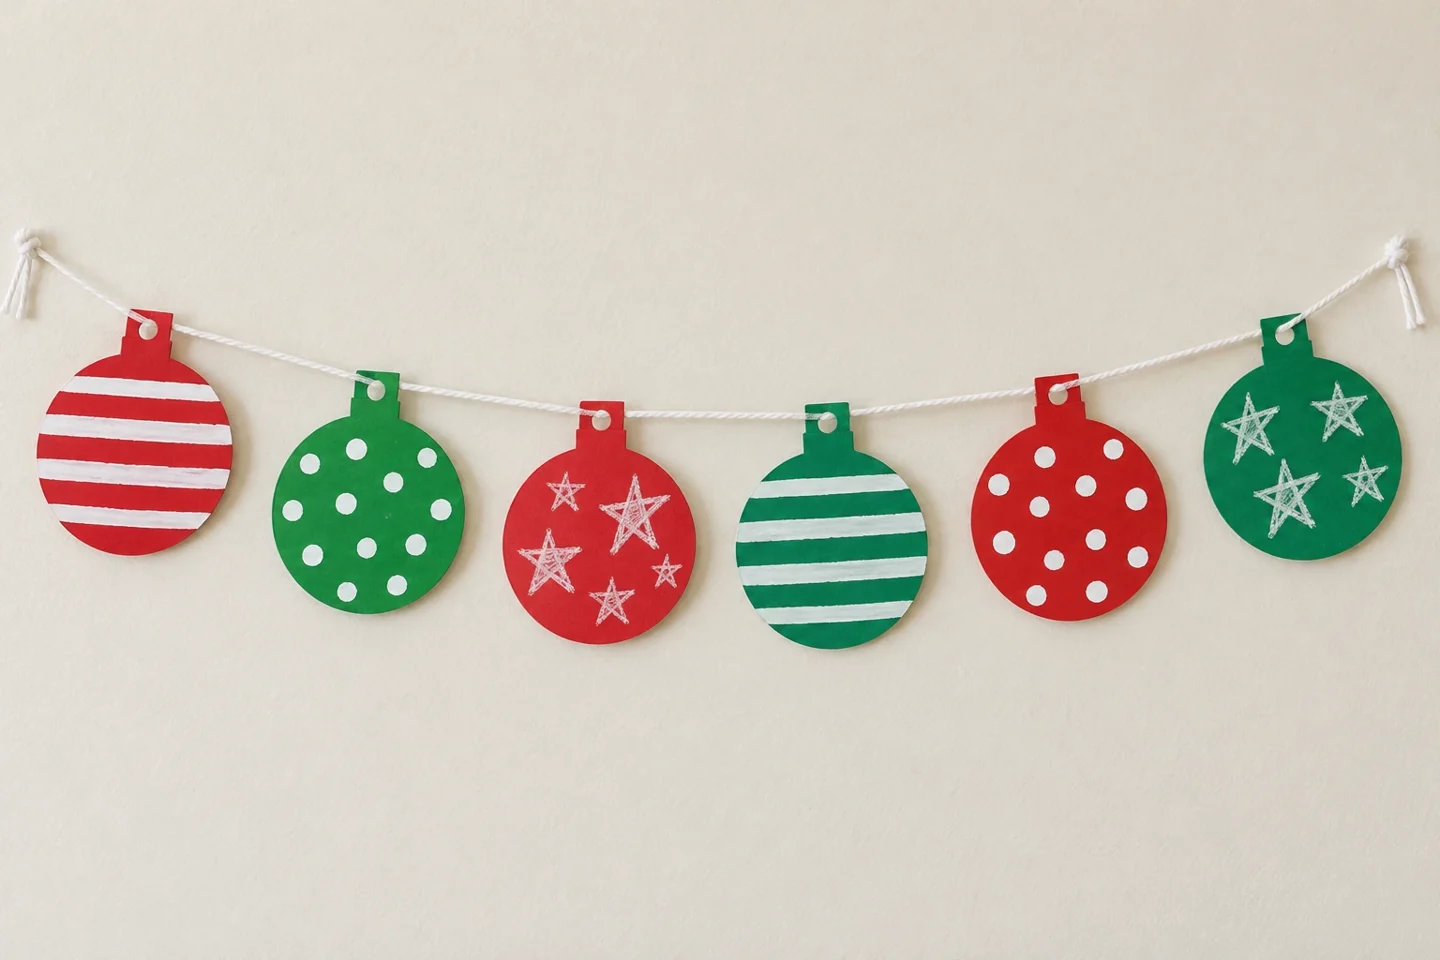
A string of handmade paper ornaments brings children’s designs into a Christmas display without fragile glass or complicated construction. Each ornament starts as a circle with a small tab at the top, then becomes a place for stripes, dots, zigzags, or a tiny drawing. This is a flexible project for one child, a family table, or a group contributing to the same garland. The fun comes from seeing different designs sit together.
Before you begin
Six ornaments fit comfortably on a four-foot string when their edge gaps are about one to two inches. Trace the circles on cardstock first and leave a broad tab above each for the hole. Set out a few contrasting scraps at a time so children can plan a stripe, dot or drawing without a crowded table.
Let’s make it, step by step
1. Trace the ornaments
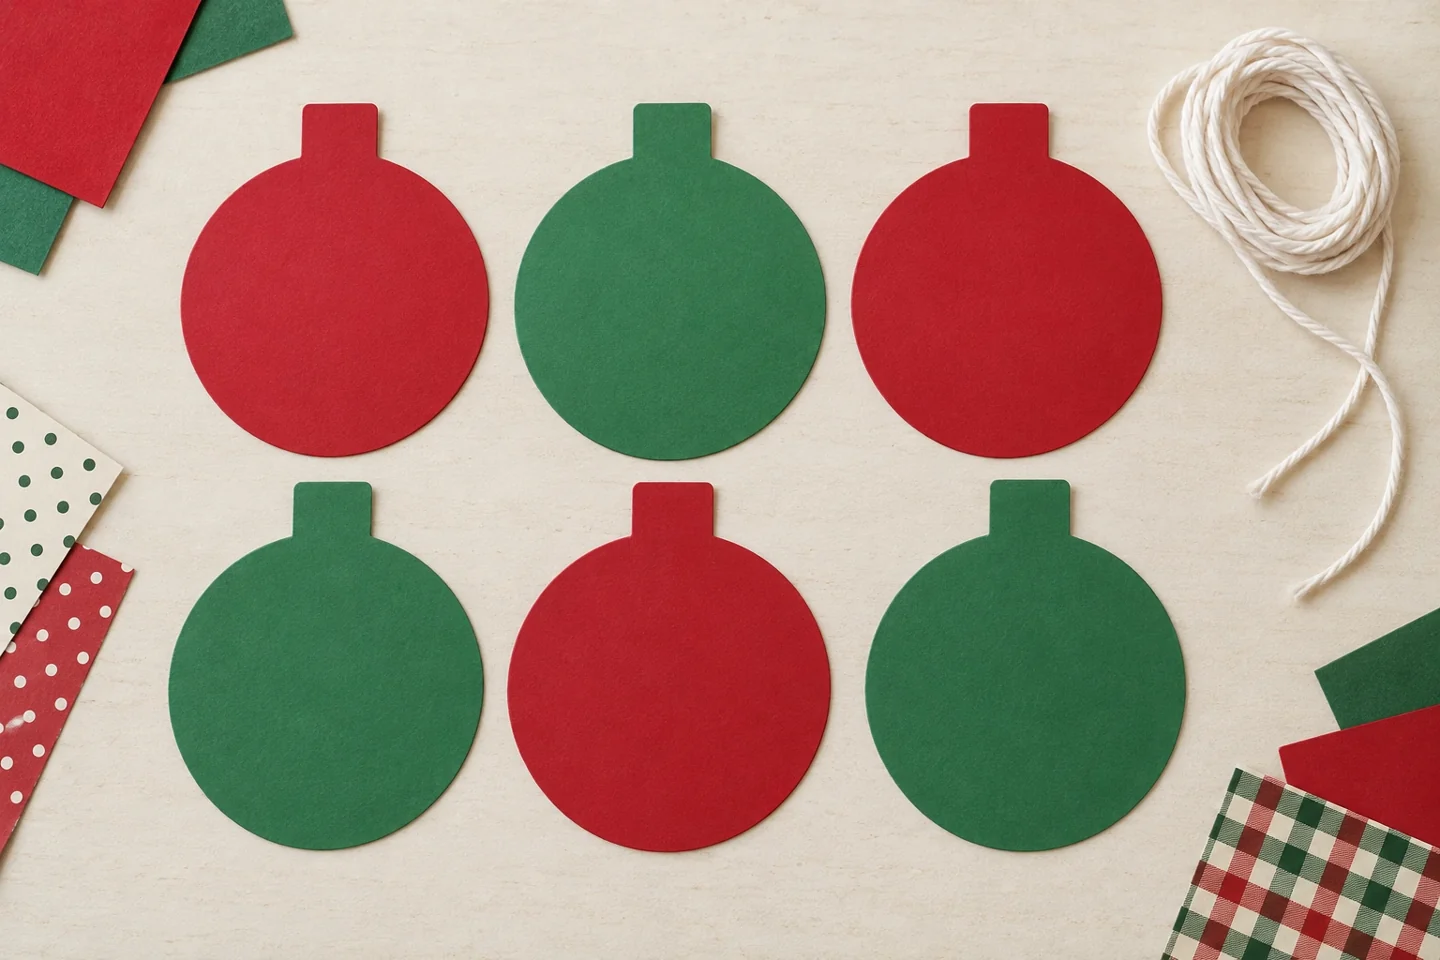
Use a cup or small bowl to trace six circles approximately 3–4 inches across. Add a small rectangular tab above each circle before cutting. The tab gives you somewhere sturdy to punch a hanging hole without taking space from the child’s design.
2. Cut and sort
Cut out the ornament shapes, keeping the tabs attached. An adult can prepare them for younger children. Place contrasting paper scraps in a bowl and group the blank ornaments by color. Let each child choose a base color rather than assigning matching designs.
3. Try a repeating design
Lay two or three paper colors in a simple sequence, such as red-green-red-green. Turn that idea into stripes, rings, or repeated shapes on one ornament. Start with loose pieces so children can change their arrangement before deciding where the glue goes.
4. Make another kind of ornament
Use the next shape for an original picture, a swirl of crayon marks, or torn-paper patches. A garland can mix carefully repeated patterns with free drawing. Ask how the second ornament is different from the first, and give children time to explain their choices.
5. Glue lightweight decorations
Attach paper pieces with a glue stick and press them flat. Keep the top tab clear. If a piece extends beyond the circle, trim the edge after the glue grips, or keep a small intentional overlap. Skip bulky additions that would make the ornament turn on the string.
6. Punch and thread
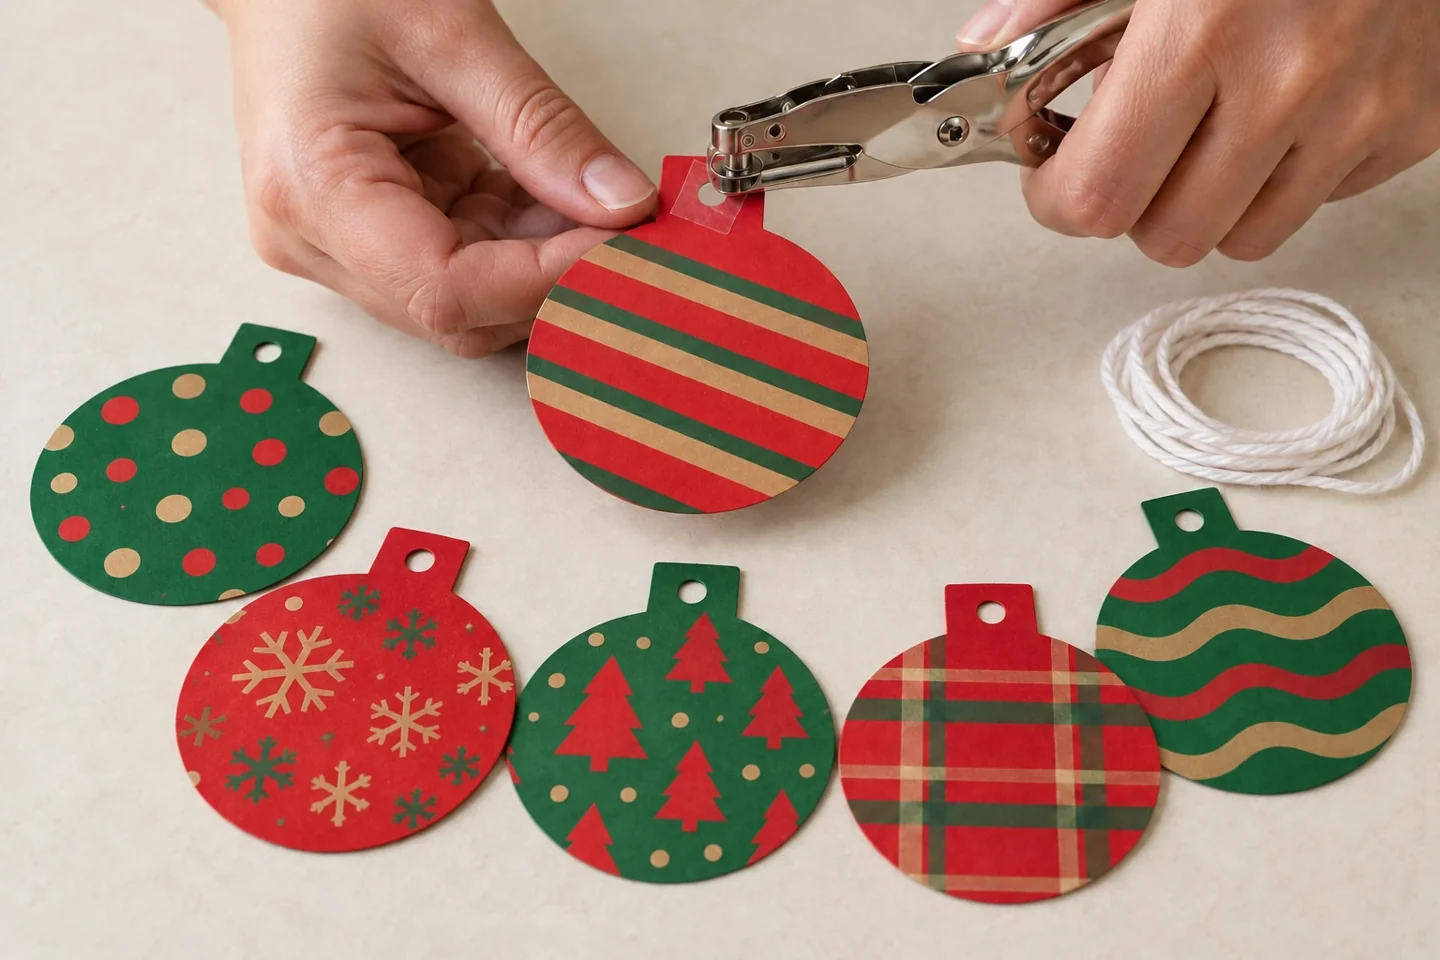
Punch one hole in each tab. Thread the string through the holes in the order children choose, leaving several inches at both ends. If threading is tricky, wrap a small piece of tape around the string end to make a firmer tip.
7. Set the spacing
Spread the six ornaments with approximately 1–2 inches of open string between their edges, leaving about 6 inches at each end for adult hanging. Add a tiny tape tab on the back of each ornament tab to hold it against the string. Check the whole garland on the table so nobody needs to adjust it while reaching up.
8. Display and describe
Have an adult hang the garland in a suitable display spot, away from flames and walkways. Invite children to describe one pattern or drawing. Return to the display later and see whether they notice a neighbor’s ornament detail they missed before.
Talk, notice, and learn together
Look for repeated units: one dot and one stripe, two small circles and one large circle, or alternating colors. Ask, “What comes next in your design?” and “Which ornaments share a shape but look different?” Patterning, comparison, and describing choices grow naturally from the artwork.
Make it work at home or in a classroom
For preschoolers, use larger ornaments and torn-paper pieces with adult-prepared holes. Older children can design mirrored ornaments or plan the order of the full garland. In a class, give each child one or two shapes and keep the finished string accessible for viewing, while adults handle hanging.
Helpful fixes and cleanup
If the tab tears, glue a small cardstock patch behind it and punch through the reinforced area. If ornaments slide together, add the back tape tabs before hanging. Store the garland between sheets of paper so the string and decorations are easy to untangle next time.
A useful way to extend the activity
Try laying the ornaments in a circle before threading them into a line. The same pieces look different when their order and spacing change. Children can plan two possible arrangements and choose one. If several children contribute, count the completed ornaments and divide the available string length into approximate spaces before hanging, so the last ornament is not crowded against the end.