Fall & Halloween
Autumn Color-Mixing Art
 Facebook
 Pinterest
 X
X LinkedIn
 Reddit
 WhatsApp
 Telegram
 Bluesky
 Email
Email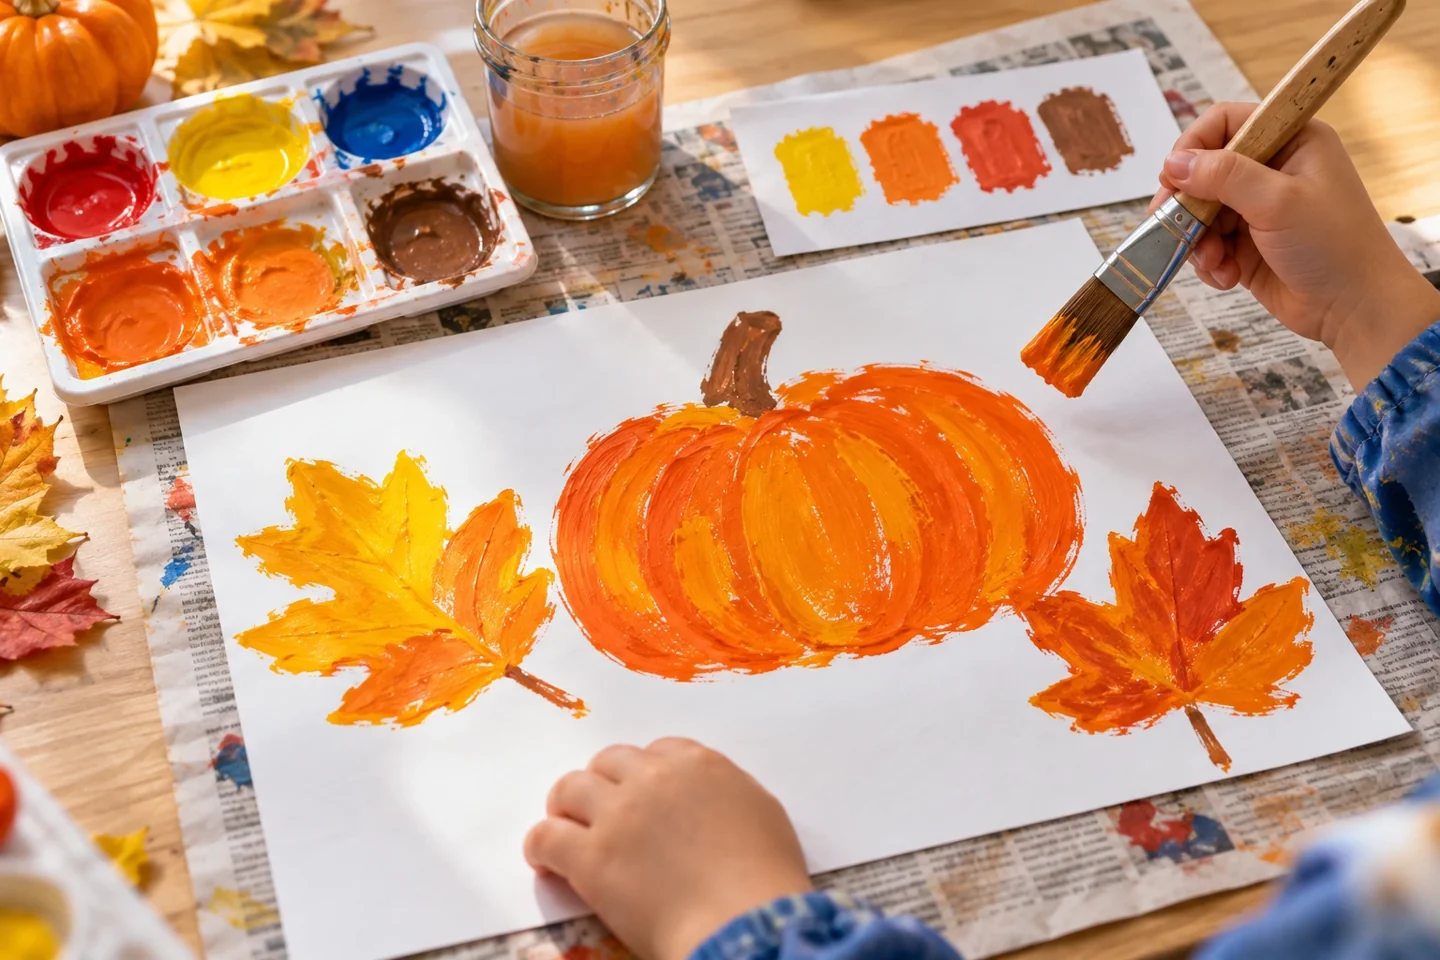
Your activity at a glance
| Suggested ages | 4–9 |
|---|---|
| Activity time | 30 minutes plus drying |
What you need
- Red yellow and blue washable child-appropriate paint
- three brushes
- mixing tray
- water cup
- thick paper
- newspaper
- pencil
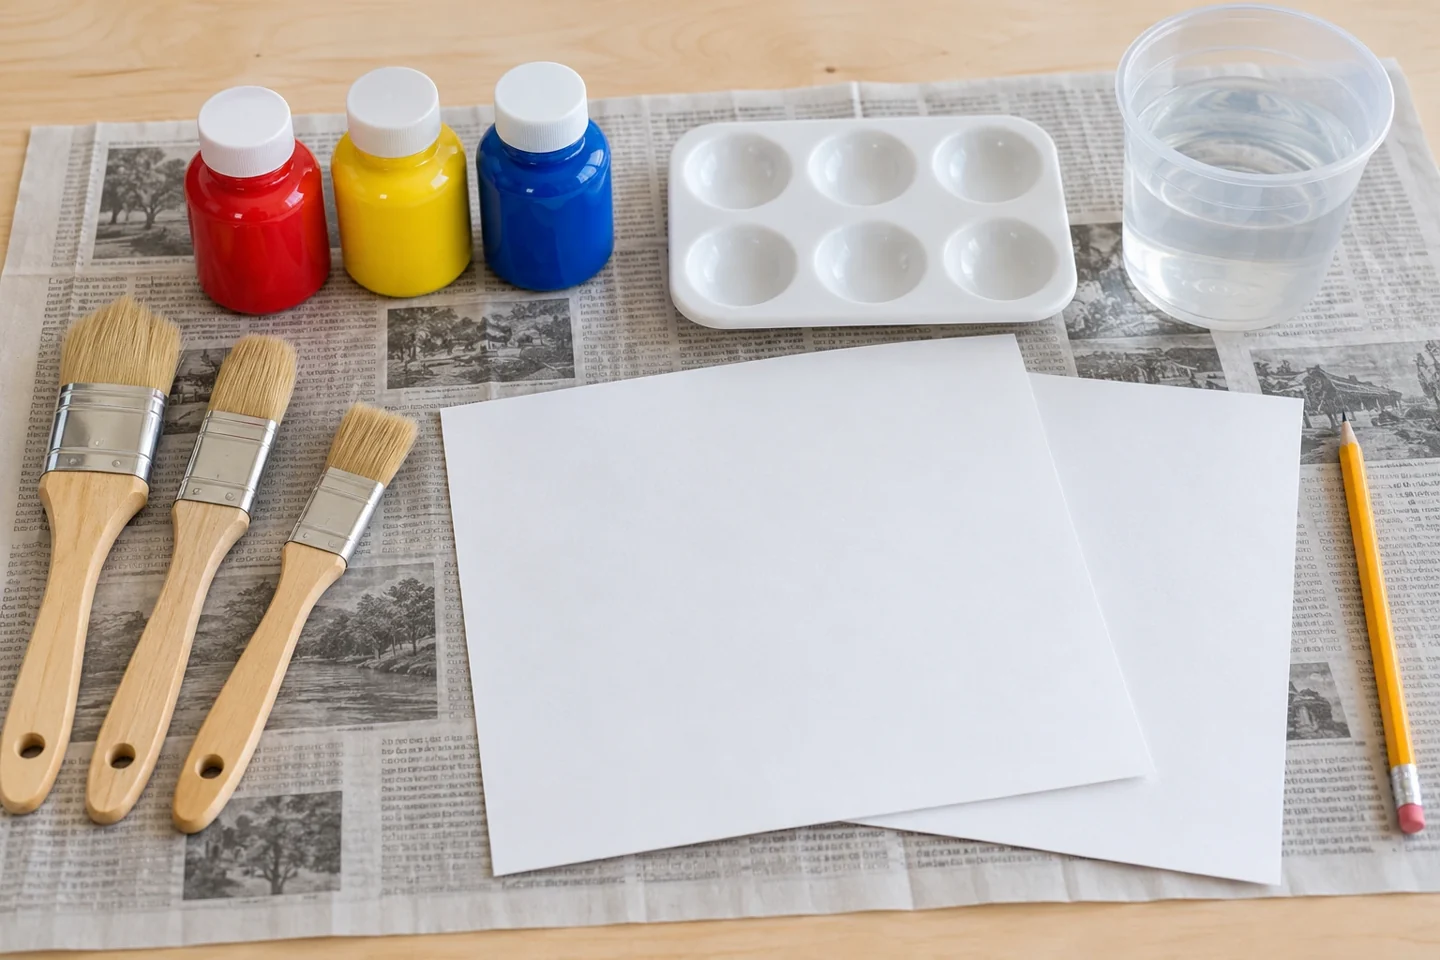
A creative way to explore the season
Autumn colors offer a reason to slow down and notice what happens when paints meet. Children mix their own orange and brown shades before using them in an original fall picture.
Use liquid washable paint intended for children and follow the package guidance. Set out red, yellow, and blue in separate wells, with spare wells for mixtures. A teaspoon-sized portion of each is a useful starting amount; extra paint can be added later. Provide thick paper for sample patches as well as the final picture. Use water only to rinse brushes, not to flood the paint. Keeping the original colors separate makes it possible to begin a fresh mixture.
Get the setup right
Begin with more yellow than red when making orange, then add red in small amounts. Paint a sample after each change so children can compare rather than relying on memory. To explore brown, move a little orange into a clean well and add only a tiny touch of blue. Different paint products mix differently, so describe the result you actually see. A duller or darker mixture is a useful observation even if it does not match an imagined autumn shade.
Make it step by step
- Cover the table and put a teaspoon-sized portion of each paint color in separate tray wells. Keep several wells empty for mixtures.
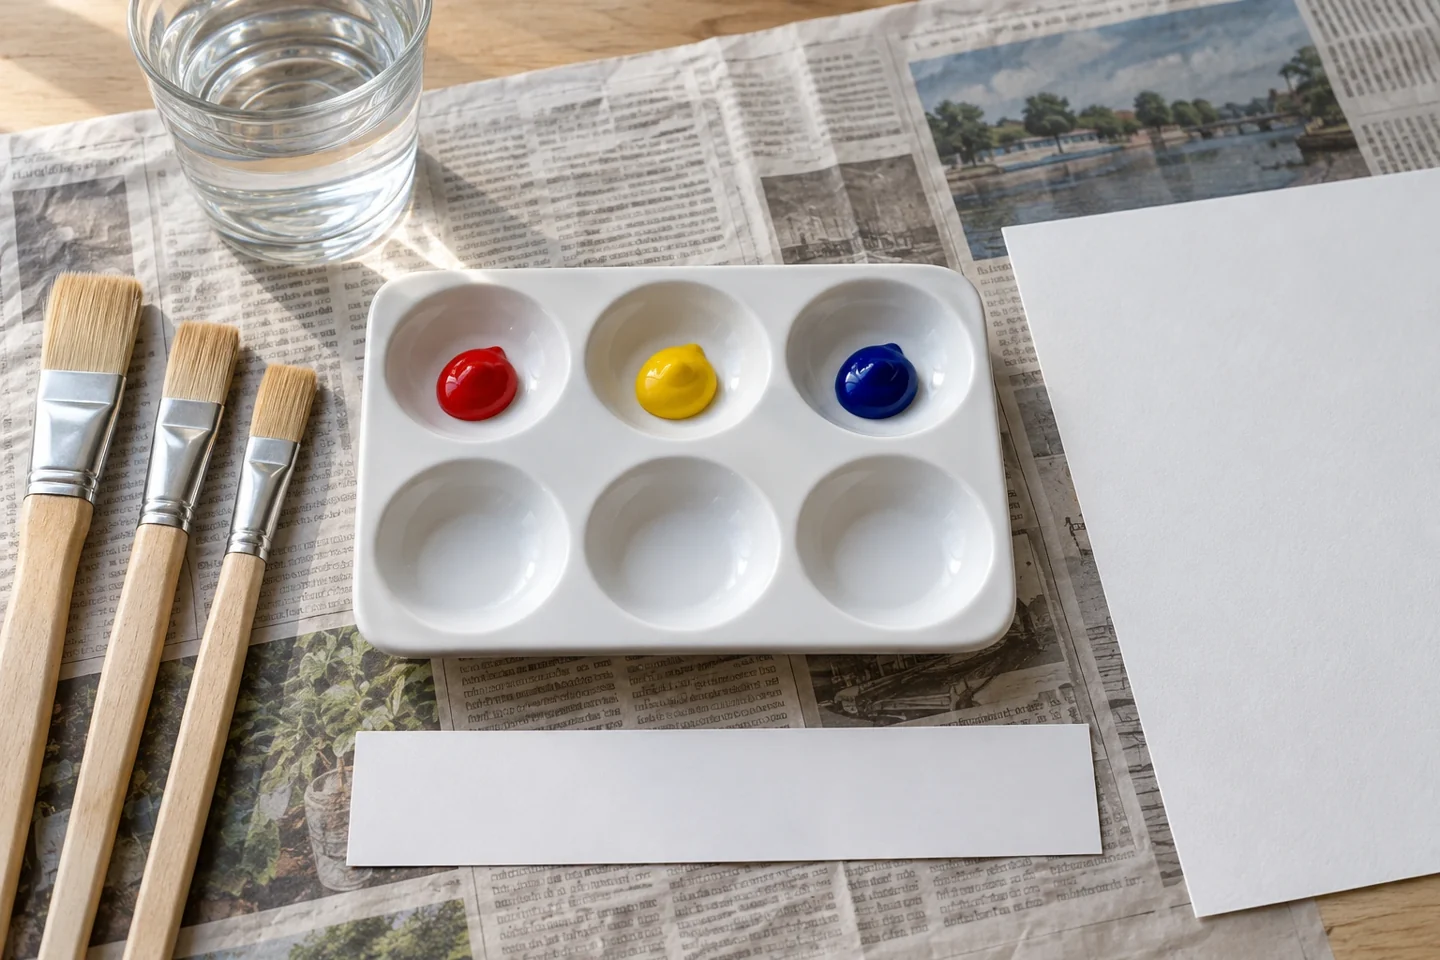
Keep the original colors separate and leave clean wells for your mixtures. - Move a small amount of yellow into an empty well and add a little red. Mix and paint a sample patch, then add more red and compare.
- Mix another orange sample, then add a very small amount of blue. Observe how the mixture changes toward a duller brown shade.
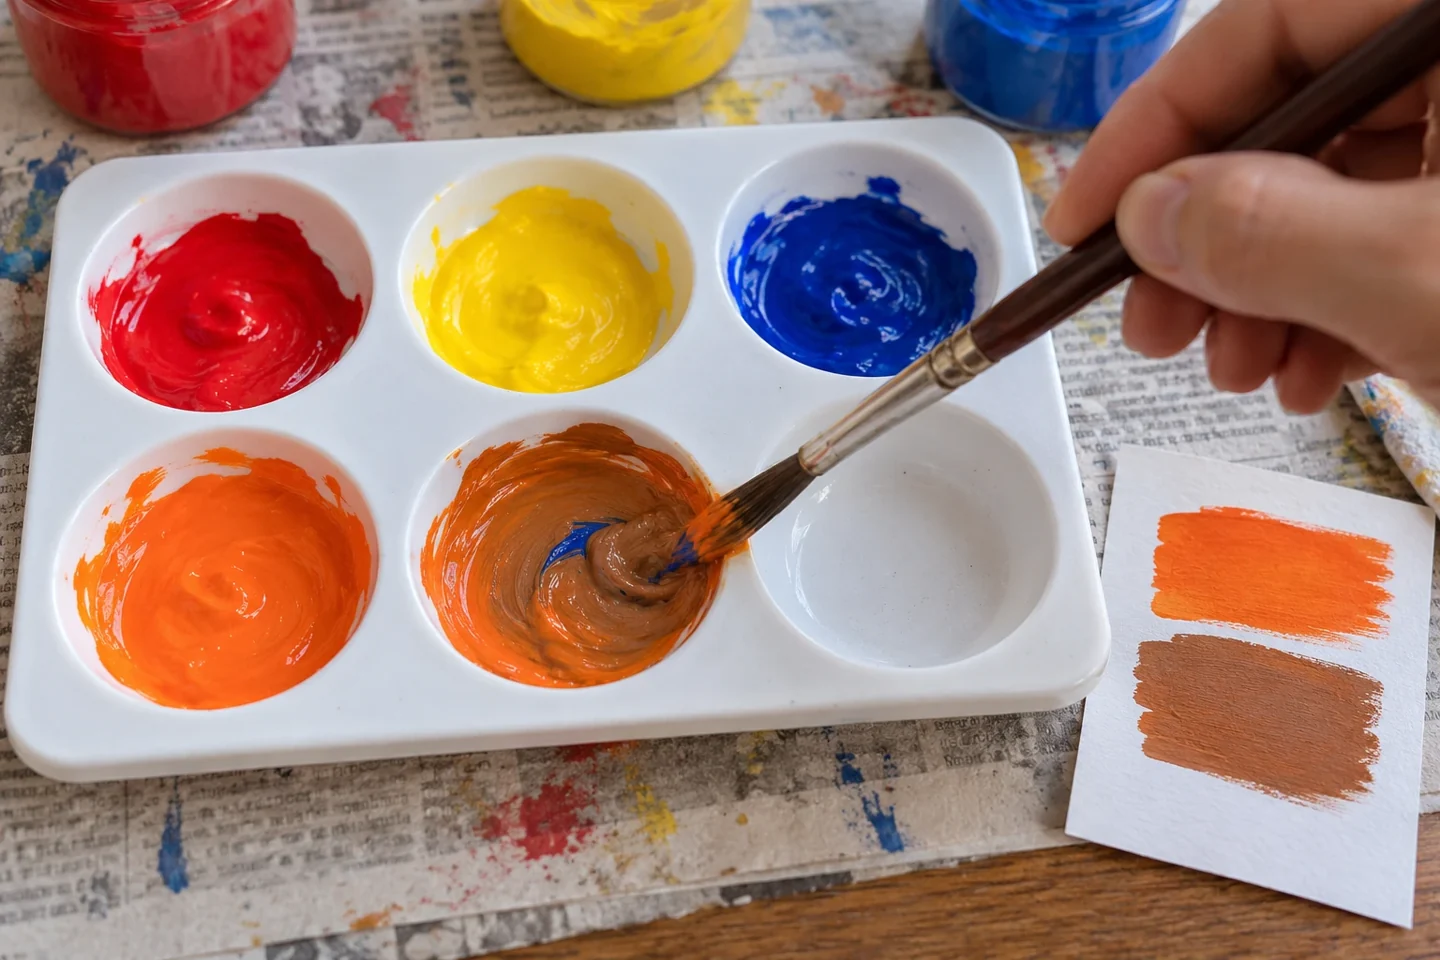
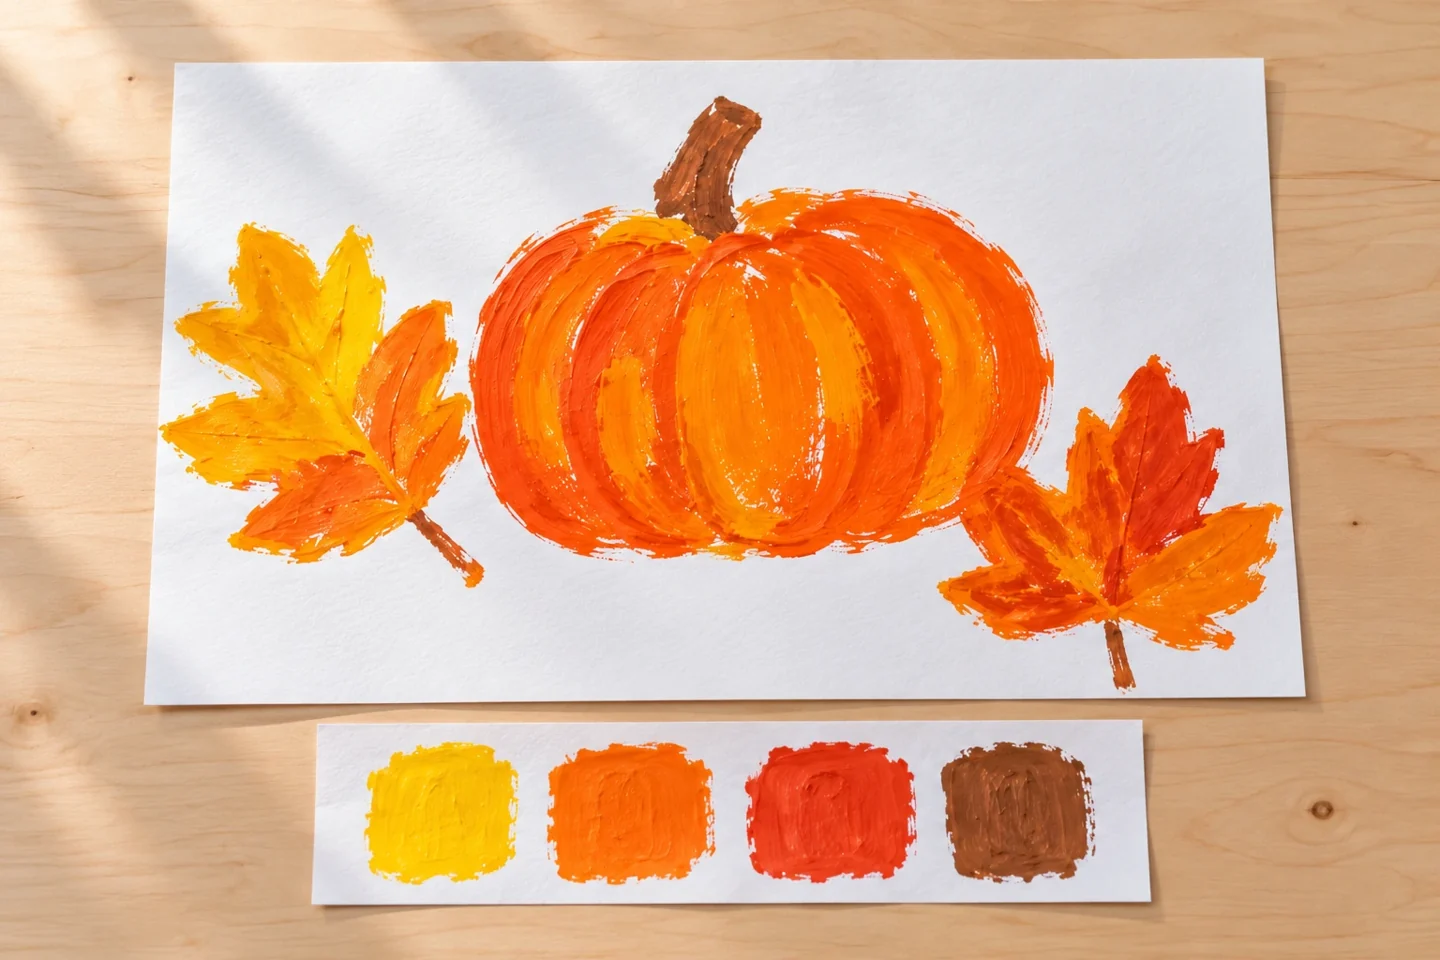
Add blue a little at a time and compare each mixture on scrap paper. - Sketch broad leaves, pumpkins, or an autumn tree on thick paper. Paint the shapes with the mixtures, rinsing the brush between colors.
- Let the picture dry flat. Put sample patches nearby and describe which recipe made each favorite shade.
Adapt it for your makers
Younger painters can explore two colors first, with an adult placing the paint portions. Offer a single broad brush and change the rinse water when it becomes heavily colored. Older children can record their approximate recipes using descriptions such as two brushfuls of yellow and one of red. In a classroom, use paired trays and enough clean mixing wells for each pair to keep an original color supply. Reserve a drying area before painting begins so wet pages do not need to be stacked.
Notice talk and explore
What changed after adding blue? Which mixture looks closest to a leaf you have seen?
Paint simple child-drawn leaf outlines, broad pumpkins, or a tree with large areas of color. These pictures do not need fine veins or realistic shading. Place the sample patches beside the artwork and ask which mixture the child chose for each area. Invite a second version with a lighter or redder orange and compare them. The interesting connection is between a deliberate material change and a visible color change, not producing a professionally painted leaf.
Helpful fixes
Colors become muddy too quickly: start new mixtures with a clean brush and tiny additions. Paper curls: use thicker stock and smaller paint amounts.
An extra way to explore
Save a narrow strip of paper as a mixing ladder. Paint a yellow sample at one end, then make four more samples with progressively larger additions of red. Keep the brush size and approximate paint amount similar for every patch. Once dry, compare the row and ask where the child would place their favorite orange. A second ladder can begin with orange and tiny additions of blue, but use a clean mixing area so it does not inherit old colors. Children may notice changes in brightness as well as hue. Record their own descriptions, such as pumpkin orange or muddy brown, beside the samples.
Finish display and clean up
If every mixture turns muddy, pause and clean the brush, replace dirty rinse water, and start with a fresh yellow portion. Let children add colors gradually rather than stirring all three into every well. Set finished art flat until dry and wipe paint from reusable trays before it hardens. Follow the paint label for cleanup and disposal. Wash hands before handling snacks, and save dry sample pages in a folder if children want to compare their colors on another day.