Spring & Easter
Paper Easter Basket Weaving for Kids
 Facebook
 Pinterest
 X
X LinkedIn
 Reddit
 WhatsApp
 Telegram
 Bluesky
 Email
Email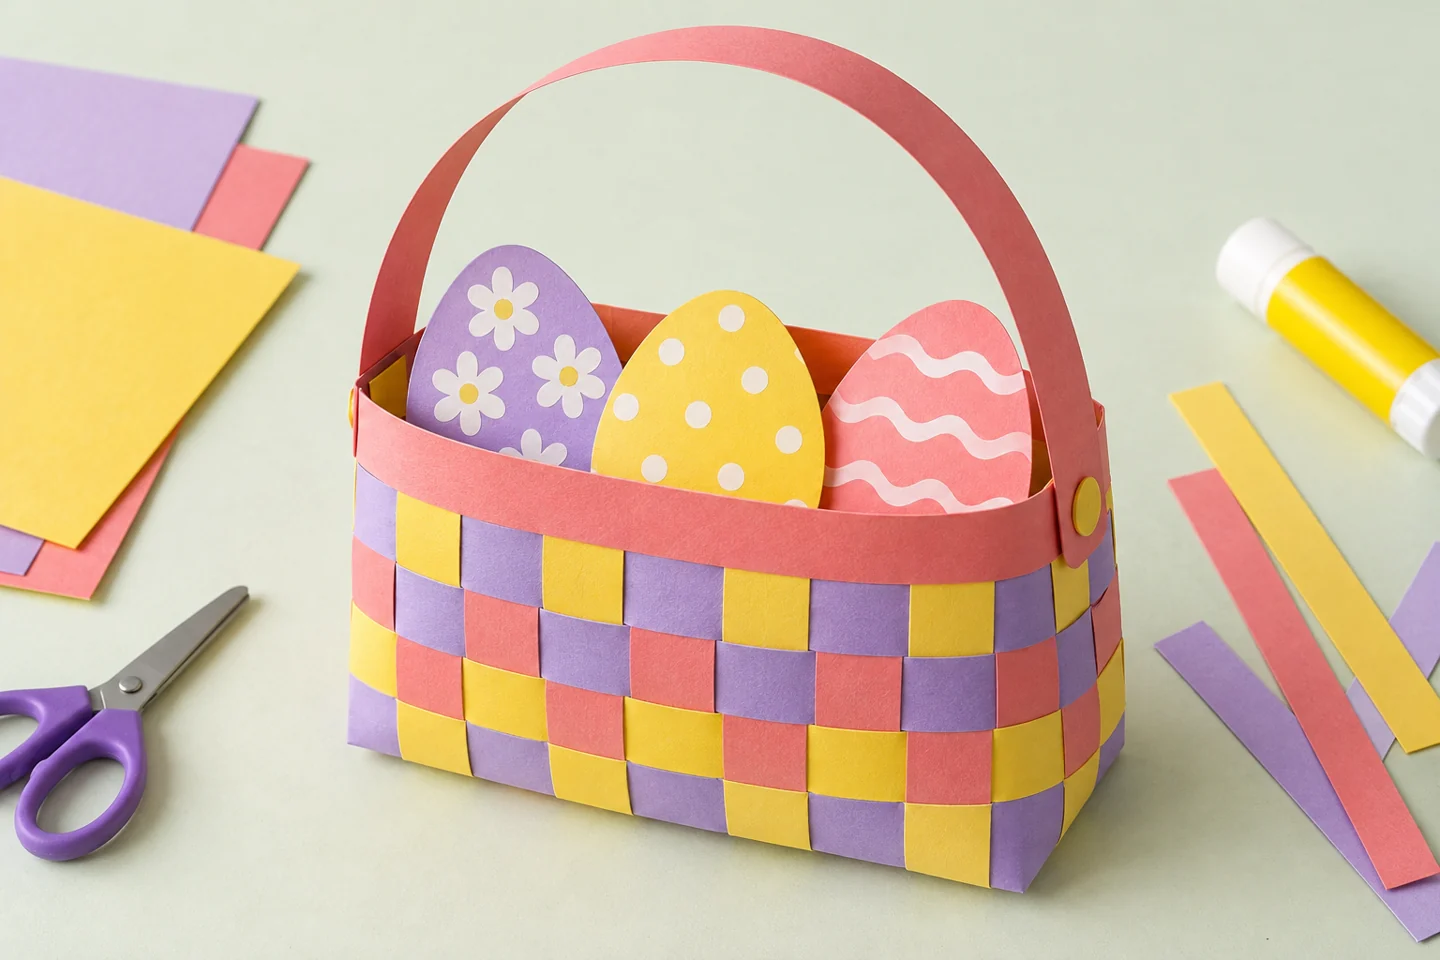
Your activity at a glance
| Suggested ages | 5–10 |
|---|---|
| Activity time | 40 minutes |
What you need
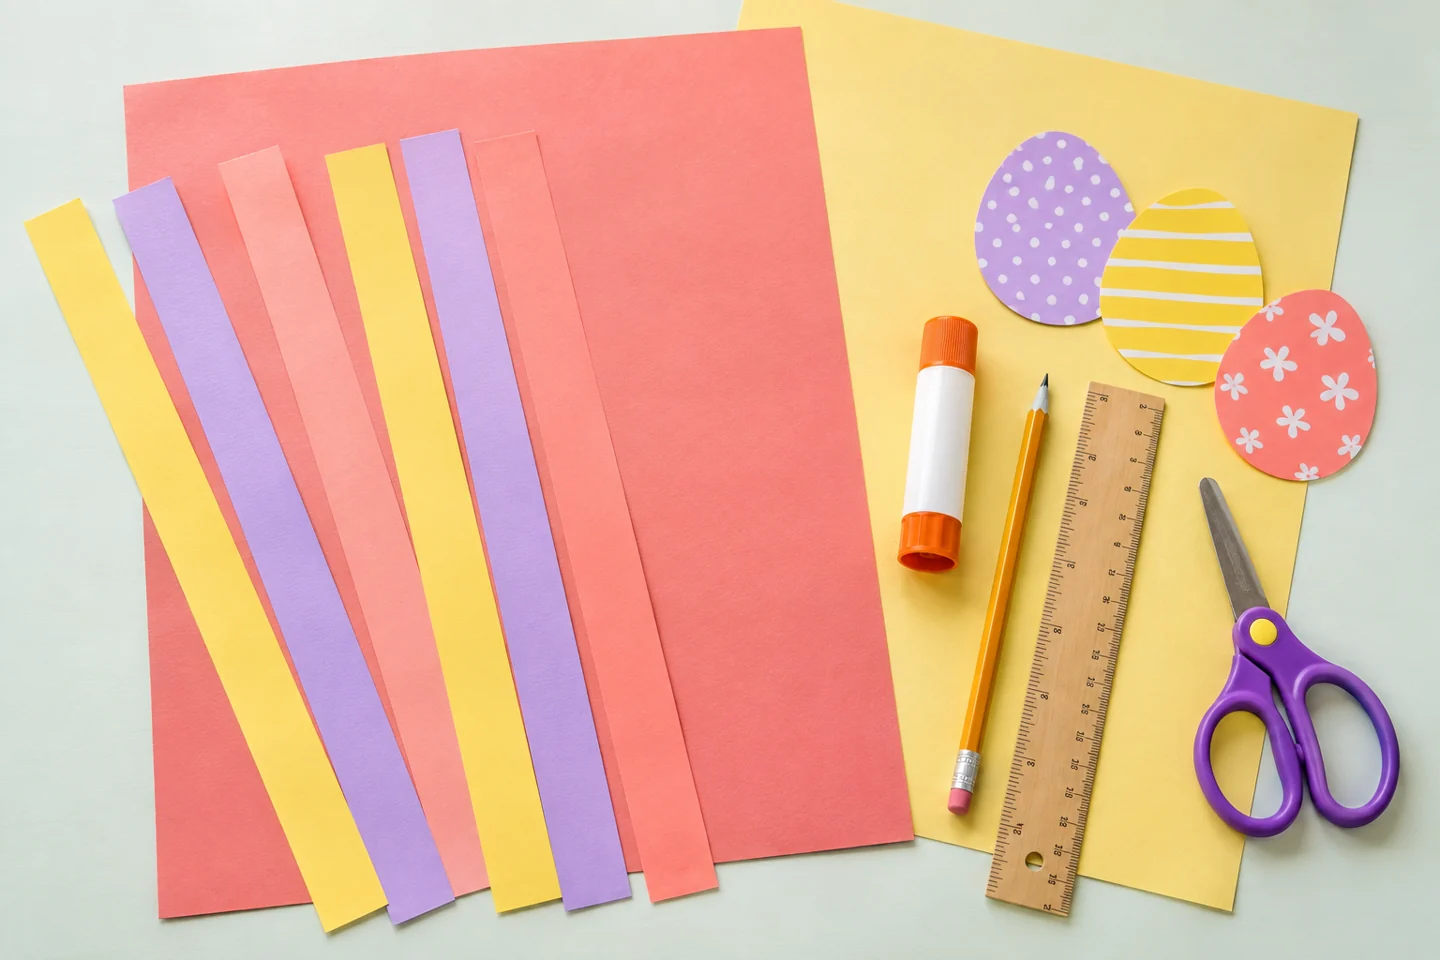
- One 9-by-12-inch sheet of construction paper for the basket
- 4 working paper strips and 2 spare strips, each approximately 1 inch wide and 12 inches long
- A contrasting background sheet
- 3 paper egg shapes, glue stick, ruler, pencil, and child-friendly scissors
A little spring creativity
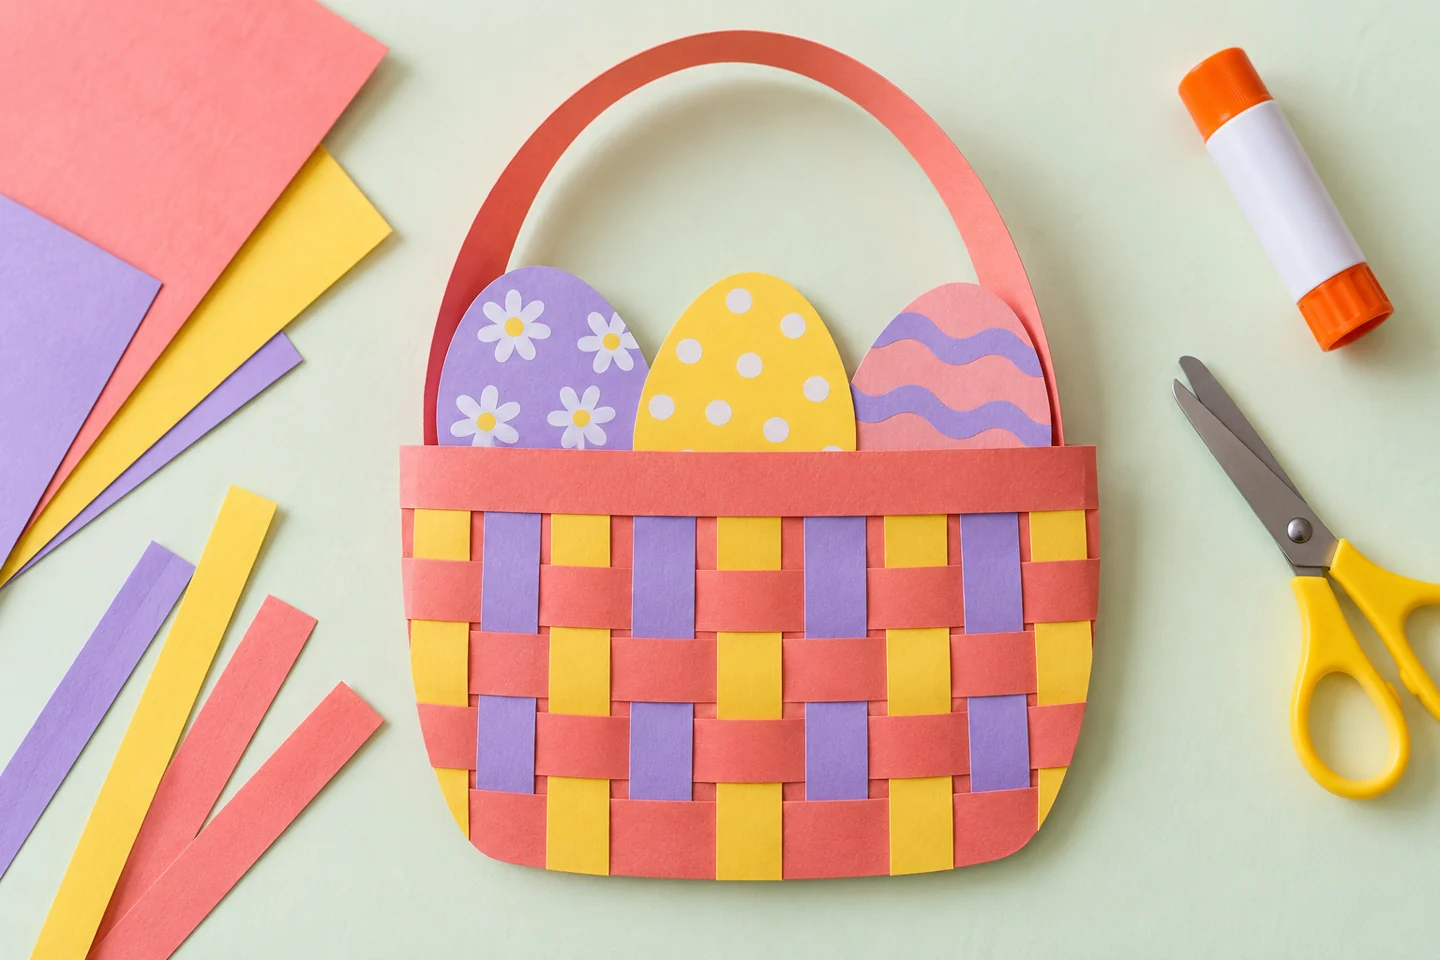
This Easter basket is a flat piece of woven artwork, not a container to carry. Paper strips travel over and under the basket base to create a checkerboard texture, then decorated paper eggs sit above its rim. Children can see the weave grow one row at a time and choose a color arrangement that makes each crossing easy to spot.
Get ready together
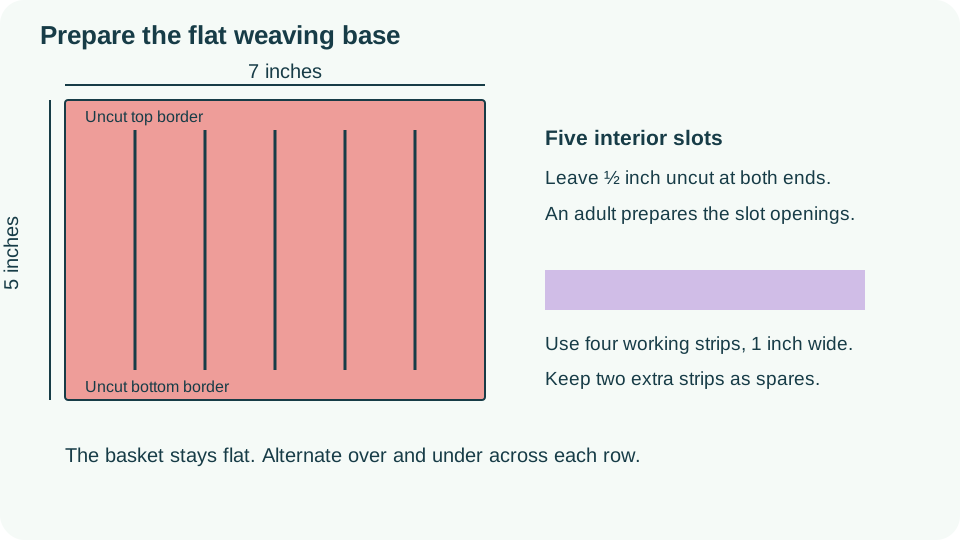
Prepare the basket base before the session. The body is 7 inches wide and 5 inches tall; five vertical slots run between lines half an inch below the top and half an inch above the bottom. This leaves a 4-inch-high weaving area and six upright paper sections. Mark the slots about 1 inch apart, leaving the side sections slightly wider. An adult can fold the base gently to start each interior cut, then reopen it. Set out four working strips and two spares; the spares replace torn pieces rather than squeezing into an already full basket.
Make it step by step
- Draw a basket body approximately 7 inches wide and 5 inches tall. Leave a half-inch border at the top and bottom. An adult cuts five evenly spaced vertical slots between those borders.
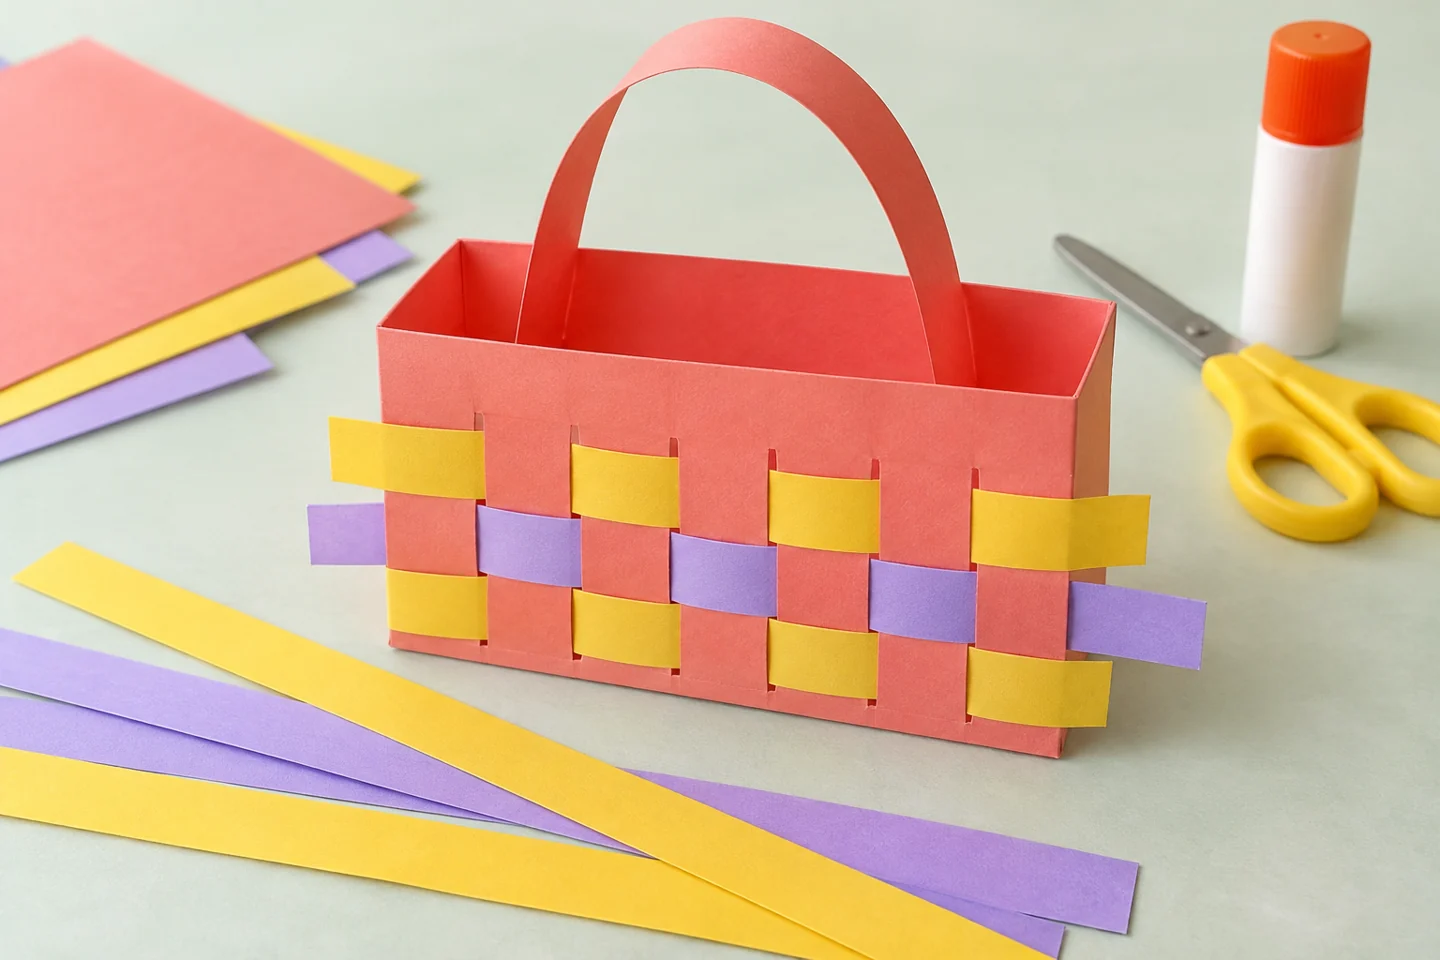
Keep both borders intact when cutting the five vertical slots. - Cut four contrasting working strips approximately 1 inch wide and keep two spare strips nearby. Put the basket on the table with its five slots running up and down, and place the first strip beside the lower edge.
- Thread the first strip over one section and under the next, continuing across the basket. Move it down close to the bottom border without tugging it through the paper.
- Weave the next strip in the opposite order: under where the previous strip went over. Slide it beside the first. Continue alternating, stopping when the woven area is comfortably filled.
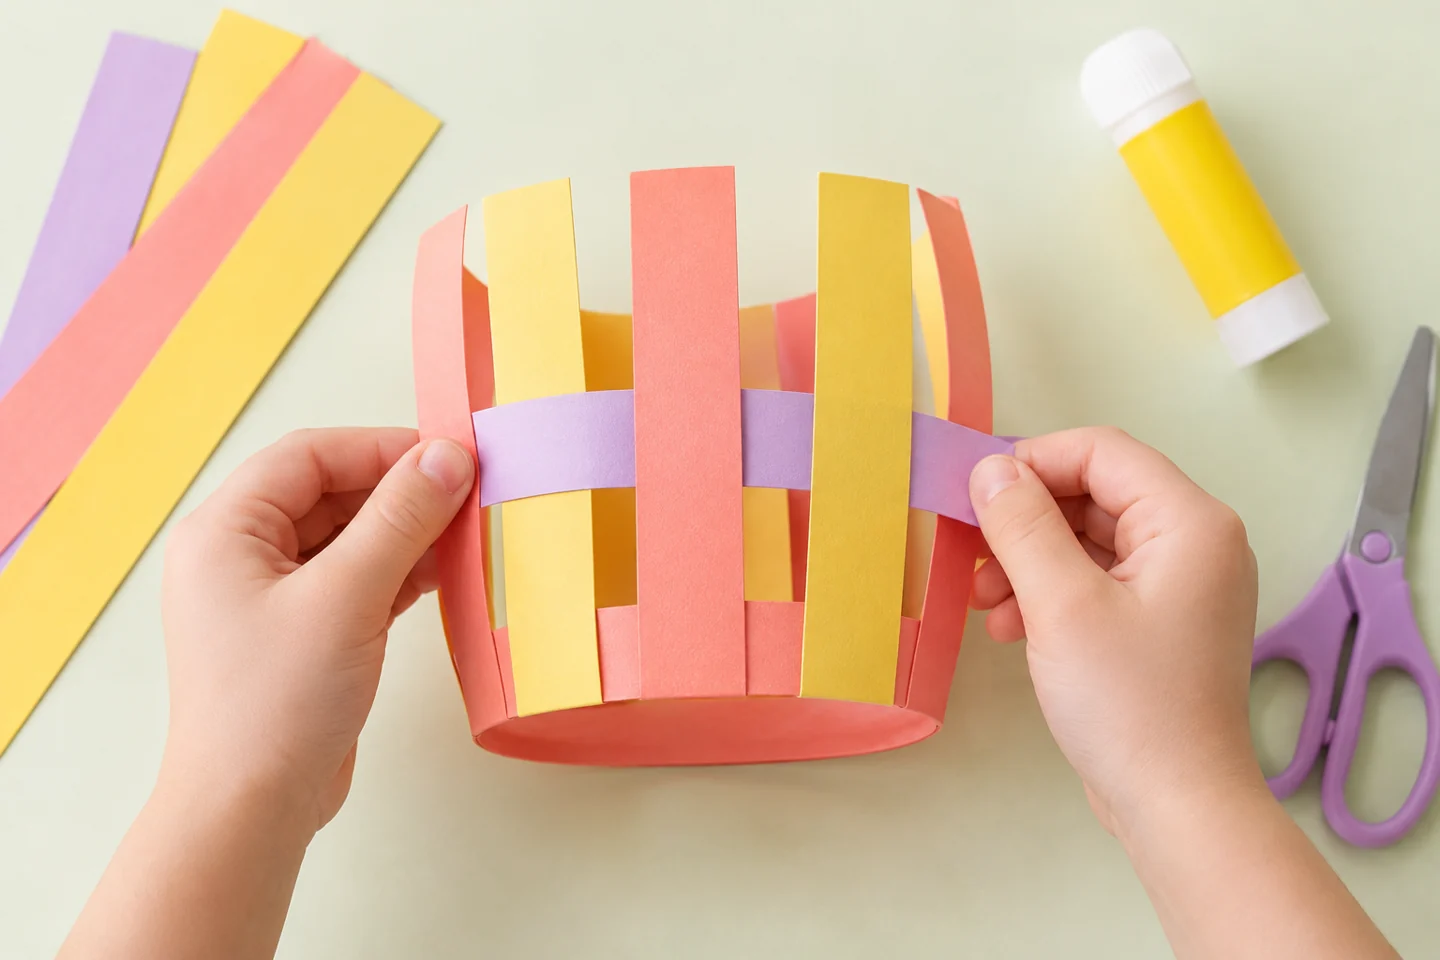
Alternate the starting crossing on each new row. - Trim the ends and glue them to the back. Attach the basket to a background sheet, add a paper handle, and glue three decorated eggs above the rim. Keep the handle flat with the artwork.
Try it, notice it, talk about it
For a classroom table, give each child a prepared base, four strips, and one background sheet in a flat tray. Demonstrate just the first two crossings on an extra base. Children can move a fingertip along the strip and say over, under as they work. The second row starts opposite the first. Before adding glue, compare the two rows: each exposed colored square should sit above a covered section in the row below. That visual check helps children spot a repeated crossing without having to undo the entire basket.
Look for places where two matching colors touch. What changes when the second row starts with the opposite crossing? Turn the finished basket sideways and see whether its pattern still repeats.
Make it work for your children
A partner can hold the base flat while the weaver guides the strip, then swap jobs on the next row. For a first attempt, use only three slots and wider paper sections; cut strips to fit the resulting opening. Older children can plan alternating strip colors on scrap paper before weaving. Compare the drawn plan with the result and ask what repeats across a row and down a column. The activity combines a physical over-under sequence with a visible pattern, but children need not use mathematical vocabulary to explain what they notice.
If a strip buckles, ease it backward and widen the passage with a fingertip rather than pulling harder. Wider strips and fewer slots make an easier first weave. Adults can cut the base in advance so children can concentrate on the over-under rhythm.
Finish and tidy up
Finish by laying the woven basket against the background before applying glue. Leave a little space above the rim for eggs and check that the handle does not cover the woven section. Tape or glue the strip ends only on the back so the front keeps its woven appearance. Dry the collage flat under no pressure until the glue sets, then display it upright. Save unused full strips in a labelled envelope; narrow frayed pieces are better recycled than offered for the next weaving session.