Spring & Easter
Make a Paper Butterfly With Symmetrical Wings
 Facebook
 Pinterest
 X
X LinkedIn
 Reddit
 WhatsApp
 Telegram
 Bluesky
 Email
Email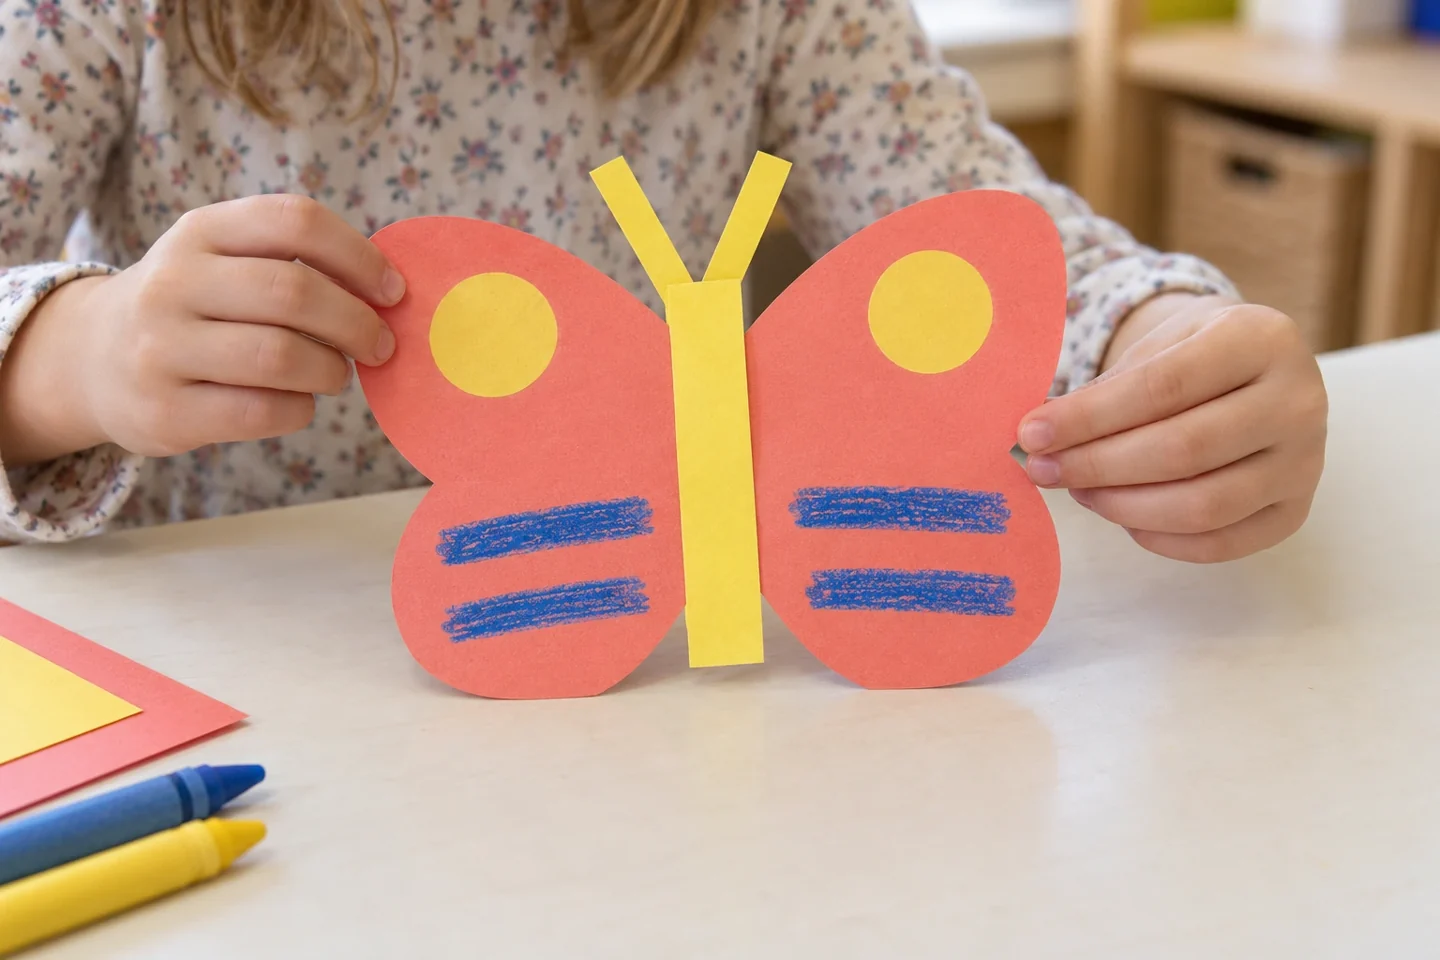
Your activity at a glance
| Suggested ages | 4–9 |
|---|---|
| Activity time | 30 minutes |
What you need
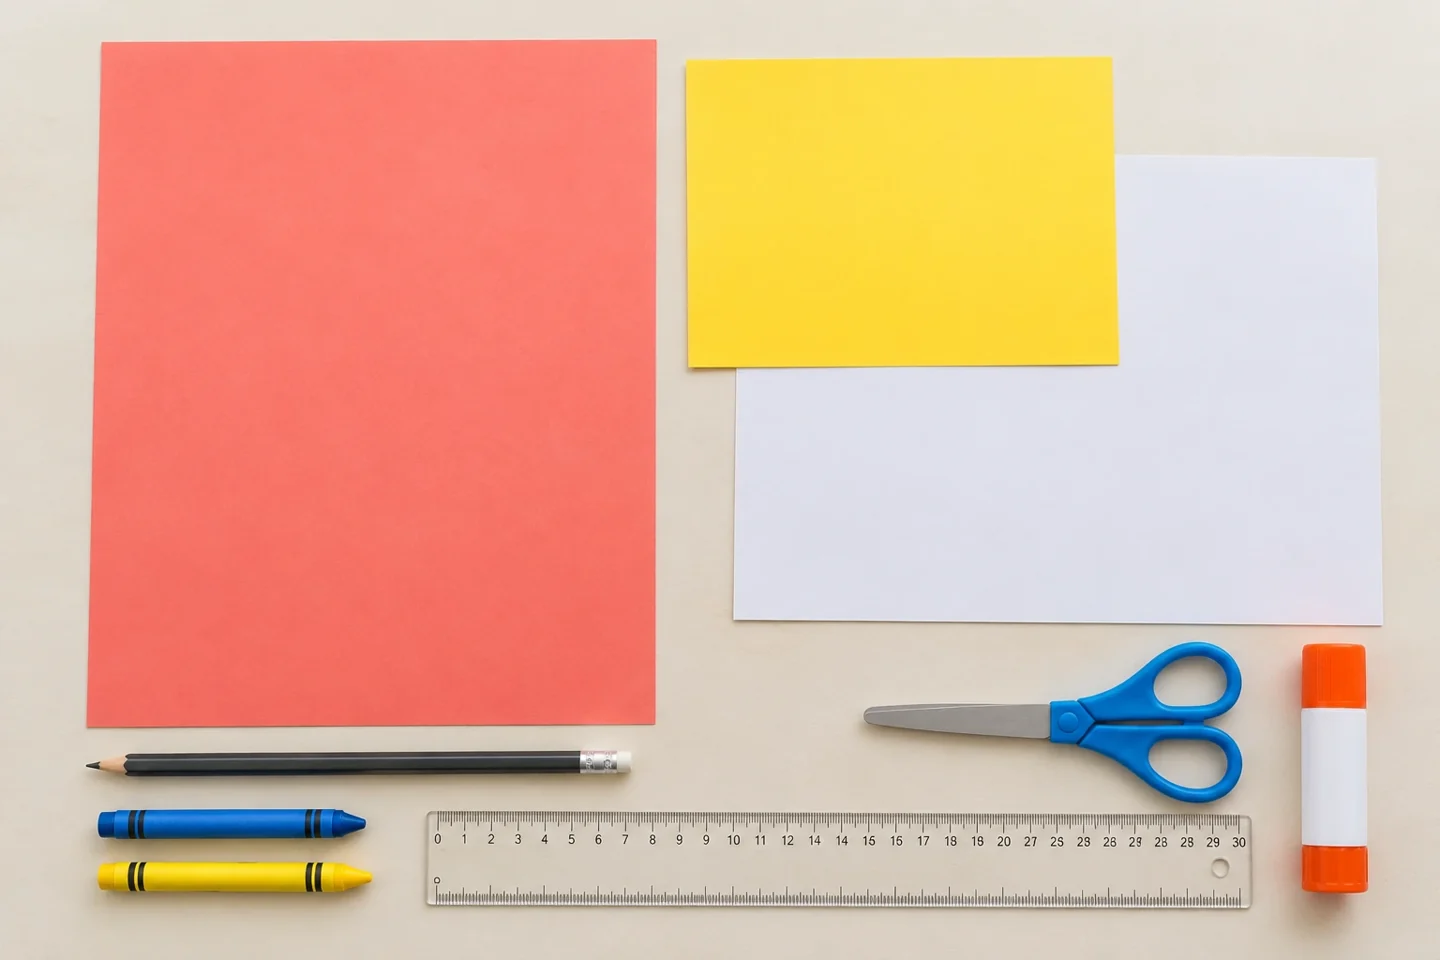
- One colored sheet approximately 9 × 12 inches
- One contrasting paper scrap for a 1 × 8 inch body strip and two short wide antennae
- Colored pencils or washable markers, pencil, and ruler
- Child-friendly scissors and glue stick; optional background sheet
Two wings, one playful pattern
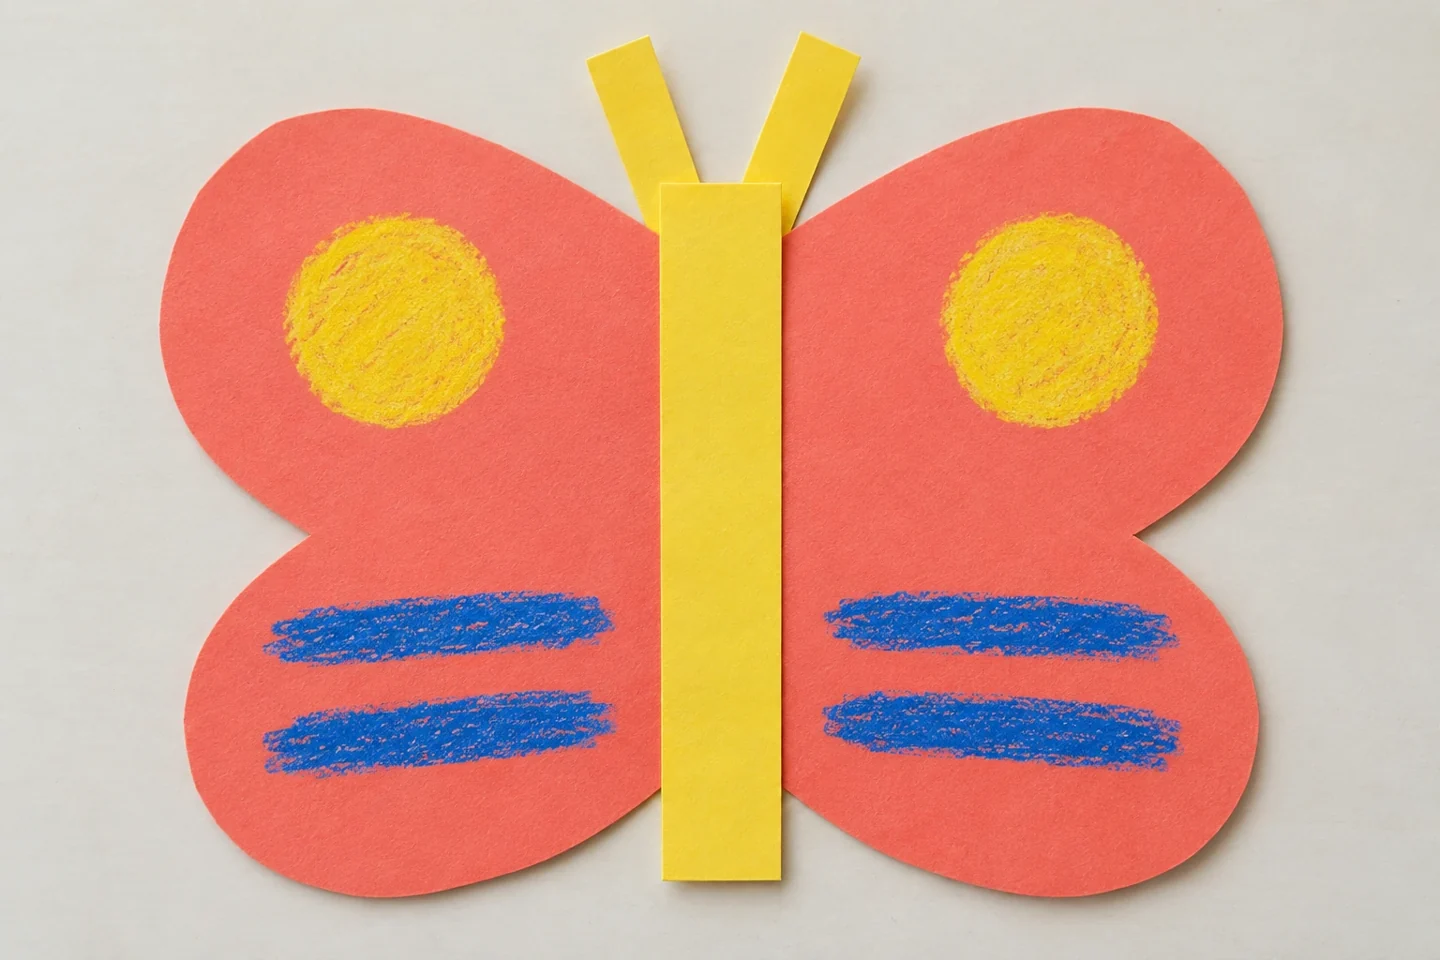
Folded paper makes it possible to cut two matching wing shapes at once. Children then decide how closely their decorations will match on each side. The finished butterfly offers a visible way to explore reflection: an imagined line through the body divides the wings into two halves that can mirror one another.
Get ready together
Choose paper that holds a crease but is still comfortable to cut. Fold the 9-by-12-inch sheet in half to create a 6-by-9-inch folded rectangle, and keep the fold upright beside the half-wing drawing. The outline must start and end on the folded edge so the opened wings remain connected. Broad curves are easier to cut than narrow pointed sections. Adults can prepare one folded example and one opened example, showing the relationship without asking every child to copy the same wing shape.
Make it step by step
- Place the 9 × 12 inch sheet upright. Bring the two 12-inch sides together to make a folded rectangle 4½ × 12 inches, and press the crease. Keep the closed fold on your left; this will become the butterfly’s center line.
- Draw half a butterfly outline starting and ending at the fold. Use two broad wing curves and leave enough paper near the crease to keep both halves joined.
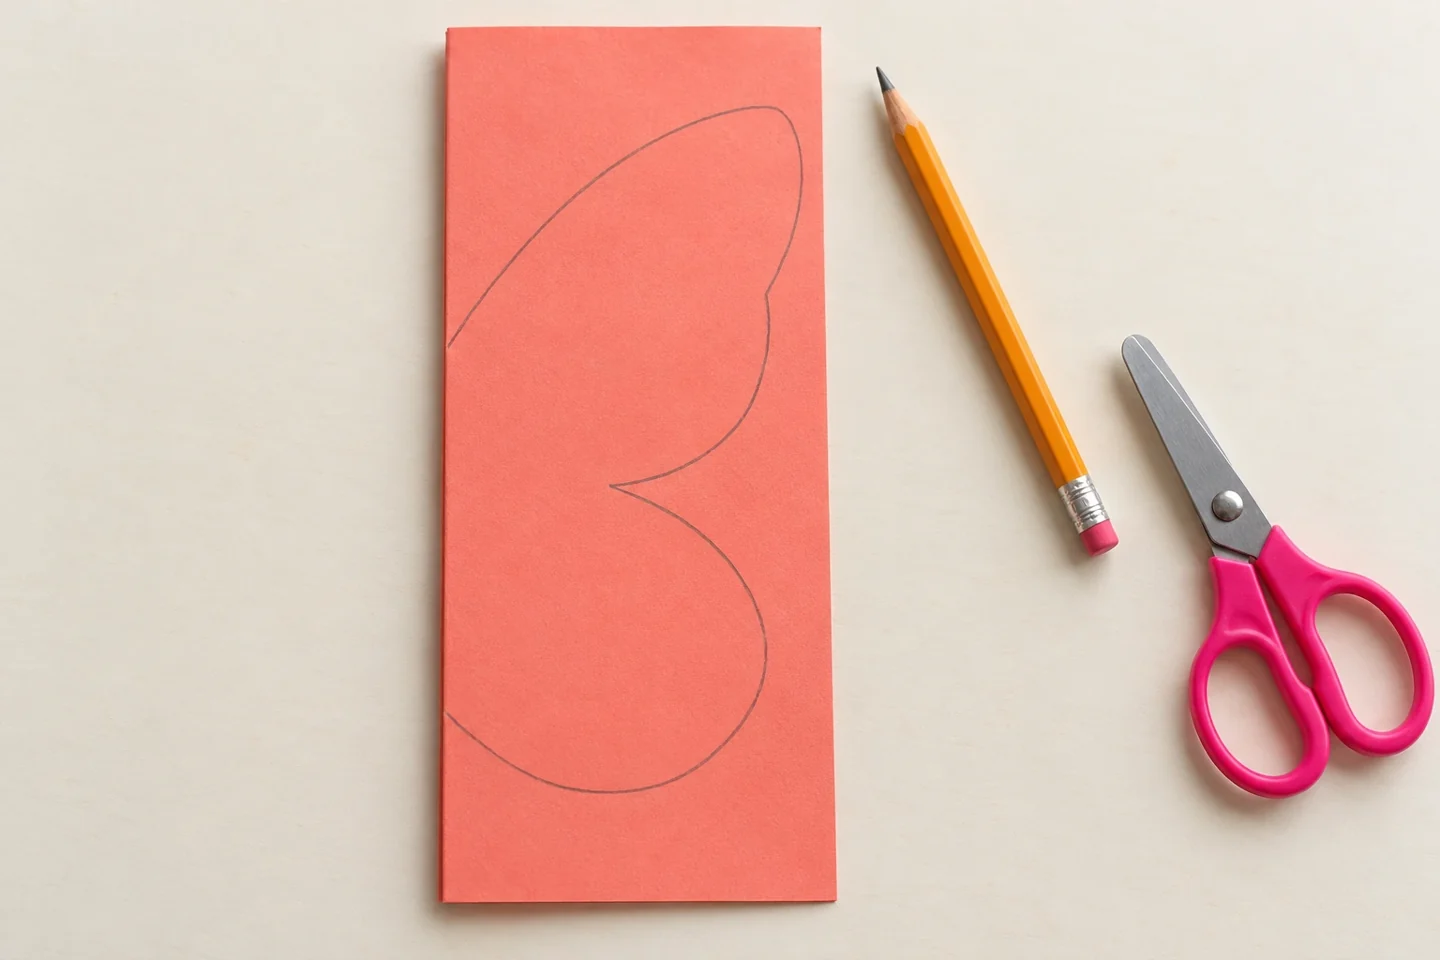
Draw half the wing outline against the closed fold so the wings stay connected. - Cut along the drawn outer line without cutting through the entire fold. Open the paper to reveal the connected wings, then lay it flat before decorating.
- Add a large circle or stripe to one wing. Place its partner at a matching distance from the fold on the other wing. Continue with a few mirrored shapes, comparing positions as you go.
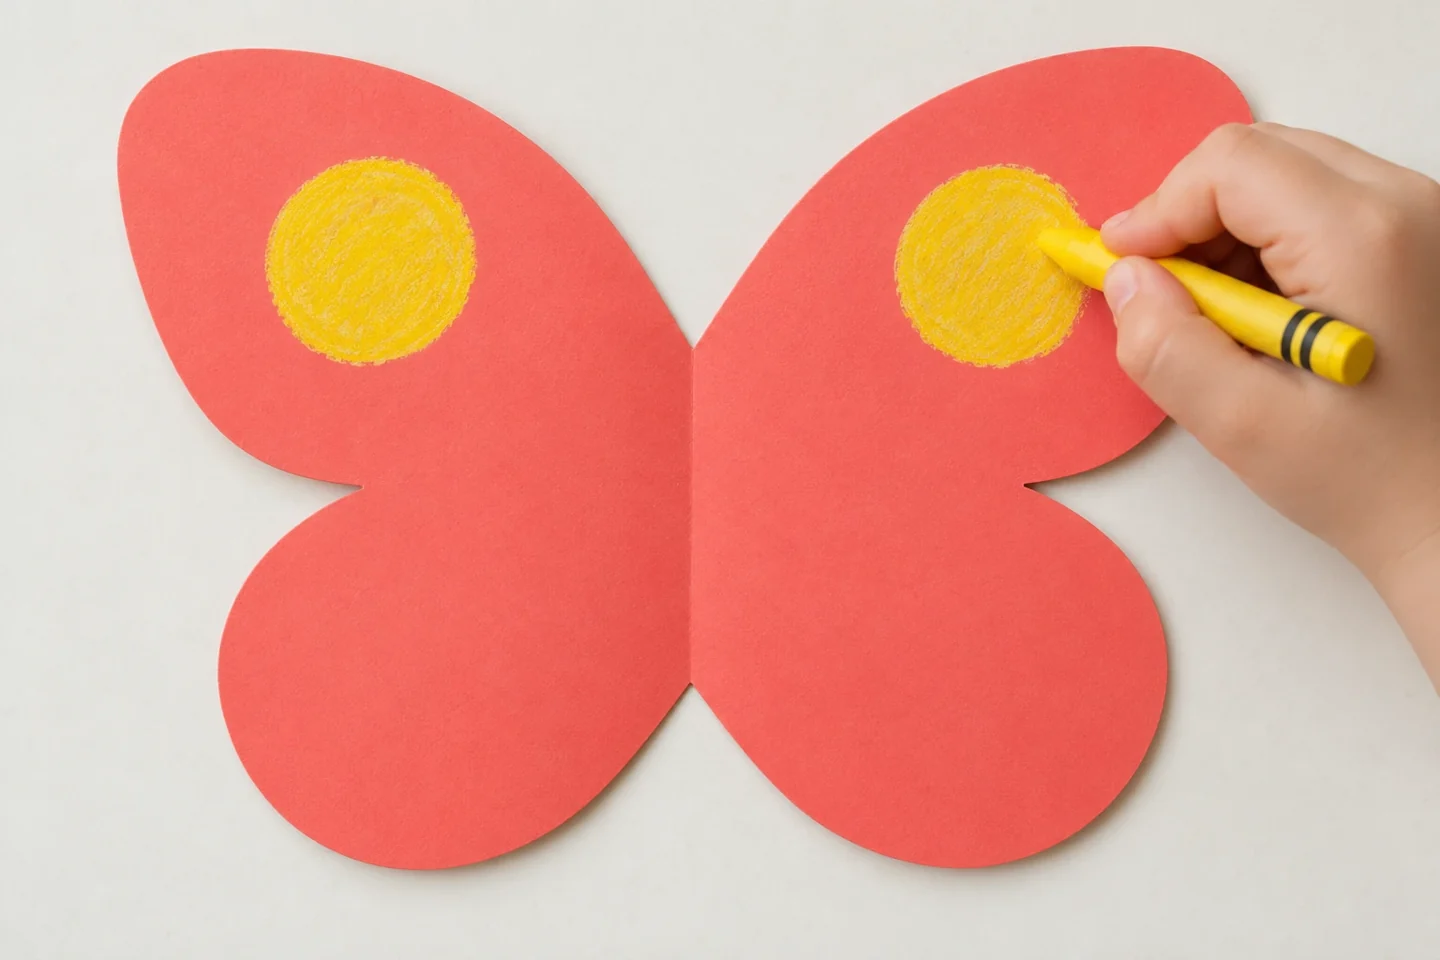
Add the matching mark at the same distance from the center crease. - Glue the 1 × 8 inch body strip along the crease and cut two short wide antennae from the remaining contrasting scrap. Glue them behind the top of the body. Display the butterfly flat, or attach only the body to a background sheet and gently lift the wings.
Try it, notice it, talk about it
After opening the wings, mark the central crease lightly as the line of reflection. Add one large circle to the left wing, then place a similar circle at the same height and distance on the right. Children can compare the positions with a fingertip measurement or by gently closing the wings. Exact machine-like precision is unnecessary; explain that a mirrored design uses corresponding positions. Add only a few pairs before stepping back to inspect them, since a crowded design makes matching details harder to see.
Which shapes have a matching partner? How far is each from the center line? Fold the wings together gently to compare the outline, then open them to inspect the decoration. Ask children to invent another object with two similar halves.
Make it work for your children
Younger children can decorate pre-cut wings with two broad shapes and choose a contrasting body. Older children can combine shapes and colors in pairs, then describe which features mirror each other. In a classroom, children can trade unfinished wings and identify one matching pair before continuing their own work. A deliberately unmatched detail can also be discussed: where does the reflection stop working? Real butterflies vary in their markings, so present this as a paper symmetry exploration rather than a promise that every living butterfly looks identical on both sides.
If the halves separate, join them behind the body with a short strip of tape. Children can decorate pre-cut wings instead of managing the cutting stage. A design does not have to be perfectly matched to be worth discussing: look together for the places that mirror and those that differ.
Finish and tidy up
Attach the body strip only after comparing the cut outline, because it will cover the central fold. Paper antennae should be broad enough not to tear during handling. For a wall display, glue the body to a background while leaving the outer wings slightly raised. For storage, keep the butterfly flat between loose sheets, without bending the wings over a thick body decoration. If the two halves separate during cutting, tape their backs together behind the body and continue discussing the matching outlines.