Spring & Easter
Make Tissue-Paper Spring Flowers
 Facebook
 Pinterest
 X
X LinkedIn
 Reddit
 WhatsApp
 Telegram
 Bluesky
 Email
Email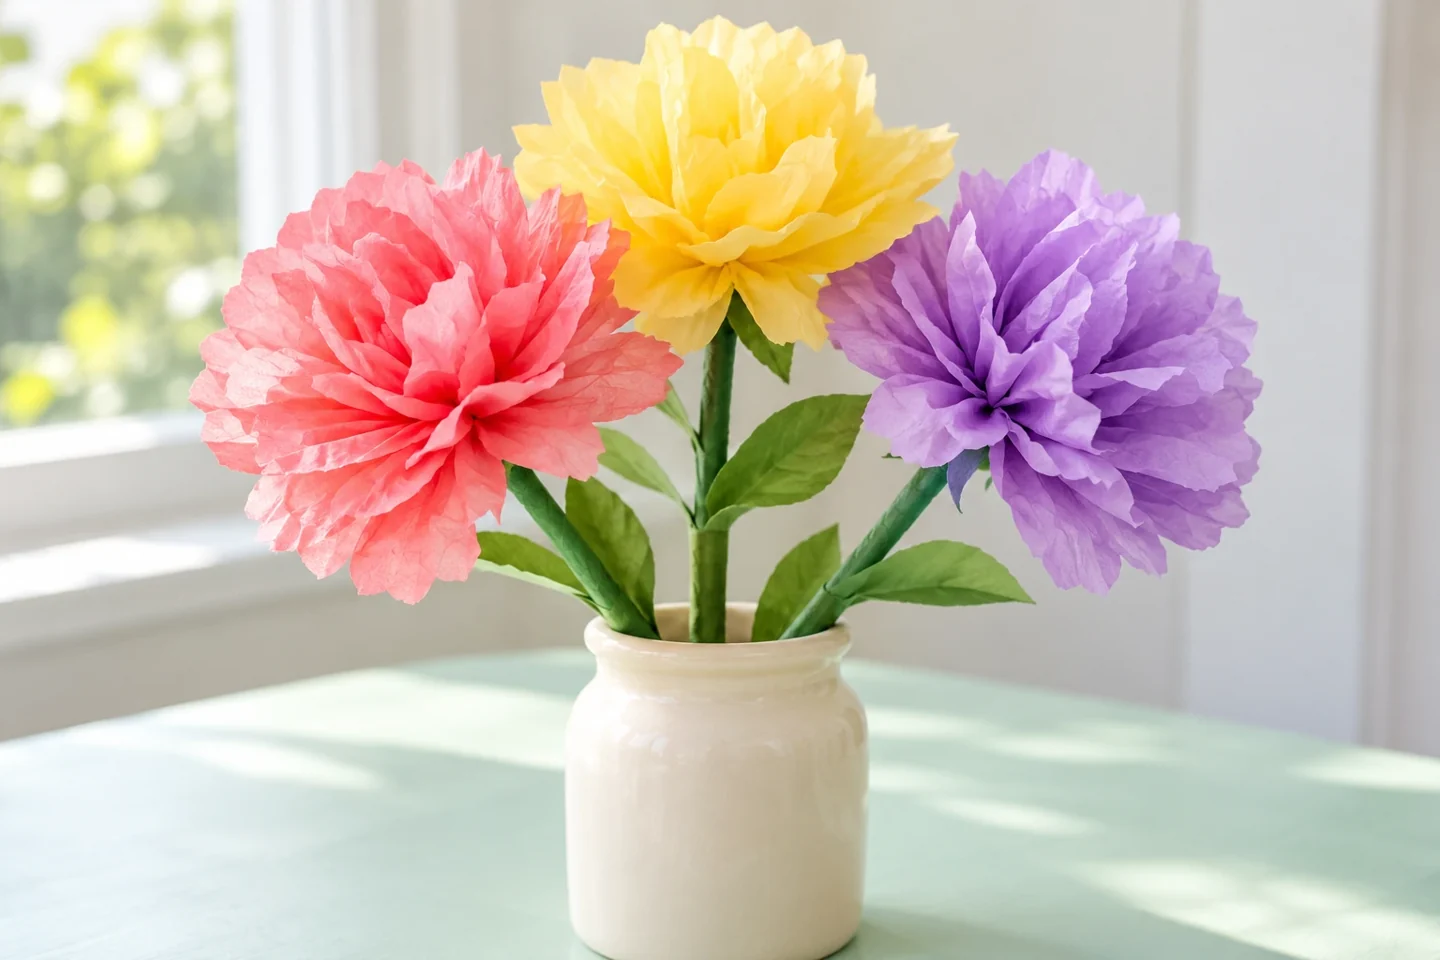
Your activity at a glance
| Suggested ages | 5–10 |
|---|---|
| Activity time | 35 minutes |
What you need
- 12 tissue-paper squares, each about 5 inches wide
- 3 pieces of green yarn, each 8 inches long
- 3 thin cardboard strips, approximately 8 by 1 inches, for lightweight stems
- Green paper, clear tape, child-friendly scissors, and an empty clean jar
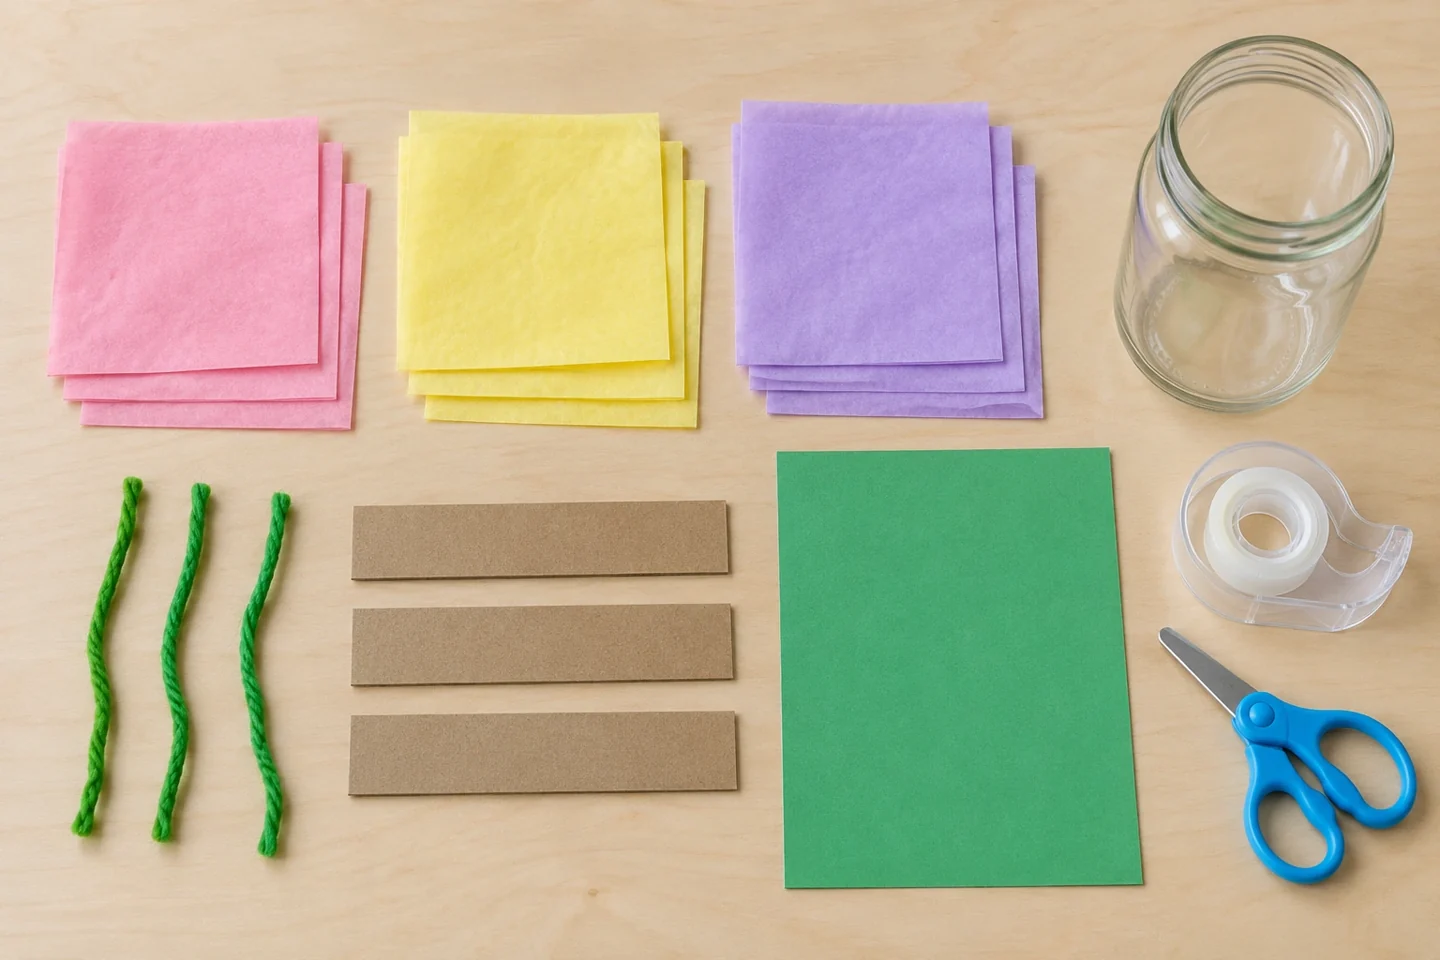
A little spring creativity
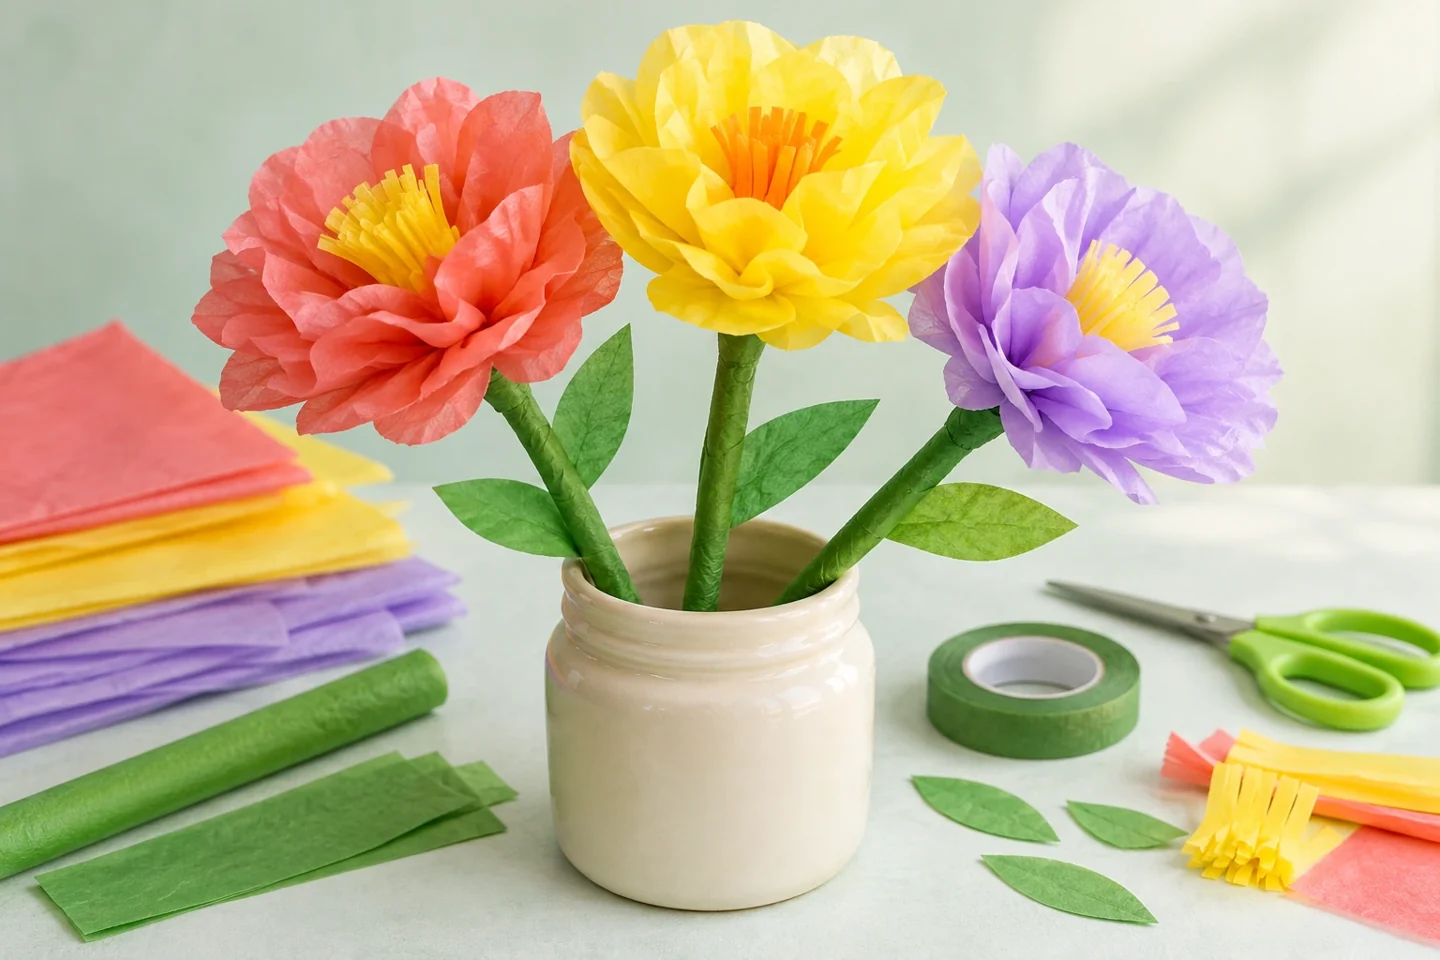
Three ruffled flowers become a cheerful bouquet, and each one starts with an ordinary stack of tissue squares. Children choose their colors, fold a little paper fan, and gently open the layers into petals. The gentle pulling takes patience, so this is a lovely project to share across a table rather than rush through.
Get ready together
Cut all twelve tissue squares before beginning, keeping three stacks of four ready beside the yarn. Tissue shifts while being cut, so a few uneven edges are fine; it does not need the precision of a paper model. Put the jar at the far end of the table until the stems are complete. The three cardboard strips should be firm enough to stand but easy to cover with paper. Set a short practice strip beside the tissue so children can try turning a fold forward and backward without flattening the delicate flower stack. An adult can roll each thin strip lengthwise into a narrow tube, tape the overlap, and cover it with green paper. Set the prepared stems beside the tissue stacks.
Make it step by step
- Stack four tissue squares with their edges roughly aligned. Different colors can alternate, or all four layers can match. A slightly uneven stack still makes a charming flower.
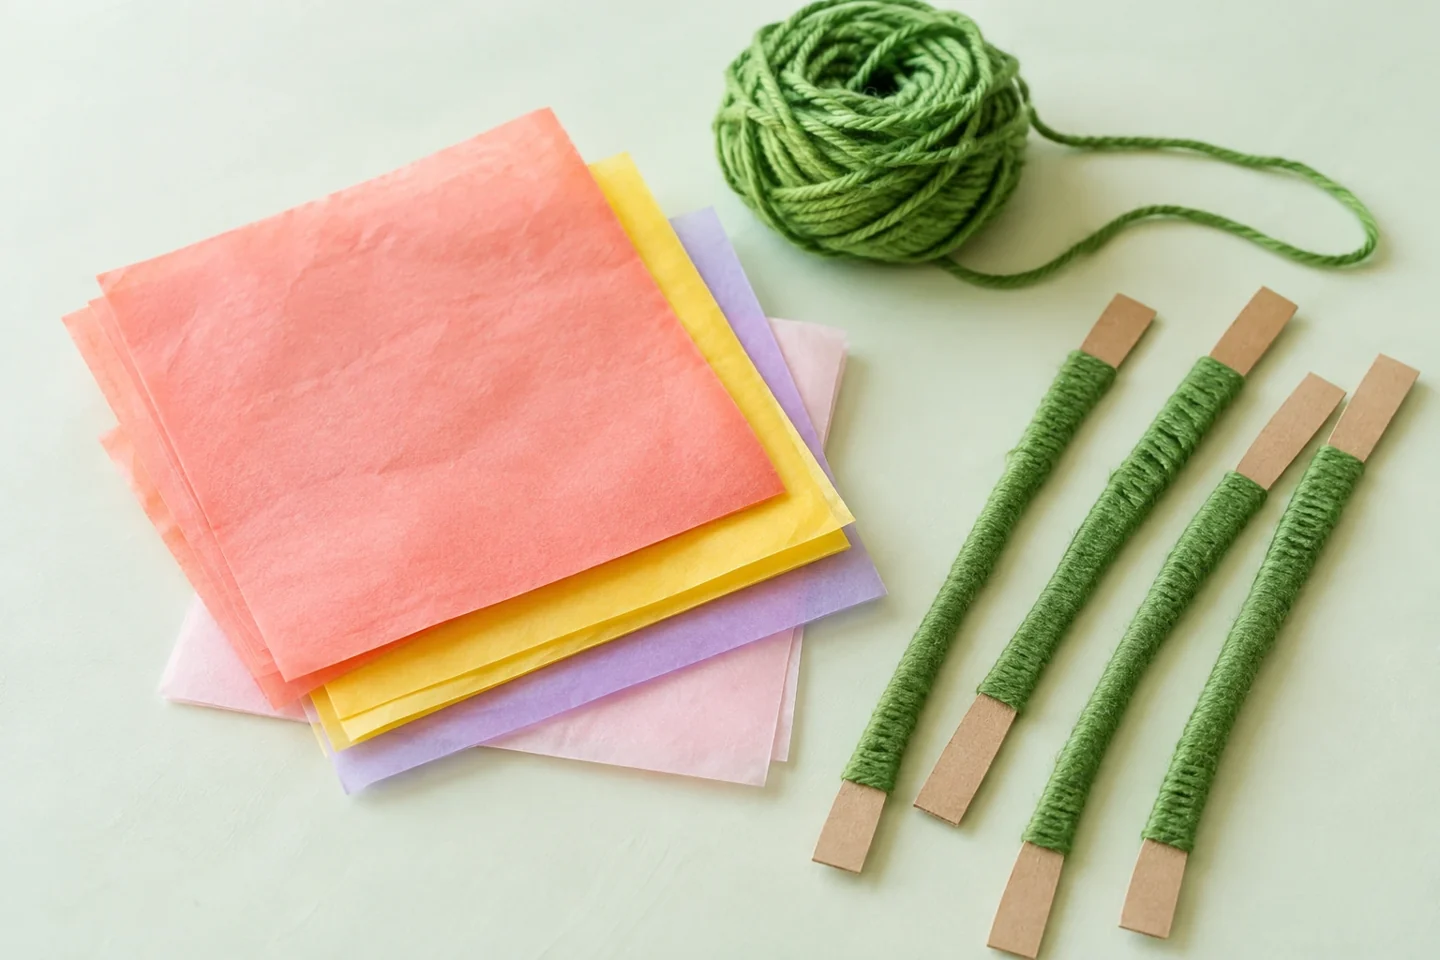
Prepare three lightweight stems and separate the tissue into color stacks. - Fold the stack back and forth in half-inch sections, turning it over after each fold. Press each crease with your fingertips until the stack becomes one narrow accordion.
- Tie an 8-inch piece of yarn around the middle, leaving the ends available for attaching the stem. Round the two short ends with scissors if curved petals are wanted; pointed ends create a different flower.
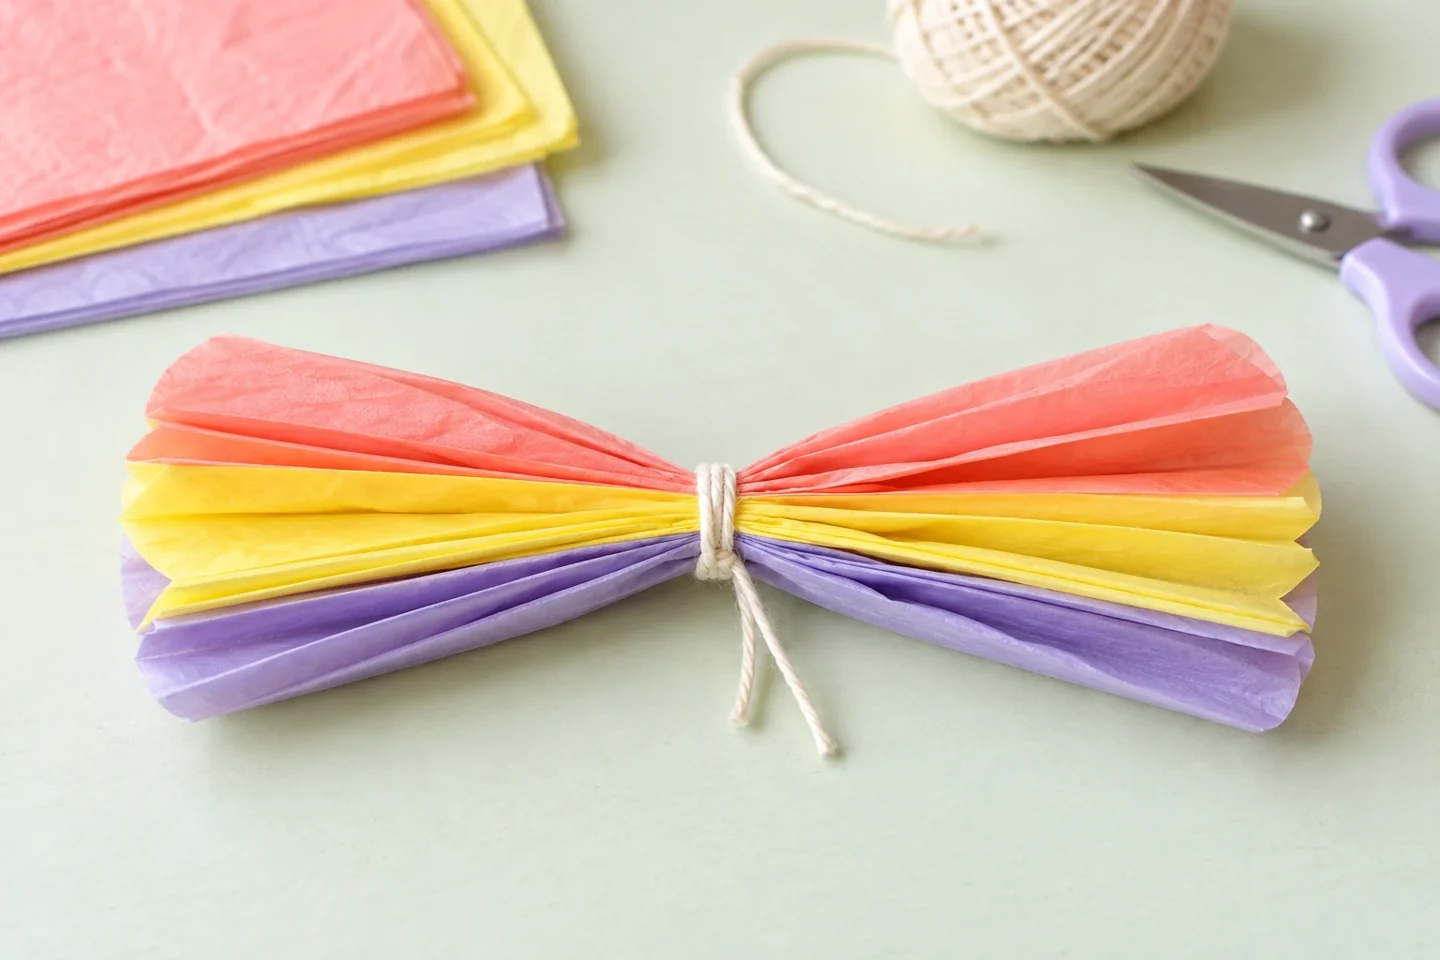
Tie the folded tissue at its center before lifting the layers. - Hold the middle and gently lift one tissue layer at a time toward the center. Work on one half first, then the other. Pull near the base rather than grabbing the thin outer edge.
- Use one prepared green-covered cardboard stem. Attach the flower to its top with the yarn and a short piece of tape. Make two more flowers and arrange them in a clean jar. If a stem bends, shorten it until it supports the lightweight head.
Try it, notice it, talk about it
Demonstrate how one fold goes toward you and the next goes away, then let children continue the accordion. Count the layers before separating them: a single square should lift at a time. It helps to hold the tied center firmly with one hand and use the other to ease a layer upward from close to that center. Show the first lifted layer and pause so children can try. The flower will look lopsided halfway through; finishing the other half creates the rounded shape.
Try two colors in one flower. Which layer becomes easiest to see when the petals open? Compare a rounded petal edge with a pointed one and invite children to describe what changed.
Make it work for your children
For a small group, divide the table into folding, opening, and stem stations. An adult can tie centers as children finish folding so the delicate opening stage does not become a queue. Pairing two colors in one stack makes the layers easier to distinguish. Younger children may prefer three layers and an adult-made fold; older children can compare rounded and pointed ends or make one shorter-stemmed flower. Ask which fold or layer changed the appearance most. The aim is to understand the construction, not to make three identical flowers.
If tissue tears, leave the small split in place and lift the neighboring layer; the ruffles usually hide it. If the head droops, shorten the cardboard stem or add another strip behind it. Younger children can open pre-folded flowers while an adult ties the center.
Finish and tidy up
Arrange the completed stems in the jar before adding further tape. A low bouquet is often steadier than tall stems crowded together. If a stem bends, reinforce its back with another cardboard strip and keep that join below the flower head. Store flowers upright or lay them in a shallow box with space around the petals. Tissue compresses easily, so avoid packing them under heavier work. Keep extra squares flat in an envelope; yarn offcuts and green paper scraps can become leaves on a later bouquet.