Thanksgiving
Handmade Thanksgiving Place Cards
 Facebook
 Pinterest
 X
X LinkedIn
 Reddit
 WhatsApp
 Telegram
 Bluesky
 Email
Email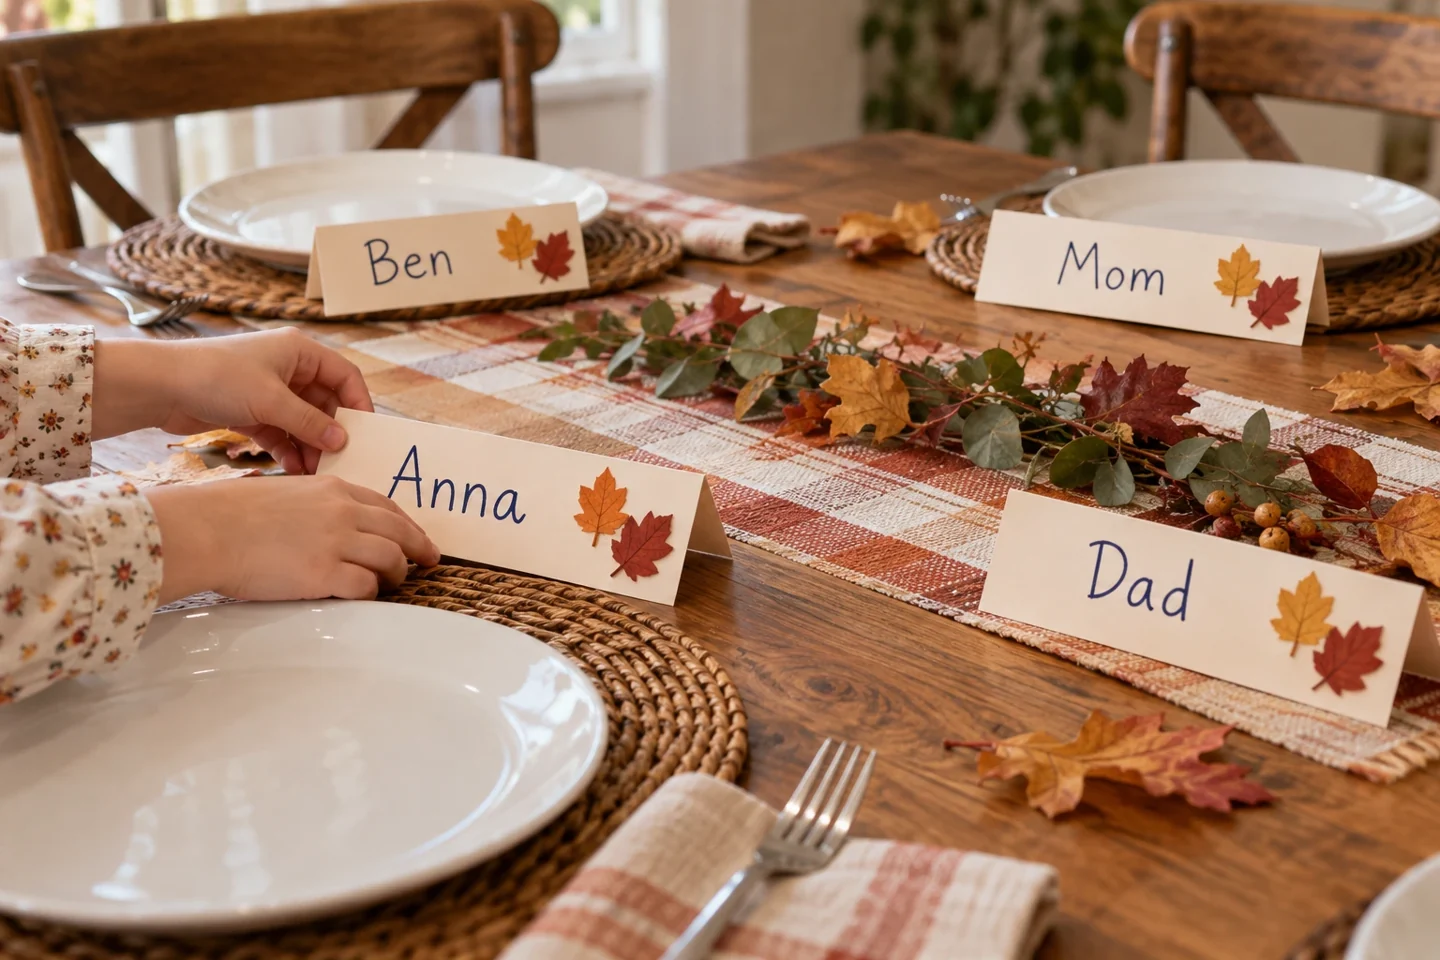
Your activity at a glance
| Suggested ages | 5–10 |
|---|---|
| Activity time | 25 minutes |
What you need
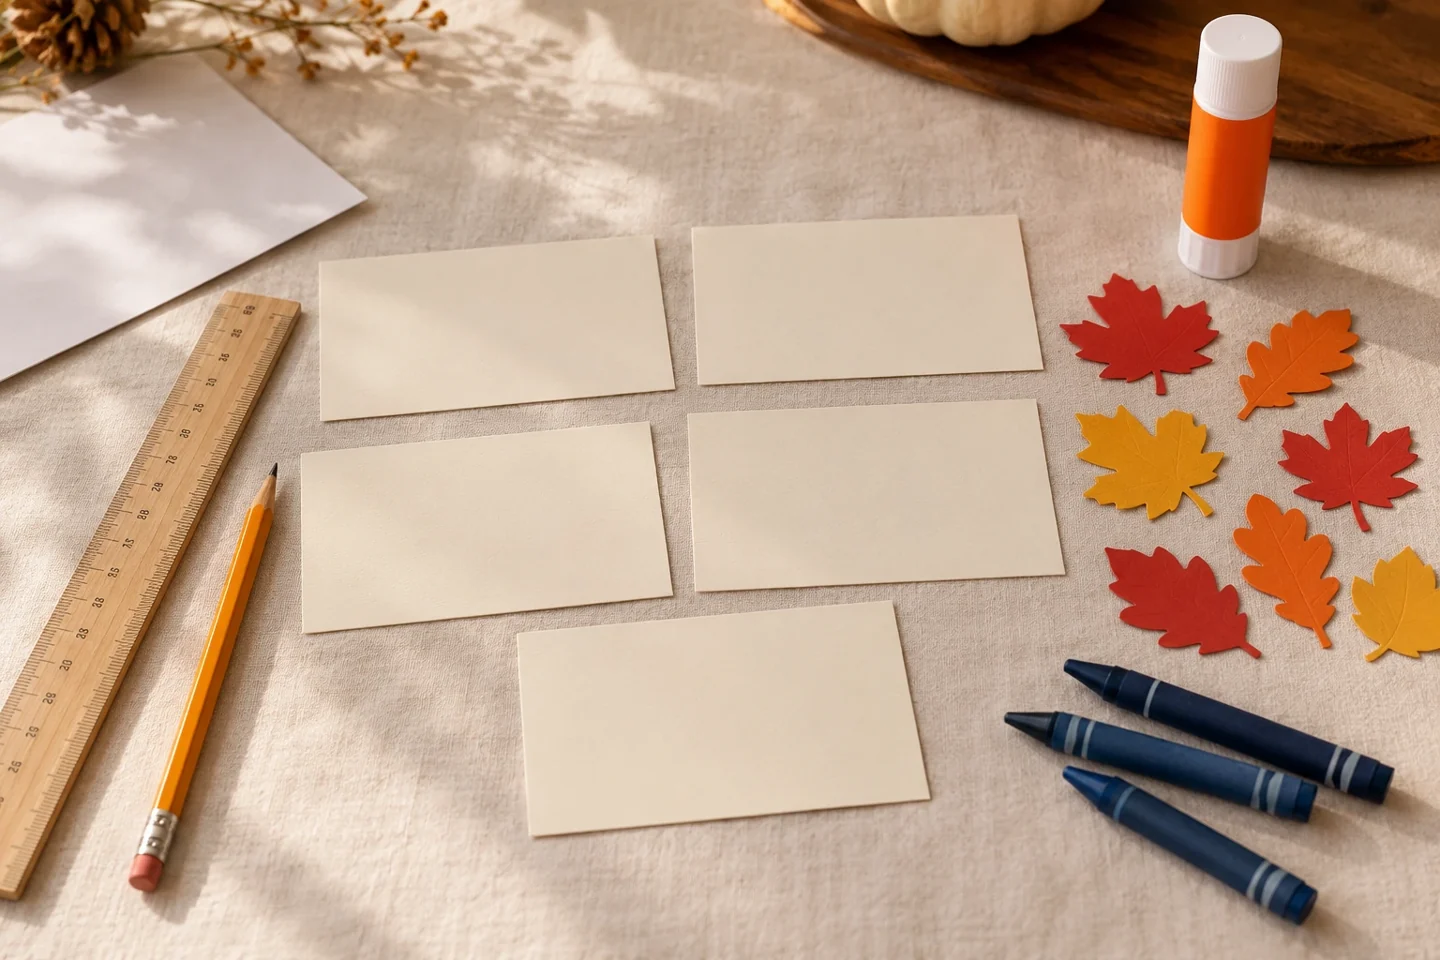
- One 10 × 15 cm cardstock rectangle per guest
- colored paper leaf shapes
- crayons
- glue stick
- ruler
- pencil
- One spare 10 × 15 cm cardstock rectangle
- One small scrap sheet for name models
- Two small flat paper leaf shapes per card or crayons to draw them
A little project with plenty to discover
A small folded card can make a table feel thoughtfully prepared. Children choose decorations, copy names with help, and test how a folded shape stands.
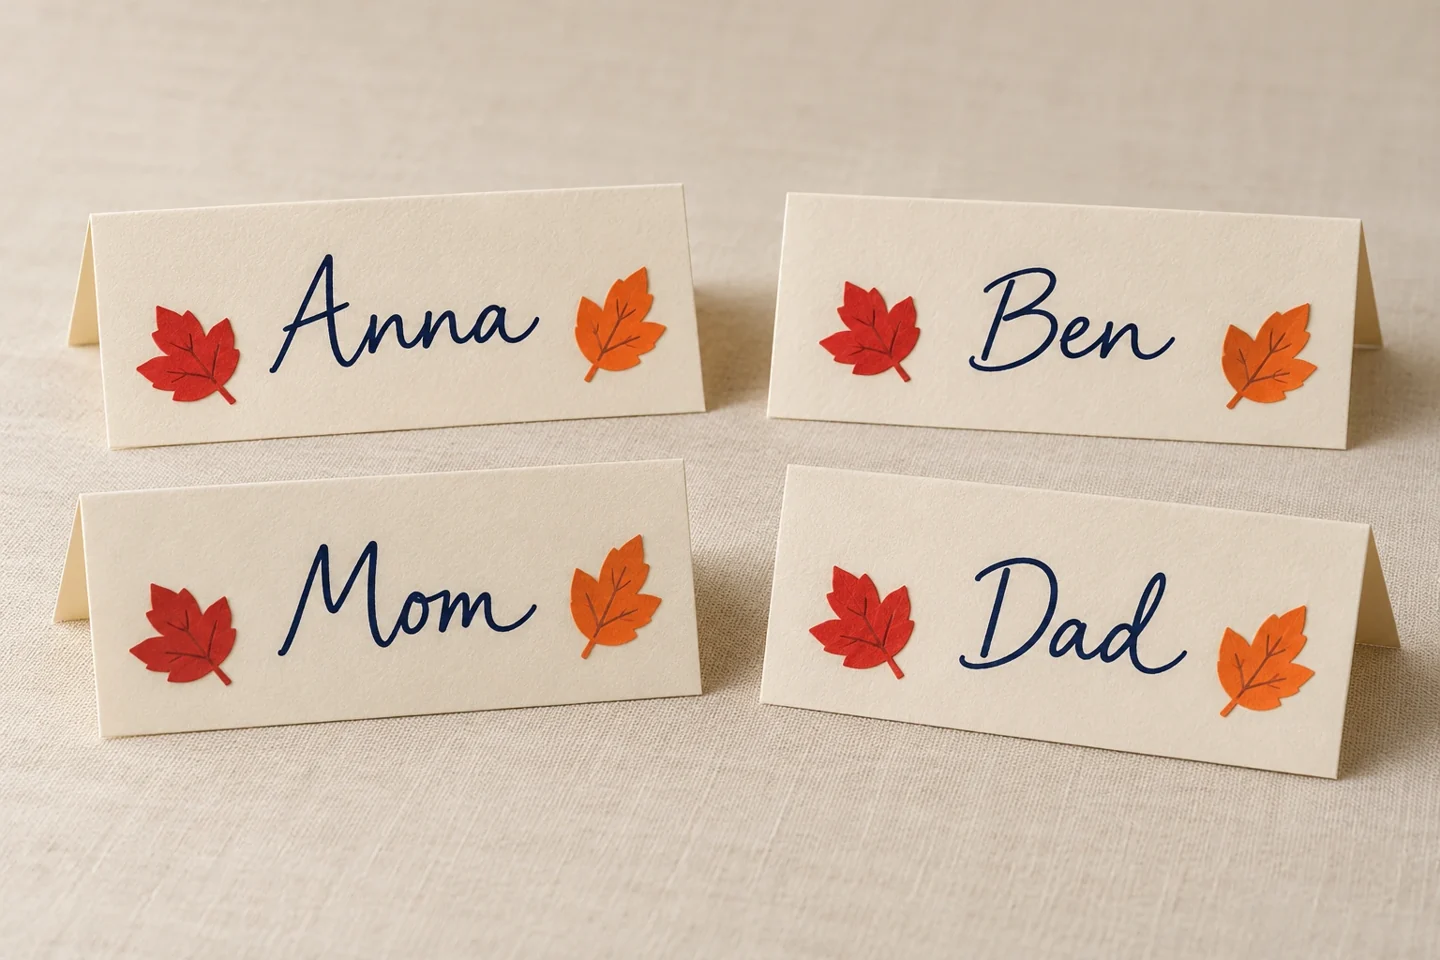
Count the expected places before cutting cards, then prepare one spare for a changed plan or an unexpected guest. For a low stable tent, place a 10 by 15 cm rectangle with its long side running left to right and fold the 10 cm height in half. The front becomes 15 cm wide and 5 cm tall. This leaves generous room for a name and small decorations. Use cardstock rather than ordinary thin paper so the tent holds its shape on the table.
Prepare and introduce the activity
Write names before attaching decorations. An adult can provide a clear model on scrap paper, and the child can copy, trace lightly, or dictate. Test a long name on a spare rectangle first. Keep the main name area uncluttered: one leaf at each side is easier to read than a cluster over the letters. A hand-drawn leaf is a good alternative to cutting. Let children decide which colors suit each card while keeping the folded edge free of bulky pieces.
For four guests, prepare five rectangles: four cards and one spare. Offer eight small flat paper leaves so each maker can use one or two, or draw the leaves instead. Set the card with the fold along the top like a little roof, and spread the two lower edges into a comfortable tent. Write the name while the card is flattened, then stand it again before gluing decorations. A useful table-setting job is matching one finished card to each place and checking whether the number of cards agrees with the number of guests.
Make it step by step
- Place a 10 × 15 cm rectangle with its 15 cm edge running left to right. Fold the 10 cm height in half to make a tent with a front 15 cm wide and 5 cm tall.
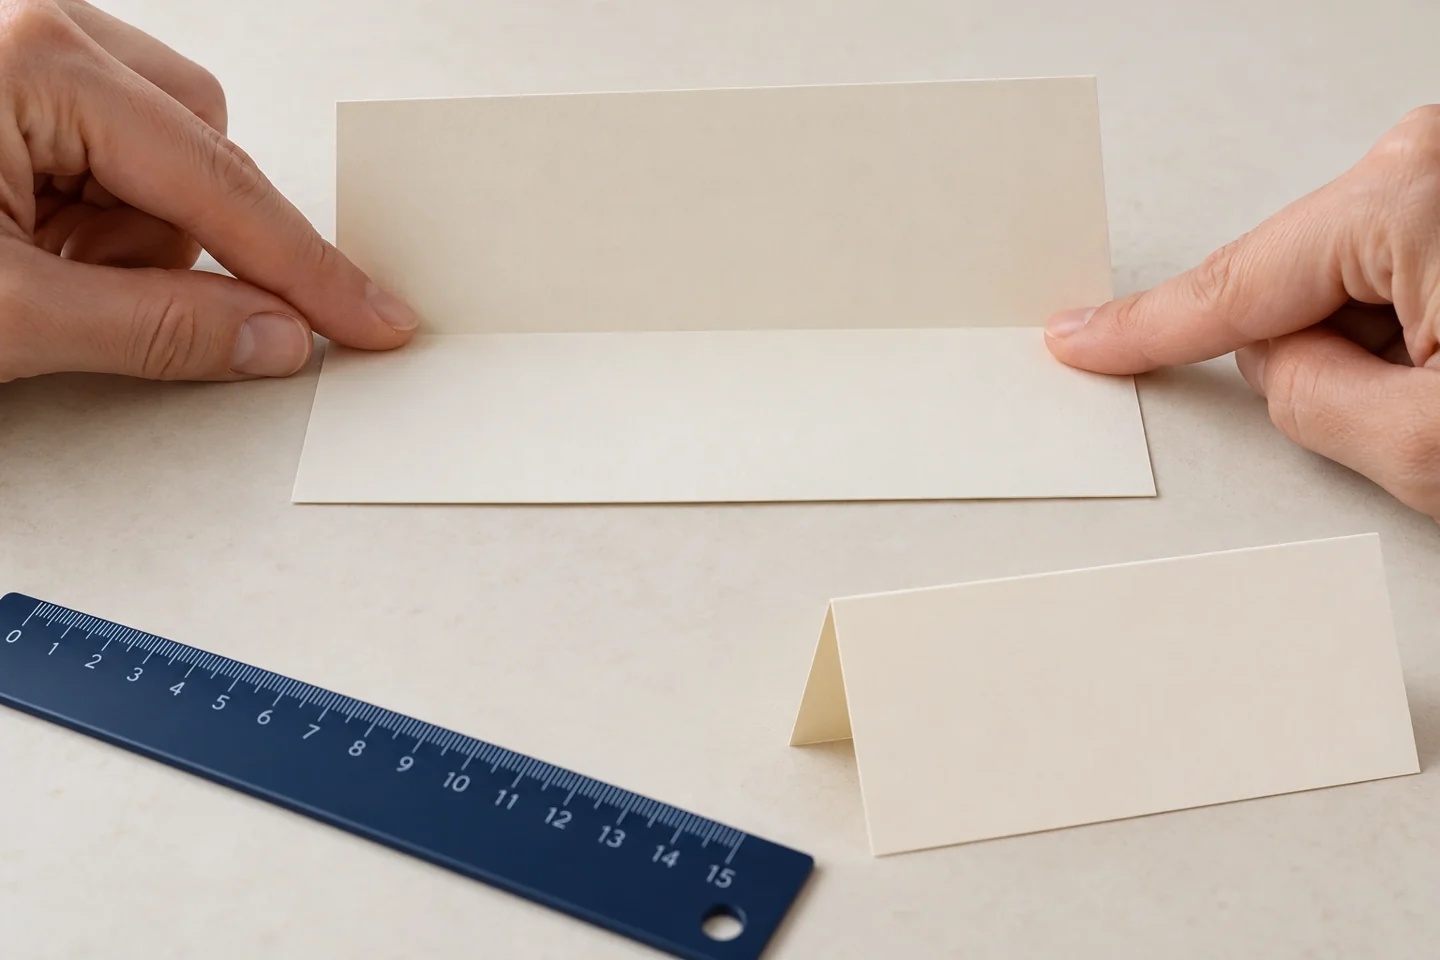
Fold across the middle to make a low, wide name tent. - Stand the card and choose the orientation that stays steady on your table. Press the crease firmly.
- Write a guest’s name on the front in large letters. Offer a separate model to copy instead of writing over the child’s work.
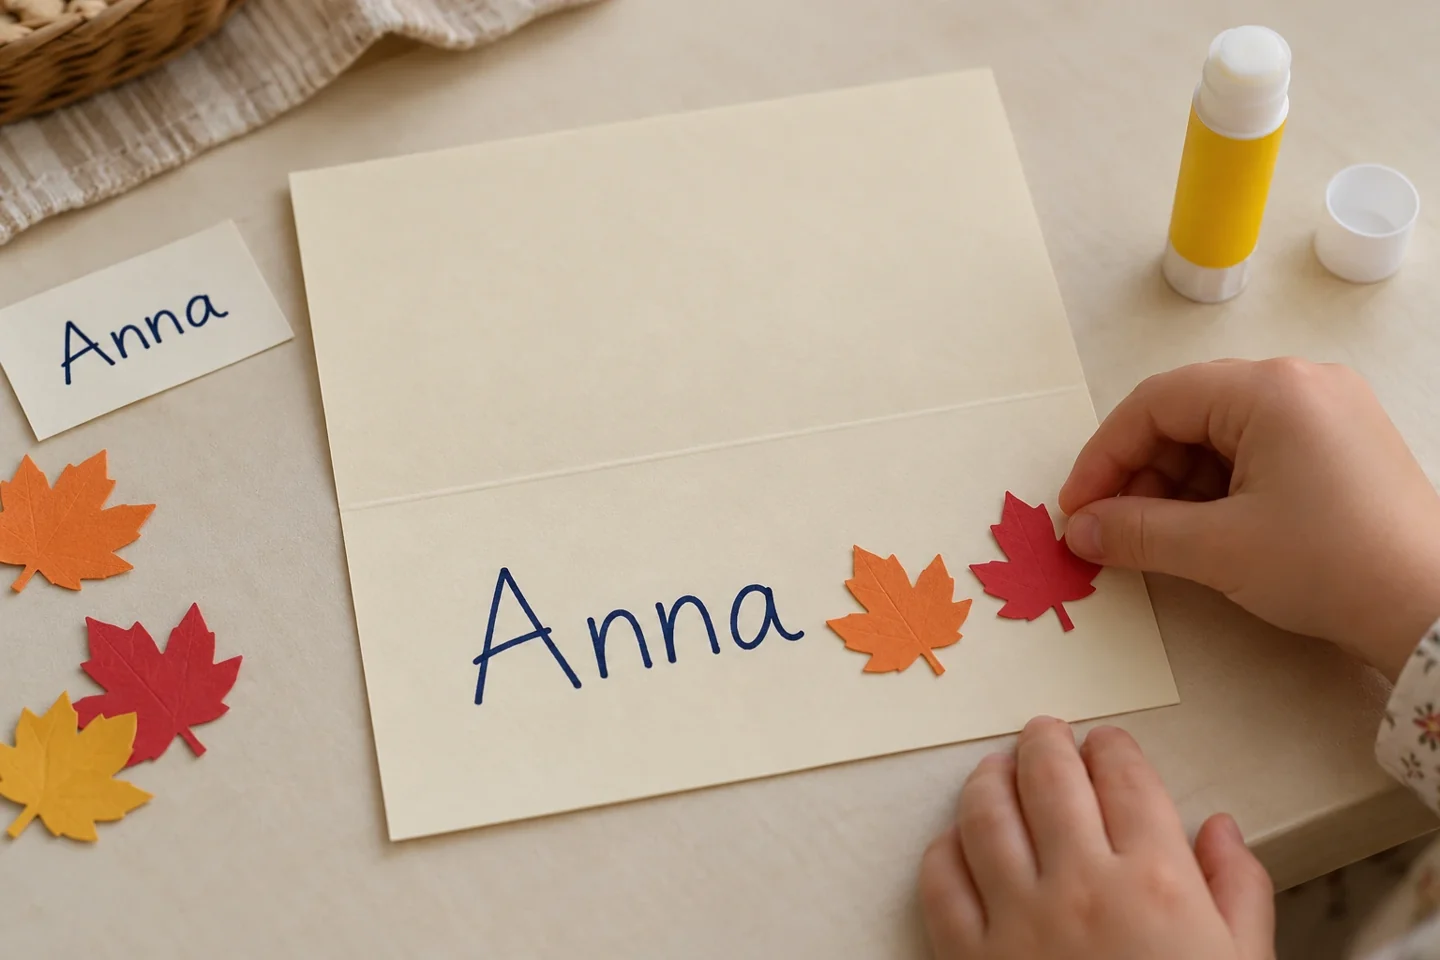
Keep each name readable and glue the leaves below the fold. - Glue one or two flat paper leaves beside the name. Keep decorations within the card edges so they do not make it top-heavy.
- Set the cards at places around the table and check that every guest has one. Rearrange them together if plans change.
Make it work at home or in your classroom
Young makers can decorate pre-folded cards and help match names to people. Older children can measure rectangles, plan seating with an adult, and check the guest count. In a classroom, make cards for a pretend gathering or individual desk displays rather than collecting private family information. Pairs can take turns folding and decorating, but each child should have a card to personalize. If writing is difficult, an adult-written name still leaves plenty of room for meaningful design choices.
Talk, notice, and learn together
How many cards do we need? Which folded direction makes a steadier base?
Stand two cards beside one another and compare their stability. A sharper crease, heavier paper, and low shape usually help a tent stay upright. Ask what happens when a decoration extends high above the fold. Children can test with a spare piece before gluing it to a finished card. Count the cards in groups and match them to the planned places. This practical check gives the counting a real purpose: making sure nobody is missing from the arrangement.
Helpful fixes
The card falls open: strengthen its crease or use heavier cardstock. A long name does not fit: write the name first on a wider card.
Add a little keepsake message
For another version, make picture place cards with a small drawing representing each guest’s favorite activity or a familiar shared memory. Keep the person’s name visible so the picture remains a friendly addition rather than a guessing requirement. Children can explain their choice when handing over the card. If guests are likely to take the cards home, write a small message on the inside after the outside decoration has dried. A flat folded card makes an easy keepsake without extra packaging or supplies.
Finish and clean up
Keep finished cards together in a flat tray until it is time to set the table. Let an adult place them away from hot dishes, candles, and wet serving areas. They are paper decorations, not protective mats. After the gathering, guests can take their cards or the family can store them flat in an envelope. Save the spare rectangle for another occasion. Put glue sticks away and collect leaf scraps that could be used for a future card.