Thanksgiving
Paper Gratitude Tree
 Facebook
 Pinterest
 X
X LinkedIn
 Reddit
 WhatsApp
 Telegram
 Bluesky
 Email
Email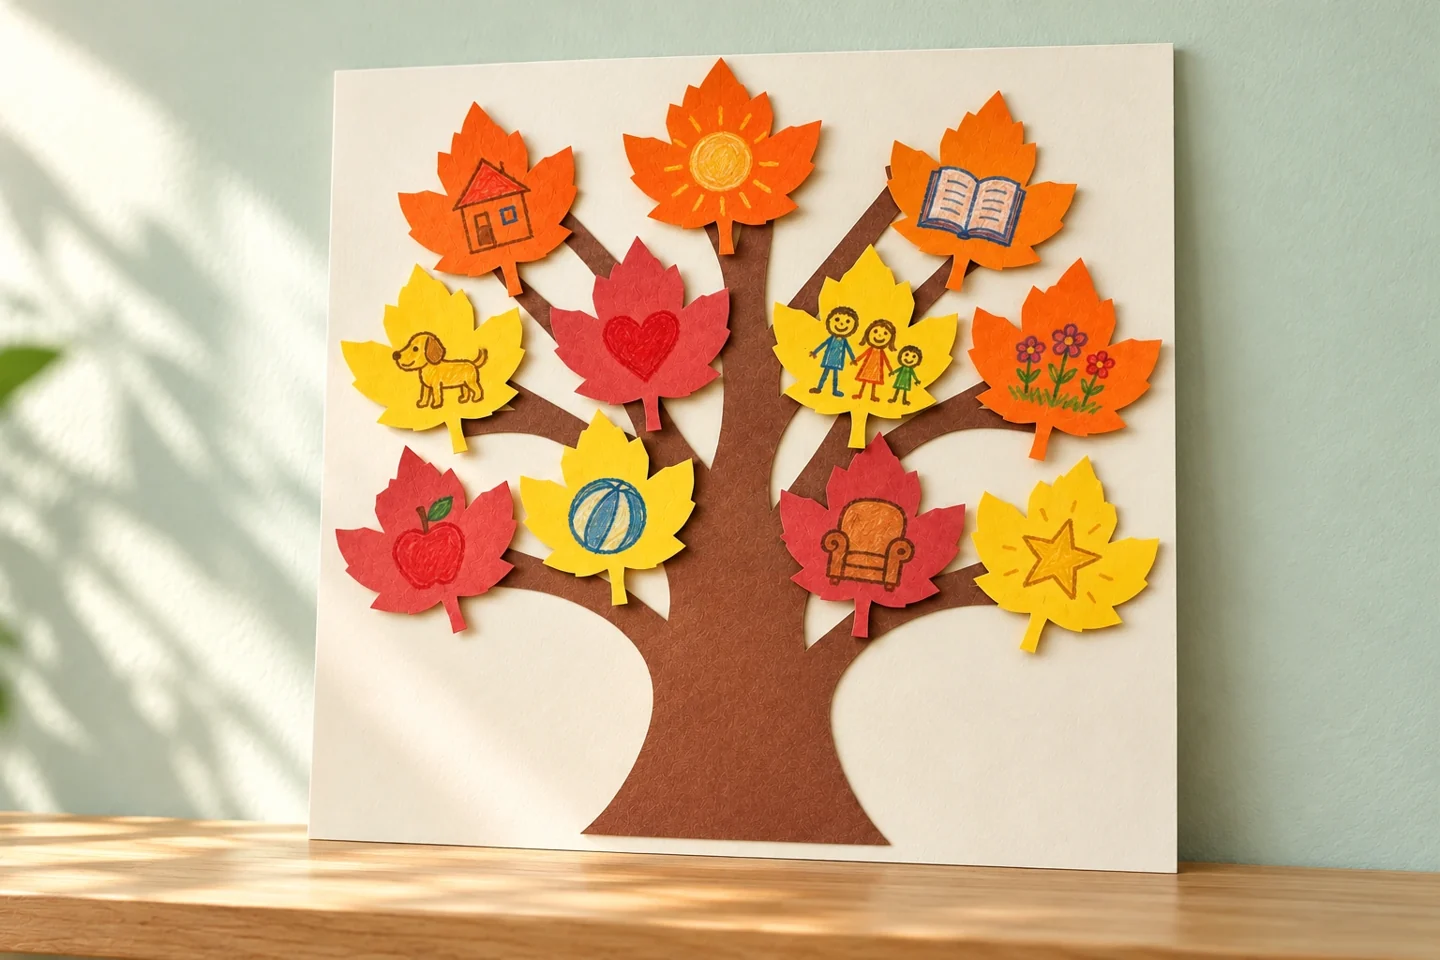
Your activity at a glance
| Suggested ages | 4–10 |
|---|---|
| Activity time | 35 minutes |
What you need
- One large brown paper trunk
- twelve paper leaves about 8 cm wide
- large background sheet
- crayons
- glue stick
- pencil
- Child-friendly scissors, with adult cutting support as needed
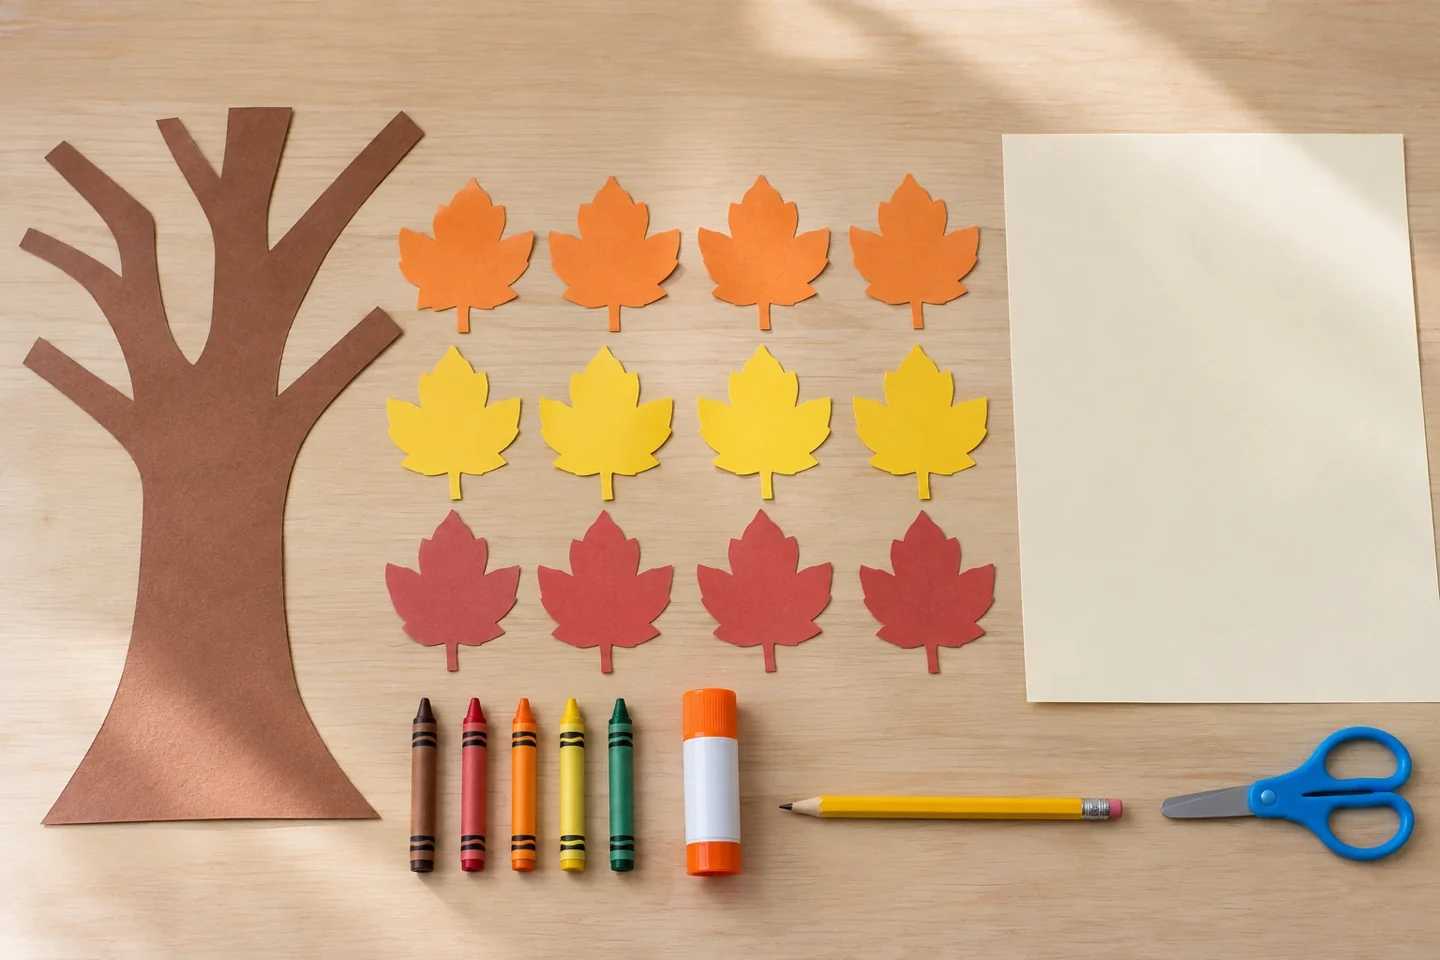
Make room for a meaningful little project
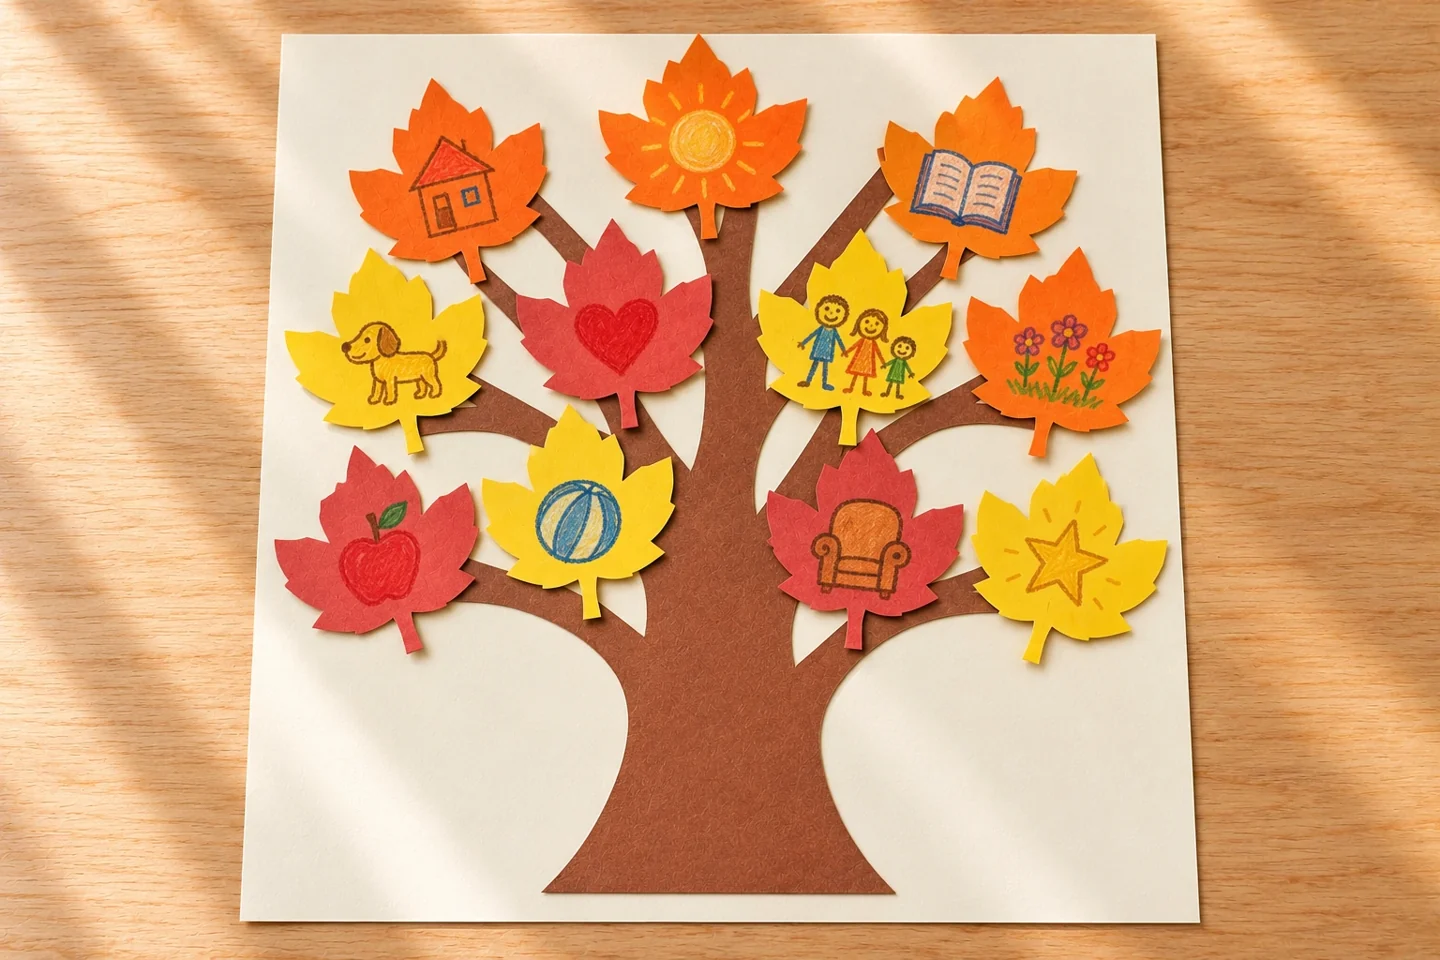
A gratitude tree gives small appreciated moments a visible home. Children can draw a favorite person, a helpful action, or something ordinary that made the day pleasant.
Choose a background large enough for leaves to spread without hiding one another. A trunk approximately 35 cm tall on a large paper sheet gives twelve leaves a comfortable starting space. The tree can be flat on a table while children work and displayed later. Prepare broad branches rather than many thin twigs, which tear easily during gluing. Put blank leaves in a tray so children can take one when they have an idea, rather than feeling they must fill every space at once.
Prepare and introduce the activity
Begin with an ordinary example from your own day: someone carried a bag, a book made you laugh, or a warm meal tasted good. Invite children to choose their own moment rather than copying your answer. A leaf can hold a picture, a dictated sentence, or a single word. Ask permission before writing a caption on a child’s drawing. Keep enough blank space around the picture for the child to point to details while telling the story.
Make it step by step
- Draw a broad trunk and several branches on brown paper. Cut and glue them onto the background, leaving open space around the branches.
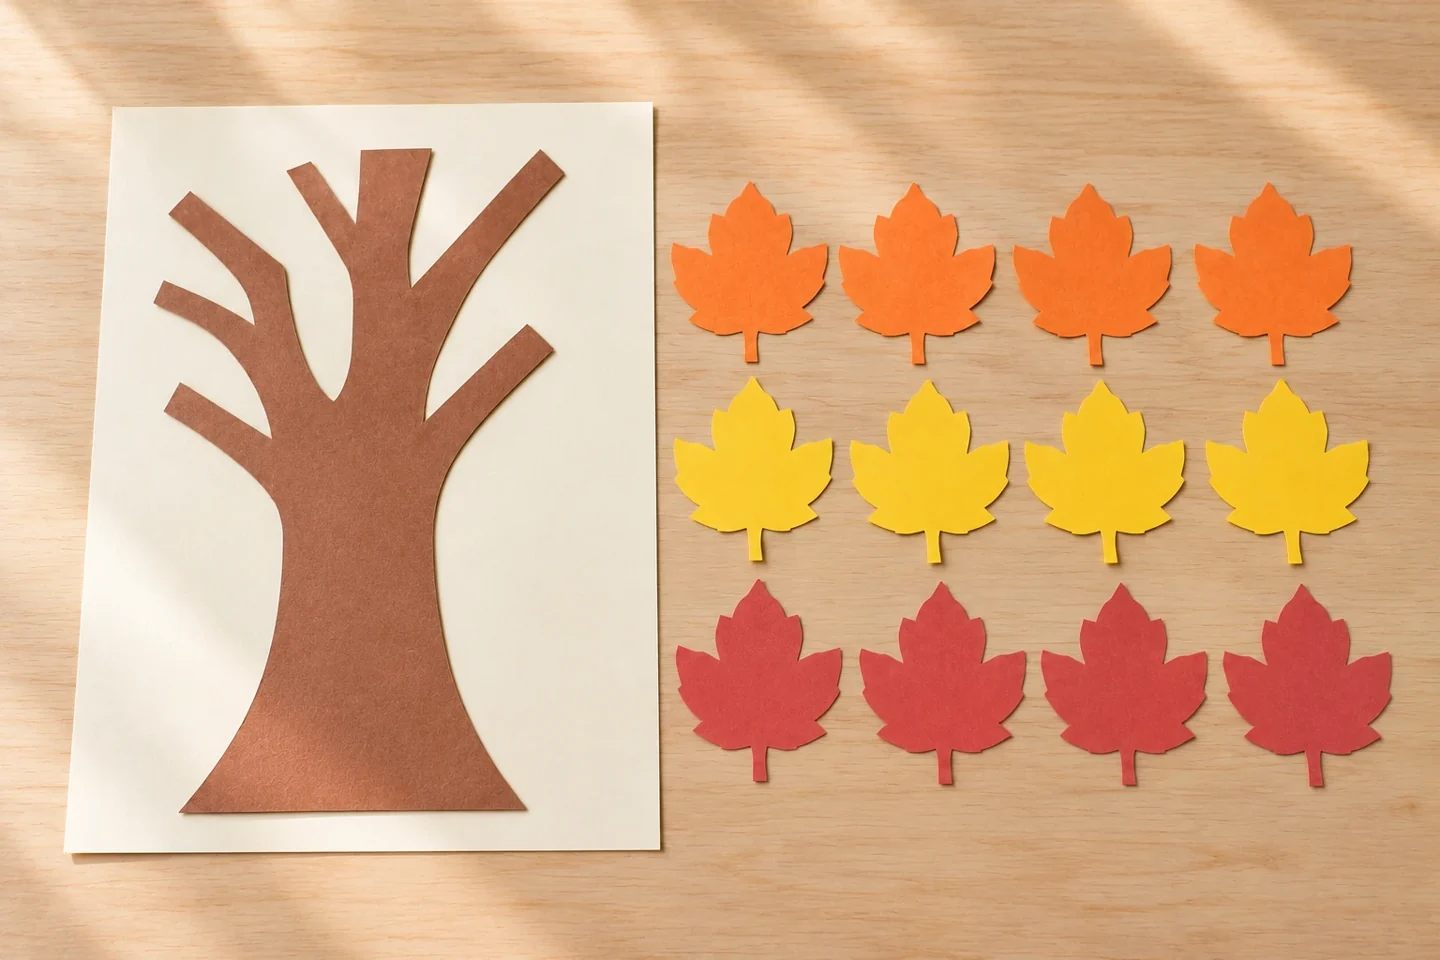
Glue the broad trunk first, leaving space around its branches. - Cut twelve large leaves in fall colors. Give each child two or three leaves rather than expecting every leaf to be filled immediately.
- Invite a drawing of one appreciated moment. Ask for its story and write a short caption if the child would like help.
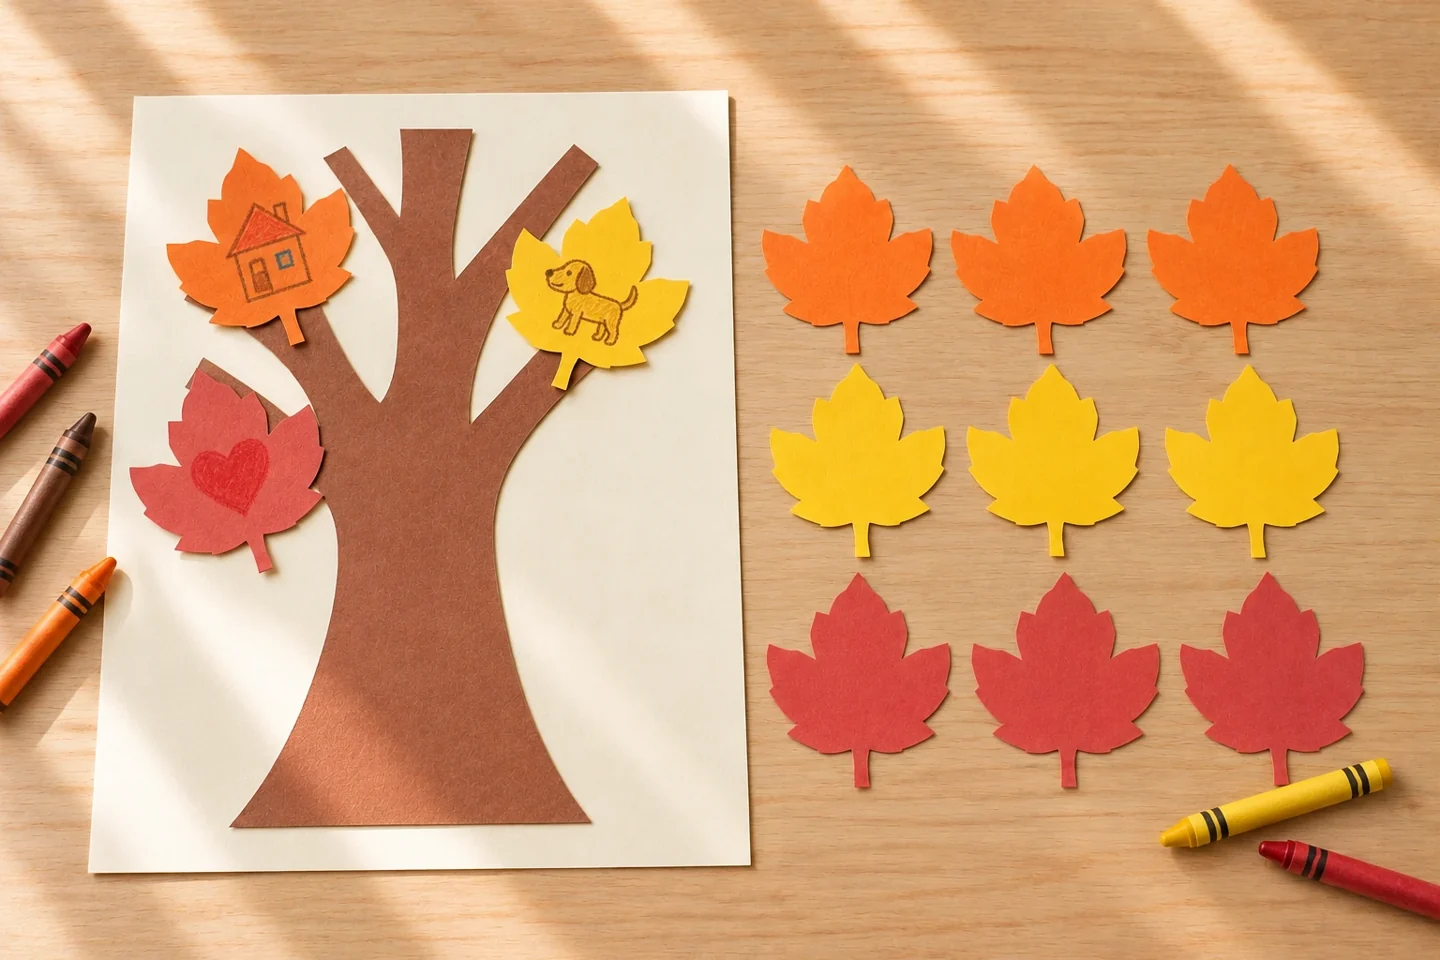
Add a picture or a few words to one leaf, then choose its branch. - Glue the leaves onto different branches. Leave a few empty leaves available for later additions.
- Display the tree where its makers can revisit it. Share one leaf at a time, allowing children to pass if they prefer to keep a thought private.
Adapt it for home or classroom
Young children may enjoy choosing leaf colors and drawing a person or object while an adult listens. Older children can add a sentence explaining what happened, rather than listing a general word such as family. In a classroom, offer individual leaves first and invite sharing afterward; not every thought needs to be read aloud. At home, keep the tree available for several days so additions follow actual moments. Participation can be quiet, spoken, drawn, or assisted without changing the purpose of noticing appreciation.
Conversation and learning connections
What made this moment helpful or enjoyable? Is there someone you would like to thank?
Look at two leaves together and ask whether they describe the same kind of help or two different experiences. One might show a shared game and another a person fixing something. Children can notice the actions behind the pictures without sorting anyone’s feelings into better or worse choices. If a leaf mentions a person, ask whether the child would like to give that person a separate thank-you note. The tree becomes a starting point for a real conversation, not an obligation to perform gratitude.
Helpful fixes
Writing is a barrier: use drawings or adult dictation. The tree looks crowded: extend the background or add fallen leaves at its base.
An extra way to explore
For an extension, add a second small branch labeled with a simple picture of helping hands. Children can suggest one helpful action they might try: carrying a light item, putting away game pieces, or reading with someone. Keep these ideas achievable and optional. Later, a child may add a drawing of what happened. Separate the suggestion from the thankful memory so the tree does not imply that appreciation must be earned by completing a task. Leave room for spontaneous additions rather than filling every branch immediately.
Finish and clean up
Hang the tree where children can reach the lower leaves without climbing. Use wall-safe tape or a suitable display board, and allow glue to dry before lifting the whole sheet. Keep spare leaves in an envelope nearby. Photograph a finished section if you want to remember it before changing the display. When the season ends, let each maker choose whether to keep their leaves or recycle them. Fold the empty trunk separately if it will be used again.